Workflows and the Canvas
Workflows and the Canvas
A workflow is a custom AI media pipeline for image and video generation. You build it on the canvas by connecting nodes, then run and reuse it. This page walks through building and running one.
Step 1: Open Workflows and start one
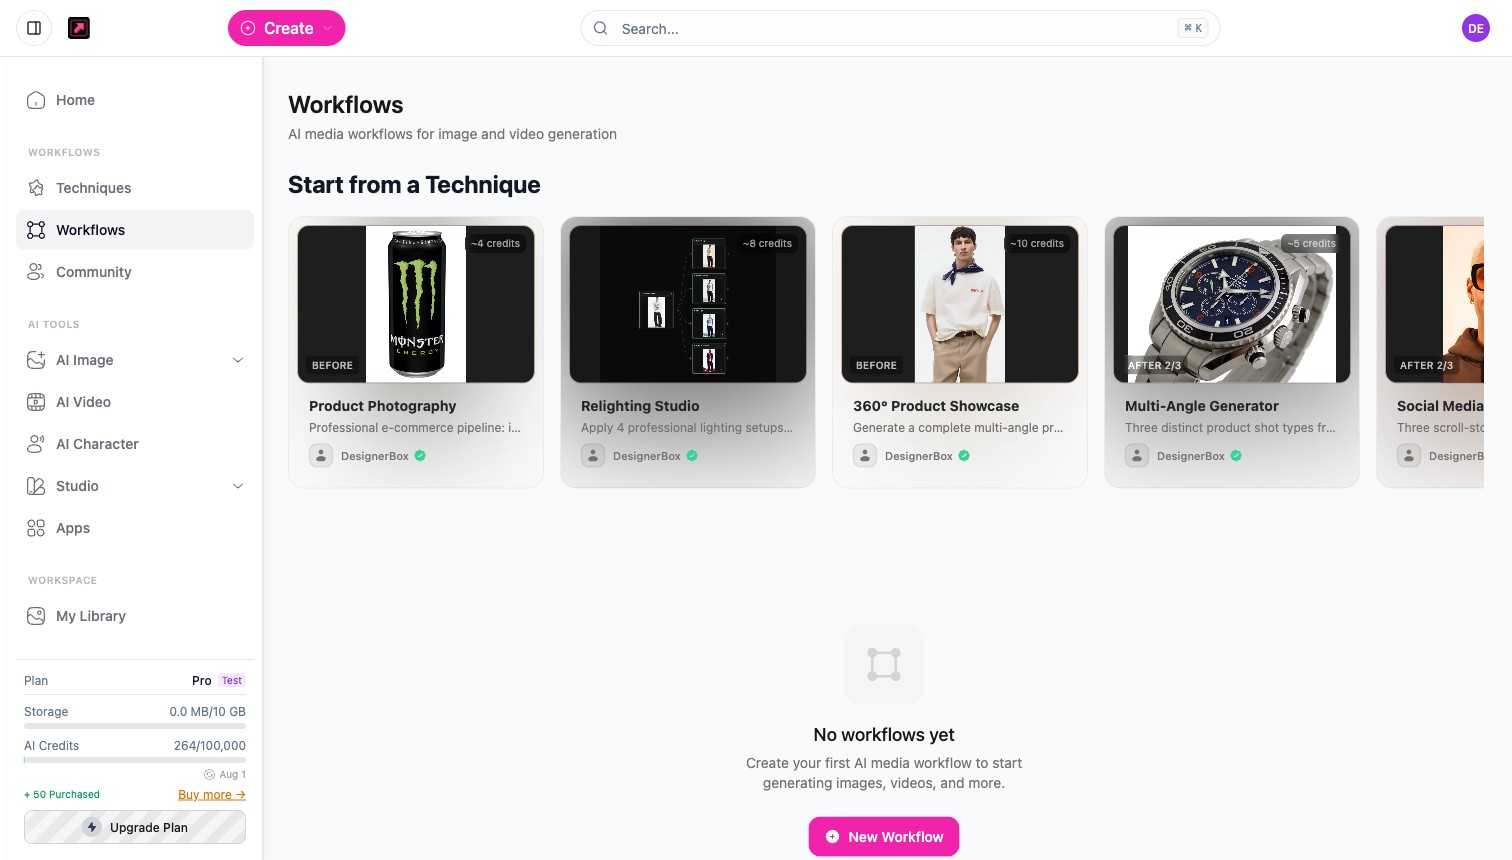
Open Workflows from the sidebar. You can:
- Select New Workflow to build a custom pipeline from scratch, or
- Start from a Technique to begin with a ready-made recipe you can edit.
Step 2: Add and connect nodes
On the canvas, each node performs one step, and you connect them so the output of one feeds the next. Click Add Node (the + button in the canvas toolbar) to open the node palette, then drag or click to place nodes. The example below is a five-node Product Photography pipeline that runs in order: Product Photos, Batch, Remove Background, Studio Lighting, HD Upscale.
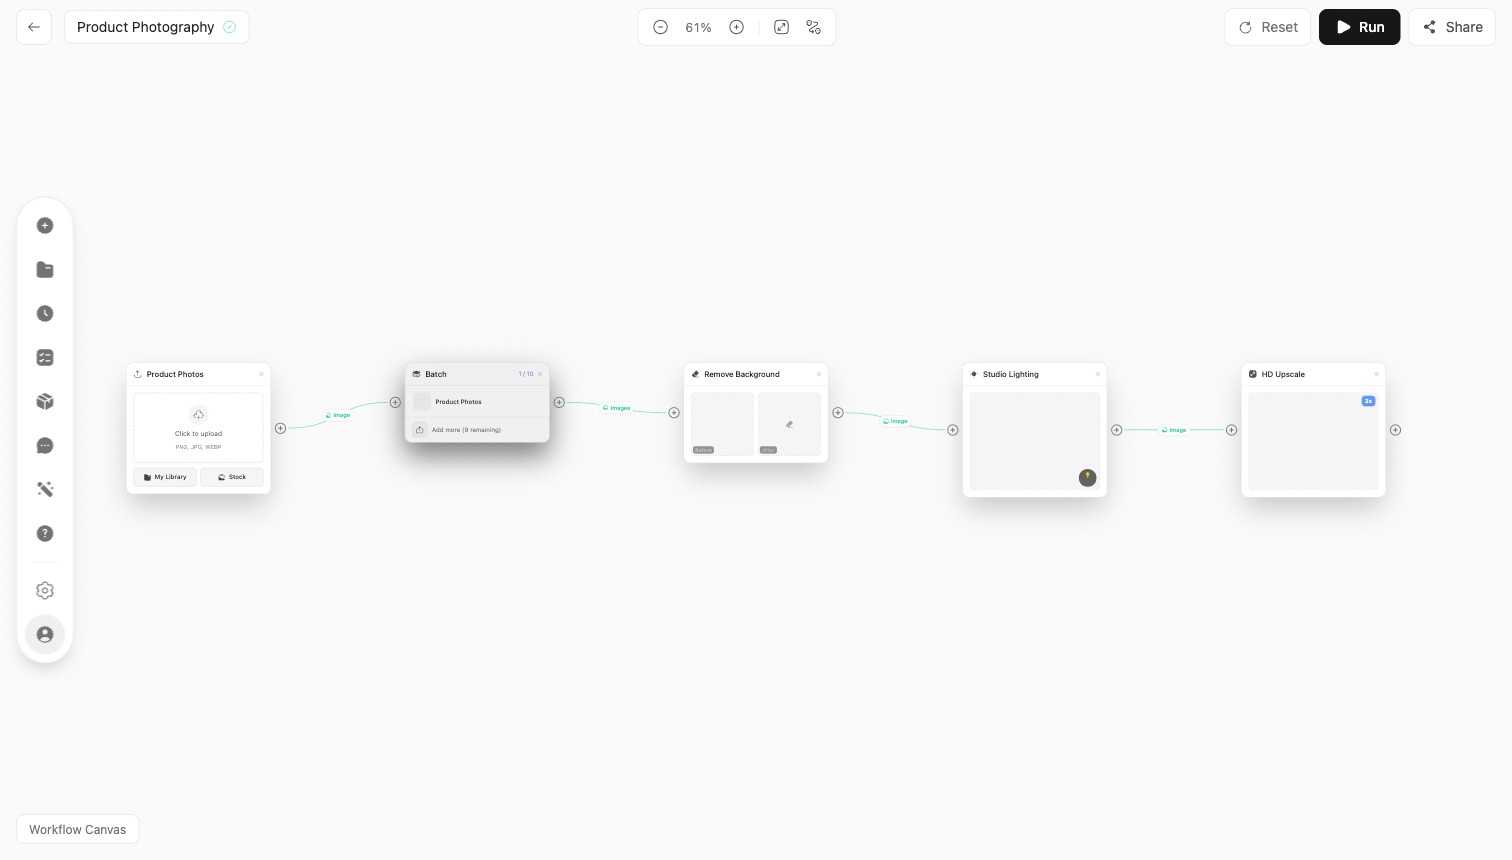
See Node types for what each node does.
Step 3: Configure each node
Select a node to set its options, for example the model on a generation node or the lighting on a relight node. Each node shows its own result preview as the workflow runs.
Step 4: Run
Use Run All in the top toolbar to run the whole pipeline, or run a single node. The canvas shows execution progress and a "done" state for each node as it completes. Credits are consumed per generation step.
Step 5: Save, reuse, and share
Saved workflows appear under My Workflows with their node count, ready to run again. The canvas toolbar also offers Comments for team review (threads pinned to the canvas) and Share, and you can publish a workflow to the Community.