








Knitted small goods
Sock product photography with AI
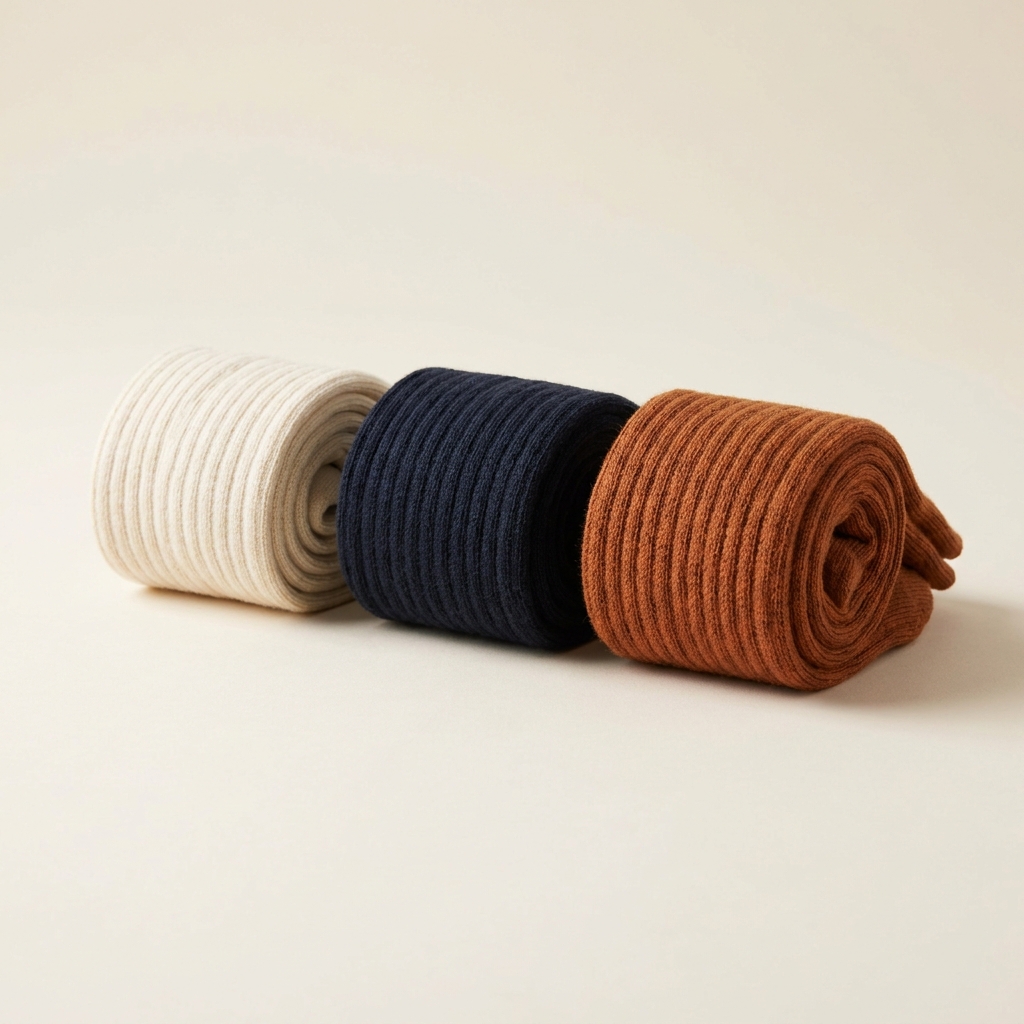
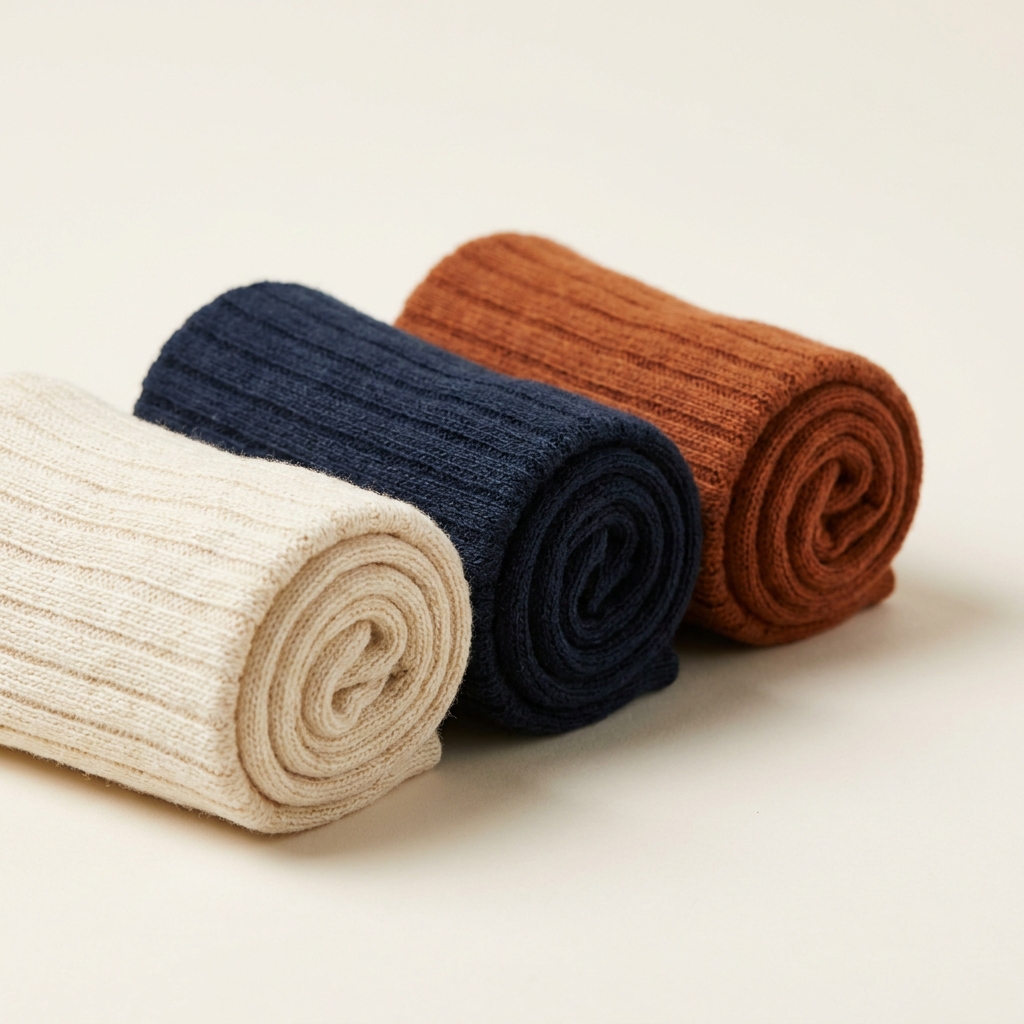
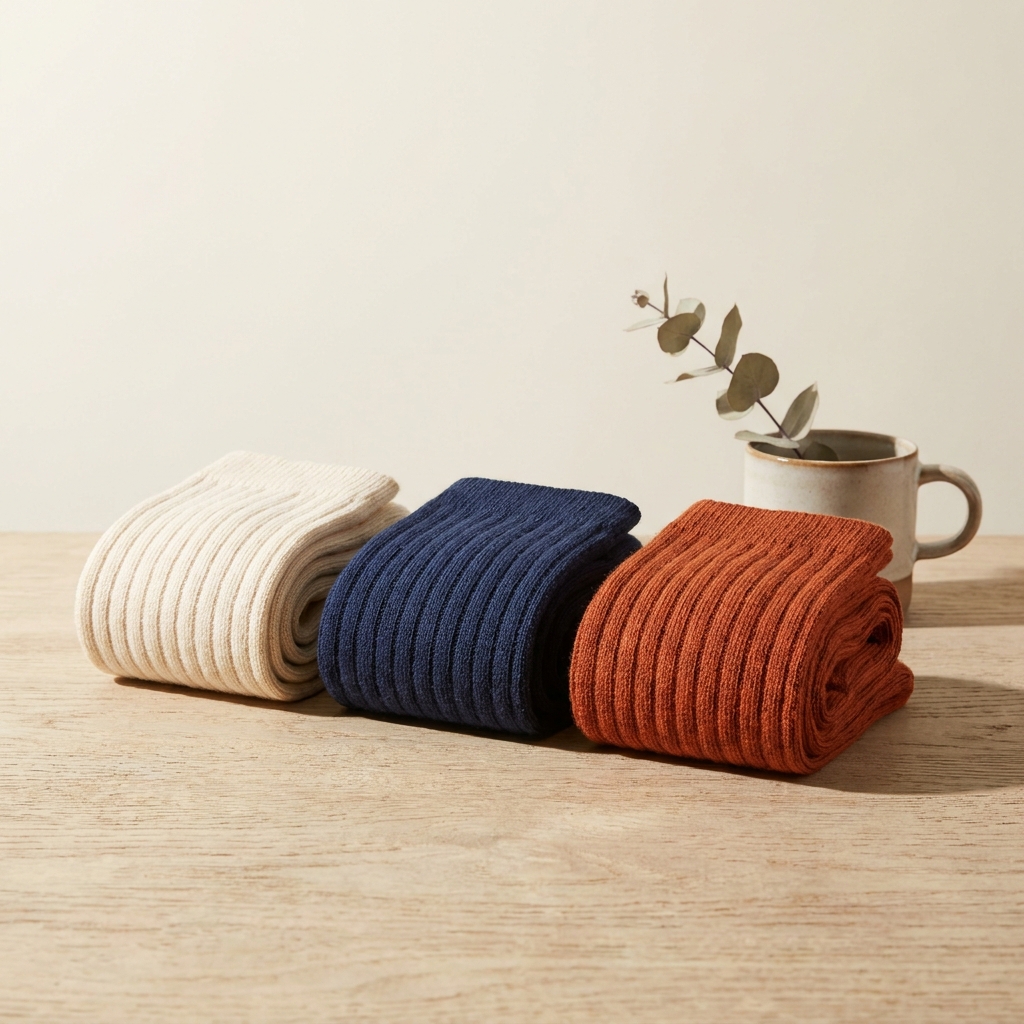
A sock lying flat reads as a strip of fabric. Roll it, fold the cuff, and light it from the side so every rib casts a line. Build the pair shot, the pack image and the knit macro from your sock photos. Every picture keeps your brand's look, at any volume.
Last updated
Who it is for
Does that sound like you?
Scaling without compromising quality.
You need more pictures every week for the shop, the ads and the socials. Anyone can make an AI picture. Making hundreds that still look like your brand is the hard part. A shoot for every product costs weeks, and every new generator returns a different look.
- A template or a workflow you build once, with your brand rules
- One run on one product, or a batch over your whole catalogue
- Every result in Assets, with the same look on the first and the last
Cut the waiting time and budget for deliverables.
You make this for clients, and every client has their own look. A shoot for each one costs weeks and most of the budget. A different generator for each one returns a different look, so somebody fixes it by hand before it is delivered.
- Each client's brand rules, saved once and used on every run
- A workflow you build once and run for every client
- A batch over a client's whole catalogue, delivered from Assets
Sock photography
Sock product photography has to solve one problem. A sock with no foot in it has no shape. Roll or fold the pair so the heel turn, the cuff and the toe seam are all visible. Light it from a low side angle, so each rib casts its own line. Then shoot the flat pair, a full pattern repeat, a knit macro, and a pack image that shows how many pairs the buyer gets.
Four problems in a sock photo
Small knitted goods lose their shape and their texture first.
An empty sock has no volume
Flat on a table, a sock reads as a strip of knit. Roll one pair and stand it, or fold the cuff so the leg holds a curve. The heel turn is the shape cue that tells a buyer this is a sock and not a sleeve.
Rib disappears under flat light
A fine vertical rib is a high-frequency pattern. Front light flattens it, and the sock reads as plain jersey in a thumbnail. A low raking light gives every rib a shadow line. Relighting studio sets that angle on a photo you already have.
The pattern repeat must be complete
A crop that cuts a motif in half tells a buyer nothing about the design. Frame the cuff, the leg and the ankle in one image, so at least one full repeat is visible. Stripe pitch and motif spacing are what a patterned sock is bought on.
Packs have to show the count
Socks often sell in multi-packs, so the image carries a promise about quantity and colours. Show the exact number of pairs in the pack, in the exact colours. A five-pack photographed as three pairs shows a different product from the one you send.
From your sock photos to a finished pack listing
The order that keeps the knit readable.
Shape before light with socks. A rolled pair and a folded pair give you volume and pattern in the same frame, and no lighting recovers that if the socks are laid flat. Cut out next, and inspect the cuff rib at full zoom, because knitted edges are where a soft cutout leaves a halo. Set the raking side light after the cutout, while there is one image to judge. Angles and the pack image come last. Save the whole sequence as a workflow, then run each colourway and each pack size through the same steps.
What a sock listing needs
The four images that answer shape, texture, pattern and count.
Pair on white
The main image. One sock folded to show the leg, one rolled to show volume, both on plain white. Square crop with even margins, so the tile matches the rest of a grid.
Knit macro
A close crop of the rib, the cuff band and any terry or cushion sole. This is the image that carries yarn quality. Upscale it to 4K, since a buyer will zoom on the knit before anything else.
Full pattern repeat
One flat image covering cuff to toe, so a complete repeat is inside the frame. Stripe socks need the pitch visible. Motif socks need at least one whole motif, uncropped, at the ankle.
Full pack image
Every pair in the pack, rolled and set in a row, in the colours the buyer receives. Keep the roll diameter the same across pairs, or one colour looks like a different product.
Questions about sock photography
What people ask before shooting a knit range.
How do I photograph socks so they do not look flat?
Do I have to show socks on a foot?
How do I stop navy and black looking the same?
What should a multi-pack image show?
Will the rib still read at thumbnail size?
What do I do with the finished files?
Other categories
The same craft, written for a different product.
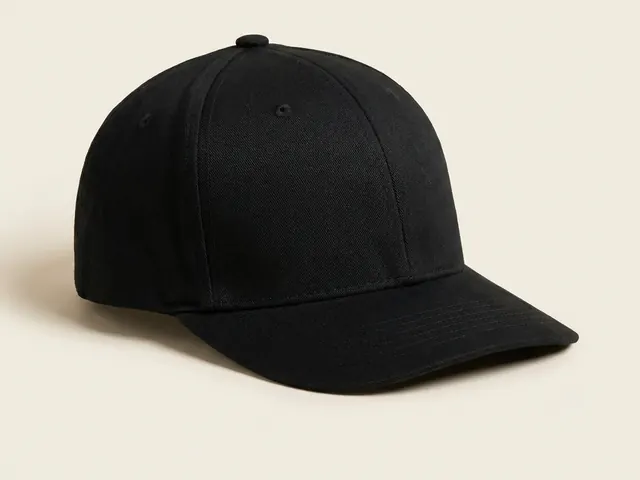
Cap and hat photography
Crown shape, brim curve, front logo and the three-quarter selling view.
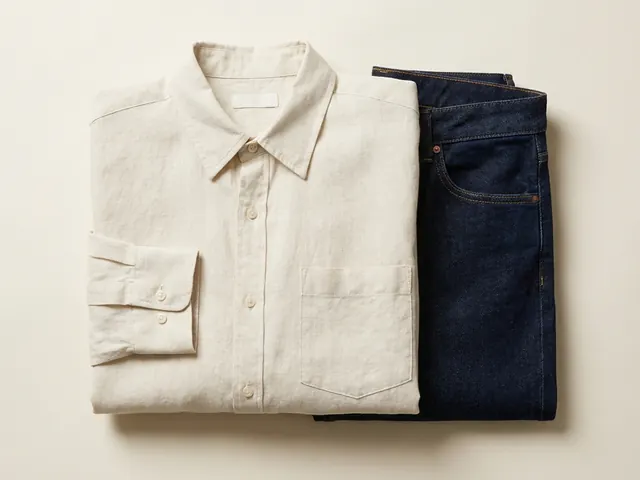
Fashion and apparel
Drape, fabric weight and true colour, held across every image in a clothing listing.
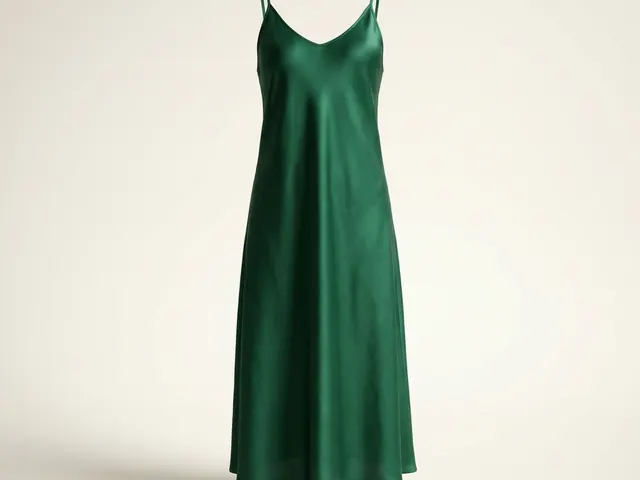
Dresses
Hem line, the fall of a skirt, and a full-length garment inside a square crop.
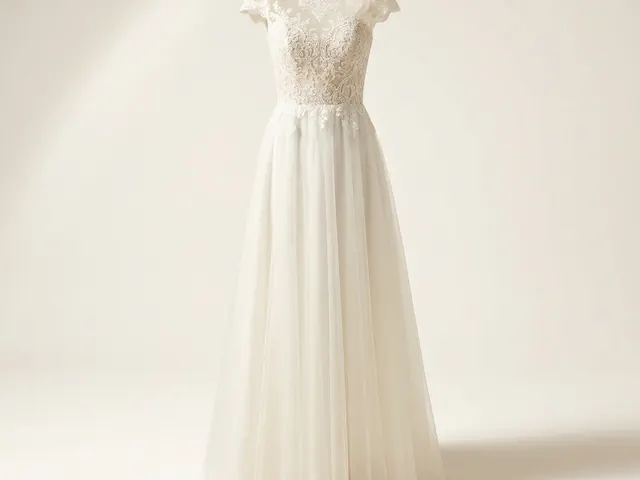
Wedding dresses
White on white, lace and beadwork detail, and a train that has to be measured.
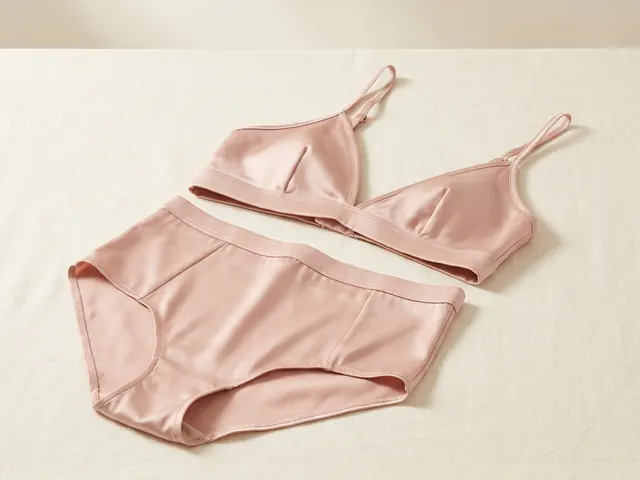
Lingerie photography
Flat lay sets, open lace cut-outs, sheer mesh backing and true nude colour.
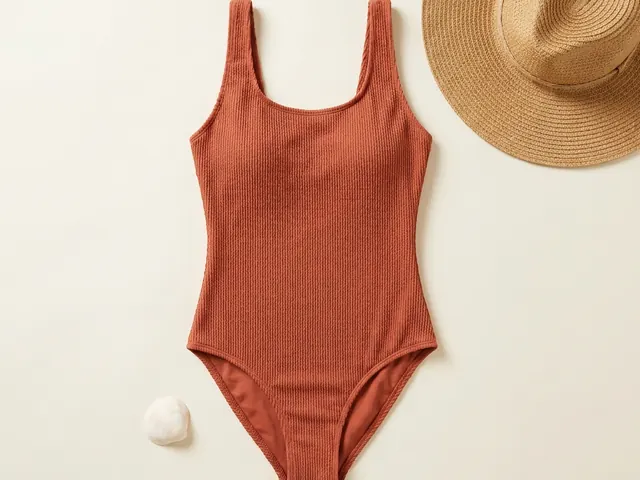
Swimwear photography
On-body fit, location light, wet colour shift and the print shown flat.
Everything you need, in one place
The full workflow from the first product photo to the finished ad, in one subscription.
Scale content without limits.
Generate content for your products or services with AI, starting today, and keep your brand on every piece.