


Apparel photography
Fashion product photography with AI
Start from your photo of the garment. Remove the background, place it on a body, and build the angles and fabric crops a clothing listing needs. Check the drape, the weight of the cloth and the dye colour against the real garment. Every picture keeps your brand's look, at any volume.
Last updated
Who it is for
Does that sound like you?
Scaling without compromising quality.
You need more pictures every week for the shop, the ads and the socials. Anyone can make an AI picture. Making hundreds that still look like your brand is the hard part. A shoot for every product costs weeks, and every new generator returns a different look.
- A template or a workflow you build once, with your brand rules
- One run on one product, or a batch over your whole catalogue
- Every result in Assets, with the same look on the first and the last
Cut the waiting time and budget for deliverables.
You make this for clients, and every client has their own look. A shoot for each one costs weeks and most of the budget. A different generator for each one returns a different look, so somebody fixes it by hand before it is delivered.
- Each client's brand rules, saved once and used on every run
- A workflow you build once and run for every client
- A batch over a client's whole catalogue, delivered from Assets
Fashion and apparel
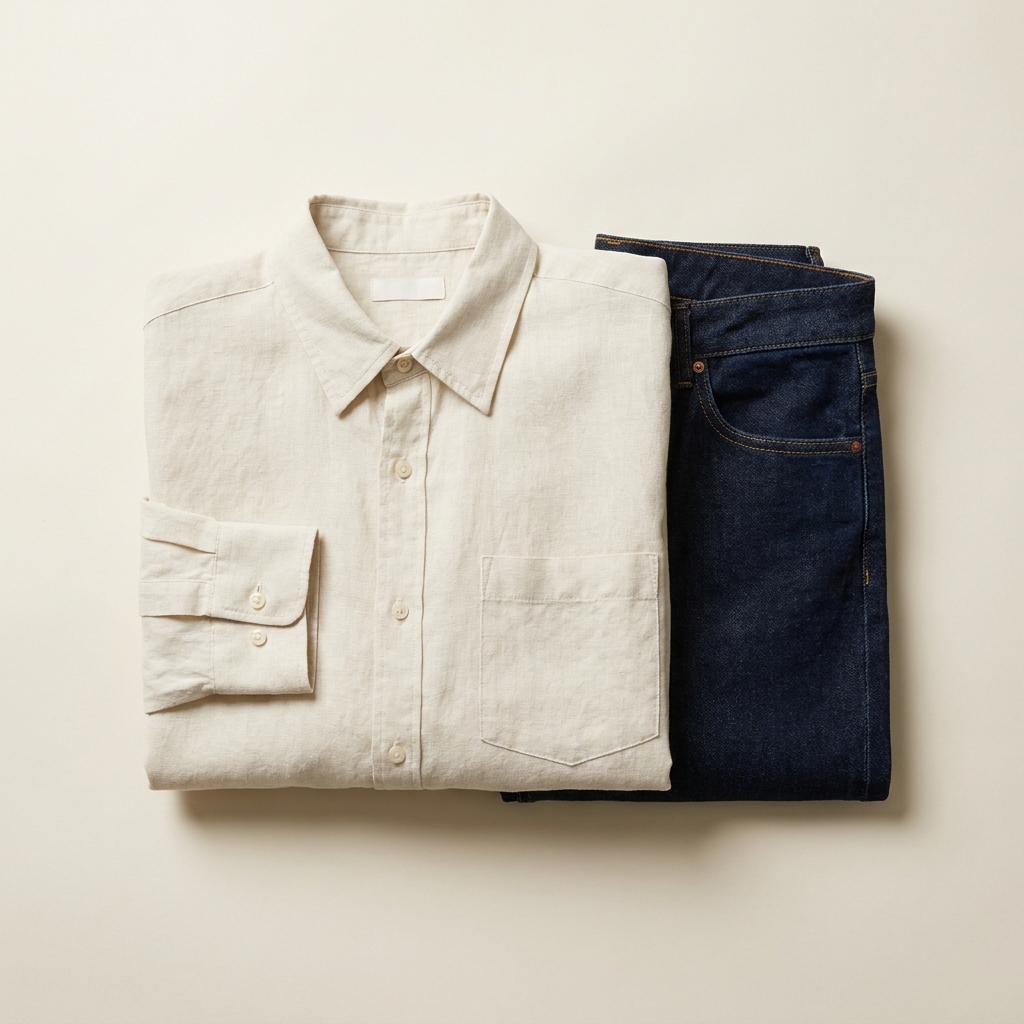
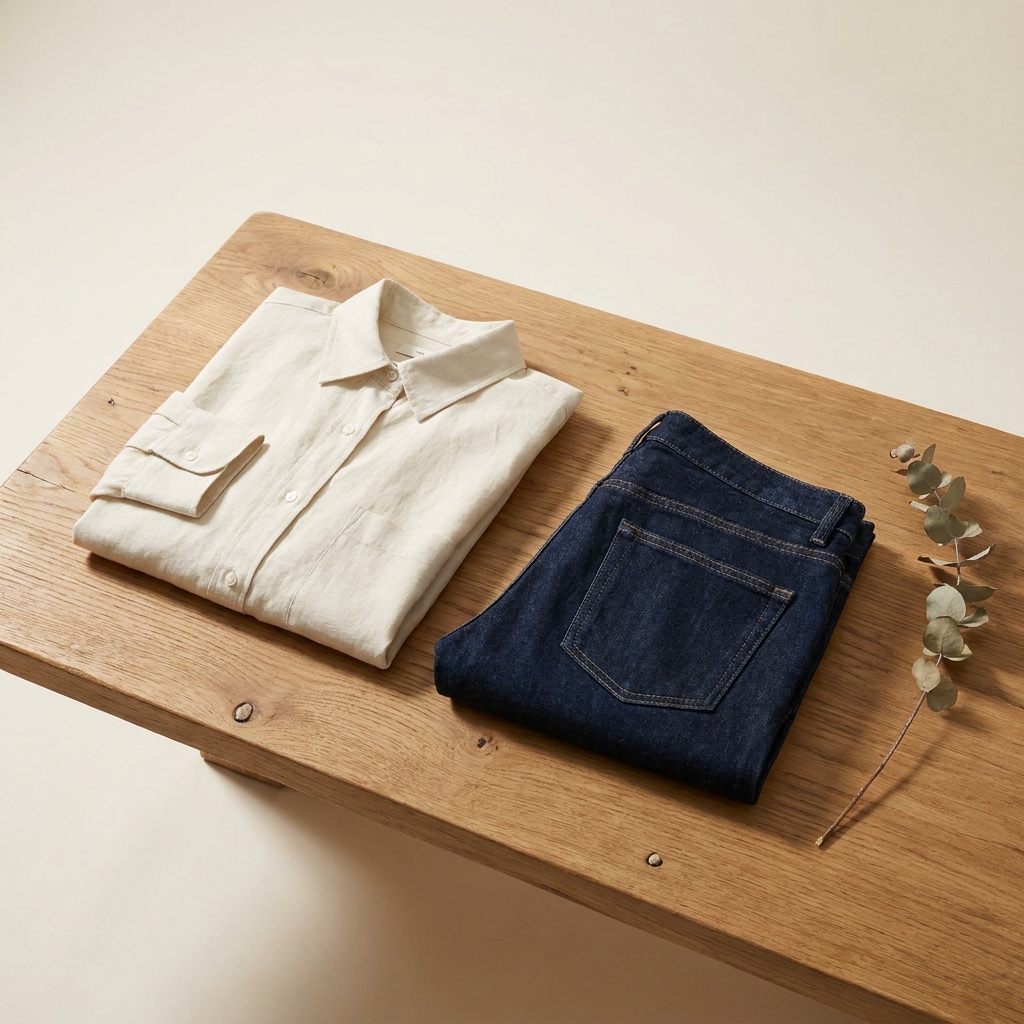
Fashion product photography records three things a buyer cannot touch. How the cloth hangs. How heavy it is. What colour it really is. You start from a photo of the real garment. The software removes the background and places the garment on a body. It builds the missing angles and takes a close crop of the weave. Light raked across the surface shows texture. A flat frontal light hides it.
Four problems in clothing photography
What a garment demands that a rigid product does not.
Drape and the body underneath
Cloth only shows its shape when something fills it. A garment laid flat shows an outline and nothing about fit. Place the piece on a body so the shoulder line, the waist and the sleeve length are visible. Then keep that same fit across the whole range.
Fabric weight in the light
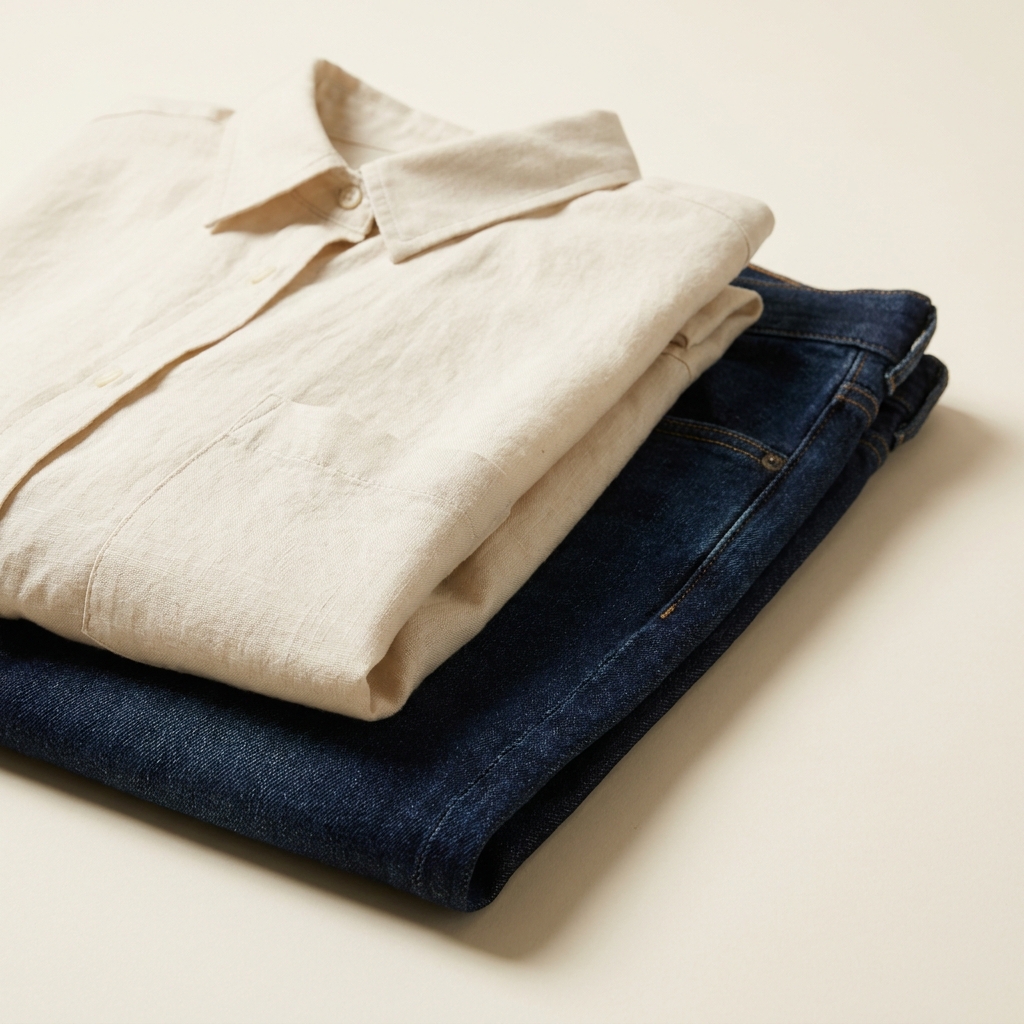
Heavy wool falls straight. Jersey clings. Linen creases and keeps the crease. Light that comes from one side at a low angle shows which one you are selling. Flat light from the front makes every fabric look like paper.
Colour that matches the dye lot
A blue that is two shades off is a return. Photograph the garment next to a known white, then compare the finished image against the real piece under daylight. Check every colourway separately, because one dye lot can differ from the next.
Texture at the weave
A buyer zooms to see the knit gauge, the pile of a velvet or the grain of a denim. That needs one close crop at high resolution, lit across the surface rather than into it. Give the buyer a picture of the surface, because you cannot send them the sample.
The shot list, in order
Four steps from your garment photo to a full listing set.
Two decisions govern a clothing set: the light direction and the fit. Make both early, because everything after them copies them. Remove the background first, since every later image reuses that file and inherits its edge. Set the light next, while there is one image to judge instead of eight. Place the garment on a body after that, and check the colour against the real piece in daylight. Build the back, side and fabric crops last. Save the sequence as a workflow and run every new style through it.
What a clothing listing needs
The four files to have ready before you upload.
Square cutout on white
The main listing image on most channels. The garment alone, centred, on plain white, with a small margin so nothing touches the frame edge. Export it square, because a square crop is what a search result shows.
Front and back on a body
Two frames of the same garment worn, from the front and from behind. These carry the fit. Shoot or generate them under the same light so the pair looks like one session rather than two.
Fabric and closure crop
One tight frame on the weave, the knit or the stitching, plus the button, zip or tie. This is where a buyer judges quality. Keep it at high resolution, because a soft crop looks like a cheap garment.
Colourway set
One image per colour, all lit the same way. Place them side by side and check them against the real garments. A colourway grid that drifts in tone tells the buyer the wrong shade.
Questions about clothing photography
What apparel sellers ask before they photograph a range.
How do I get the colour right on a hard shade?
Can I use an on-model image built from a flat photo?
How many images does a clothing listing need?
What starting photo works best?
Does the cutout handle lace, mesh and knitwear edges?
Do the images upload to my store automatically?
The business behind a fashion label
This page covers how a garment is lit, cut and framed. The fashion brands page is a different one. It covers who does the work, how a drop is planned and how a season of images is produced.
Other categories
The same craft, written for a different product.
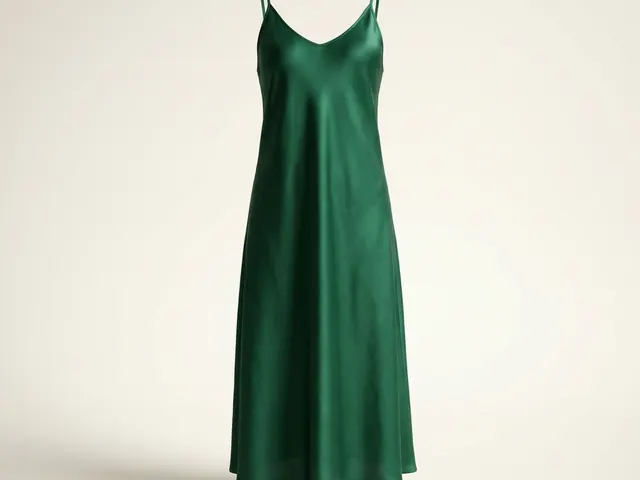
Dresses
Hem line, the fall of a skirt, and a full-length garment inside a square crop.
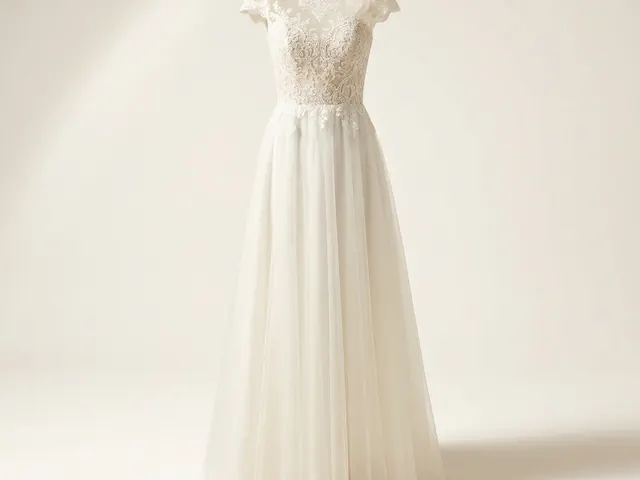
Wedding dresses
White on white, lace and beadwork detail, and a train that has to be measured.
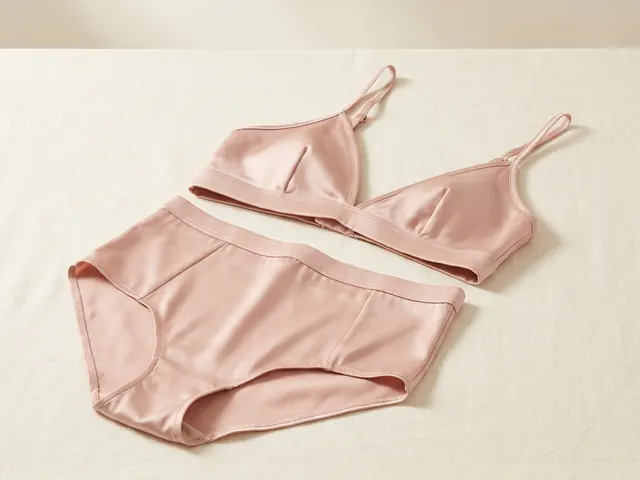
Lingerie photography
Flat lay sets, open lace cut-outs, sheer mesh backing and true nude colour.
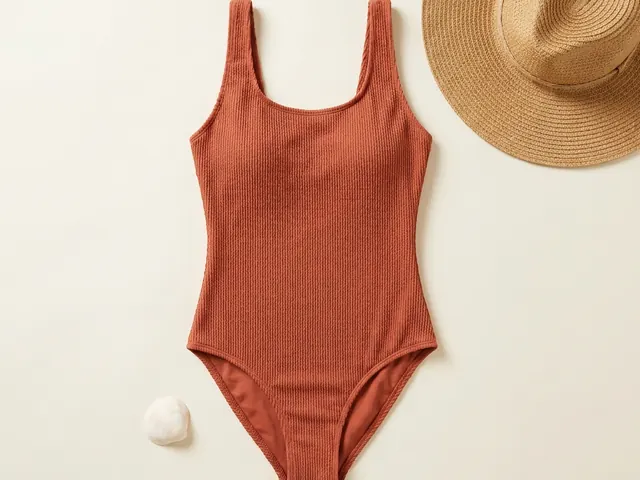
Swimwear photography
On-body fit, location light, wet colour shift and the print shown flat.
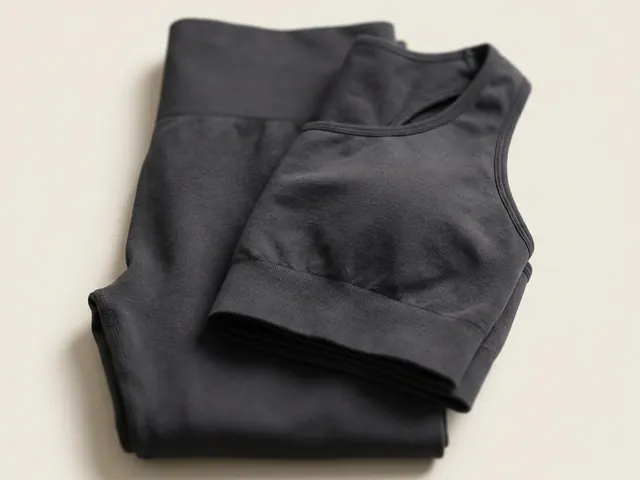
Activewear photography
Compression under tension, seam detail in raking light, and the back view buyers open.
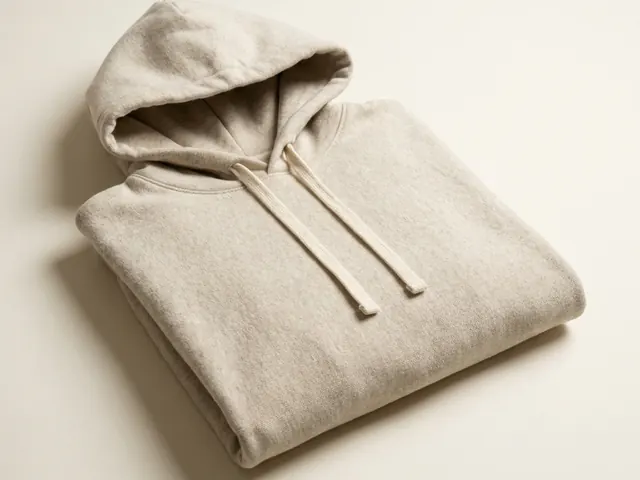
Hoodie photography
Fleece weight, hood shape, print legibility and the drop shoulder.
Everything you need, in one place
The full workflow from the first product photo to the finished ad, in one subscription.
Scale content without limits.
Generate content for your products or services with AI, starting today, and keep your brand on every piece.








