


Fine fabric
Lingerie product photography with AI
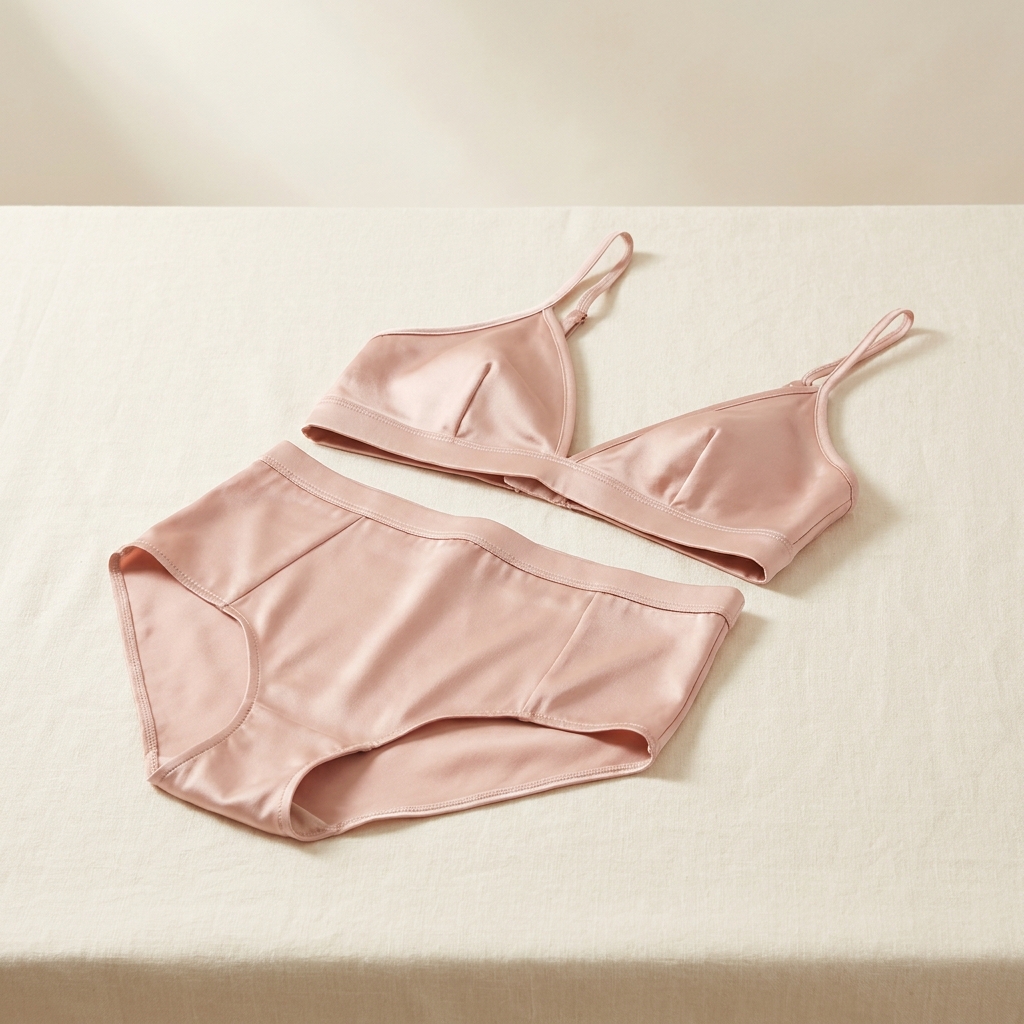
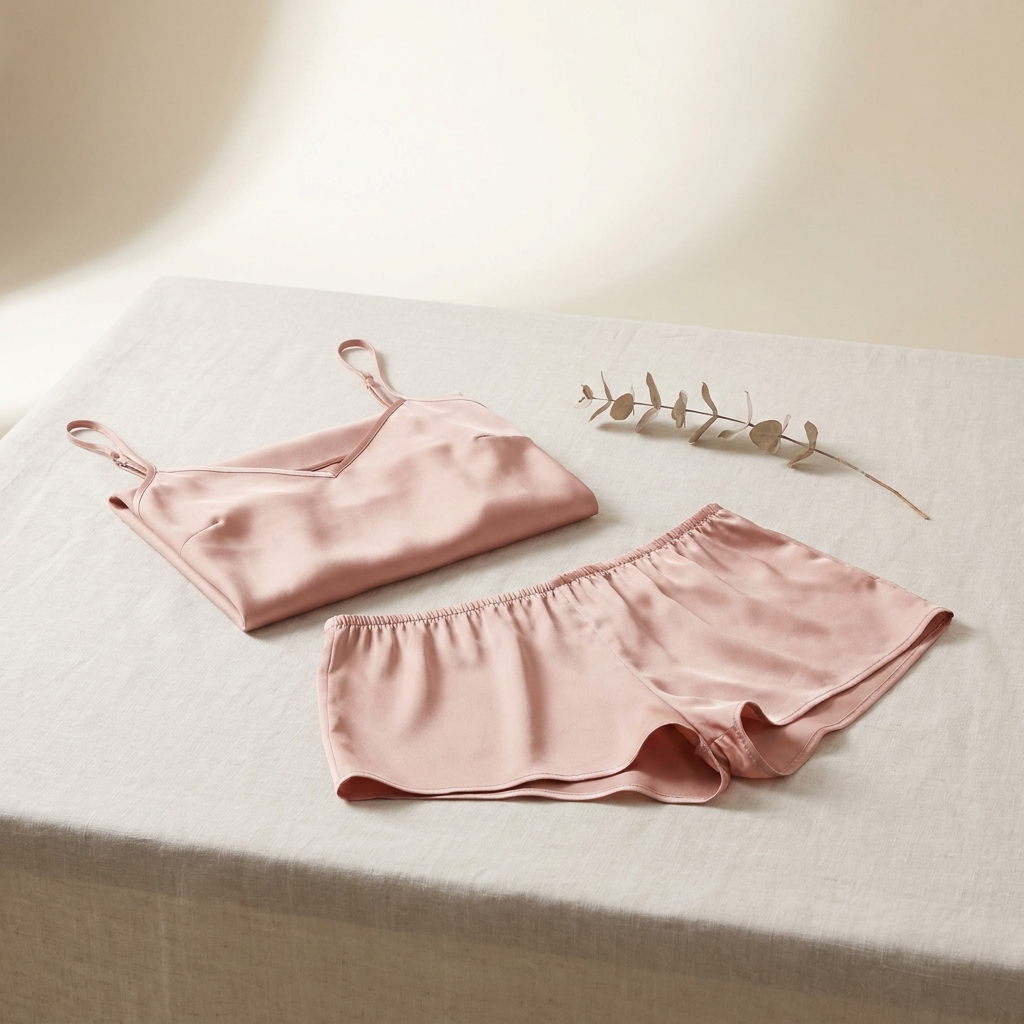
Lingerie is a flat lay job first. Arrange the set, then light it broad and soft. Keep the lace holes open when you remove the background. Nude, blush and ivory have to match the garment a buyer receives. Every picture keeps your brand's look, at any volume.
Last updated
Who it is for
Does that sound like you?
Scaling without compromising quality.
You need more pictures every week for the shop, the ads and the socials. Anyone can make an AI picture. Making hundreds that still look like your brand is the hard part. A shoot for every product costs weeks, and every new generator returns a different look.
- A template or a workflow you build once, with your brand rules
- One run on one product, or a batch over your whole catalogue
- Every result in Assets, with the same look on the first and the last
Cut the waiting time and budget for deliverables.
You make this for clients, and every client has their own look. A shoot for each one costs weeks and most of the budget. A different generator for each one returns a different look, so somebody fixes it by hand before it is delivered.
- Each client's brand rules, saved once and used on every run
- A workflow you build once and run for every client
- A batch over a client's whole catalogue, delivered from Assets
Lingerie photography
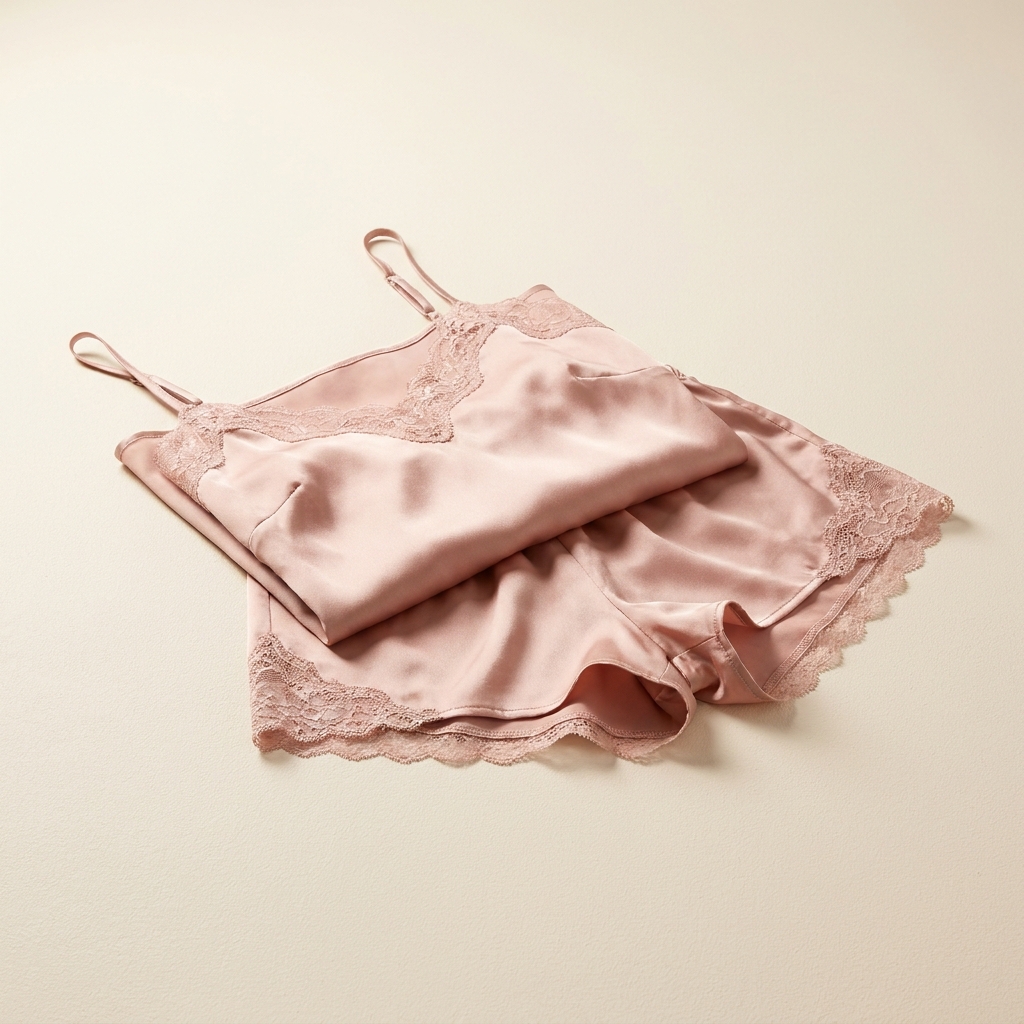
Lingerie product photography is usually a flat lay job. You arrange the garment front upward on a plain surface. Pad the cups so the shape holds. Light it broad and soft from above. Lace needs its holes to stay open. The background behind the lace has to be visible in the final file. Sheer mesh takes its colour from whatever sits behind it. That makes the background choice part of the product shot.
What lingerie asks of a photograph
Four problems that decide whether the photograph looks like the garment.
Lace has to stay open
A background remover that treats lace as one solid shape fills every hole. The garment then looks like printed cotton. Check the cut-out at full size along the scalloped edge and inside the pattern. The background should show through the holes as it does on the real garment.
Sheer mesh borrows its colour
Black mesh over white looks grey. The same mesh over a dark surface almost disappears. Decide what sits behind the sheer panel before you light anything. A mid-grey backing usually keeps the weave readable without changing the colour a buyer sees.
A flat garment must imply a body
Laid flat with nothing inside, a bra collapses into two circles of fabric. Pad the cups, curve the straps, and lay the band with a gentle tension. The shape a buyer imagines comes from that arrangement. It takes longer than the lighting.
Nude, blush and ivory sit close
Nude, blush, champagne and ivory separate by a small margin on screen. Warm room light pushes ivory towards cream and nude towards pink. Set one neutral white balance and keep it across the range. Compare every finished file against the garment in daylight.
Arrangement first, then light: the order
Arrangement first, light second, colour last.
Arrangement comes before light on lingerie. That reverses the usual order. A badly laid garment lit perfectly still looks like a heap of fabric. No relight repairs it. Spend the time padding the cups and curving the straps. Iron the band flat. Light second, broad and soft. The lace keeps texture and the satin keeps a soft highlight. Remove the background third and check the holes at full size. Colour comes last, judged against the real garment in daylight. Nude and blush are the two returns you can prevent.
Files a lingerie listing needs
Four deliverables, and the question each one settles.
Square hero flat lay
The full set arranged on one surface, cropped square. This is the tile a category page shows, so it has to read at thumbnail size. Keep the garment large in the frame and the surface plain.
Back view with the closure
A straight back view showing the hook-and-eye rows and the strap adjusters. Buyers use it to judge adjustability and coverage. Keep the same distance as the front view so the pair matches.
Lace and trim crop
A close crop of the lace pattern, the picot edge and any embroidery. It carries the quality claim that a full-garment shot cannot. Upscale this one, because it is the image a buyer enlarges.
Colour reference frame
One frame per colourway, shot under the same neutral light, with the garment filling the frame. Publish it beside the swatch name. It gives a buyer one honest look at the tone before they choose.
Questions about lingerie photography
What lingerie sellers ask before they build a flat lay set.
Should I shoot lingerie flat or on a model?
Why does my black mesh look grey in the photo?
Will removing the background close my lace holes?
How do I keep nude and blush accurate?
Can I sell lingerie without any model photography?
Do these images work for marketplace listings?
Other categories
The same craft, written for a different product.
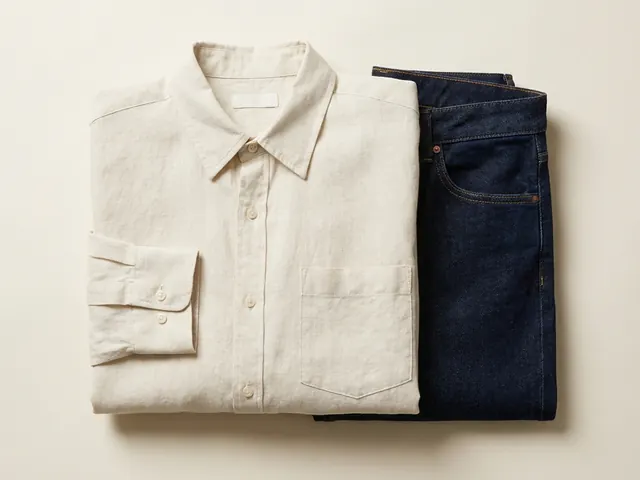
Fashion and apparel
Drape, fabric weight and true colour, held across every image in a clothing listing.
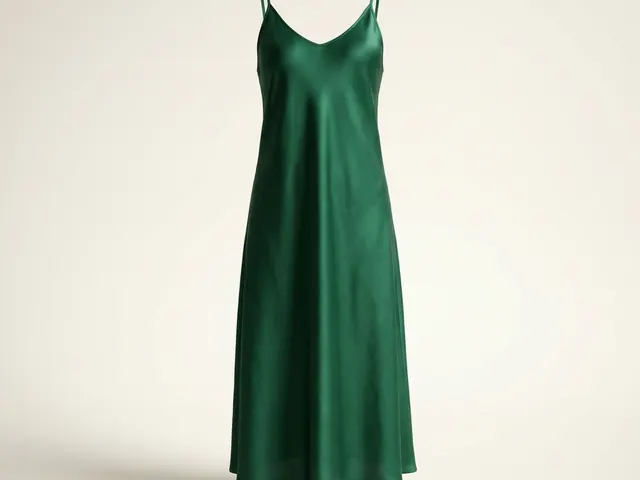
Dresses
Hem line, the fall of a skirt, and a full-length garment inside a square crop.
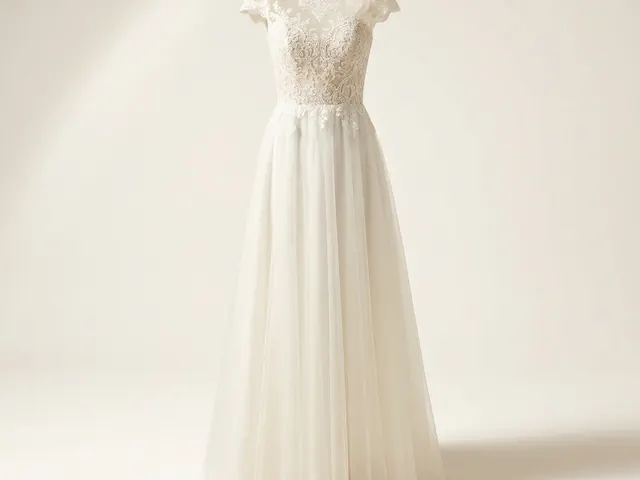
Wedding dresses
White on white, lace and beadwork detail, and a train that has to be measured.
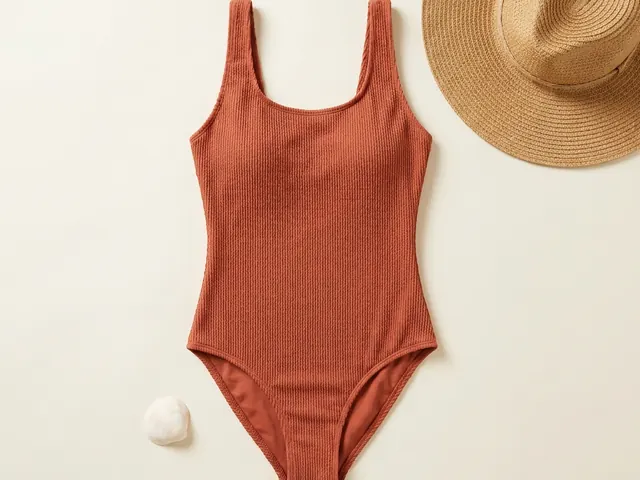
Swimwear photography
On-body fit, location light, wet colour shift and the print shown flat.
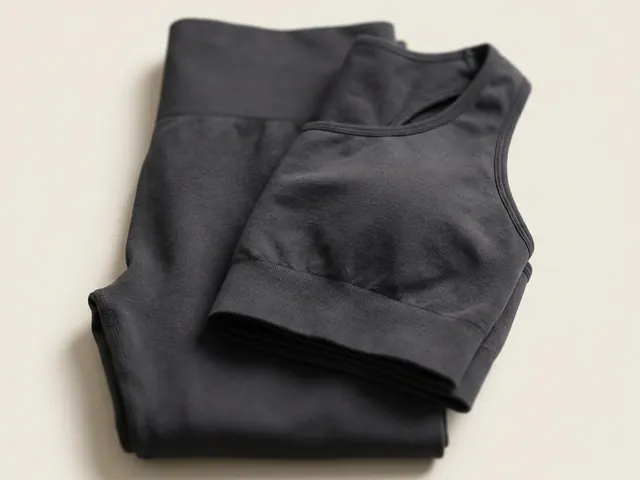
Activewear photography
Compression under tension, seam detail in raking light, and the back view buyers open.
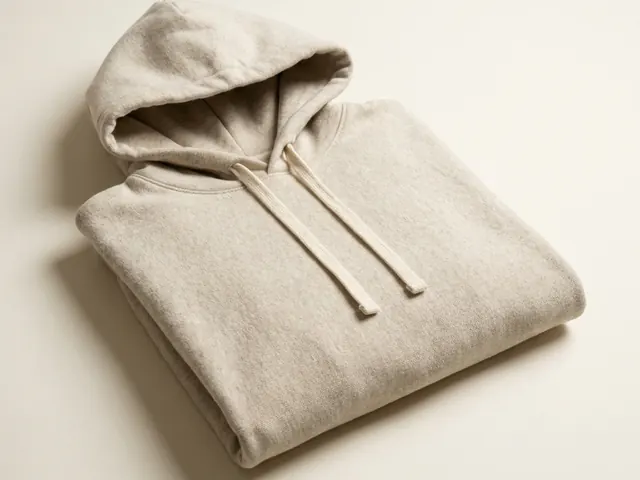
Hoodie photography
Fleece weight, hood shape, print legibility and the drop shoulder.
Everything you need, in one place
The full workflow from the first product photo to the finished ad, in one subscription.
Scale content without limits.
Generate content for your products or services with AI, starting today, and keep your brand on every piece.








