





Structured headwear
Cap and hat product photography with AI
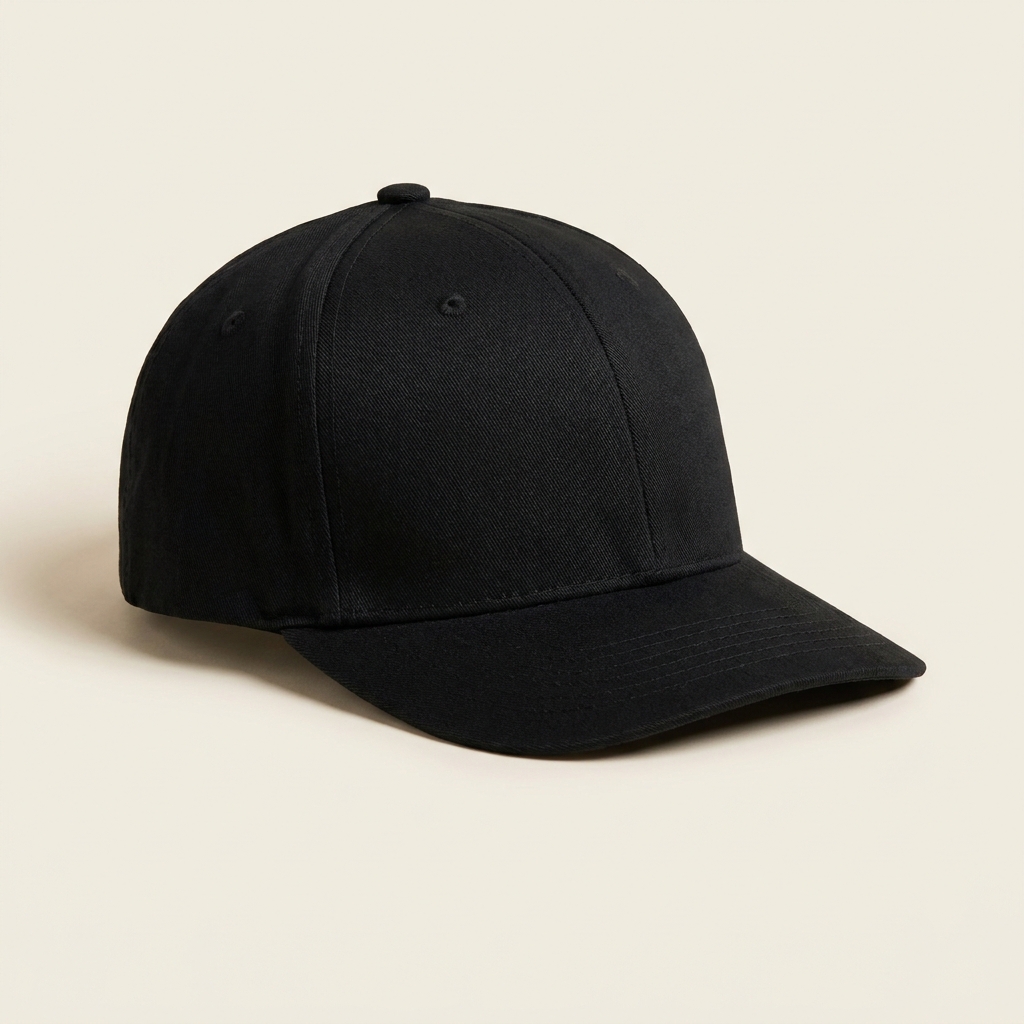
A cap shot straight on loses its crown height and looks like every other cap. Hold the shape, turn it to three-quarter, and light the front panel from the side. Build the profile, the back and the on-model view from your cap photos. Every picture keeps your brand's look, at any volume.
Last updated
Who it is for
Does that sound like you?
Scaling without compromising quality.
You need more pictures every week for the shop, the ads and the socials. Anyone can make an AI picture. Making hundreds that still look like your brand is the hard part. A shoot for every product costs weeks, and every new generator returns a different look.
- A template or a workflow you build once, with your brand rules
- One run on one product, or a batch over your whole catalogue
- Every result in Assets, with the same look on the first and the last
Cut the waiting time and budget for deliverables.
You make this for clients, and every client has their own look. A shoot for each one costs weeks and most of the budget. A different generator for each one returns a different look, so somebody fixes it by hand before it is delivered.
- Each client's brand rules, saved once and used on every run
- A workflow you build once and run for every client
- A batch over a client's whole catalogue, delivered from Assets
Cap and hat photography
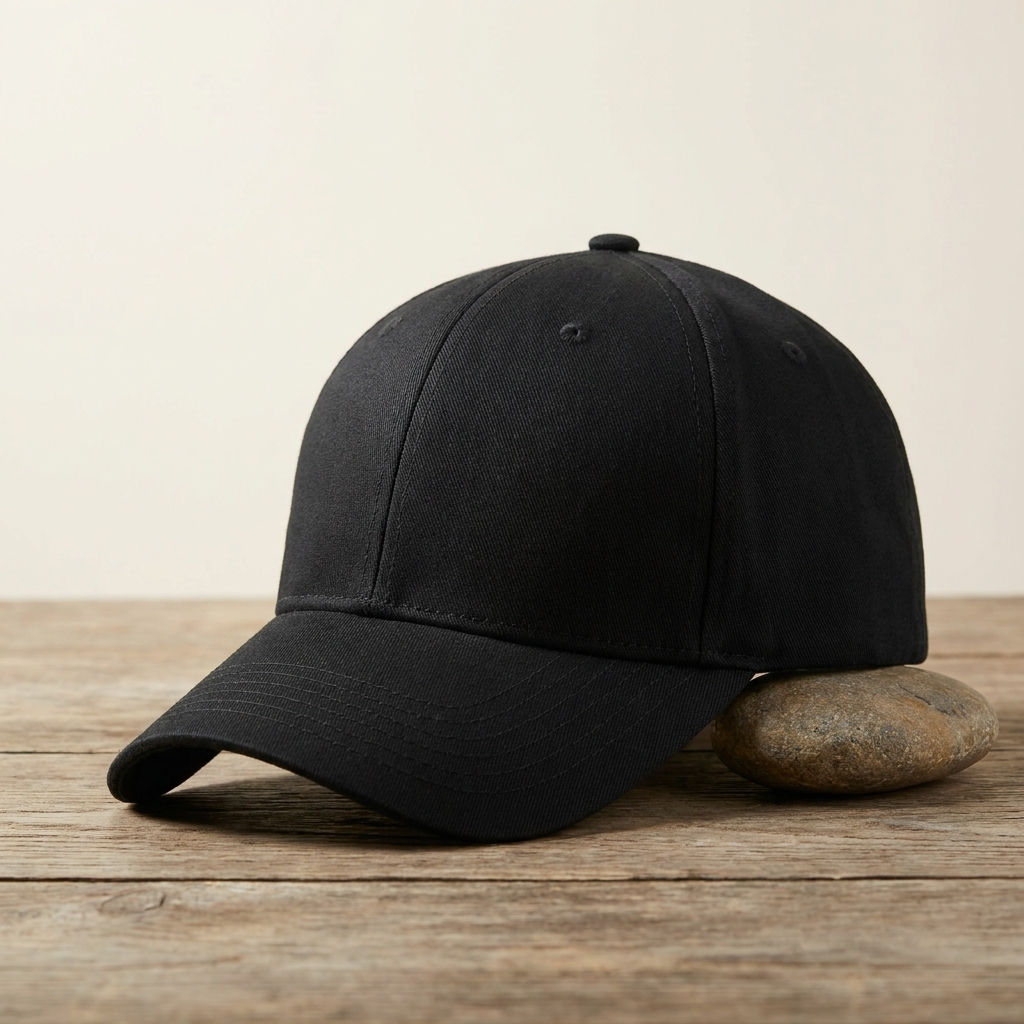
Cap product photography depends on one view. The three-quarter angle, taken slightly below eye level, shows crown height, panel seams and brim curve in a single frame. Hold the crown so it does not sag, because a collapsed crown reads as a cheap cap. Light the front panel from the side, so embroidery casts a shadow and gains height. Then add a profile for the brim, a back view for the closure, and one on-model shot.
Four problems in a headwear photo
Headwear is bought on shape, and shape is what a flat photo destroys.
The crown has to hold its shape
An empty cap sags at the front panel and the sides collapse inward. That silhouette reads as thin, unlined and cheap, whatever the cap costs. Stuff the crown or shoot it on a form. Even an unstructured dad cap needs its shape held for the hero image.
Brim curve is a purchase decision
Flat brim and pre-curved are two different products to a buyer. The curve only reads as a silhouette, seen from the side against a plain background. Shoot a straight profile at brim height. Multi-angle photo reshoot builds that view from the front photo you already have.
A logo on a curved panel
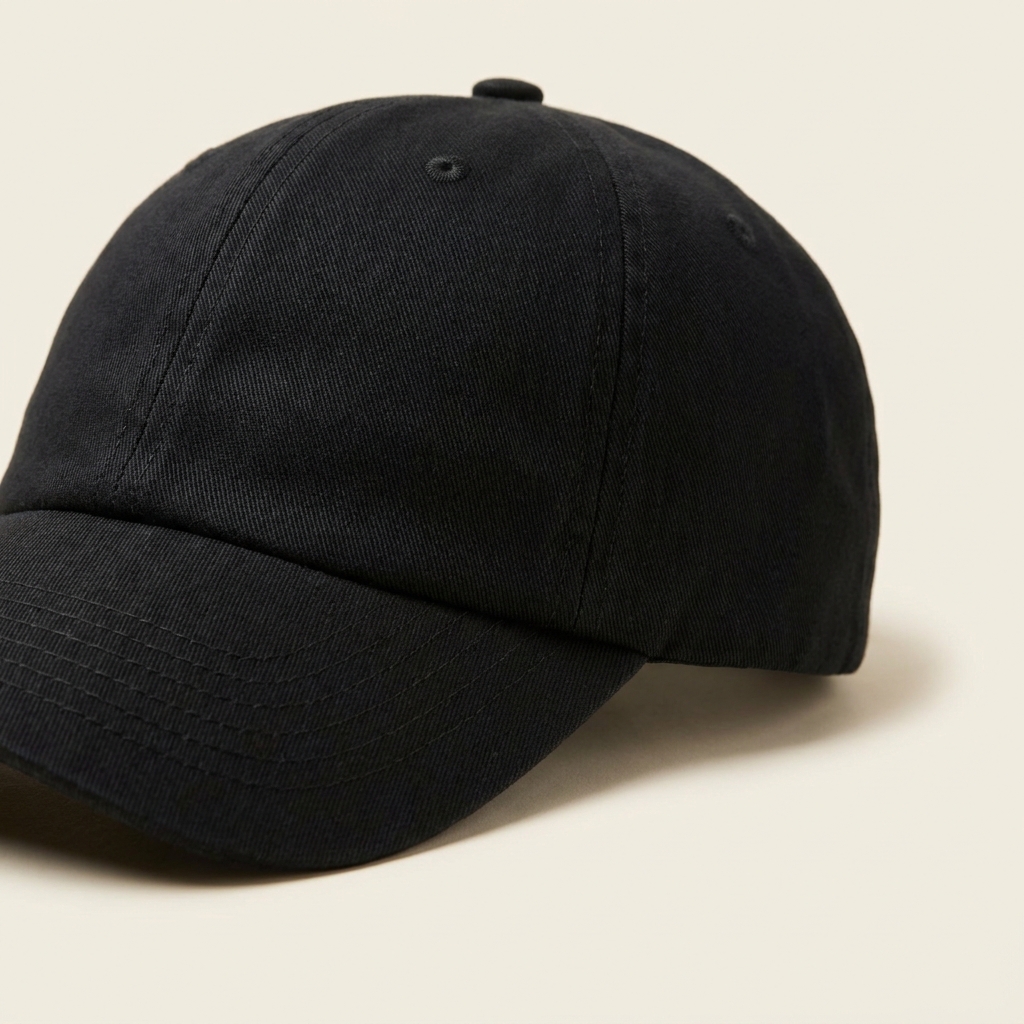
The front panel curves in two directions, so a centred logo distorts at the edges. Puff embroidery only shows its height under side light, and flat front light makes it look printed. Point the camera straight at the panel, with the logo centred and the light coming from one side.
Black caps on a light background
Black is the hardest colourway, and black cotton twill on white loses every panel seam. Add a rim light along the crown edge, or set the cap against a background that shades from light to dark. Separation has to come from light, since raising the shadows turns black twill into grey.
From your cap photos to the whole gallery
The order that keeps the crown and the curve honest.
Shape and angle are settled before any software runs. A sagging crown and a straight-on framing are the two faults that no relight repairs. Cut the cap out next, and inspect the brim edge at full zoom, because that curve is the silhouette a buyer judges. Set the side light after the cutout, while there is one image to compare against the real cap. Generate the profile, back and underbrim views only after the light is fixed, or each view carries a different shadow. The on-model shot goes last. Save the sequence as a workflow and reuse it for the next colourway.
What a cap listing needs
The four images that answer shape, curve, logo and closure.
Three-quarter hero on white
The main image, at three-quarter angle and slightly below eye level. It shows crown height, the panel seams and the brim curve at once. Square crop, centred, with even margins for the grid.
Straight profile
A side view at brim height, with nothing behind the cap. This is the only image where the brim curve reads as a clean silhouette, and it is what separates a flat brim listing from a curved one.
Front logo at full width
The camera straight at the front panel, with the logo filling most of the frame. Side light, so the stitch height shows. Upscale to 4K, since this is the crop a buyer opens to check embroidery quality.
Back view with the closure
Snapback, strapback or buckle, shown from behind at the same distance as the hero. Include the underbrim colour in this frame or in a fifth image, since it is a spec buyers search for.
Questions about cap photography
What people ask before shooting a headwear range.
What is the best angle for a cap photo?
How do I stop an empty cap from sagging?
How do I photograph a black cap on a white background?
Will embroidery read at thumbnail size?
Do I need a back view?
Can I show a cap on a model without booking a shoot?
Selling headwear as a fashion label
This page is the craft side: crown, curve, logo and light. The fashion brands page covers the business side: one model and one look across a whole collection.
Other categories
The same craft, written for a different product.
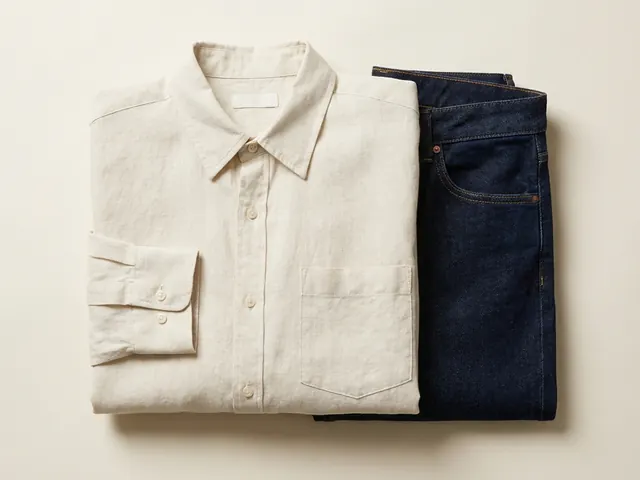
Fashion and apparel
Drape, fabric weight and true colour, held across every image in a clothing listing.
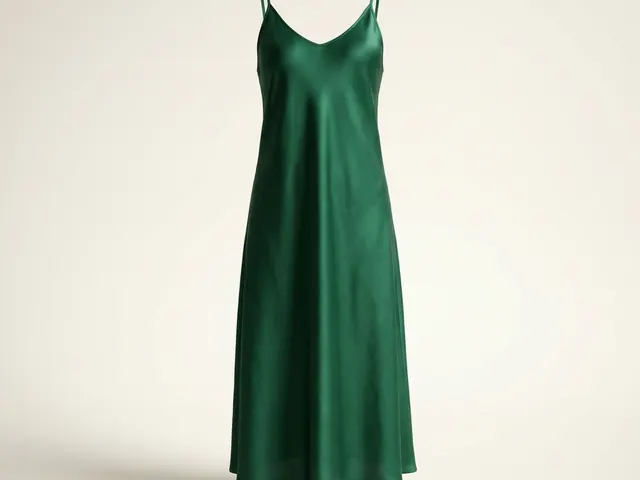
Dresses
Hem line, the fall of a skirt, and a full-length garment inside a square crop.
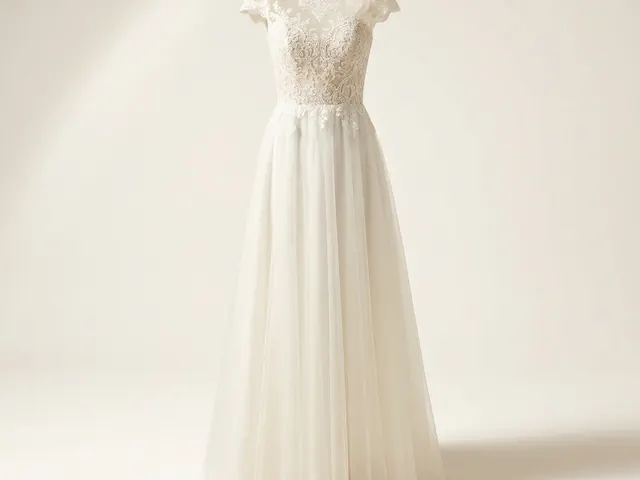
Wedding dresses
White on white, lace and beadwork detail, and a train that has to be measured.
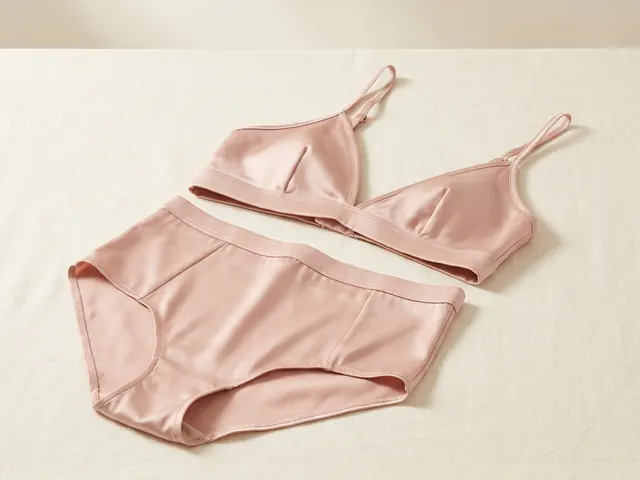
Lingerie photography
Flat lay sets, open lace cut-outs, sheer mesh backing and true nude colour.
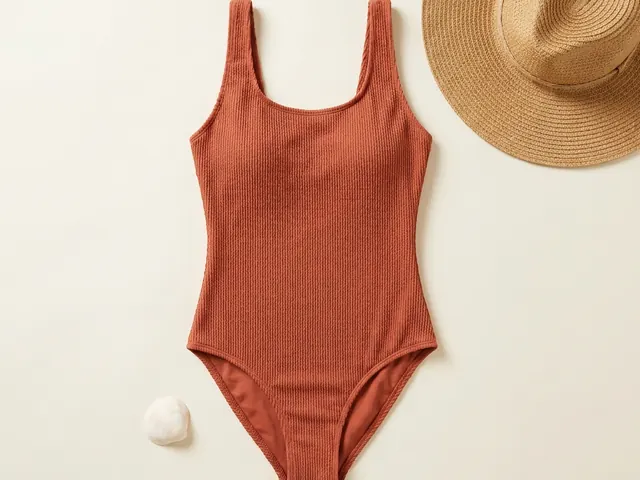
Swimwear photography
On-body fit, location light, wet colour shift and the print shown flat.
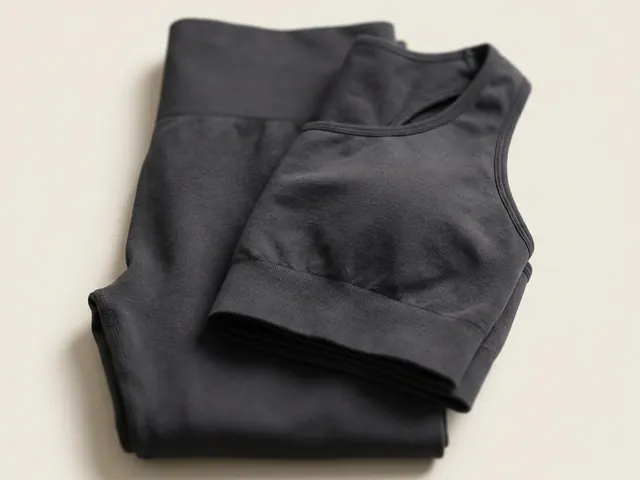
Activewear photography
Compression under tension, seam detail in raking light, and the back view buyers open.
Everything you need, in one place
The full workflow from the first product photo to the finished ad, in one subscription.
Scale content without limits.
Generate content for your products or services with AI, starting today, and keep your brand on every piece.