For fashion and apparel brands

One sample, sixty SKUs. Every shot the drop needs.

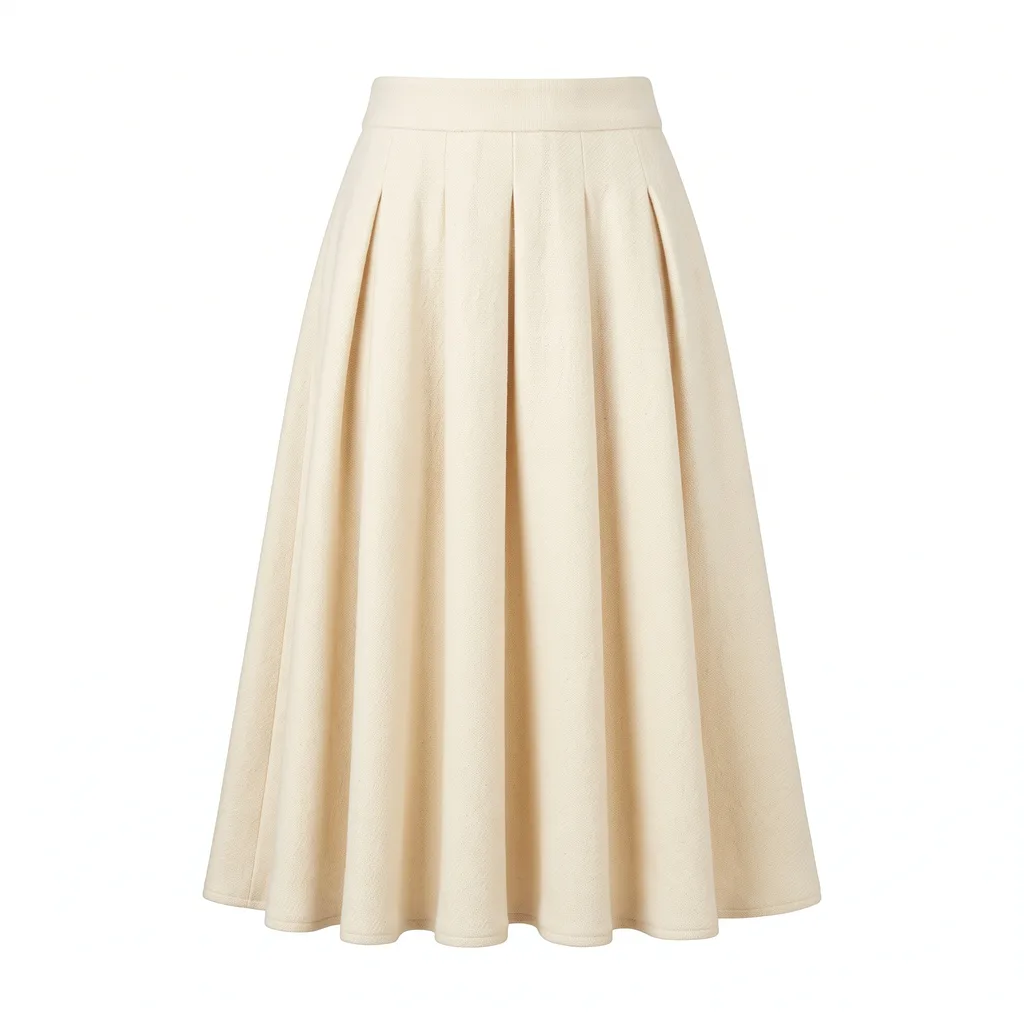
Sixty SKUs in five colourways, a sample that landed two weeks before launch, and a shoot budget that covers the hero looks. Work from the photo you already have: PDP cutouts, on-model shots, flat lays, and the vertical cuts paid social eats through in a week.

Start free
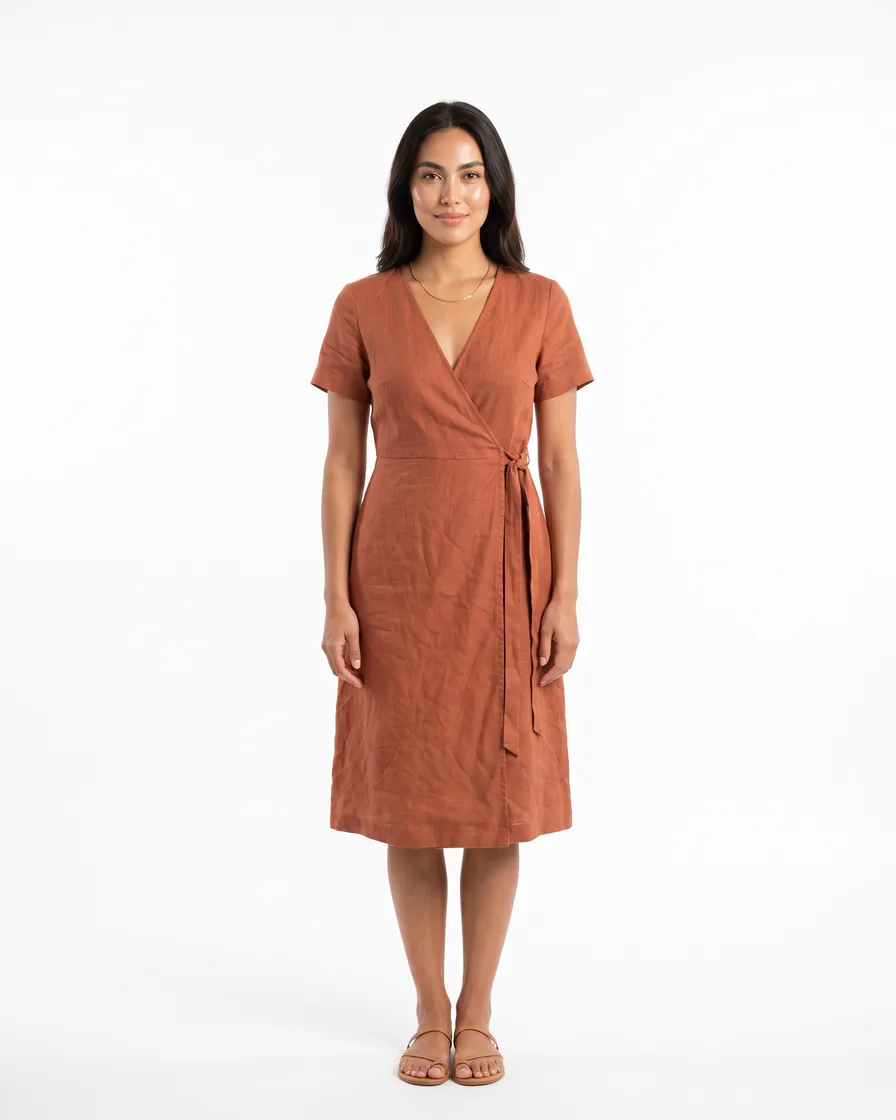
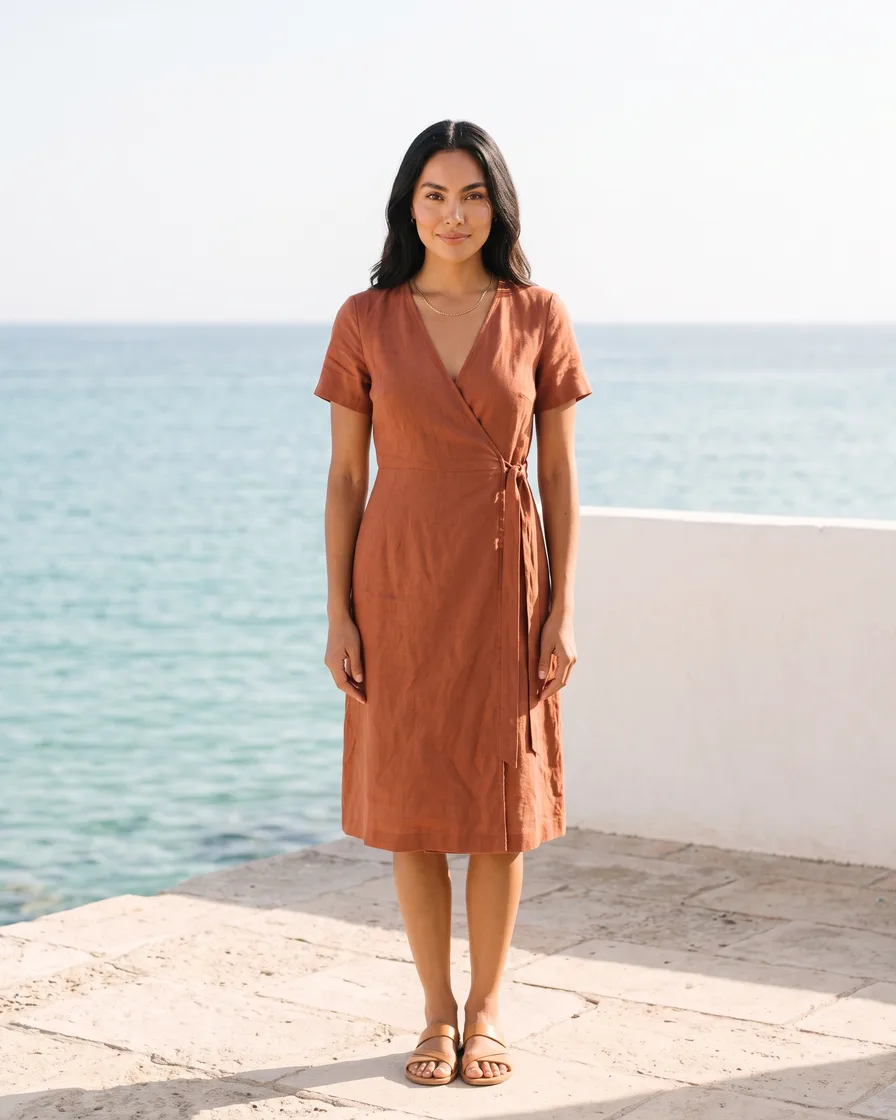
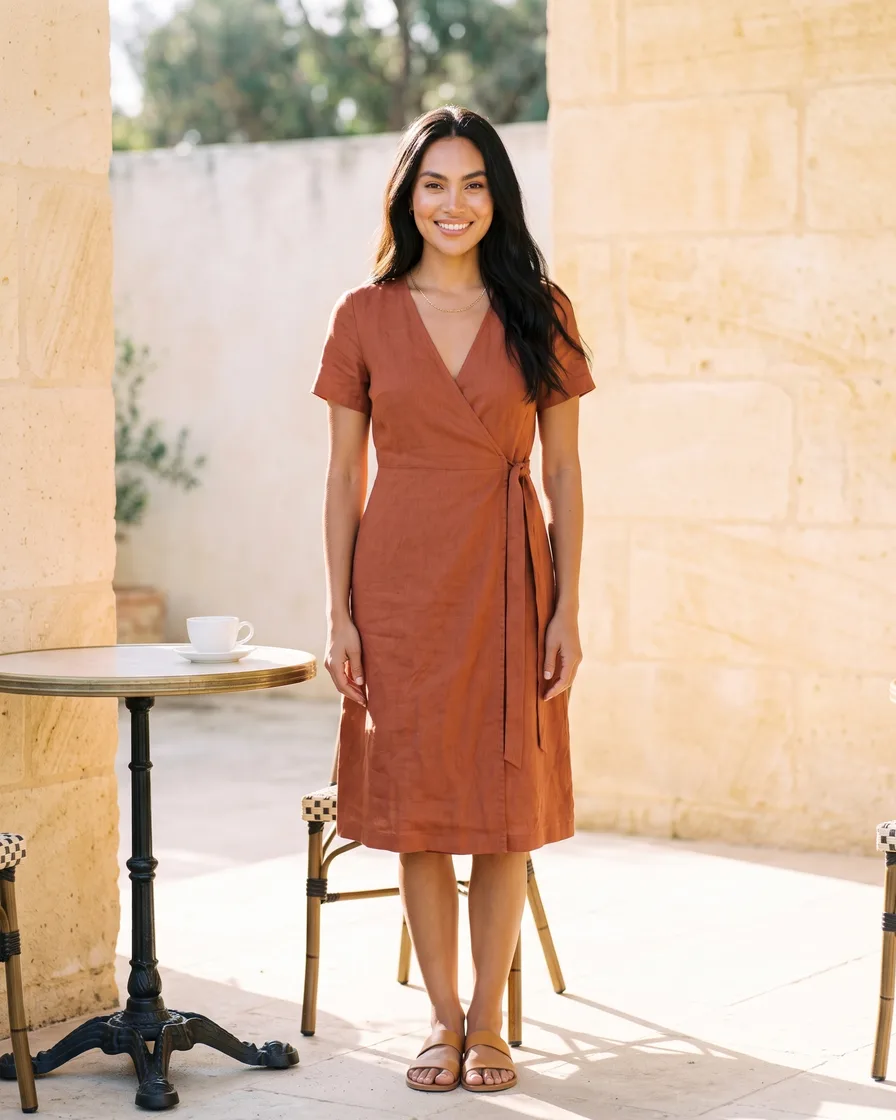
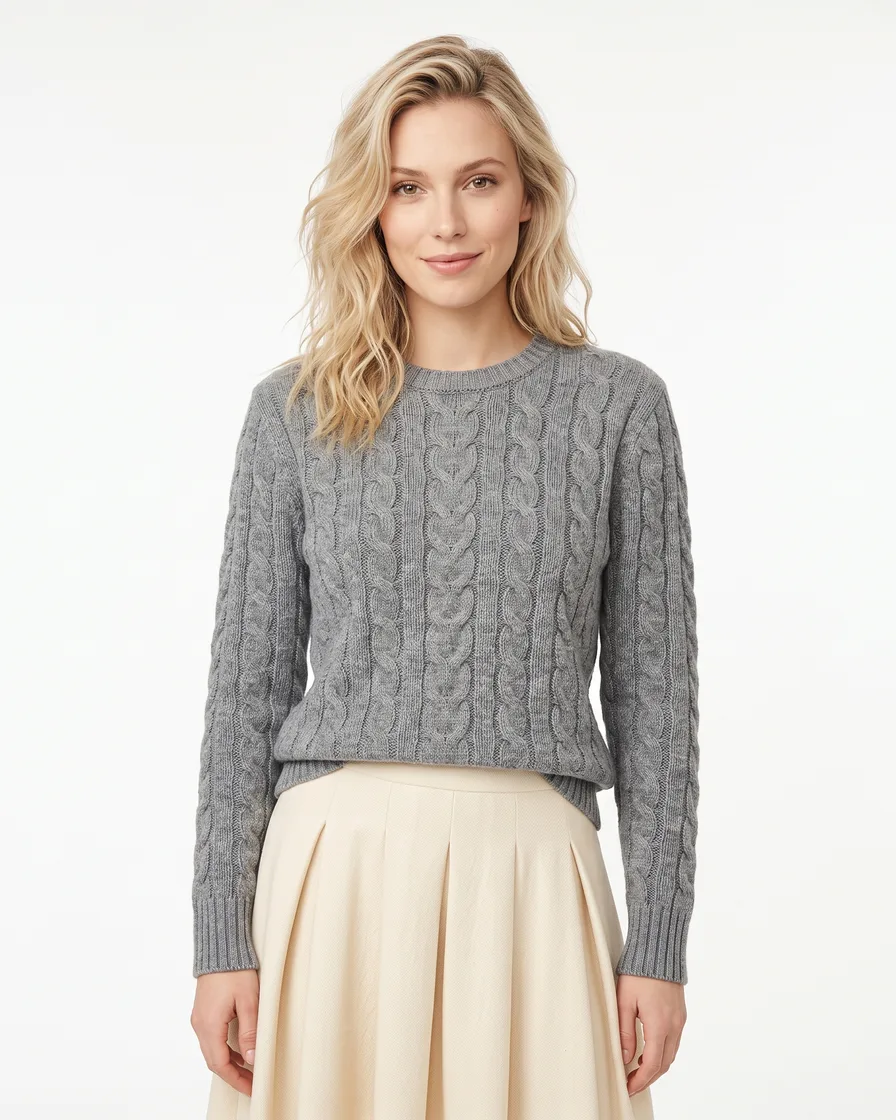
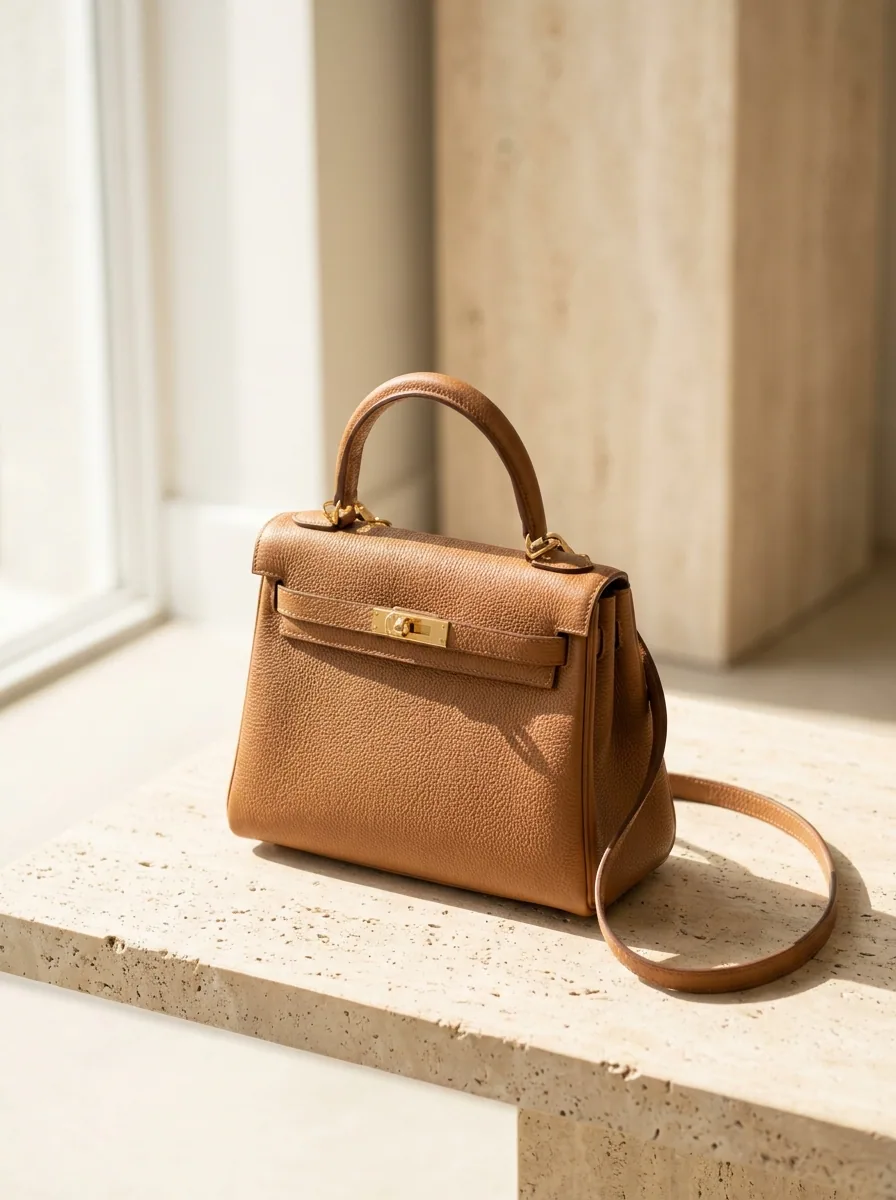
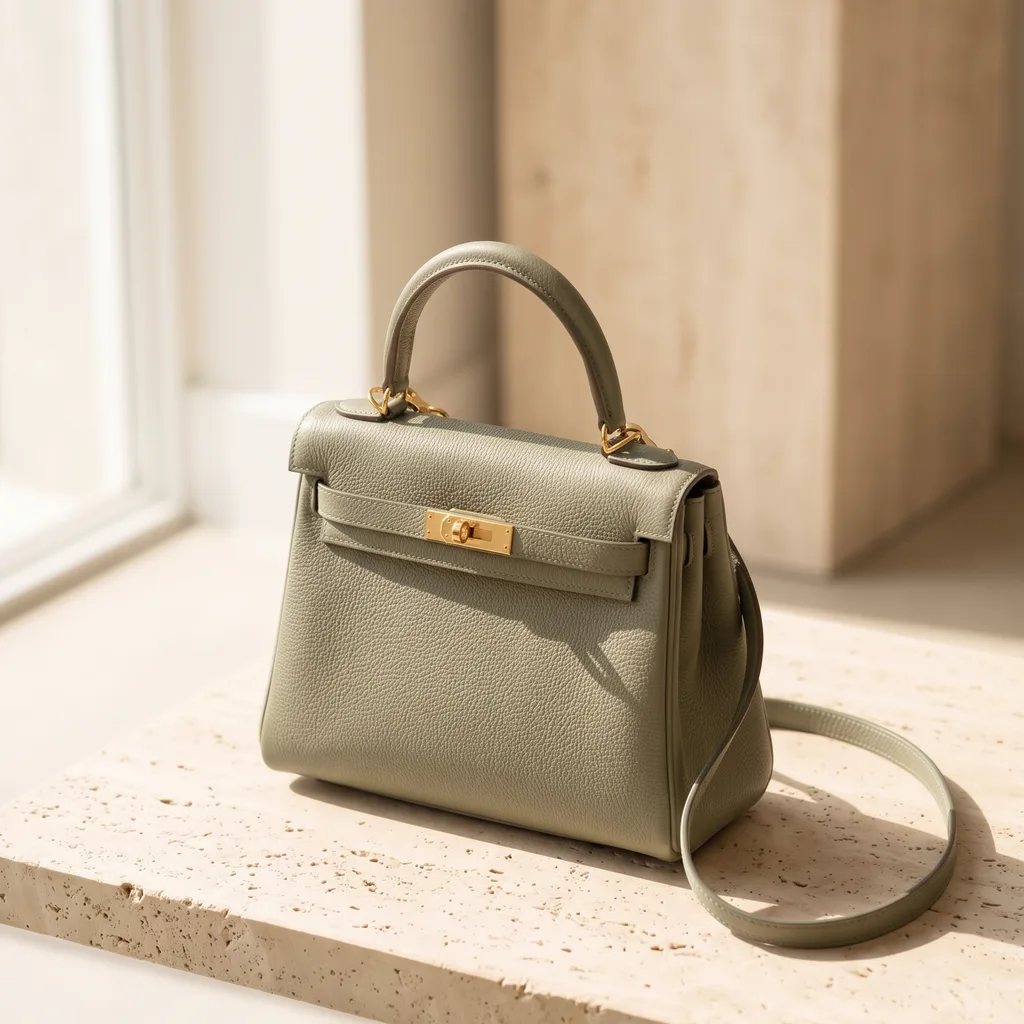
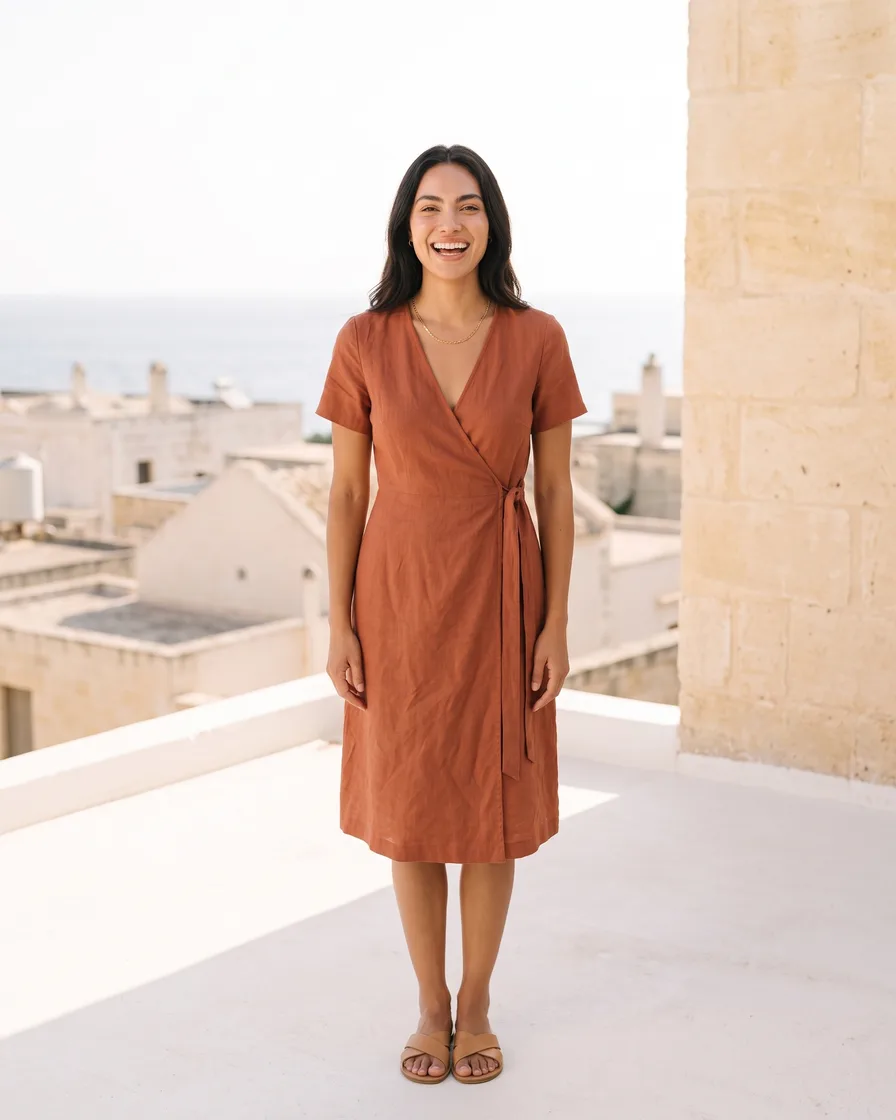
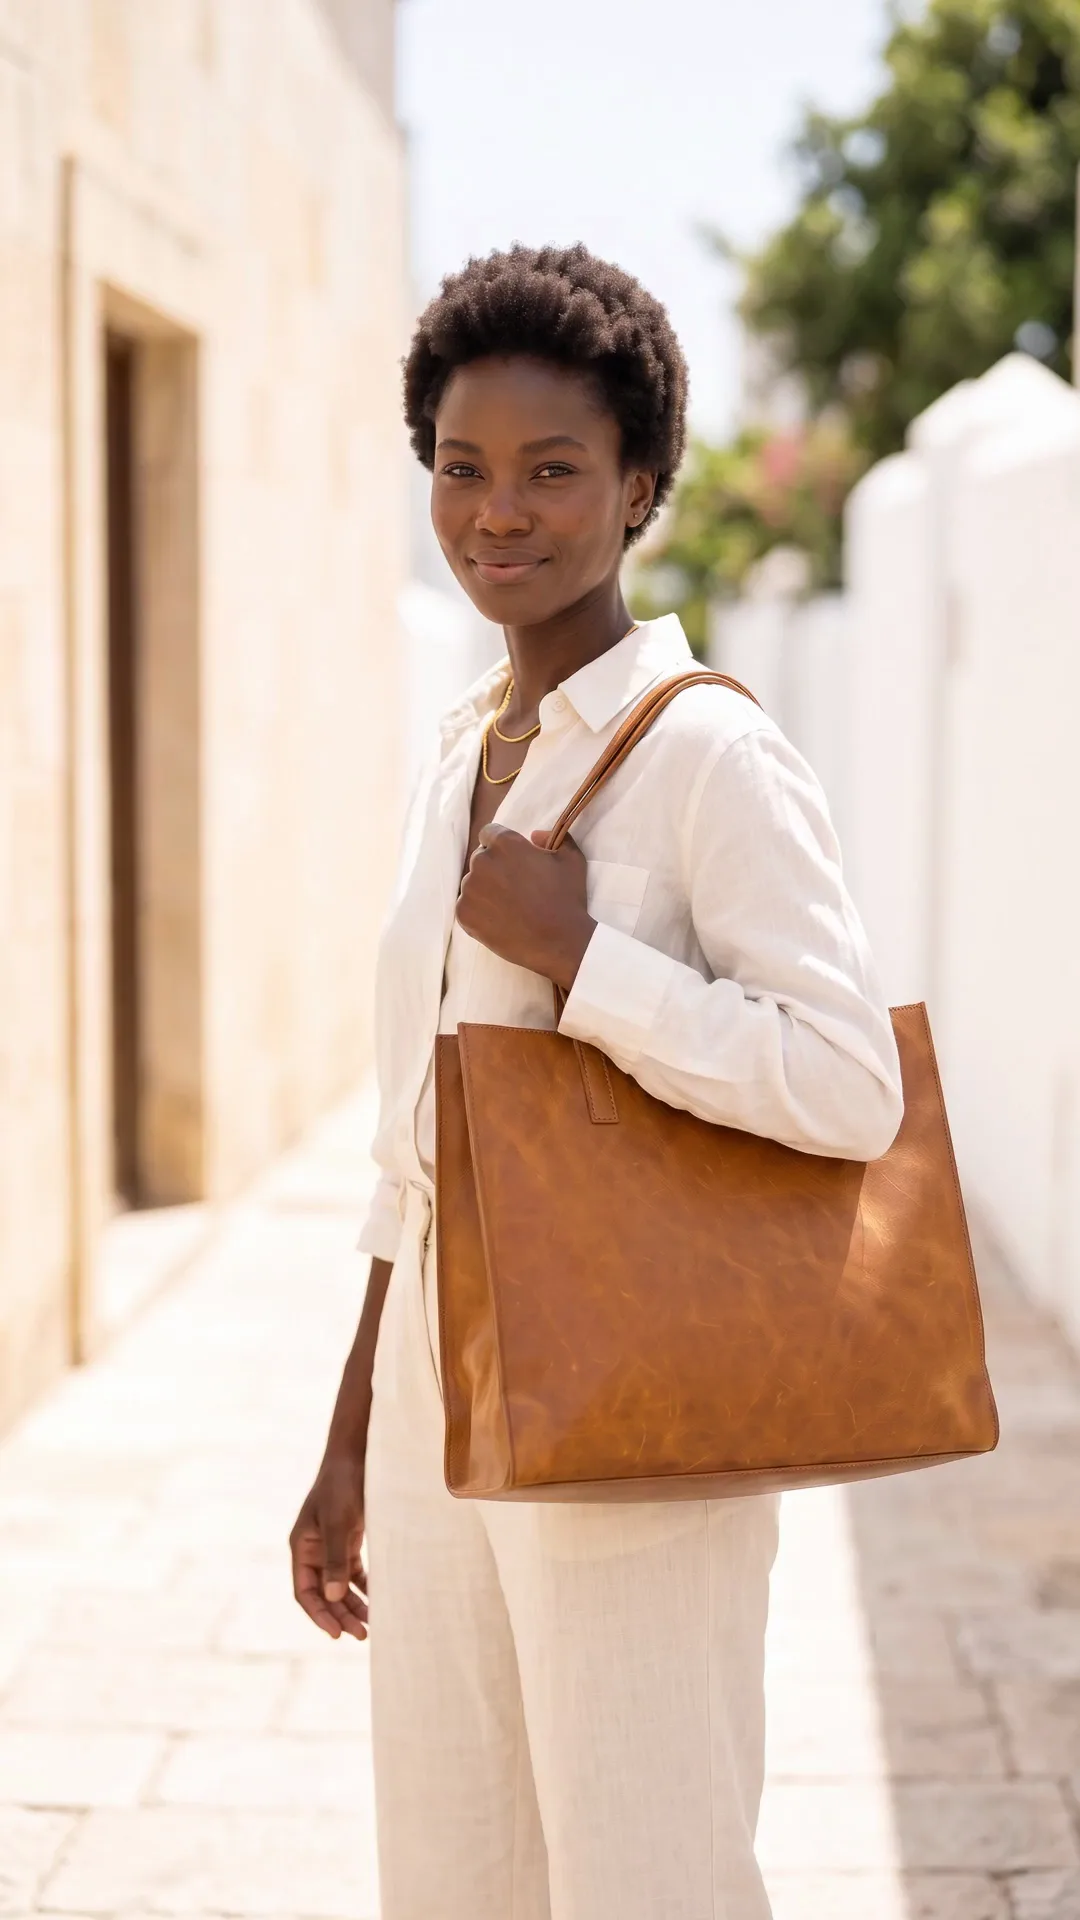
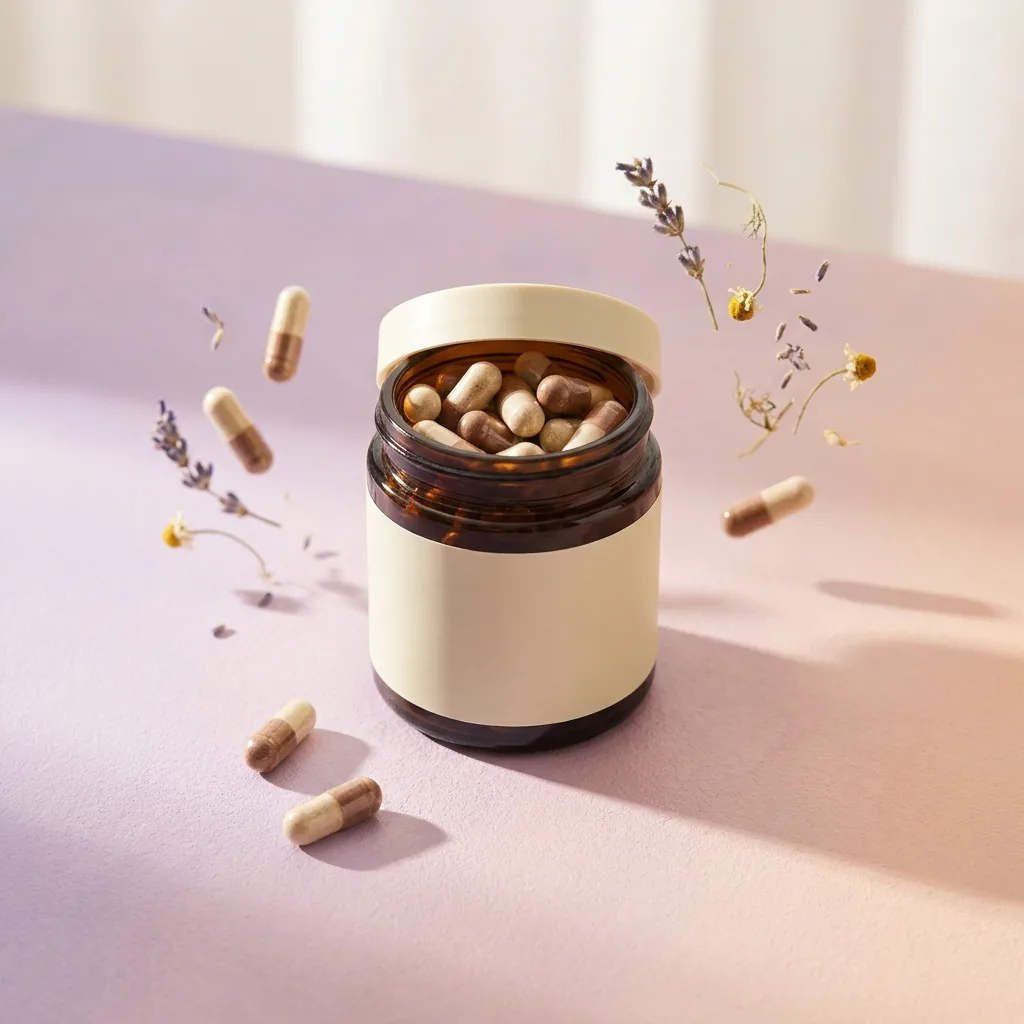
Fashion editorial image generated with Nano Banana ProNano Banana Pro
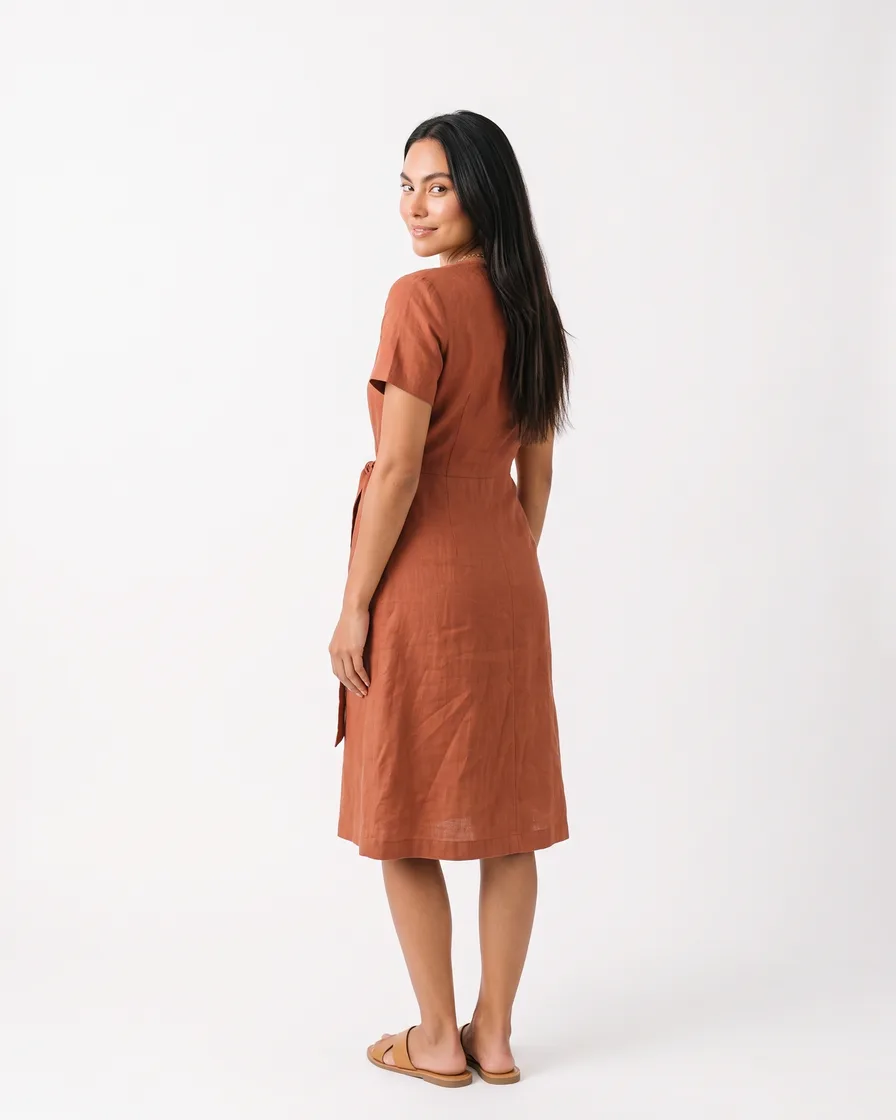
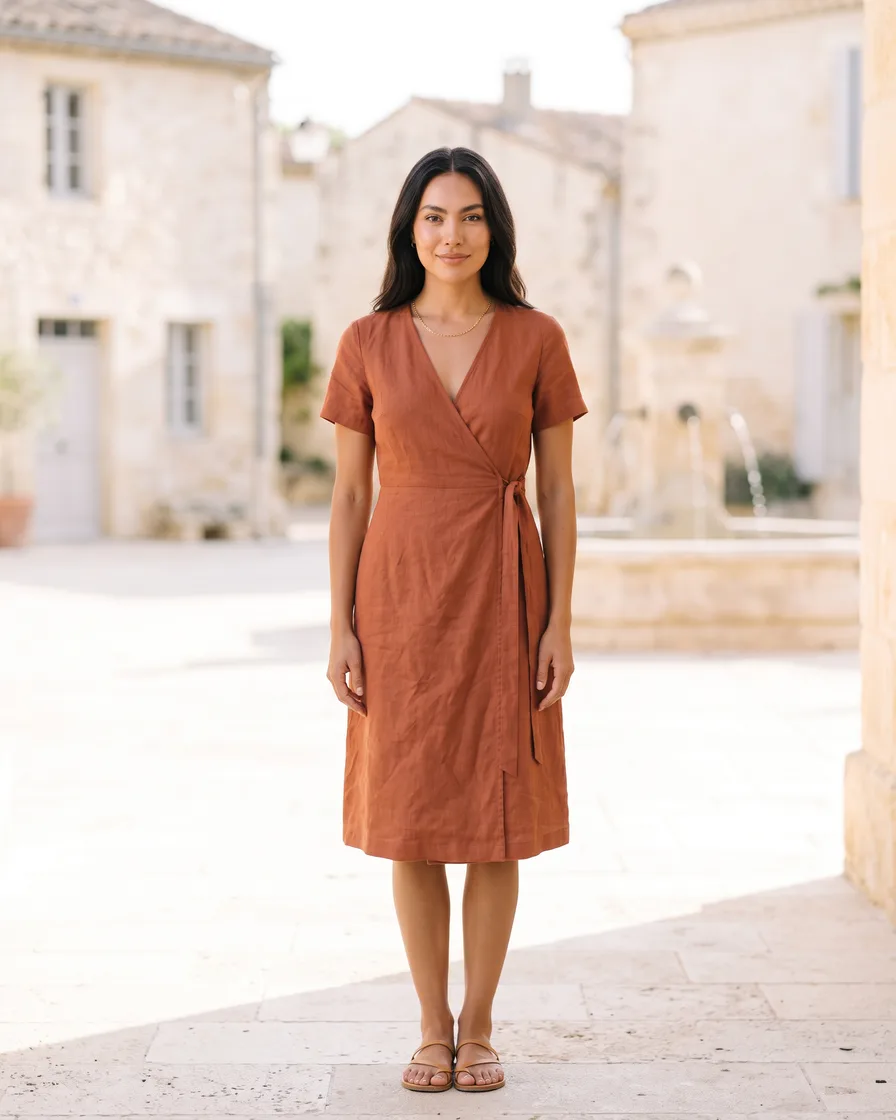
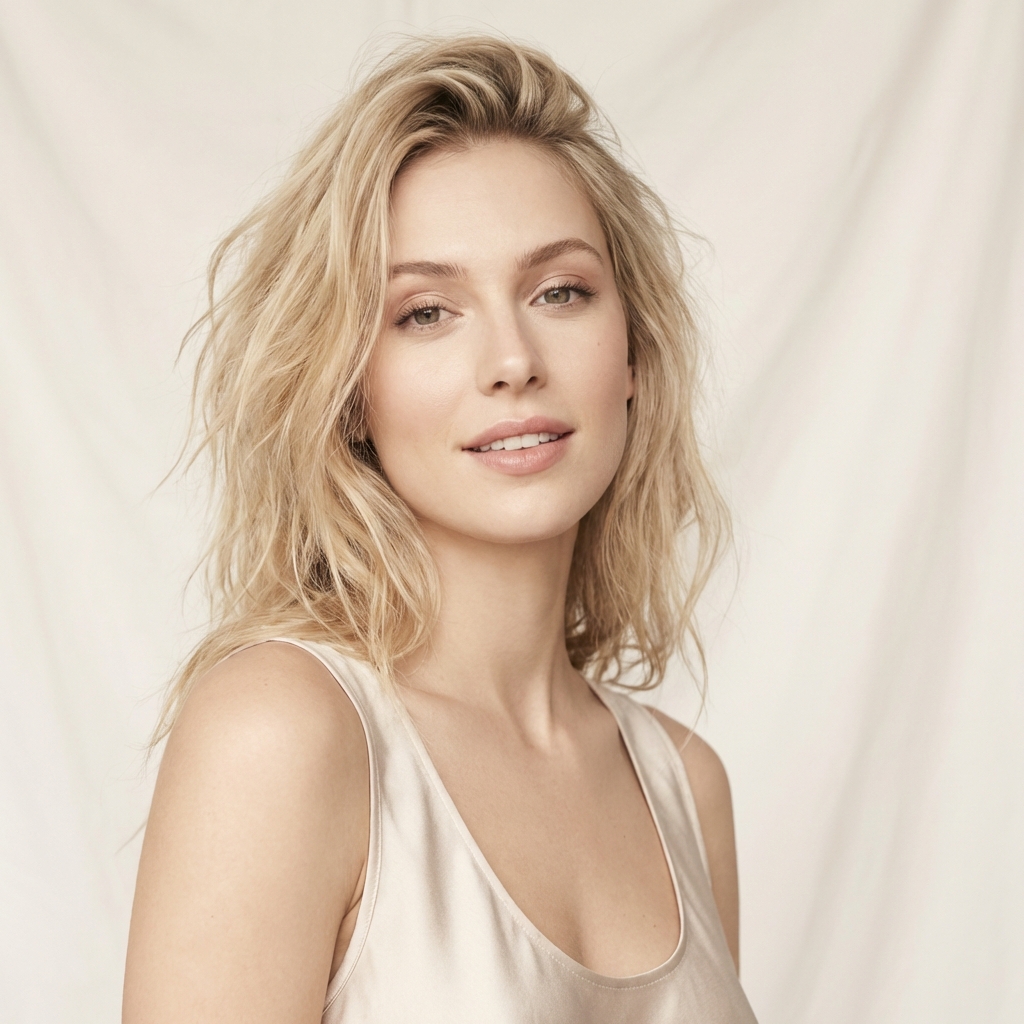
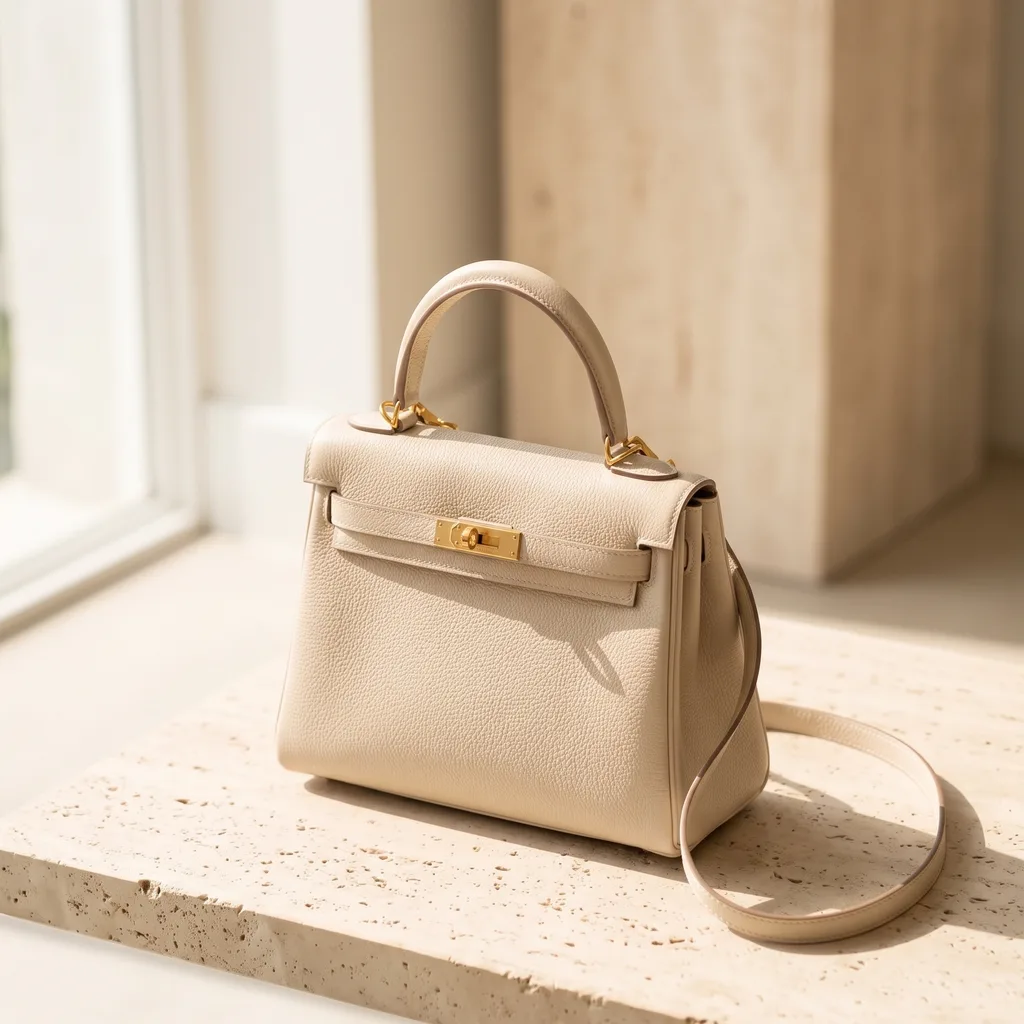
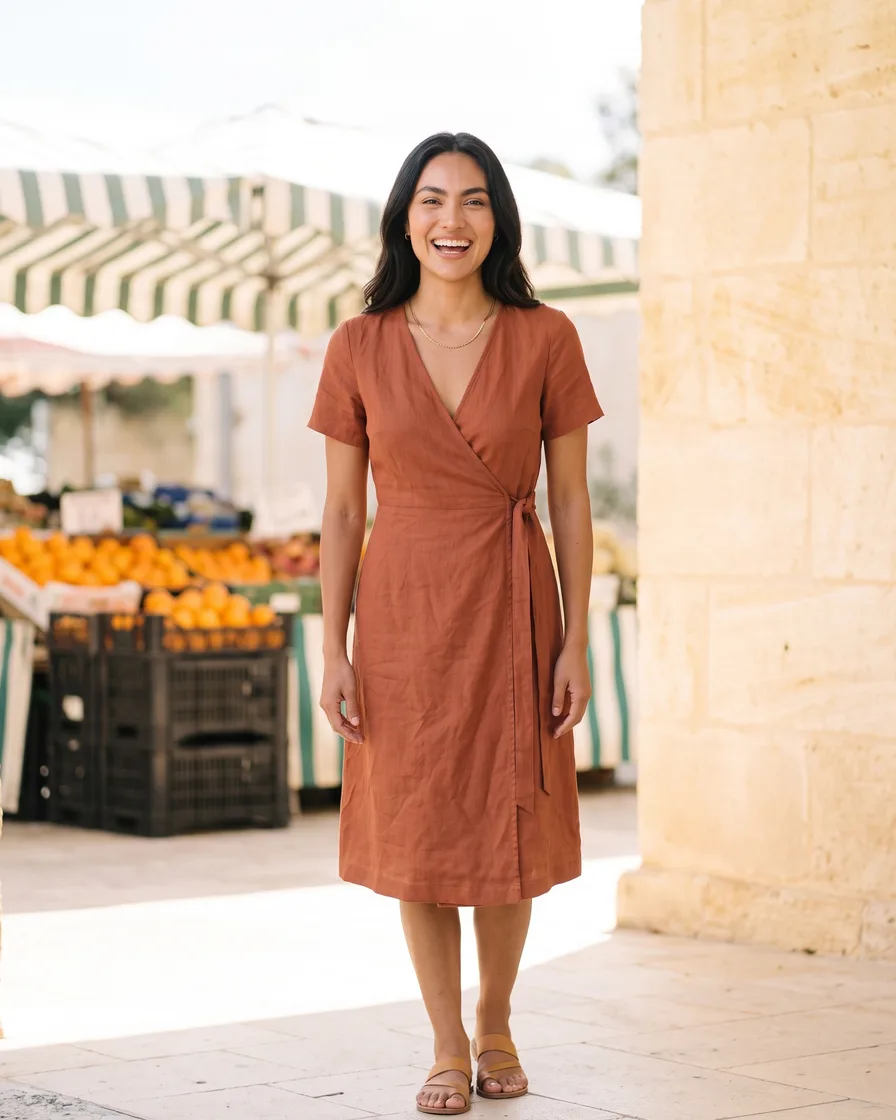
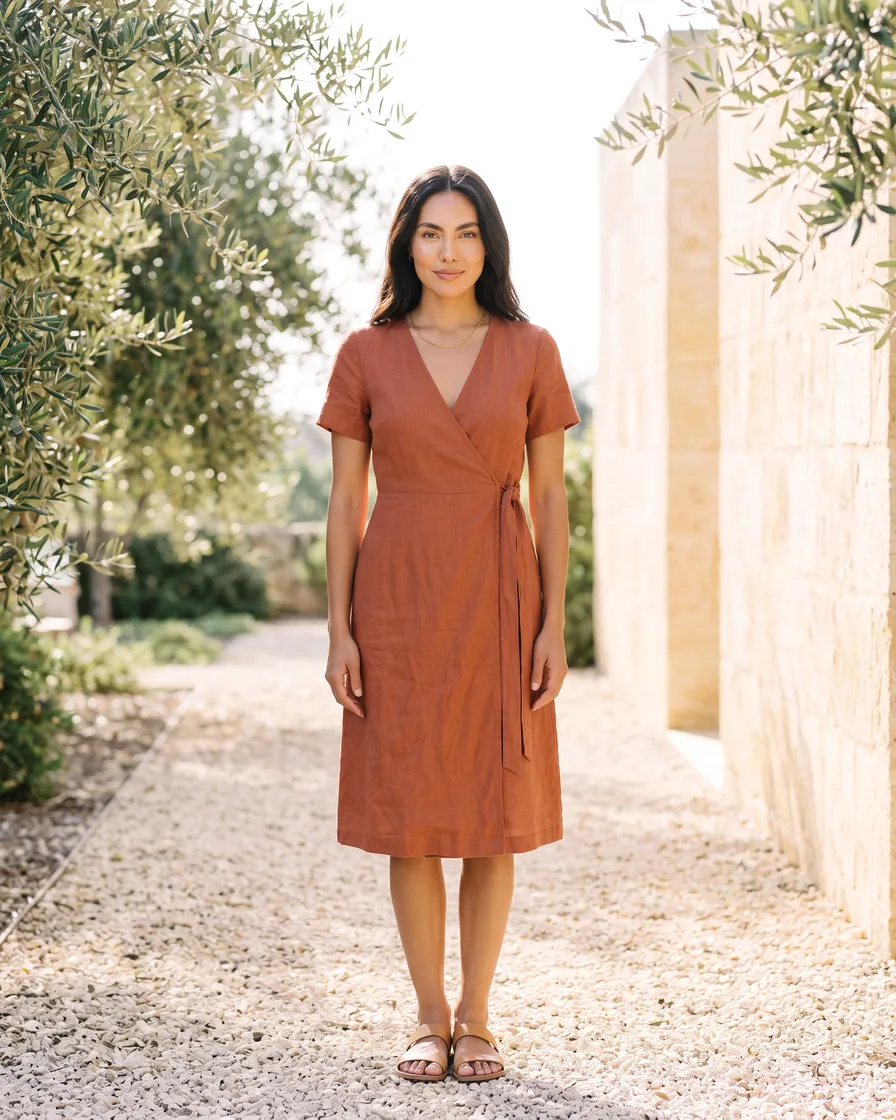
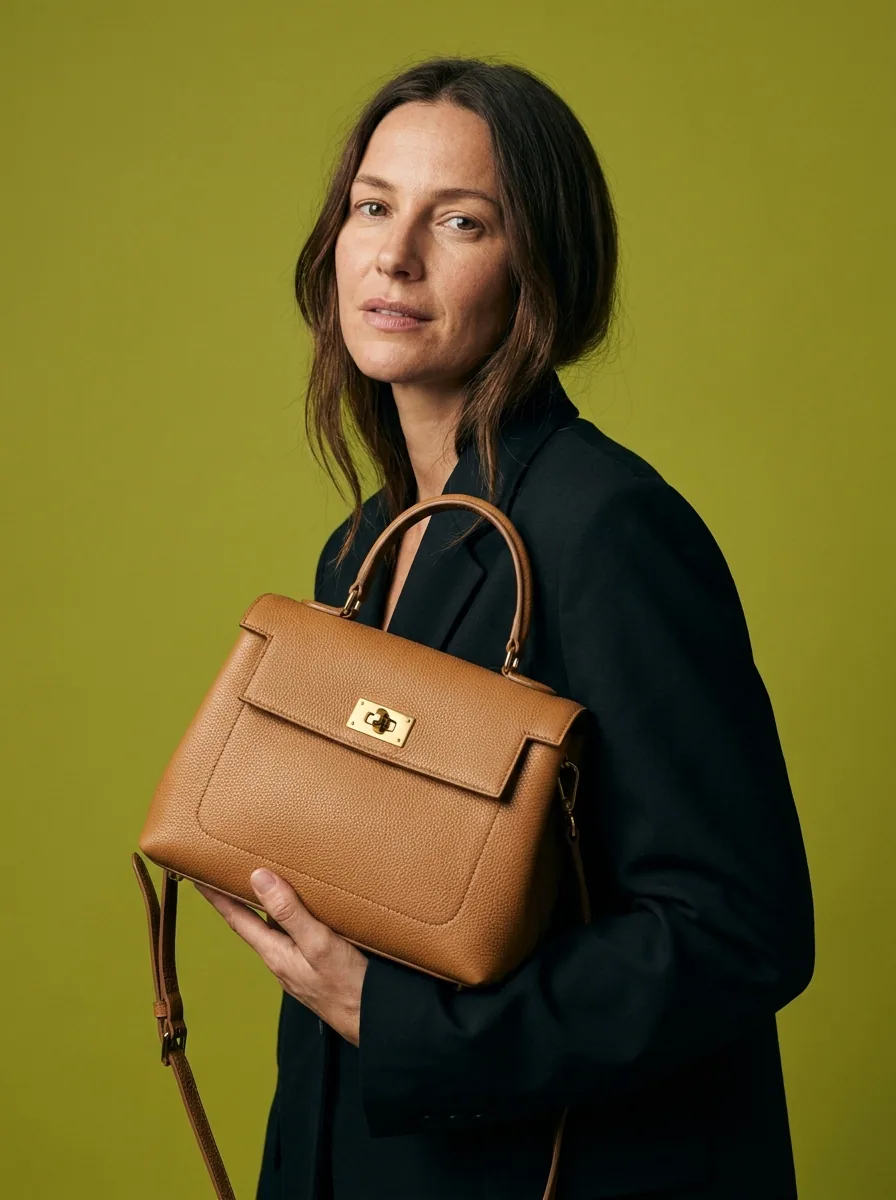
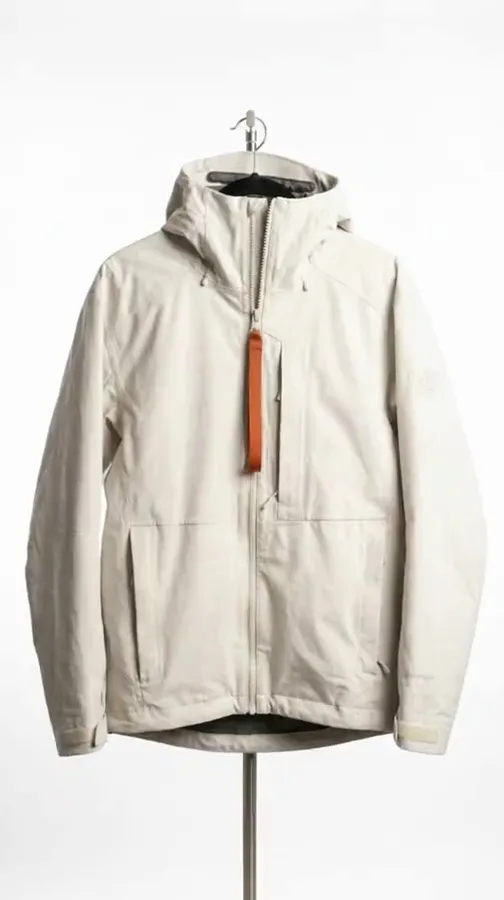
Fashion editorial image generated with Seedream 5Seedream 5
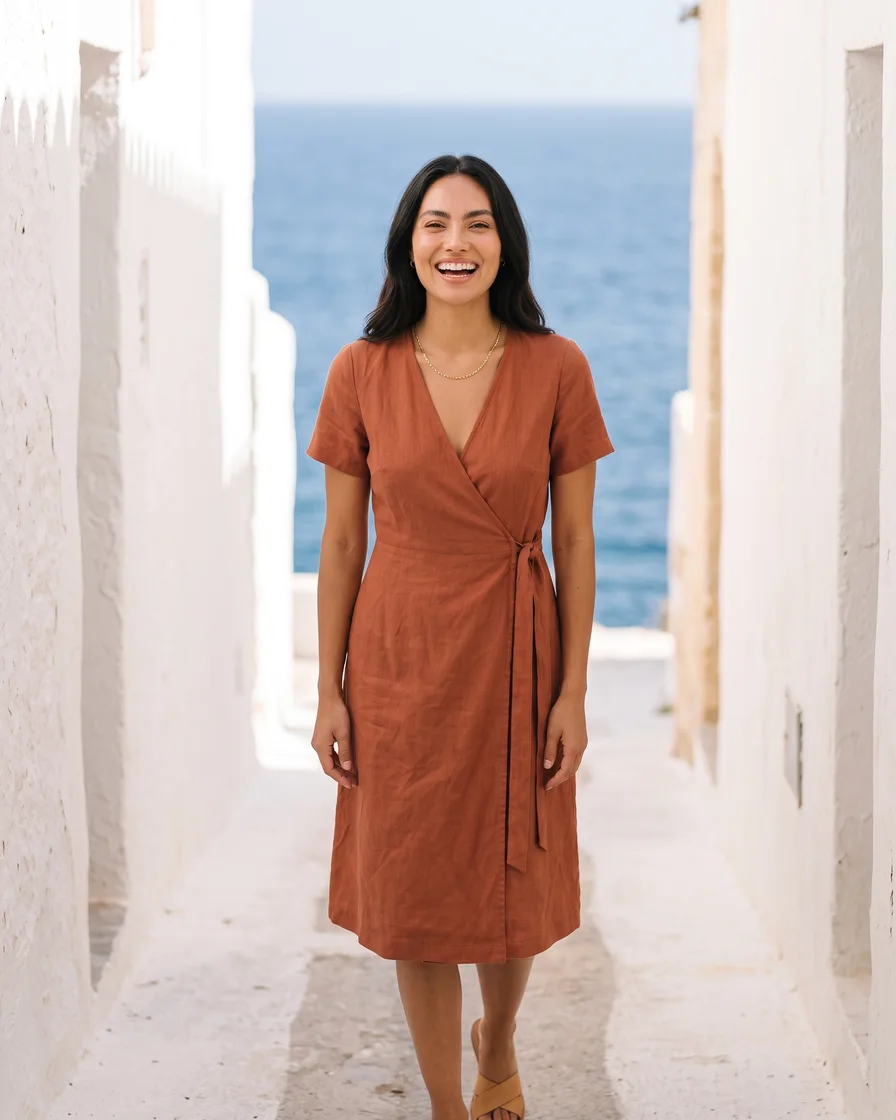
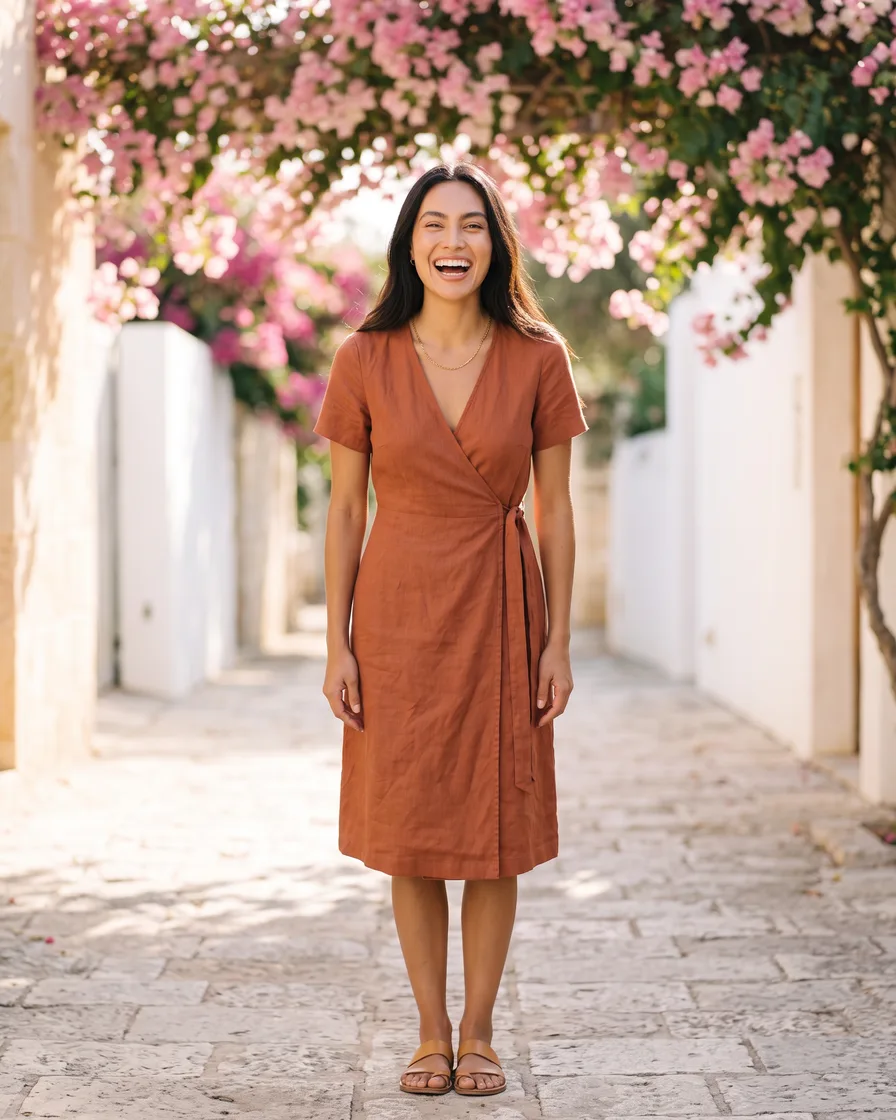
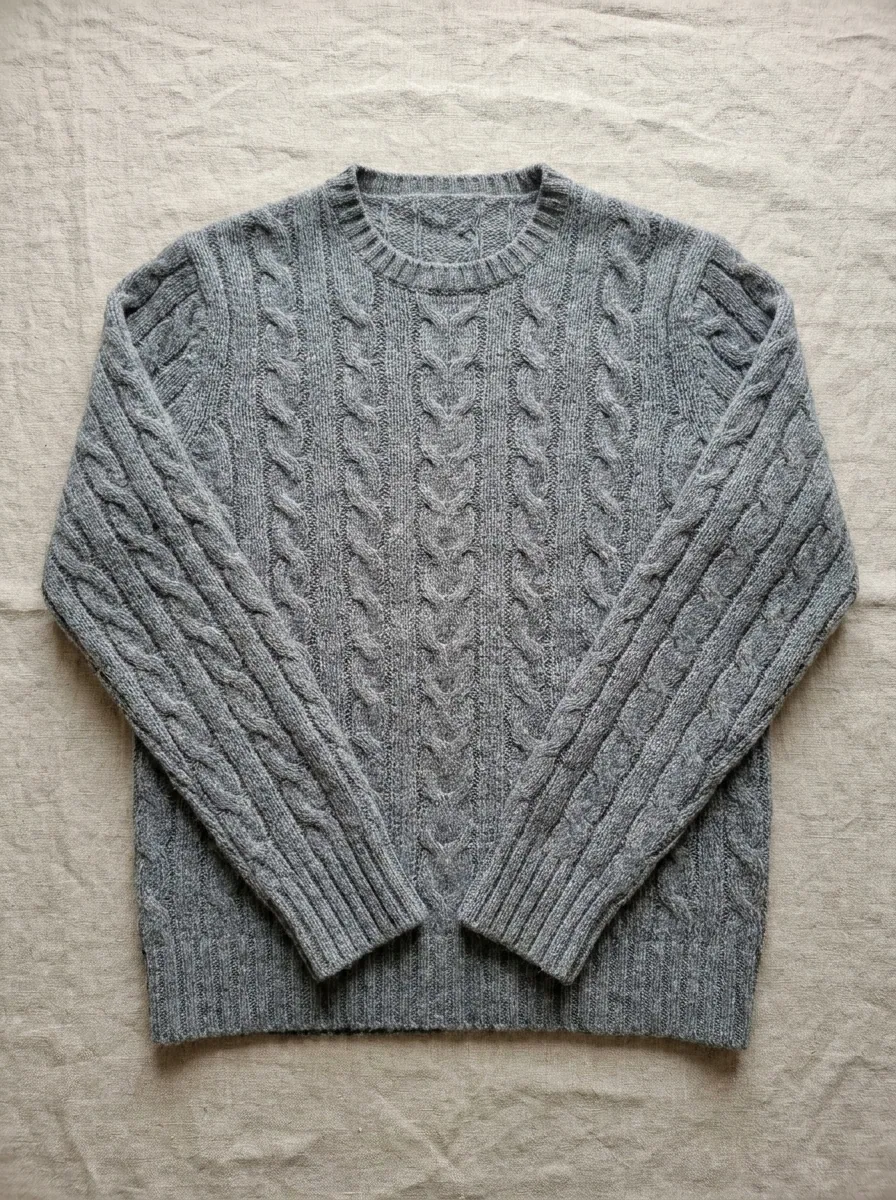
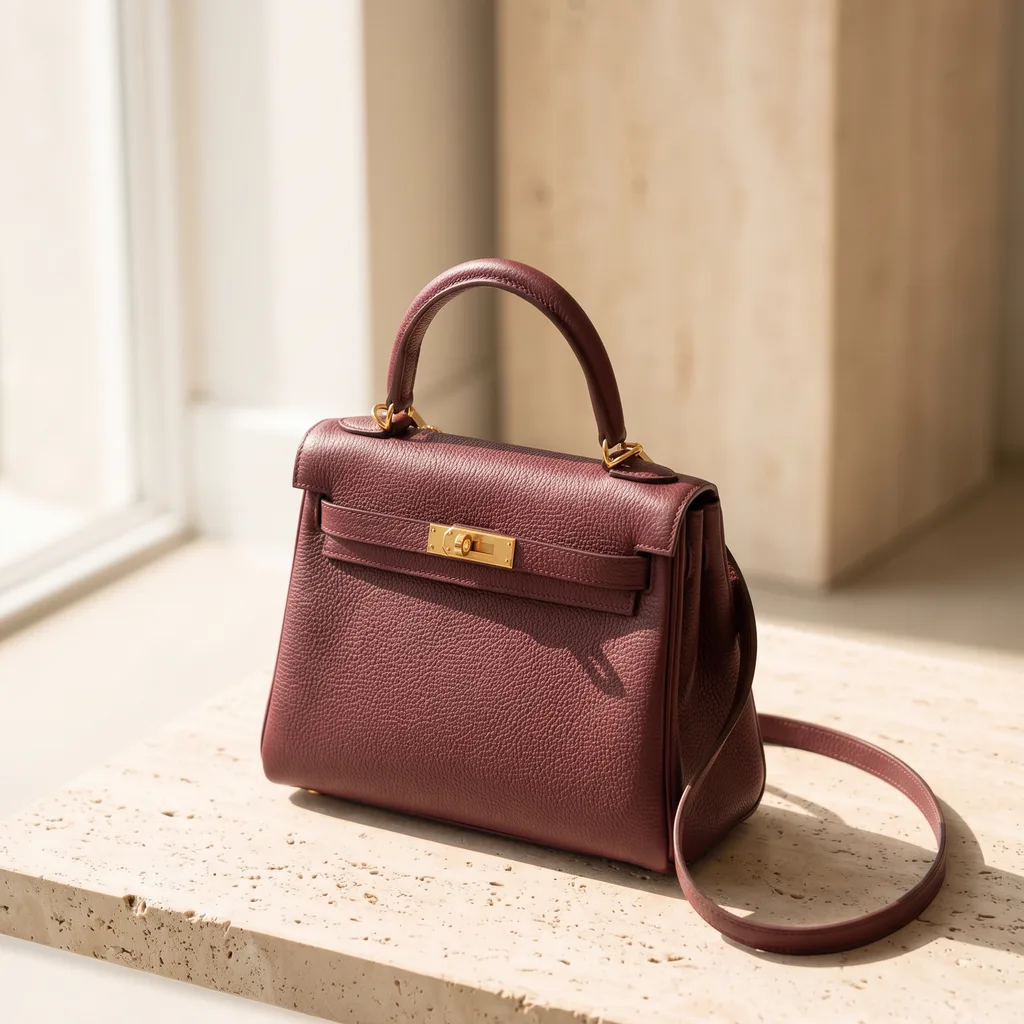
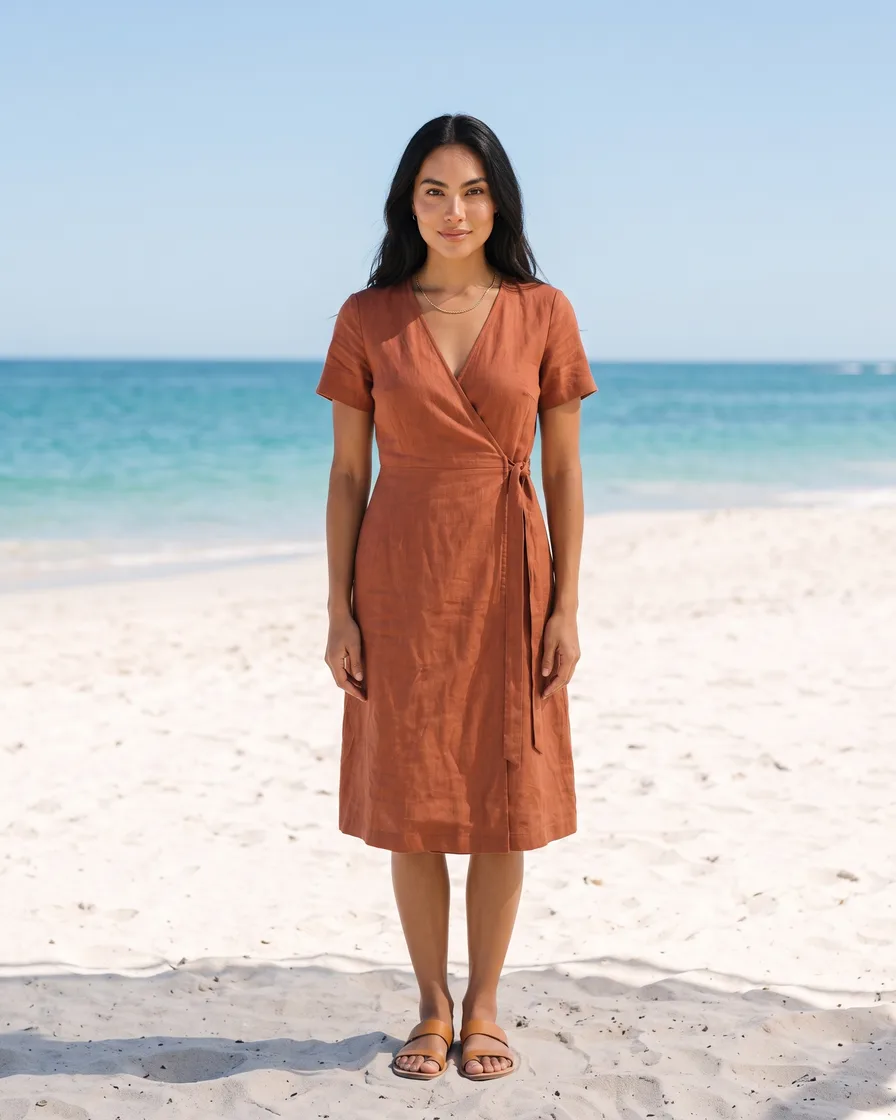
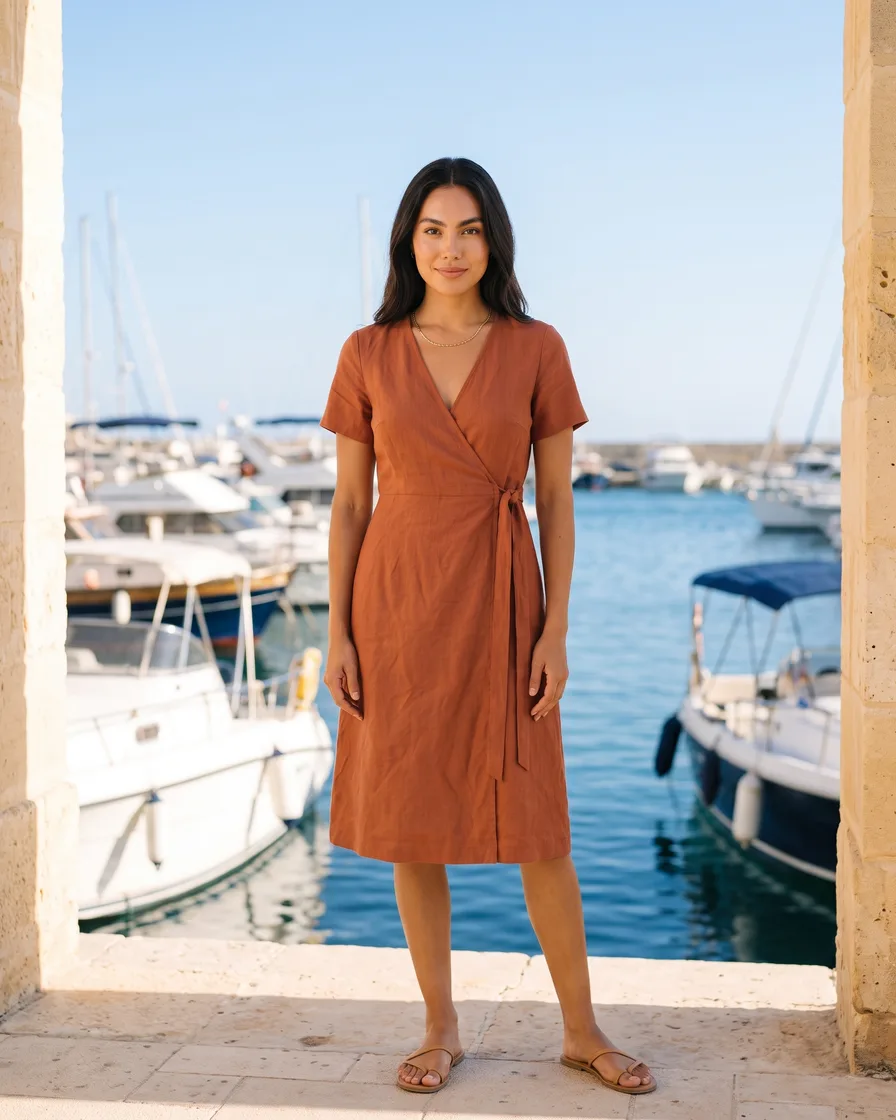
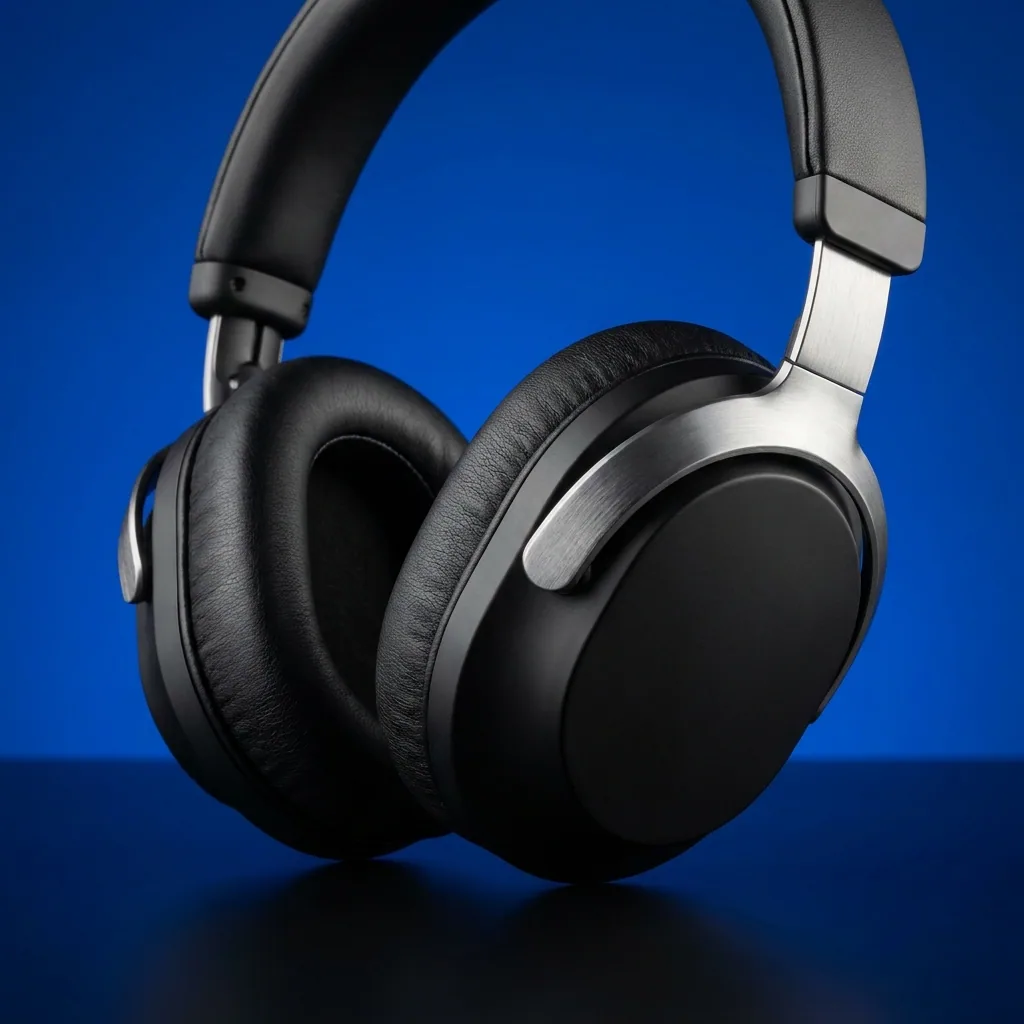
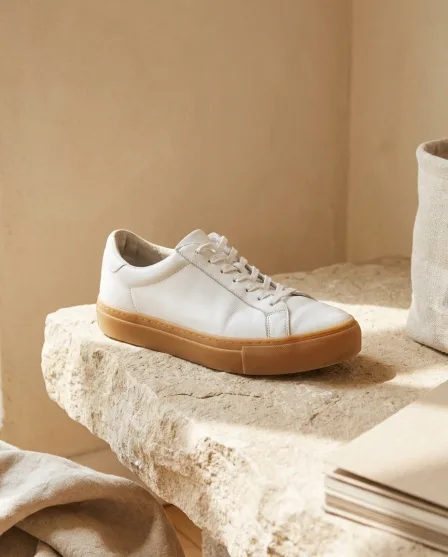
Fashion editorial image generated with FLUX 2 FlexFLUX 2 Flex
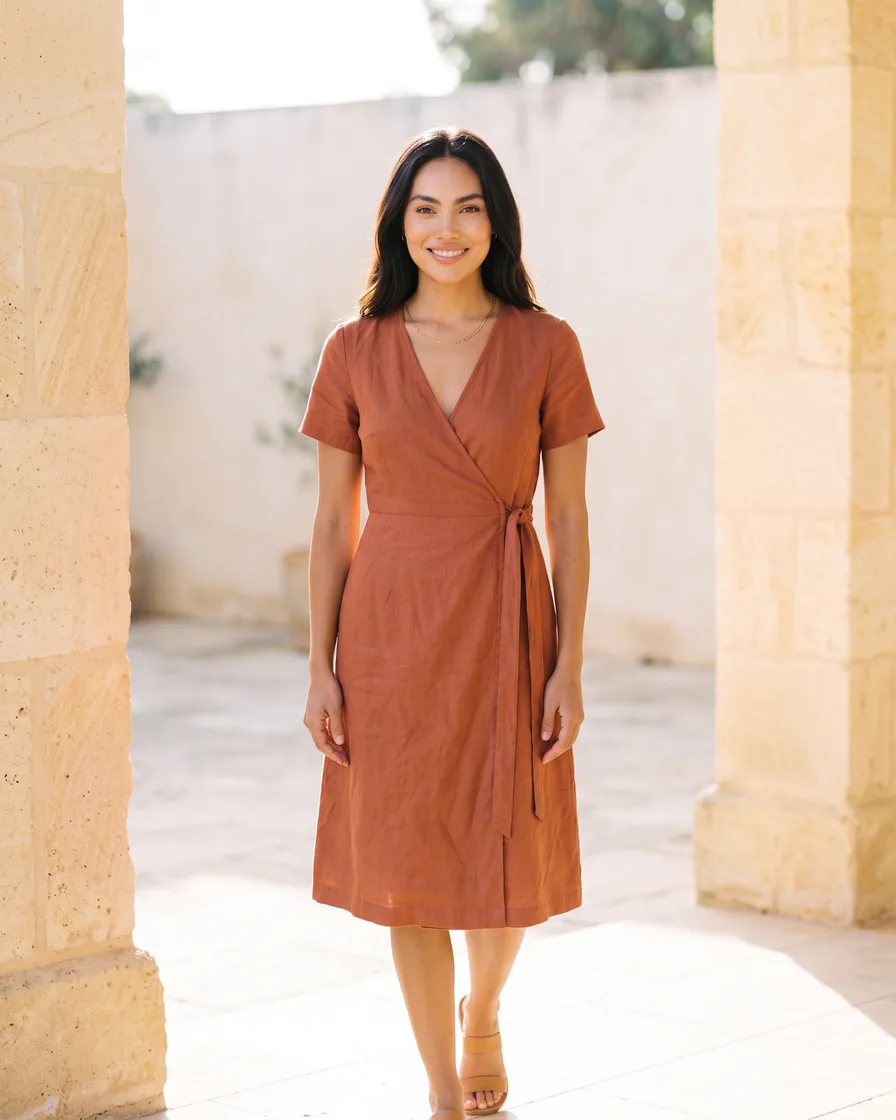
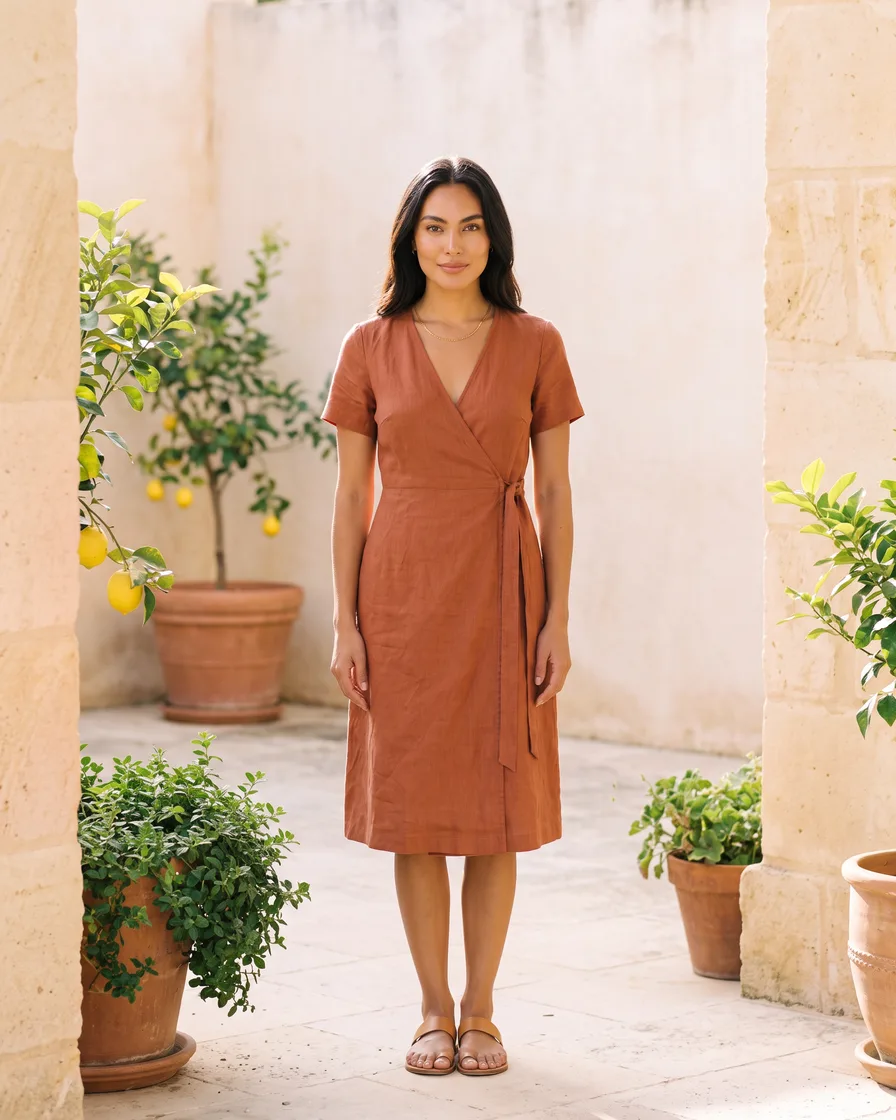
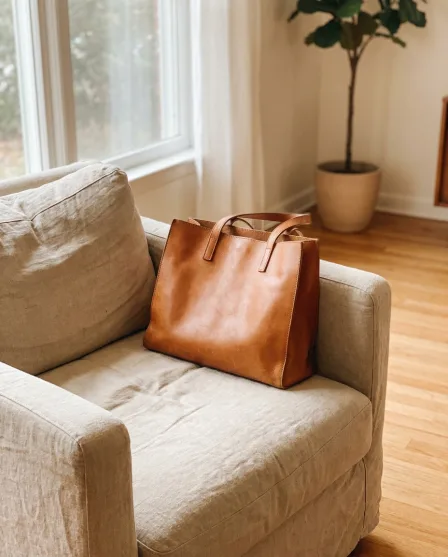
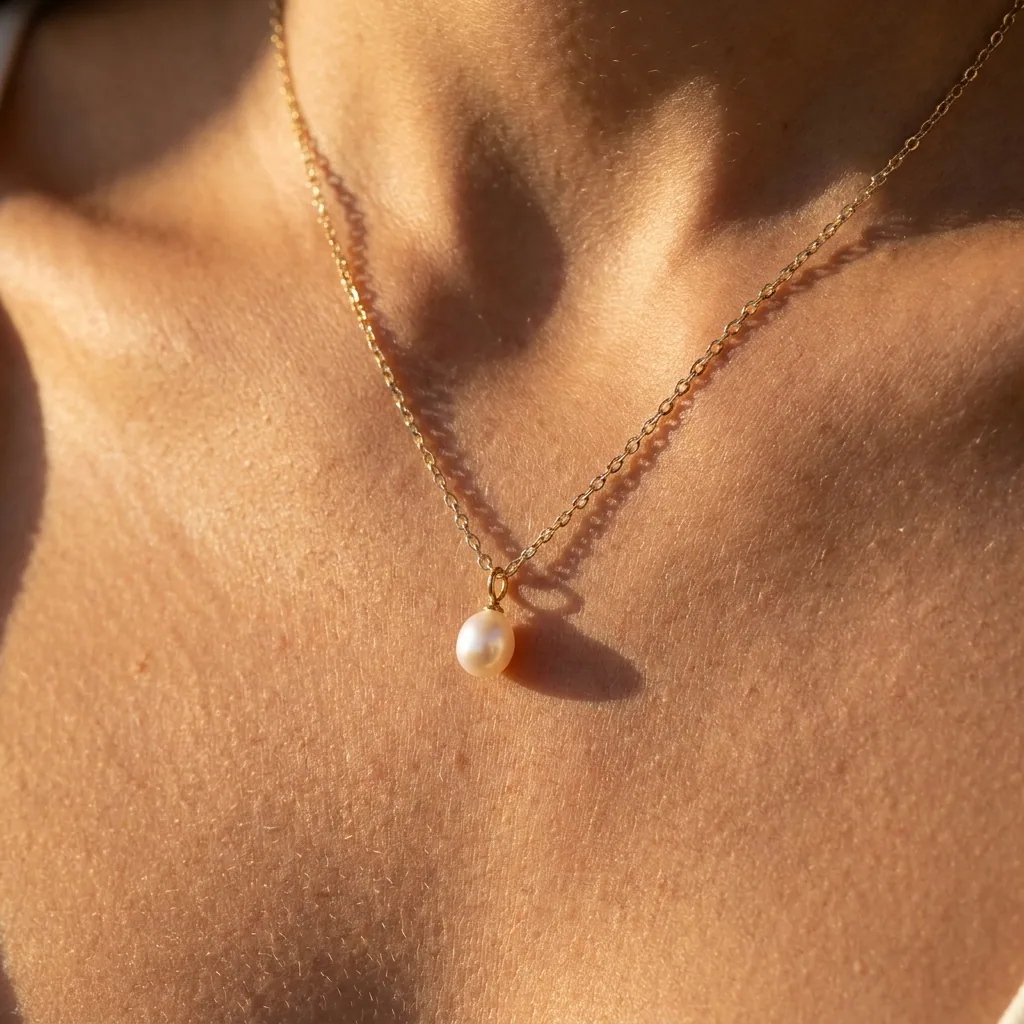
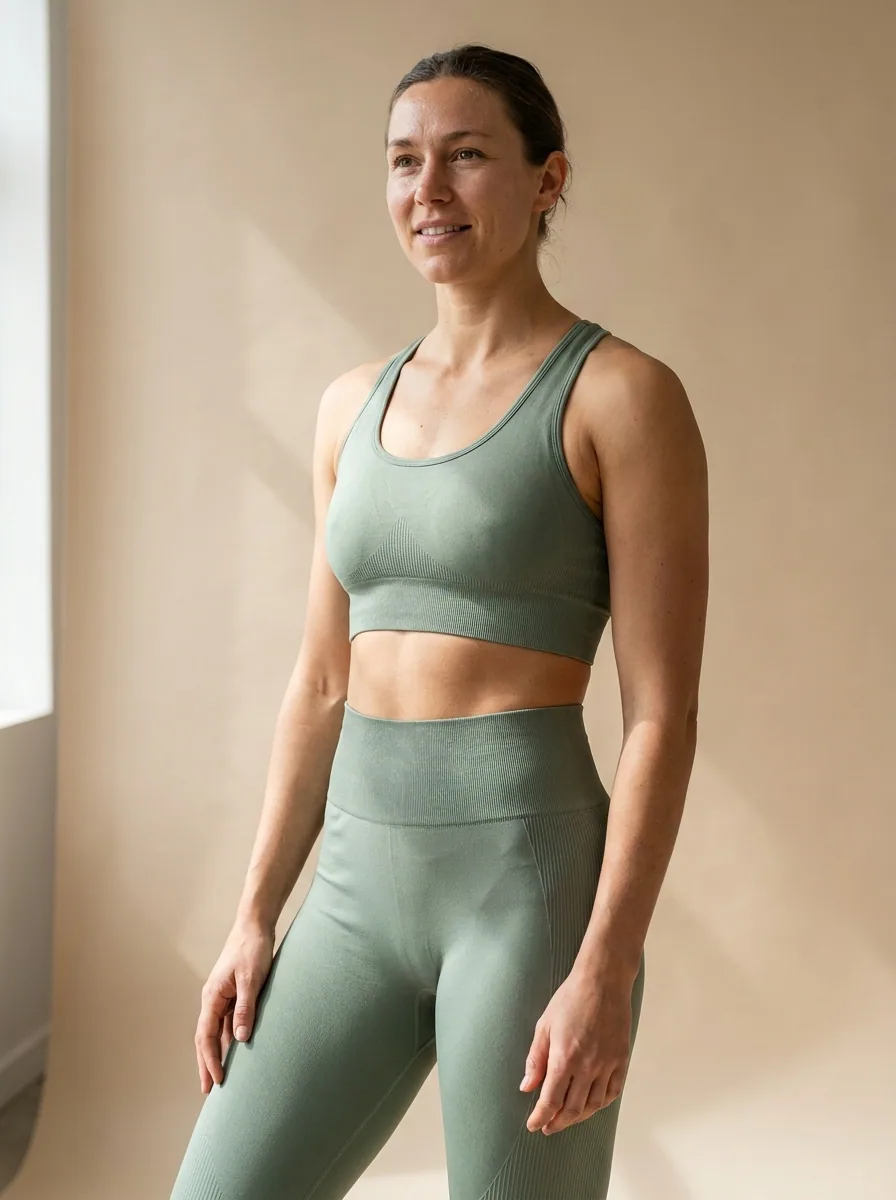
On-model fashion look made with DesignerBoxOn-model

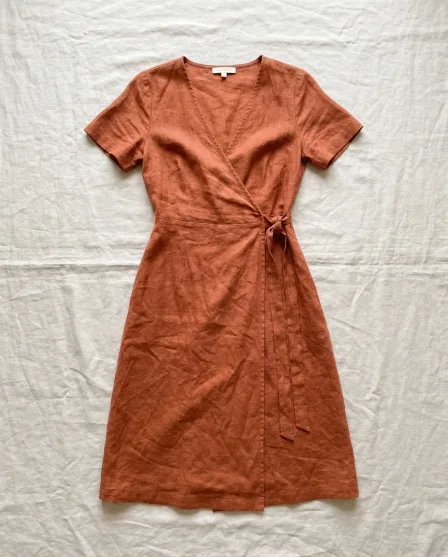
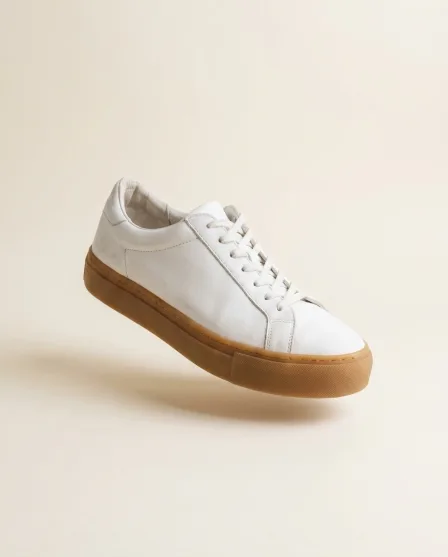
Fashion product imagery is the full set of shots a drop needs before it can sell: a clean cutout for the PDP, front and back, a detail crop, a flat lay, an on-model look, and a vertical cut for social. Volume is the real problem. Sixty SKUs in five colourways is three hundred product pages, and the sample lands two weeks before launch with a budget that covers the hero looks only. DesignerBox works from a photo of the garment you already own, a rail shot or a phone frame on a form, and builds the rest around it. A saved brand profile holds your palette, your logo and your reference shots, so the tenth SKU comes back looking like it came off the same set as the first.

What a fashion team needs from a shoot

Four jobs that stand between a sample on the rail and a live product page.

E-comm shots for every SKU

Every style needs the same grid: front, back, a detail crop and a clean cutout on white. Start from one photo of the sample, then produce the set at PDP spec. Rerun it per colourway so the size run and the whole drop match, style to style.

Colourways without a reshoot

One sample arrives in one colour. The rest of the run is a lab dip and a promise. Recolour from the sample shot, check the result against the physical swatch, and publish a set that holds together. Fabric, drape and stitching stay put while the colour changes.

Lookbook and flat lay in one pass

A lookbook wants styling; a PDP wants clarity. Build both from the same source frames. Arrange overhead flat lays with the belt and the shoe that sell the look, then relight the same garment for the clean e-comm frame. Two jobs off one sample, no second call sheet.

Motion for the launch

Paid social burns through video faster than a shoot day can feed it. Turn a lookbook still into a few seconds of movement: fabric catching light, a slow push on the hem, a turn that shows the back. Cut it vertical for Reels and TikTok, square for feed.

See it on a garment

Four tools, each doing one part of a drop. Run your own sample through them.

Virtual Try-On
Virtual Try-On

Virtual Try-On

Put the garment on a body without booking a casting, a studio and a fitting. Upload the sample shot, choose the model, and get the on-model frame the PDP is missing. Built for the SKUs that never made the shoot list, and for a second look on the hero styles.

Open the tool
Flat Lay Studio - Before
Before
Flat Lay Studio - After
After
Flat Lay Studio

Flat Lay Studio

Overhead arrangements, styled and lit. Lay the piece with the belt, the shoe and the bag that go with it, or keep it bare for the size run grid. Good for category tiles, the lookbook spread, and the flat lays that carry a launch email.

Open the tool
Fashion Video Creator

Fashion Video Creator

Take a lookbook still and give it motion. Fabric catches the light, the hem swings, the model turns to show the back seam. Enough for a Reel, a story frame, or the autoplay clip at the top of a collection page, cut from a still you already have.

Open the tool
Background Remover - Before
Before
Background Remover - After
After
Background Remover

Background Remover

Strip the rail, the hanger shadow and the studio floor. What is left is a clean cutout on white, the ghost mannequin look most product pages and marketplace main images ask for. Run it across the drop so every thumbnail sits on the same background.

Open the tool

Each before and after above demonstrates the tool named on the card, using that app's own sample image, so the subject you see may not be from this industry. Run the same tool on your own photos to see it on your work.

Sample to storefront in four steps

The route every SKU takes, from the frame you shot on a phone to the file your product page loads.

1
Shoot the sample once
One clean frame of the real garment is the whole input. Phone on a tripod, piece on a form or laid flat, even light, nothing else in shot. Front and back if you have them.
2
Set the brand profile
Load your logo, palette, type and three reference shots from last season. Every image generated after that sits inside the same look, so a new SKU does not arrive off-brand.
3
Build the shot set
Cutout for the PDP, on-model look, flat lay, detail crop, vertical social cut. Save the sequence as a workflow the first time, then point it at the next sample photo.
4
Check, export, publish
Compare the colour against the physical swatch, confirm the fit reads true to the sample, then export at each surface's spec. You publish to the site, the marketplaces and the ad accounts.

Where the drop has to show up

Each surface asks something different of the same garment. Here is what each one wants.

Your PDP and site

A product detail page wants consistency more than art direction: the same crop, the same background and the same distance from the lens on every SKU, so a category grid does not look assembled from four separate shoots. Most fashion sites run a square or 4:5 portrait main image with enough resolution for zoom, plus a back view, a detail crop and one on-model frame. Produce that set per colourway and the grid reads as a single collection.

Marketplace listings

Marketplace main images are graded against a spec sheet, not against taste. The common requirements are the garment on a pure white background, the product filling most of the frame, no props or watermarks in the hero slot, and a long edge big enough to trigger zoom (1600 px is a frequent floor). A clean cutout satisfies that, and the styled and on-model frames go in the secondary slots. Check each marketplace's current policy on generated imagery before you upload, because the rules differ by platform.

Paid social

Paid social needs the drop in the formats the platform serves: 1080x1350 for a 4:5 feed post, 1080x1920 for Reels, Stories and TikTok, and 1000x1500 for a Pinterest pin. A shot framed for a PDP crops badly into 9:16, so the garment has to be composed for vertical from the start, with room at the top and bottom where the interface sits. Build the vertical cut as its own asset rather than a crop of the e-comm file.

Wholesale and linesheets

A linesheet is read by a buyer deciding what to place, so it wants one honest image per style: front on white, back where the detail matters, every colourway in the same crop, sitting next to the style code, the size run and the wholesale price. Trade portals and B2B catalogues take the same cutouts your PDP uses. DesignerBox produces those images; you drop them into the linesheet template you already send to buyers.

One sequence, then the whole drop

A workflow saves a sequence of steps once and reruns it on the next file. For a drop, that is the difference between styling one SKU and styling three hundred. Set it up on the first style: remove the background, place the garment on white at the PDP crop, produce the on-model look, build the flat lay, then cut a 1080x1920 version for Reels. Save it. The next sample photo runs through the same steps in the same order and comes back with the same framing, the same light and the same margins. Colourways run through it too, so the bone and the navy version of a shirt land in the grid looking like siblings rather than two different shoots. There is an MCP server and an API if you want runs triggered from your own system.

The models behind the shots

Different jobs want different models, and one subscription covers every one of them here instead of a separate licence each. For clean e-comm frames and close garment detail, start with Nano Banana Pro, Nano Banana 2 or GPT Image 2. For styled campaign scenes, try Seedream 5, FLUX 2 Flex or FLUX Pro 1.1. Kontext Multi is built for edits that have to respect the original file, which is what a background swap on a real sample shot needs. For motion, Veo 3.1 and Veo 3.1 Fast, Sora 2 Pro, Seedance 2.0, Kling 2.6 Pro and Runway Gen-4.5 turn a lookbook still into a few seconds of movement. Run one sample photo through two of them, compare the drape and the colour, and keep the version that looks like your product.

Fashion and apparel questions

What brand and e-commerce teams ask before they run a drop through this.

Can I use AI generated images on my product pages?
Yes, as long as the image depicts the garment you ship. Work from a photo of the real sample so the cut, the fabric and the trim stay true, and treat generation as lighting, background and framing rather than redesign. Marketplace and platform policies on generated imagery differ and change, so check the rules of every channel you upload to before the drop goes live.
Do I need the physical sample before I can shoot it?
You need one photo of the real garment, which means the sample has to exist. A phone frame of the piece on a form or laid flat, in even light, is enough input. Working from a tech pack or a sketch would mean inventing a product, and the result would not match what lands in the customer's box. Shoot the sample the day it arrives, then build everything else from that frame.
Will the colour be right across all five colourways?
Recolouring from a sample shot gets you close, and it does not replace a physical check. Proof one SKU first: put the generated image next to the lab dip or the production swatch under the light your studio uses, adjust, then lock that setting before running the rest of the drop. Colour returns cost more than the ten minutes the proof takes.
Is it fine to show clothes on an AI generated model?
Yes, if you are straight about what the viewer is seeing. A generated model is an illustration of the garment, not a customer, so never present one as a real person, a review or an endorsement. Keep fit honest: show the size that model would wear, do not slim or lengthen the body to make a cut look better than it ships, and label generated imagery where your market requires it.
Can this handle a full drop, not one hero shot?
Yes, and that is what workflows are for. Save the sequence you run on the first style (cutout, on-model, flat lay, vertical cut), then point it at the next sample photo and it comes back framed the same way. Sixty SKUs in five colourways stops being three hundred briefs and becomes one setup plus three hundred runs. The MCP server and API can trigger those runs from your own system.
What does it cost to shoot a season this way?
Start free: the free plan includes 112 credits, enough to run one sample through the full set and see what comes back. Paid plans are BASIC at $15 a month for 500 credits, PRO at $35 for 1,000, PREMIUM at $75 for 2,500, and ULTRA at $200 for 8,000. A drop with many SKUs and colourways sits in the higher tiers, since every colourway is its own set of files.

Your next drop, shot from one sample

Upload one frame of the sample on your desk and see the set come back: cutout, on-model look, flat lay and a vertical cut. Run a style through end to end on the free plan before you commit a season to it.

Start free