From your product photo to every result
How DesignerBox works
DesignerBox is AI creative production for brands and agencies. You add your product photos, pick a template and set your brand once. Every run then reads your brand rules as it makes images, ads or video. Here is the whole flow, start to finish.











Step by step
From your product photo to the finished ad
Seven steps. You do the first three once, and the rest every time you have something new to sell.
- 01
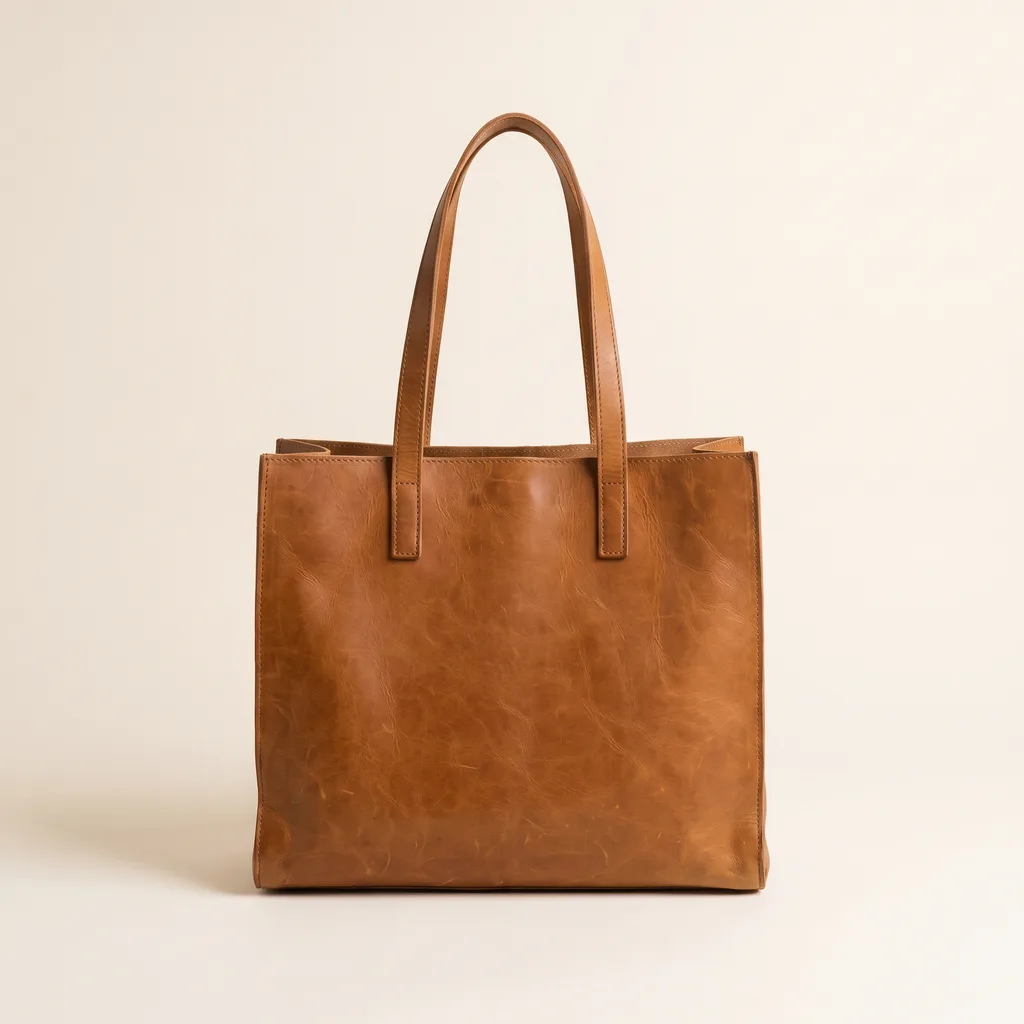
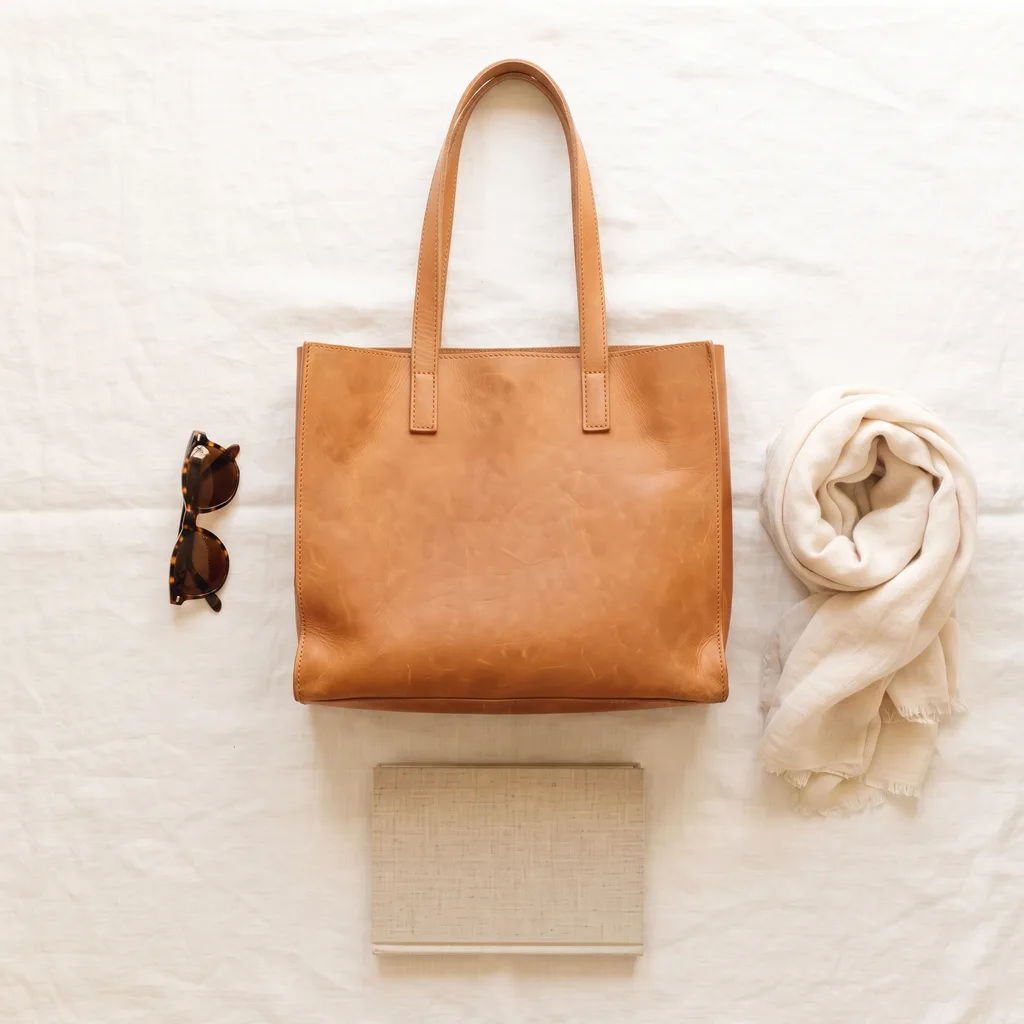
Add your product photo
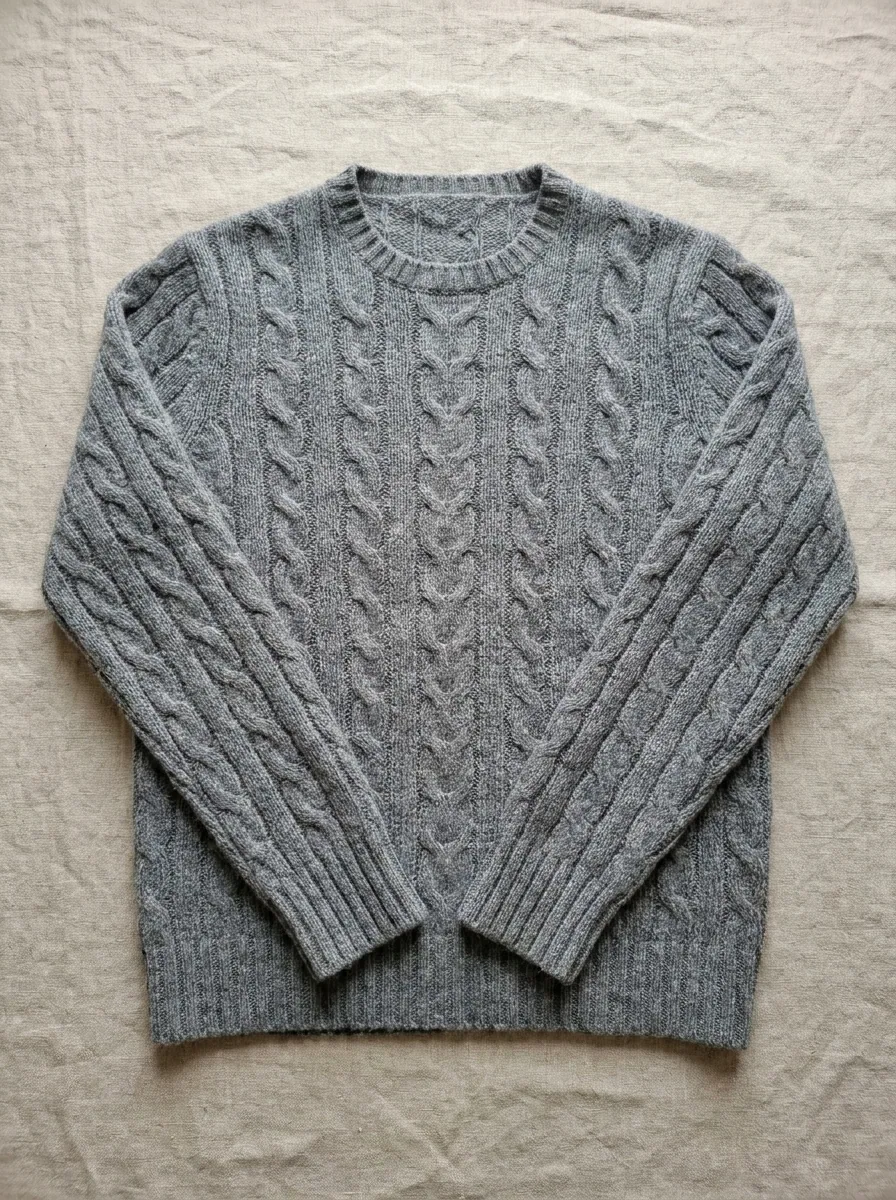
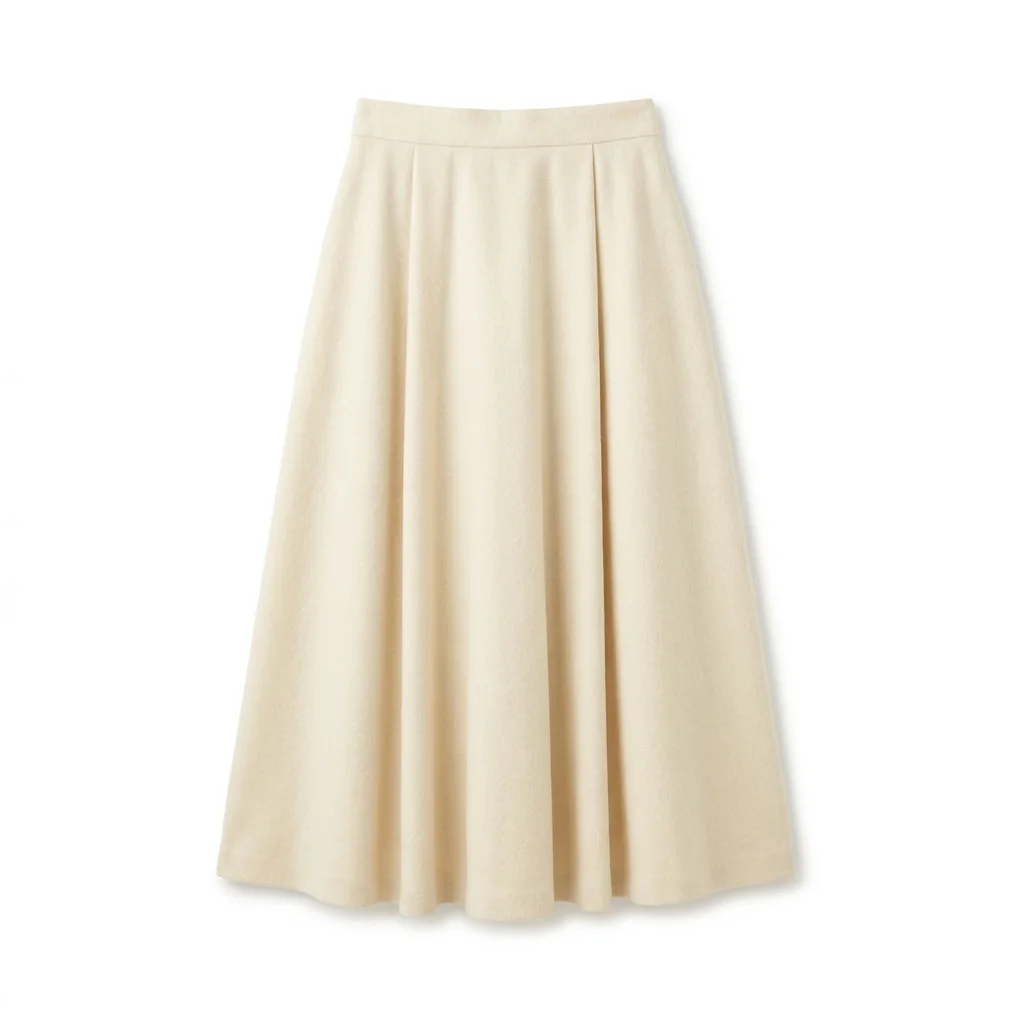
Take a photo of the real product. A plain phone shot on a table is enough to start. Uploading your own photos starts on the Pro plan.



 02
02Pick the job
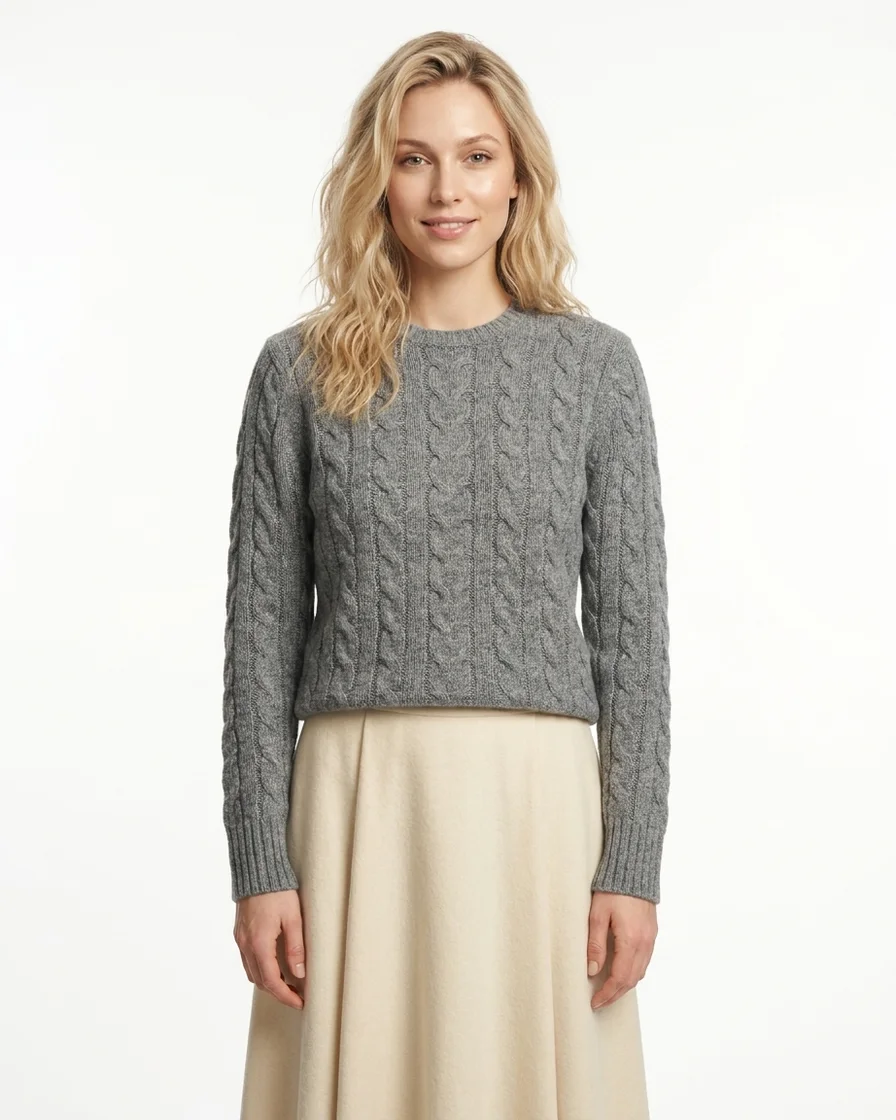
Open a template built for the job you need, such as a packshot, an on-model shot or a video ad. Every template starts you from a finished result.
See the template library


 03
03Set your brand once
Put your logo, colours, fonts and rules in your brand record. Every run reads them, so the whole set looks like one brand.
About brand


 04
04See the cost, then press Run
Before a run starts you see what it costs in credits and what your balance will be after it. Then you press Run.
How credits work

 05
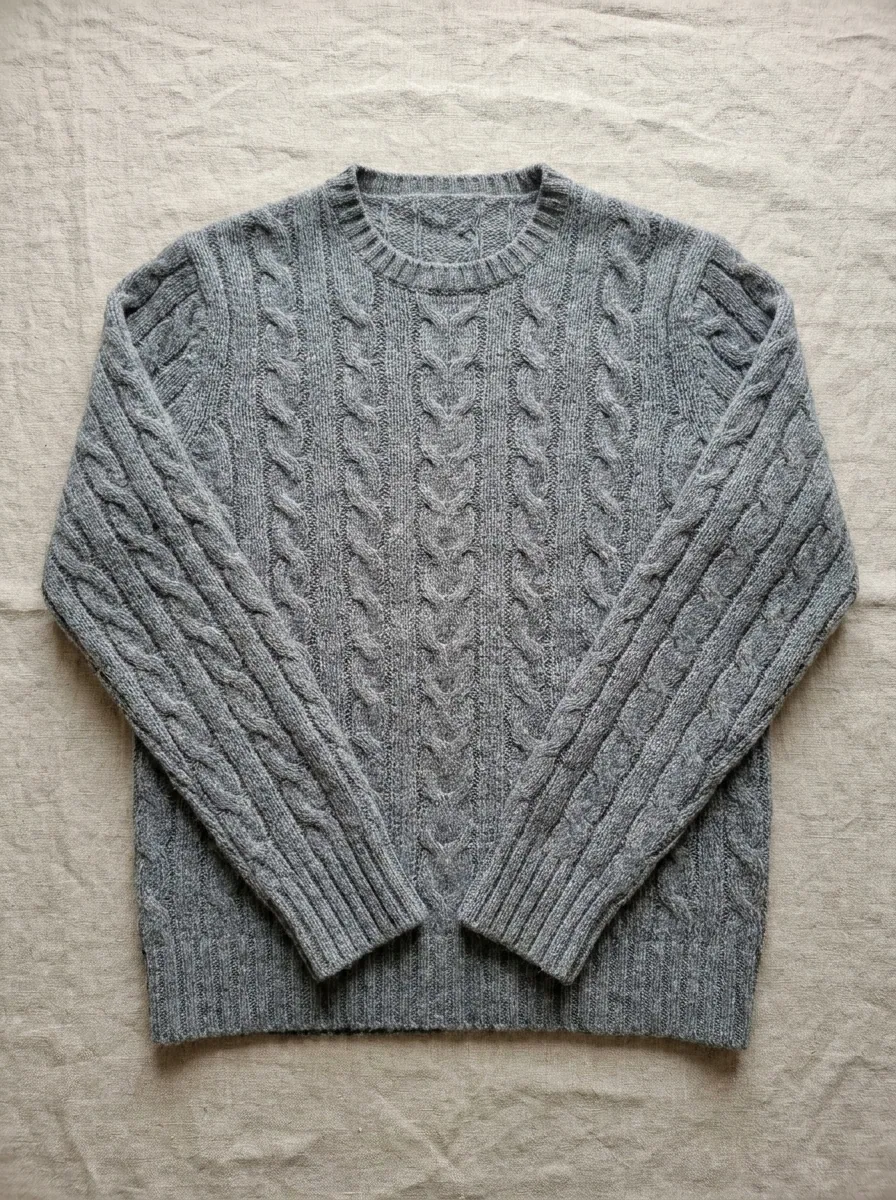
05Review and keep
The results arrive as one set. You keep or discard each one, and you can re-run a single row on its own.
About Assets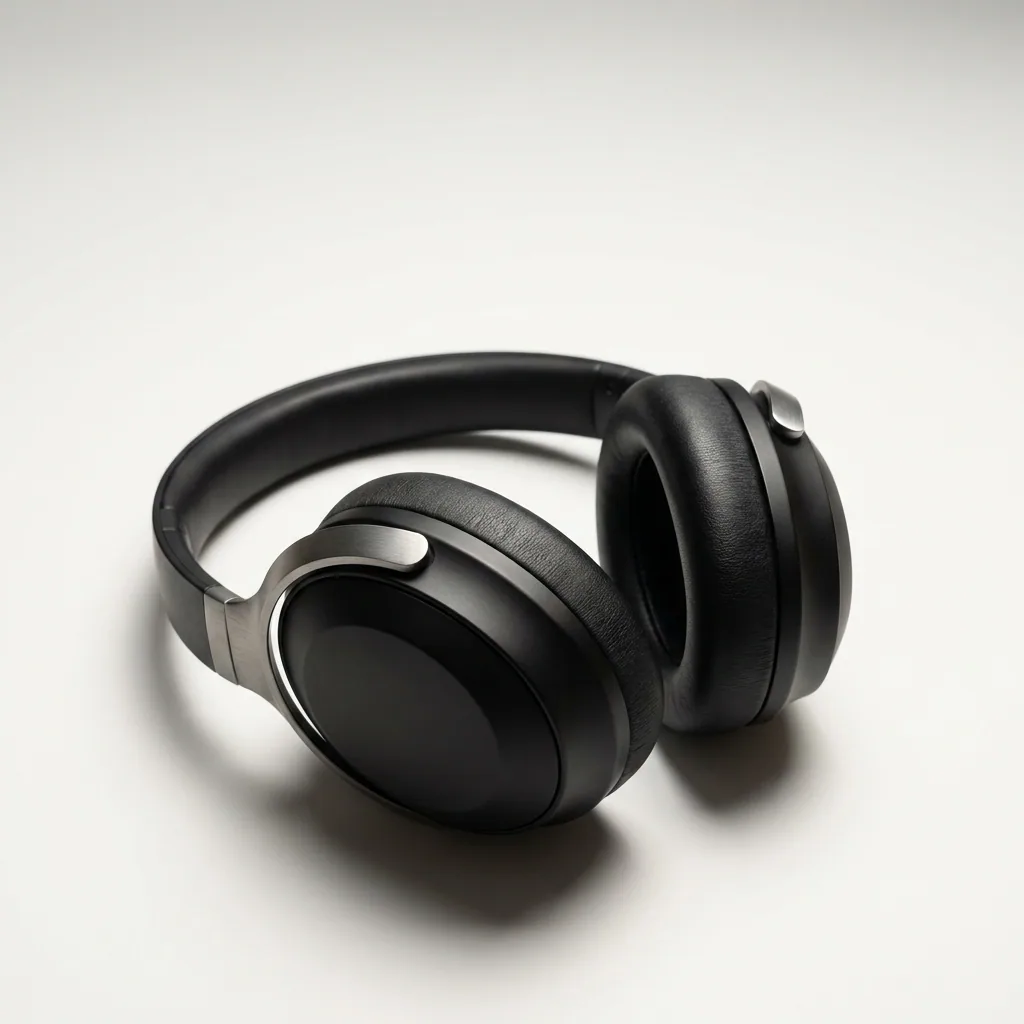

 06
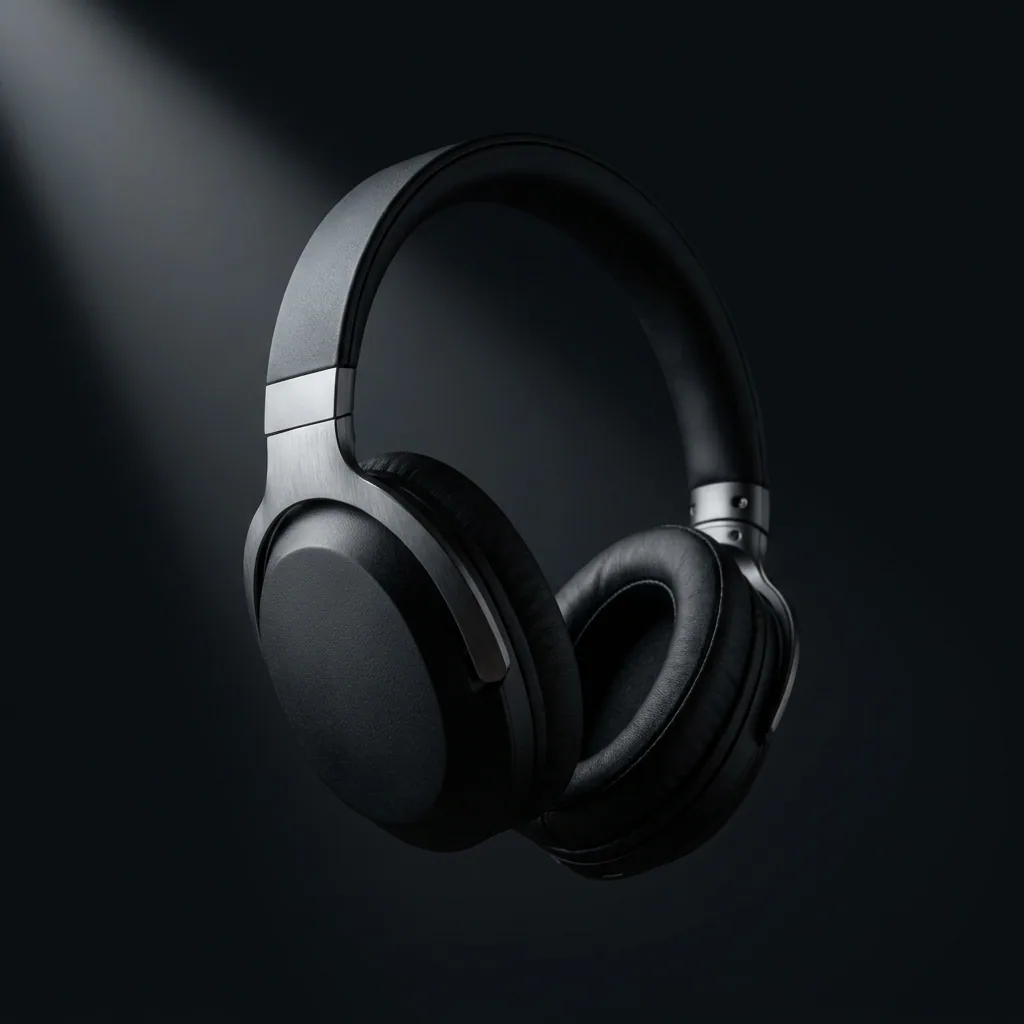
06Run it on everything
Save your steps as a workflow and run it again whenever a new product arrives. Share it with a colleague as an app, or run it over a whole spreadsheet as a batch.

 07
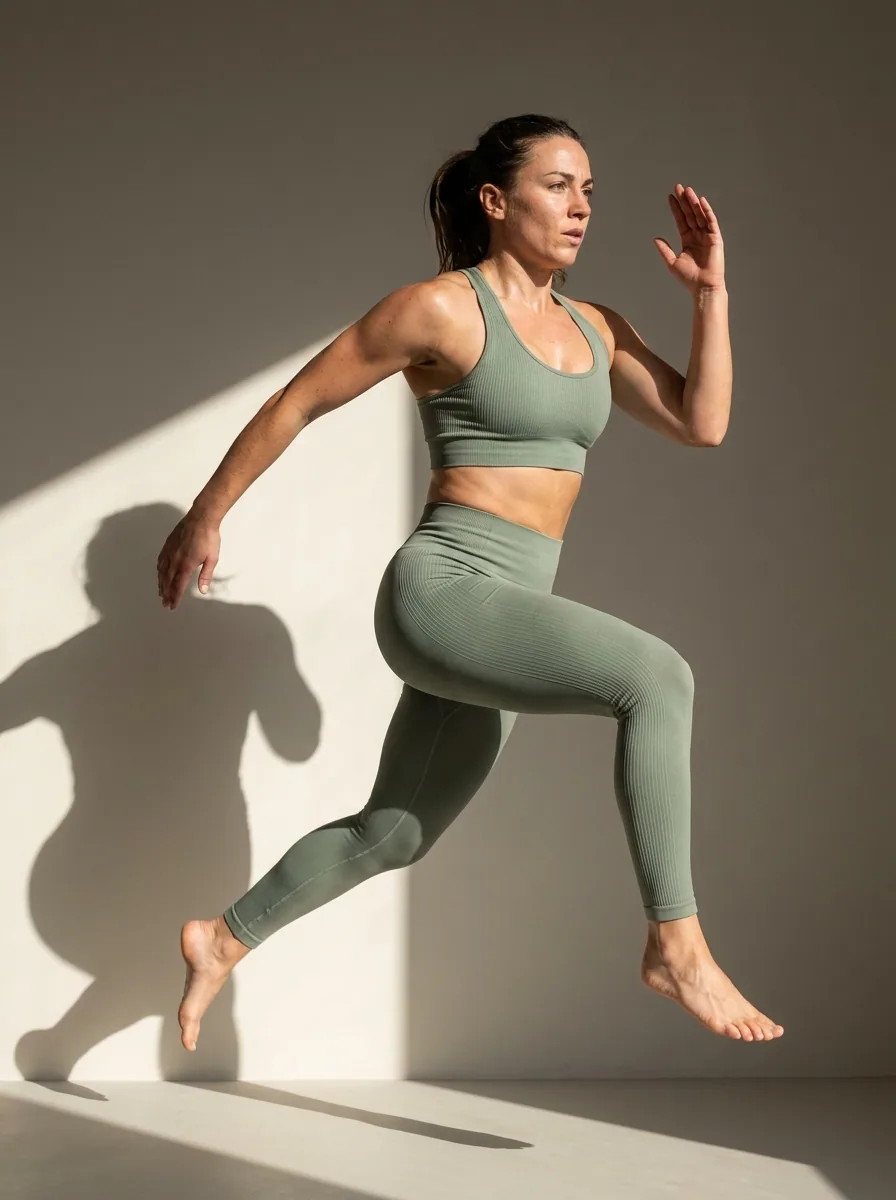
07Finish it here
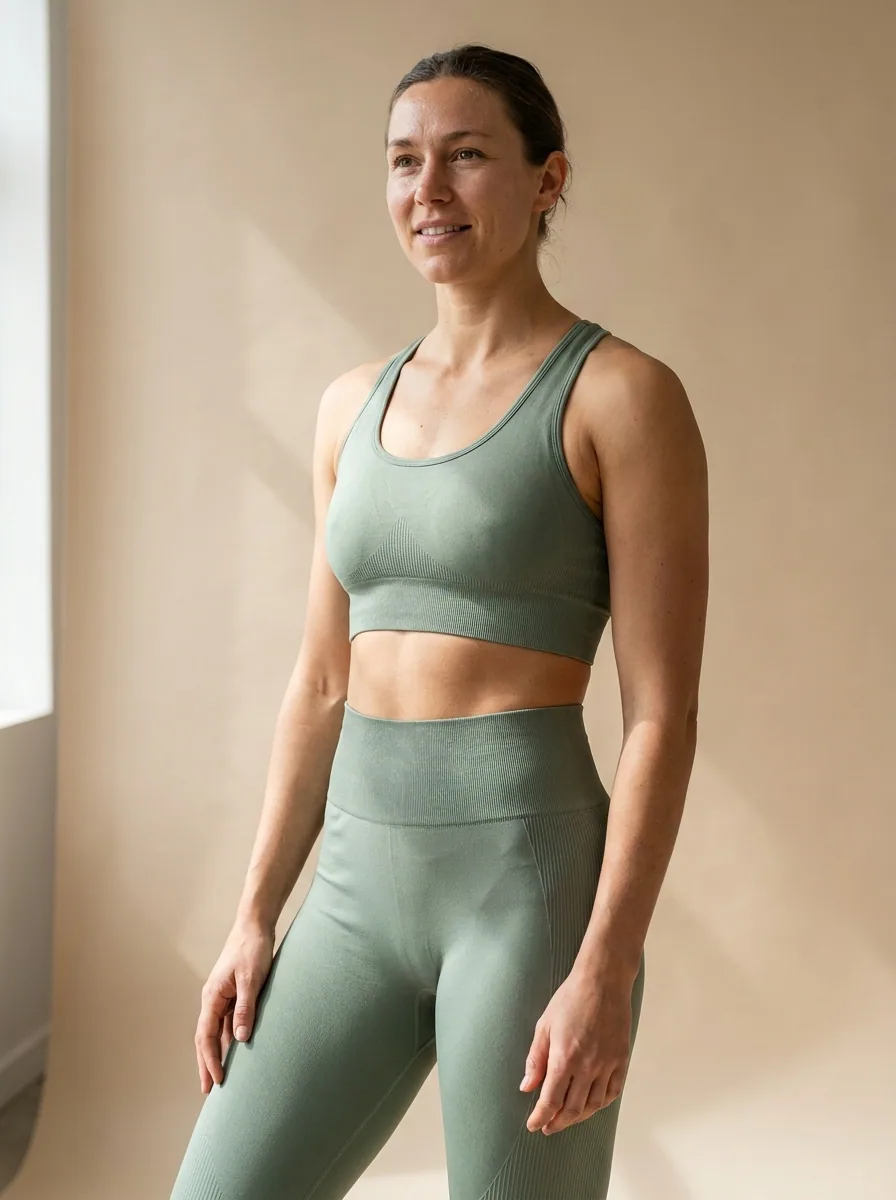
Change one picture in the image editor, or cut, caption and voice a clip in the video editor. Everything you make stays in your Assets, so the team works from one set of files.
See the whole product
Who it is for
Does that sound like you?
Scaling without compromising quality.
Anyone can make an AI picture. Making hundreds that still look like your brand is the hard part. You need the same look on every product, every week, and every piece has to read as your brand.
How we solve it:- One brand record, read on every run
- The same steps on the first row and the last
- Keep or discard each result, and re-run one row on its own
Cut the waiting time and budget for deliverables.
You deliver for several clients, and each one has its own brand book. Waiting weeks for a shoot or an edit delays every delivery.
How we solve it:- One brand record per client, read on every run
- Apps a colleague runs from a short form
- A shared workspace and team seats on the Ultra plan
Everything in one place
Everything you need, in one place
The full workflow, from your product photos to the finished ad, in one subscription.
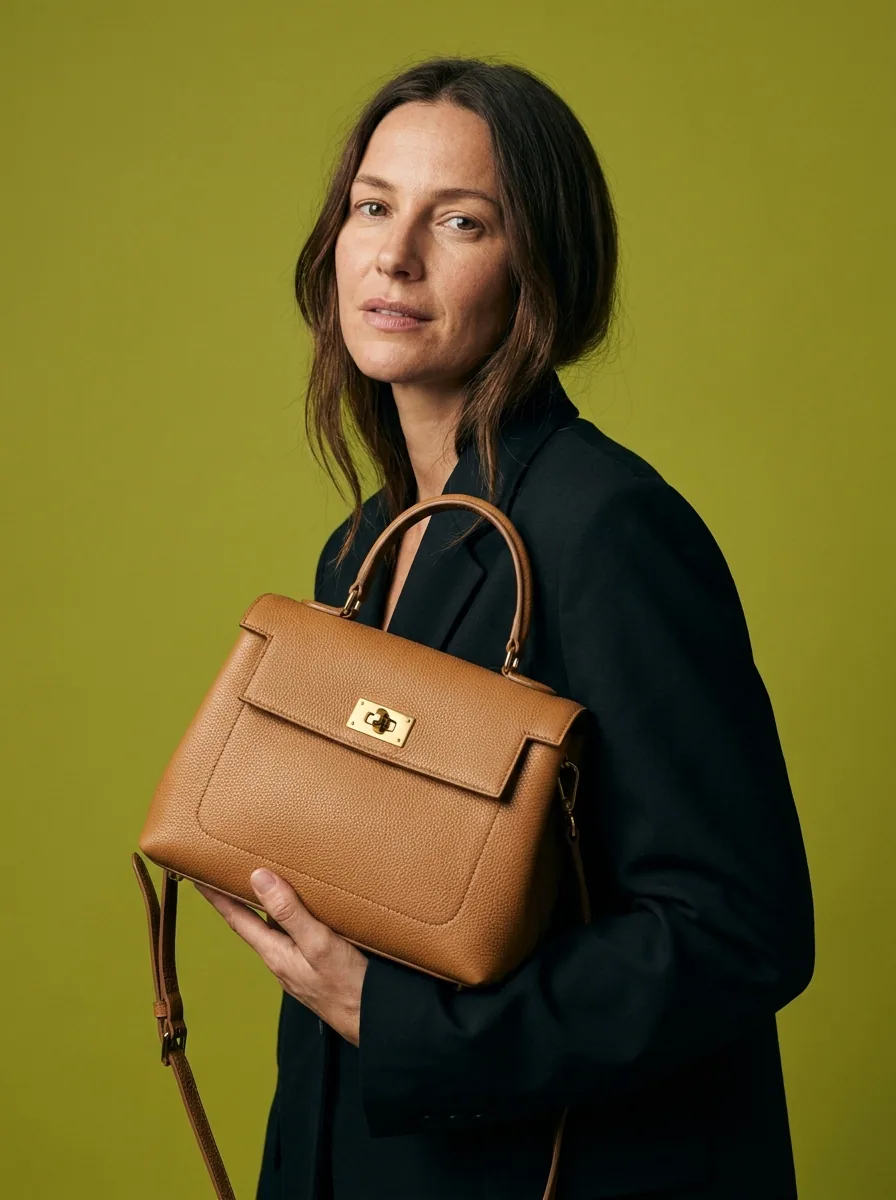
Templates
Start from a finished result
Workflows
Your steps, saved to run again
Apps
Fill a short form, press Run

Batch
Run one workflow on a whole spreadsheet
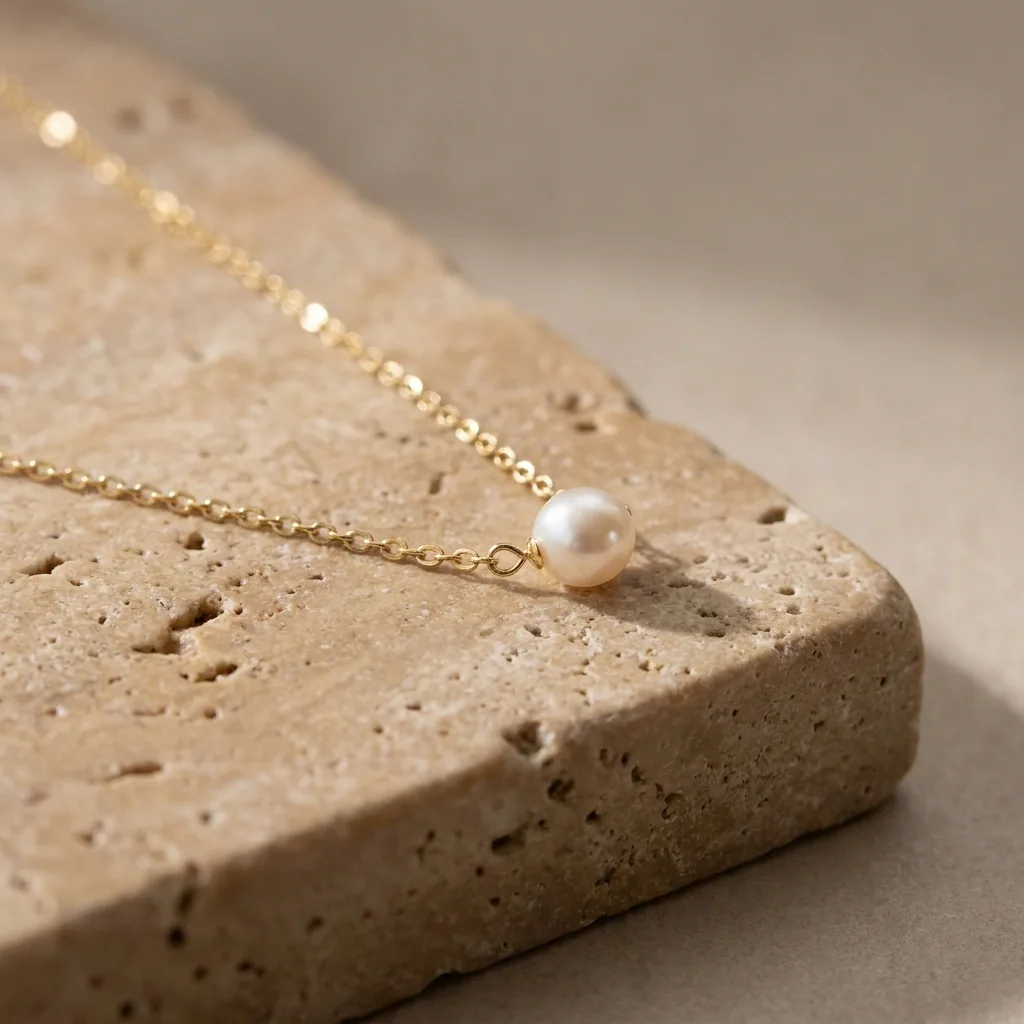
Image editor
Change one picture, keep the detail
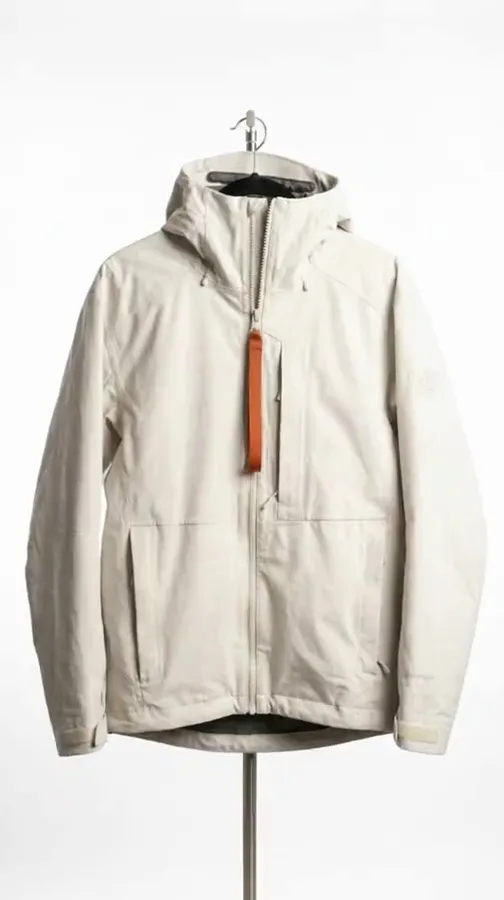
Video editor
Cut, caption and add a voice
Brand
Logos, fonts, colours and rules
Assets
Every result in one place
MCP server
Run DesignerBox from Claude, ChatGPT, Cursor or Codex
Figma plugin
Make on-brand images inside Figma
Chrome extension
Make images and video beside any web page
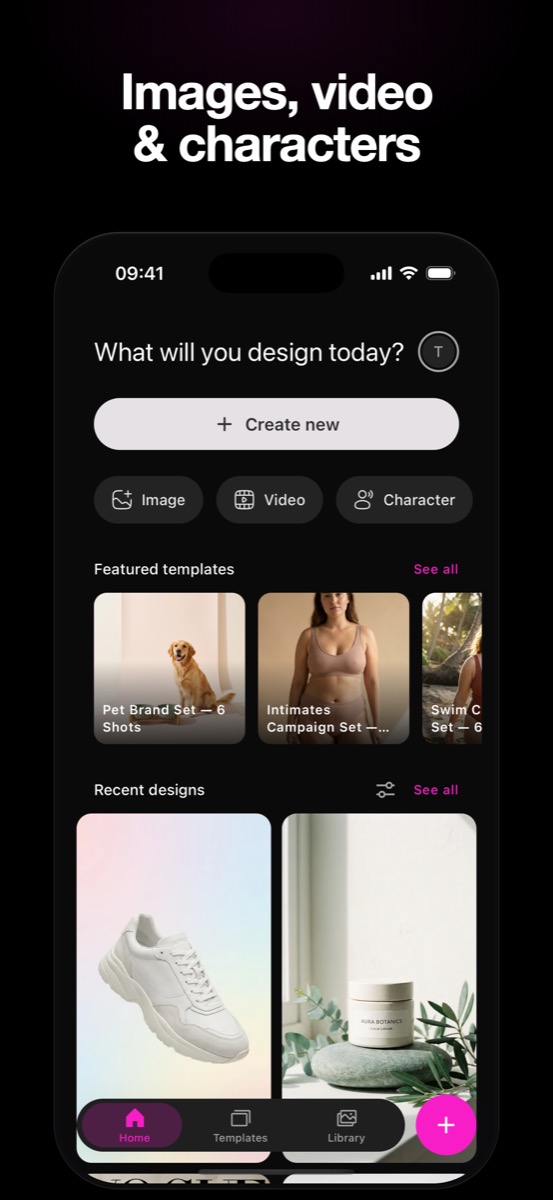
iOS app
Your workspace on your phone


















Questions
Curious? Let's clear things up.
Do I need to write a prompt?
No. You start from a template, which is a workflow already built for a named job, and you change its steps if you want. A text step is one step in a workflow, not the whole job. Writing your own prompts starts on the Pro plan.
What do I need to start?
A photo of the real product and a template. A plain phone shot on a table is enough. Add your brand once, and every workflow reads it. Uploading your own photos starts on the Pro plan.
How do I know what a run will cost?
The cost in credits is shown before you press Run, together with your balance after the run. Nothing is spent until you press it. Your plan decides how many credits you get each month.
What does the free plan include?
Templates, workflows, apps and your Assets, with a monthly credit allowance. Uploading your own photos starts on the Pro plan, and video and both editors start on the Premium plan. The pricing page lists what each plan holds.
Can I sell with the pictures I make?
Yes, from the Pro plan, where the commercial licence starts. Pictures made on the free plan carry a small DesignerBox mark, and paid plans remove it. The terms say what the licence covers.
Which plan do I need for video?
The Premium plan. Video starts there, and so do virtual try-on, image upscaling and both editors. The API starts on the Ultra plan. The pricing page lists what each plan holds.
Will my results match across a catalogue?
Yes, because you keep only the results that match. Your brand, your products and your rules are set once in the workflow, and every run reads them. A critic step checks each result, and you keep or discard each one.
What is batch, and can I use it now?
Batch runs one workflow or app over a sheet, one product per row, and it is live today. You see the cost of the whole sheet before the run, and you keep or discard each result.
Scale content without limits.
Generate content for your products or services with AI, starting today, and keep your brand on every piece.