


Technical fabric
Activewear product photography with AI
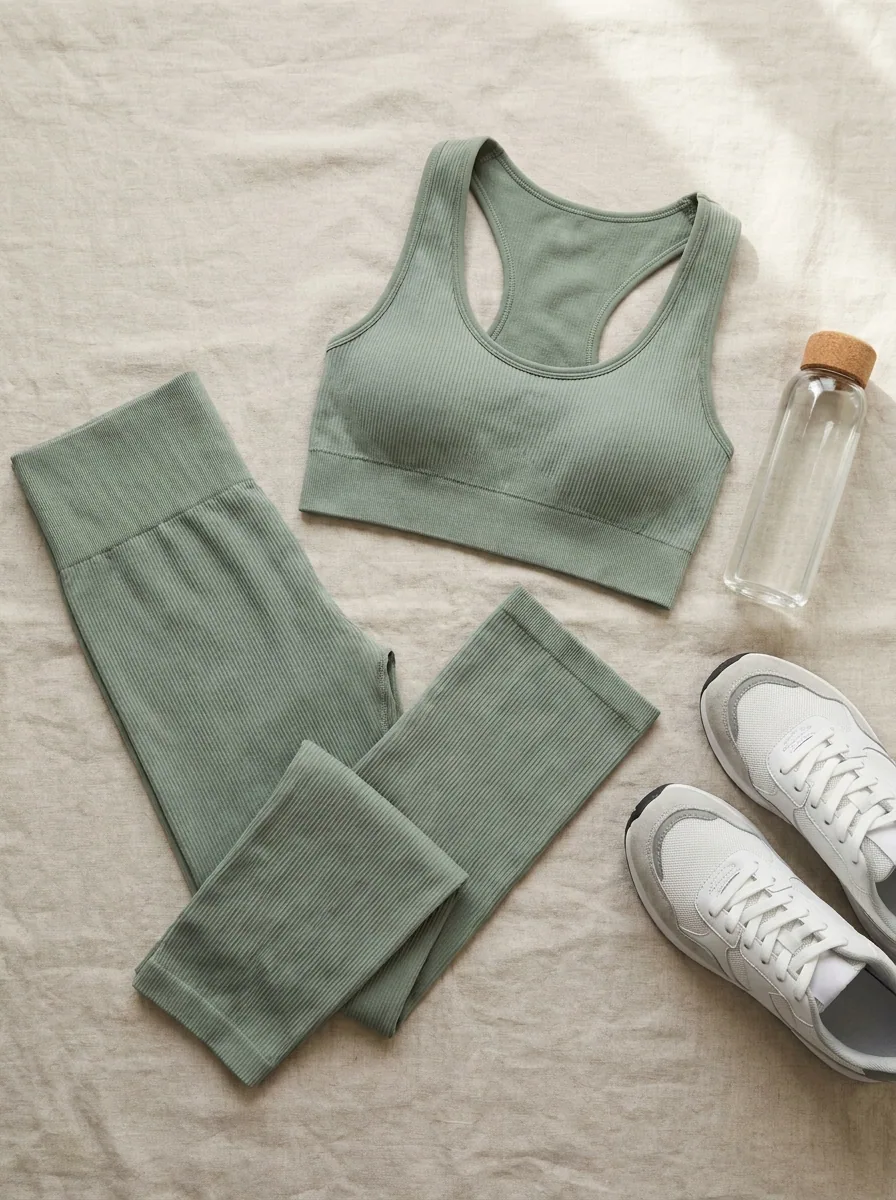
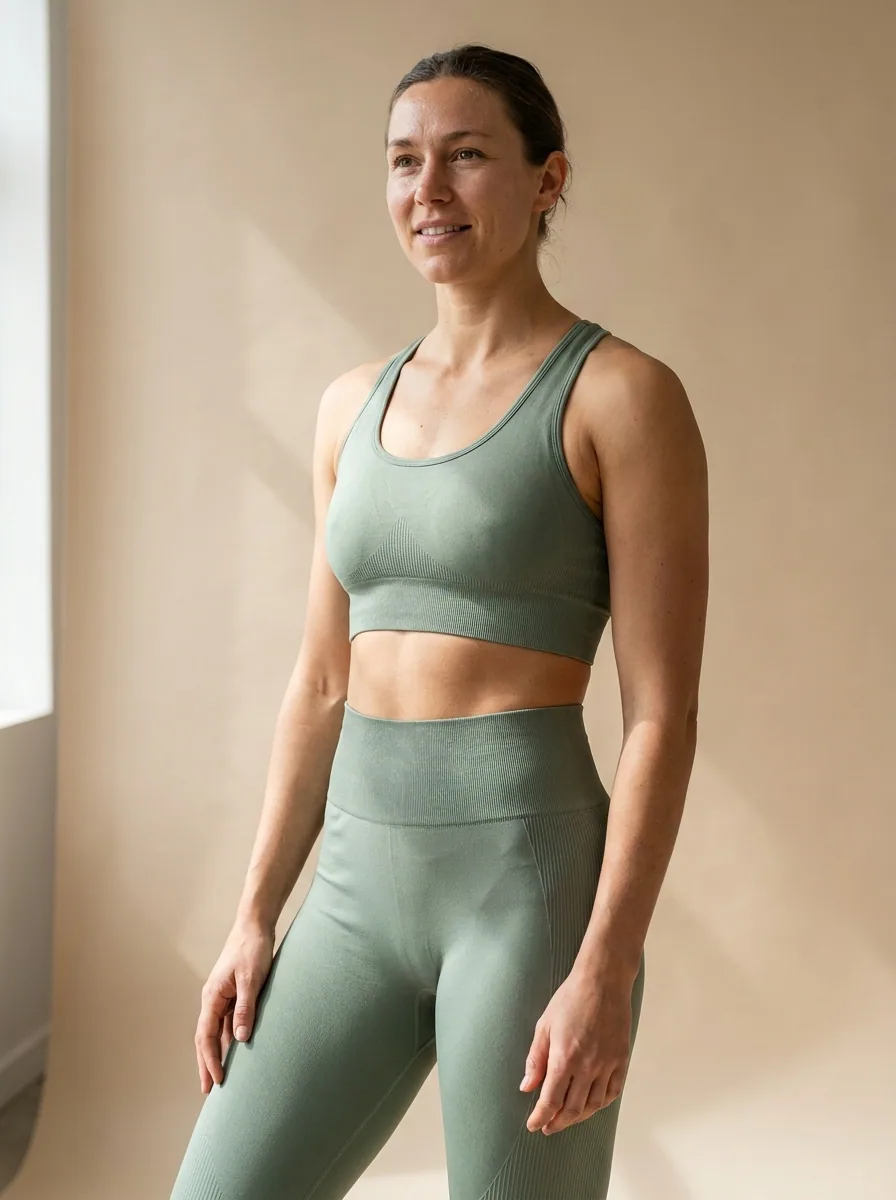
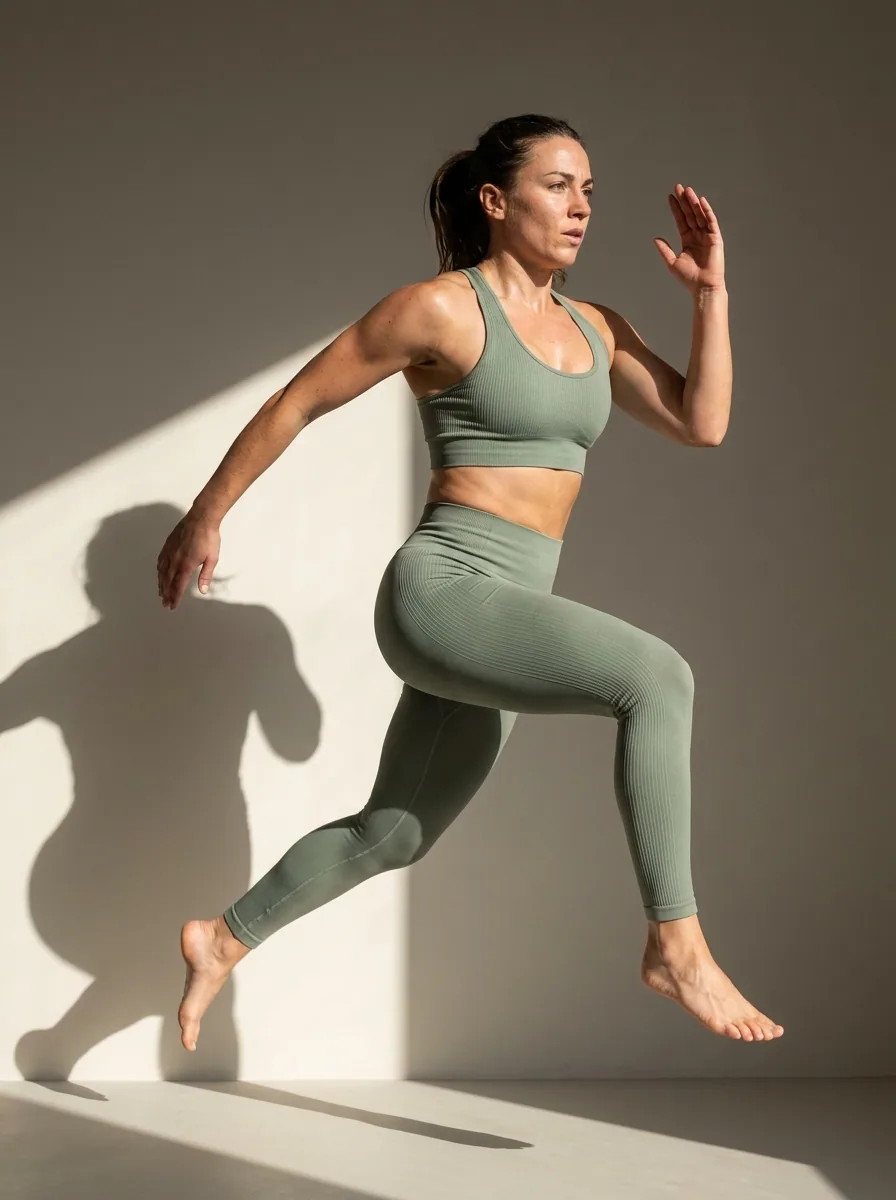
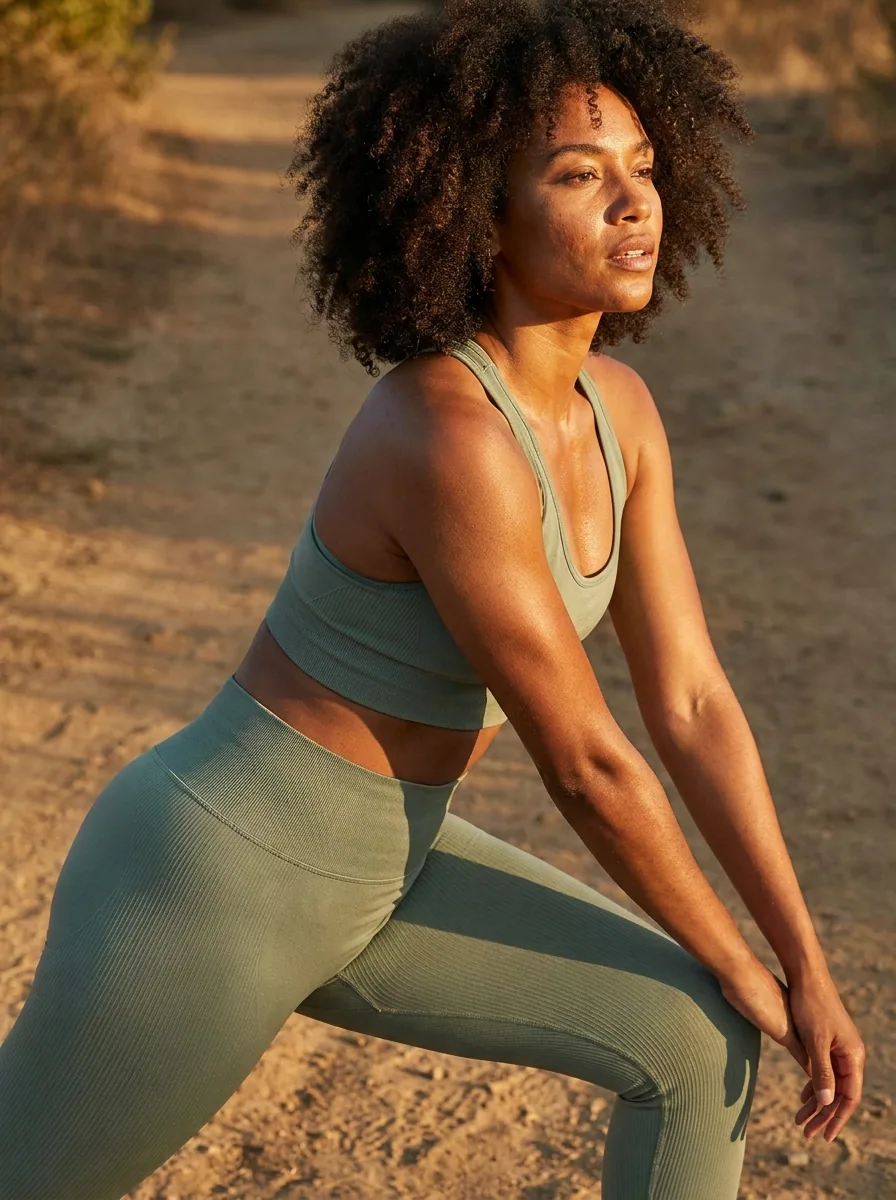
DesignerBox makes activewear product photography that keeps your brand's look, at any volume. Side light shows the flatlock seams and the compression that flat front light hides.
Last updated
Who it is for
Does that sound like you?
Scaling without compromising quality.
You need more pictures every week for the shop, the ads and the socials. Anyone can make an AI picture. Making hundreds that still look like your brand is the hard part. A shoot for every product costs weeks, and every new generator returns a different look.
- A template or a workflow you build once, with your brand rules
- One run on one product, or a batch over your whole catalogue
- Every result in Assets, with the same look on the first and the last
Cut the waiting time and budget for deliverables.
You make this for clients, and every client has their own look. A shoot for each one costs weeks and most of the budget. A different generator for each one returns a different look, so somebody fixes it by hand before it is delivered.
- Each client's brand rules, saved once and used on every run
- A workflow you build once and run for every client
- A batch over a client's whole catalogue, delivered from Assets
Activewear photography
Activewear product photography works on tension and side light. Compression fabric only proves itself on a body. Panel shaping and hold disappear when the garment is flat. Light raked across the garment from the side makes flatlock seams and bonded panels visible. Front-on light flattens them to nothing. The back view carries the decision on leggings. Treat it as a required frame, not an extra one.
What technical fabric asks of a photograph
Four things a camera has to be told to show.
Compression is invisible off a body
The point of a compression legging is how it holds and shapes. Laid flat, it is a dark tube with no information in it. Put it on a body. The panels then pull into position and the waistband sits at the height it will sit.
Seams need light from the side
Flatlock stitching, bonded panels and taped edges are raised by a millimetre or two. A light placed near the camera lights both sides of that ridge and it disappears. Place the main light to one side instead. The ridge then casts a small shadow along its length.
Technical sheen changes with angle
Nylon and polyester blends have a directional sheen. Turn the garment ten degrees and matte becomes glossy. Fix the light and the camera position for the whole range, then rotate nothing between frames. Otherwise two colourways of one legging look like two different fabrics.
Black loses its edge on dark
Most activewear ranges are mostly black. A black garment on a dark background merges with it. The silhouette is gone. Use a mid-grey ground instead. Or add a light along the edge of the garment. A thin bright line then separates it from the background.
Order of work on a range shoot
Tension first, side light second, flat lay last.
Do the worn frames first, while the model is there. Everything else can be built later from a flat garment. Tension cannot. Set the light direction before the first frame. Keep it for the entire range, including the detail crops. A seam crop lit from a different side looks like a different product. Flat lays and cut-outs come after the worn frames. Produce those indoors on a mid-grey surface, which keeps black garments separate from the ground. Colour goes last, judged against the real garment. Matte and glossy blacks are easy to confuse on screen.
Files an activewear listing needs
Four files, and the doubt each one removes.
Back on-body view
A straight back view of the legging on a body, from waistband to ankle. It answers seat shaping and seam placement in one frame. Buyers open it before they read the description.
Seam and panel crop
A close frame lit from the side, showing flatlock stitching, bonded edges or a mesh panel. This is where a technical garment proves it is built differently from a cotton one. Produce one per construction feature you name in the copy.
Waistband and pocket detail
A crop showing waistband height, the drawcord and any side or back pocket. Waistband height is a common question. Answer it in an image as well as in the copy. Show it flat and worn, because the height changes once the fabric stretches.
Matched set flat lay
Top and legging arranged together on one surface, cropped square. It is the collection tile and the set-purchase frame. Keep the surface and the spacing identical across the range, so the category page matches.
Questions about activewear photography
What activewear brands ask before a range shoot.
How do I photograph compression fit without a model?
Why do my seams disappear in the photo?
How do I photograph black leggings so the shape reads?
Should I show mesh panels, and how?
Can a still image show stretch and recovery?
Can I use these images to support an opacity claim?
Other categories
The same craft, written for a different product.
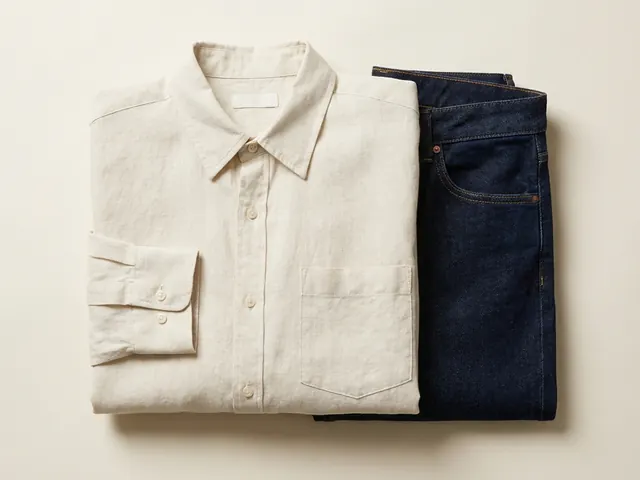
Fashion and apparel
Drape, fabric weight and true colour, held across every image in a clothing listing.
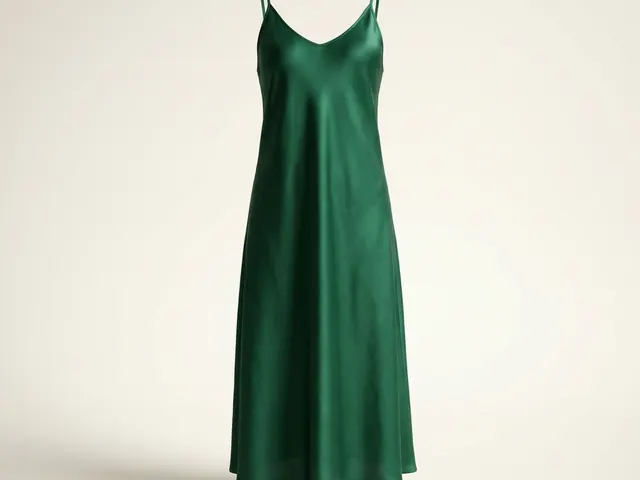
Dresses
Hem line, the fall of a skirt, and a full-length garment inside a square crop.
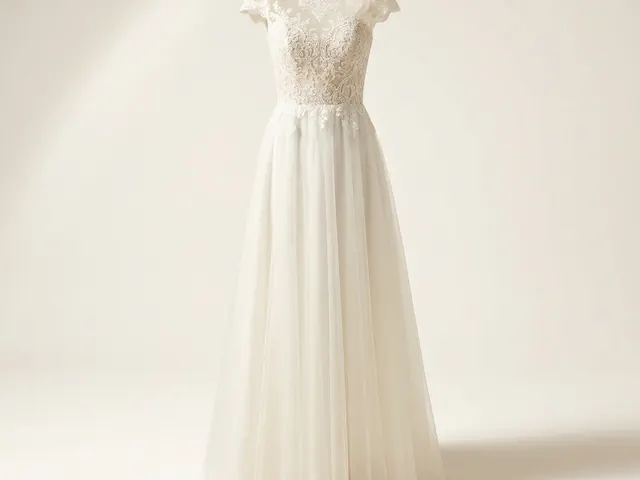
Wedding dresses
White on white, lace and beadwork detail, and a train that has to be measured.
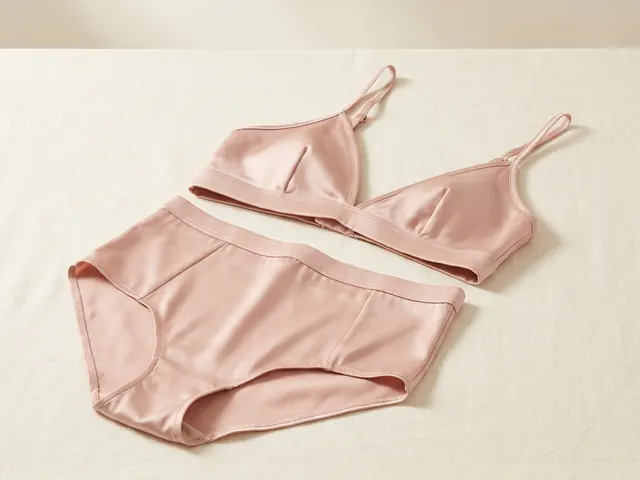
Lingerie photography
Flat lay sets, open lace cut-outs, sheer mesh backing and true nude colour.
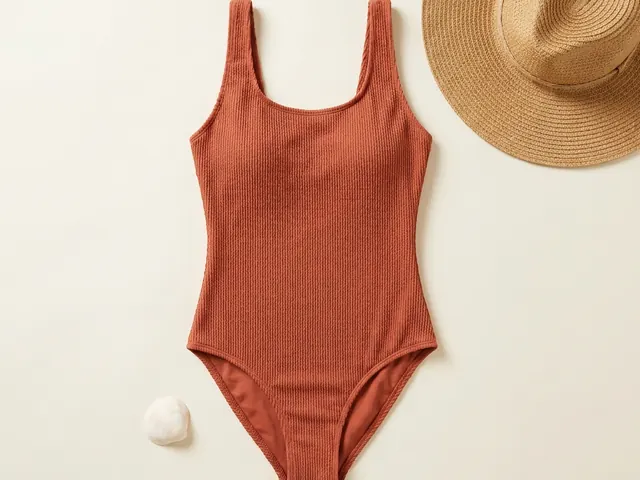
Swimwear photography
On-body fit, location light, wet colour shift and the print shown flat.
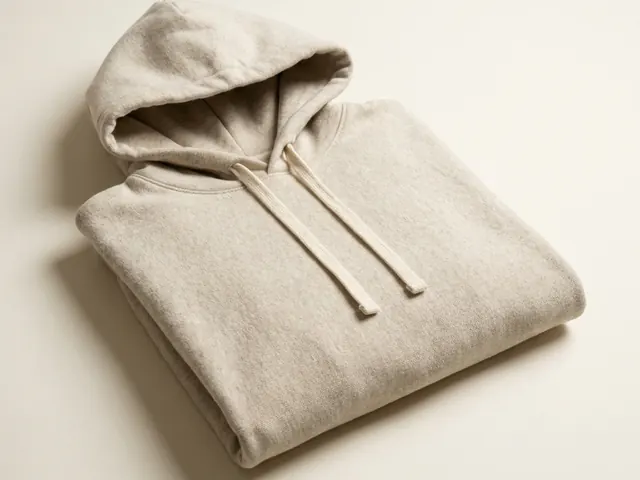
Hoodie photography
Fleece weight, hood shape, print legibility and the drop shoulder.
Everything you need, in one place
The full workflow from the first product photo to the finished ad, in one subscription.
Scale content without limits.
Generate content for your products or services with AI, starting today, and keep your brand on every piece.








