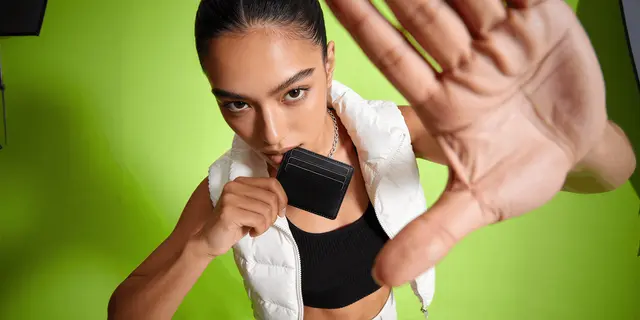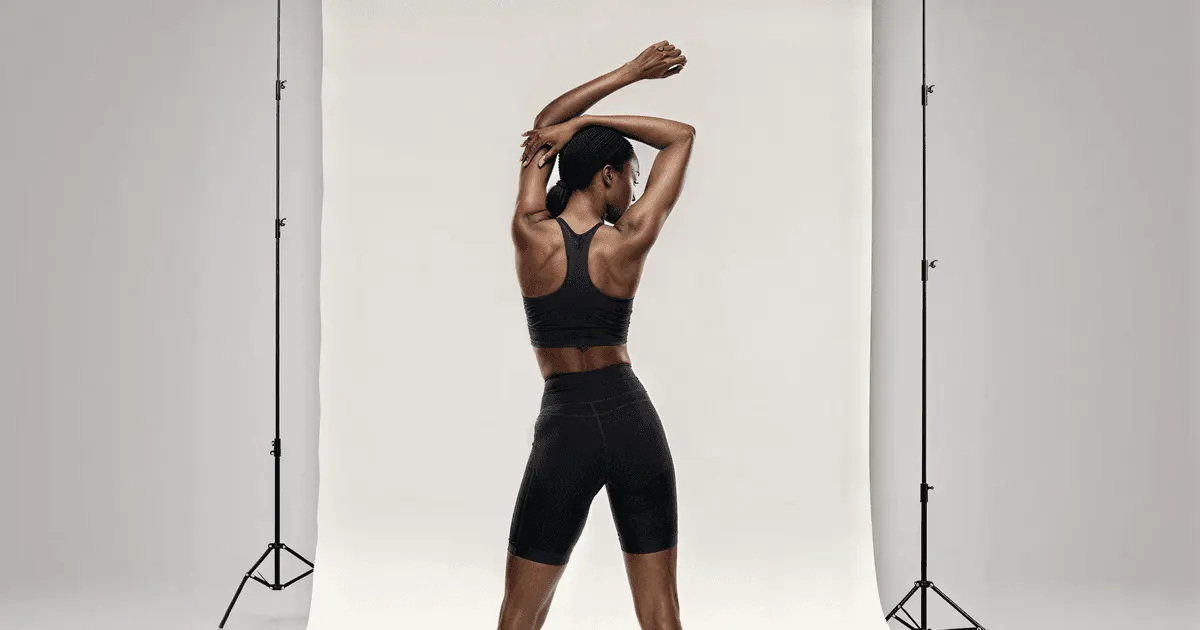
A complete listing needs seven product photography angles: front, back, three-quarter, side, top, detail, and in-scale. Front establishes the product, back answers what is hidden, three-quarter gives it volume, side shows depth, top shows layout, detail proves material quality, and in-scale tells the shopper how big it is. Each answers a question a shopper would otherwise settle by picking the product up.
Seven angles is seven setups. A rotation, a relight, a lens change, a surface swap, and a re-frame, times every SKU on the sheet.
Then the drop lands and you do it again. A new colourway is a new front, back, three-quarter, side, top, detail, and in-scale. The angle list never changes. The product does, constantly, and the shoot resets to zero every time.
This is the shot list, then how to get all seven without seven setups.
Key Takeaways
- Seven angles cover a complete listing: front, back, three-quarter, side, top, detail, and in-scale. Fewer leaves a question the shopper has to guess at.
- Amazon requires one image and recommends six, with the main image on a pure white background (RGB 255, 255, 255) and the product filling 85% or more of the frame (sellercentral.amazon.com, July 2026). Which AI tools clear that main image rule is a separate question from which angles you shoot.
- The in-scale shot is the most skipped and the most missed. 42% of users try to work out product size from images, and 37% of sites do not provide an in-scale image (baymard.com, March 2026).
- Match the front and back exactly. Same focal length, distance, and light. A gallery that jumps between shots reads as two different products.
- Some categories change the angle set. Headwear has no rest shape, so the angles have to be built around a hidden support. See hat photoshoot ideas for that version of the list.
- Detail shots need raking light, not front light. Light across the surface at a low angle reveals texture. Light straight at it flattens the thing you are proving.
- The angle set is not the cost. The reset is. You rebuild the same seven setups for every variant, and small reshoots have the worst economics available.
- All seven derive from one accurate photo, at 5 credits per image, or 35 credits for the full set.
| Angle | What it answers | When to use | Setup needed |
|---|---|---|---|
| Front | What is this product? | Always. This is the main listing image. | Long lens, product square to camera, white sweep, key light at 45 degrees, fill card opposite |
| Back | What is on the other side? | Anything with labels, ports, closures, care tags, or an ingredients panel | Identical to the front. Same lens, distance, height, and light |
| Three-quarter | What shape is it? | Products with volume: bottles, bags, shoes, hardware, packaging | 30 to 45 degree rotation, camera slightly above centre, edge separation on the far side |
| Side | How deep or thick is it? | Footwear, furniture, phones, luggage, anything with a profile | 90 degree rotation, cross light or a graded background so the silhouette reads |
| Top | How is it laid out? | Flat goods, sets, kits, apparel flat lays, jewellery | Camera parallel to the surface on a boom, low side light or a large overhead diffuser |
| Detail | Is the quality real? | Every product with a material claim: stitching, grain, weave, finish | Macro or close focus, f/11 to f/16 or a focus stack, raking light at a low angle |
| In-scale | How big is it? | Every product, especially anything a shopper cannot size by category habit | A hand, a model, or an object of known size, on the same focal plane as the product |
Large-format categories add a sixth requirement this list does not cover, because a room is part of the answer. That set is in furniture product photography. Footwear goes the other way and has the angle set written down for it by the marketplaces, including which foot belongs in the main frame, which is covered in the footwear shot list.
What are the seven product photography angles?
The seven angles are front, back, three-quarter, side, top, detail, and in-scale. They are not seven versions of one photo. Each answers a separate question, and the questions are the ones a shopper would settle in a shop by turning the product over. Drop an angle and you leave that question live at the moment they decide.
The angle set is one shot format among several a listing draws on. The full picture, and the platform rule behind each one, is in the types of product photography.
1. Front
The front is the product square to the camera, lit cleanly, on white. It is the image the marketplace indexes and the one that carries the click.
Shoot it with a long lens. An 85mm to 105mm full-frame equivalent keeps the front face rectangular. Wide lenses bow the edges outward and make a box look like it is leaning toward you, and no retouching puts that back. Put the lens at the vertical centre of the product, not at your eye height. Shooting down on a bottle from standing height puts an ellipse where the shopper expects a straight shoulder line.
Key light at roughly 45 degrees front-left through the largest soft source you have, white fill card opposite at about one stop under. Shape without a shadow the marketplace will reject.
Amazon’s product image guide requires the main image on a pure white background at RGB 255, 255, 255, product filling 85% or more of the frame, no text, no graphics, no watermarks, and no props that are not in the box (sellercentral.amazon.com, July 2026).
2. Back
The back answers what is hidden. Care labels, ingredients panels, ports, vents, closures, serial plates.
The craft rule here is not about the back. It is about matching. Same focal length, camera distance, lens height, light, and white point. The shopper flips between image one and image two, and if the product changes size, colour temperature, or exposure between them, the gallery reads as two different products and trust drops before they can say why.
Mark the tripod position on the floor. Rotate the product, not the camera.
3. Three-quarter
Rotate the product 30 to 45 degrees and raise the camera slightly above its centre. You see the front and one side in the same frame, and the product has volume instead of being a flat shape on white.
The technical problem is the far edge. On white, the receding side goes to white and the product dissolves into the background. Fix it with separation: a narrow soft source raking the far edge, or a black flag just out of frame to lay a dark gradient down that side.
Pick 45 degrees and hold it across the catalogue. Two products at two rotations sit badly next to each other on a category page. Some categories have the angle chosen for them: Zalando specifies 45 degrees for a bag’s back view so both planes read, one of several rules in the handbag shot list.
4. Side
Ninety degrees. The side is the profile, and the profile is the spec the copy cannot deliver. Heel height. Sole thickness. Phone depth. Suitcase expansion. Chair rake.
Flat frontal light destroys this shot. A profile is a silhouette, and a silhouette needs a tonal difference between product and background. Use cross light from both sides, or a graded background, dark where the product is light and light where the product is dark.
Skip it on genuinely flat products. A print or a poster has no profile worth the frame, and the top shot covers it.
5. Top
Camera directly overhead on a boom, sensor plane parallel to the surface. Get that parallel wrong and every straight edge keystones.
The top shot is where the surface matters more than the product, because it occupies most of the pixels. Choose it deliberately: paper, stone, linen, painted board. Use the same one across the catalogue. Light it with a large diffuser directly above for clean and flat, or with two low side sources, which puts a short shadow under the product and stops it looking pasted on. The second is almost always the better picture.
This is the angle for sets, kits, apparel flat lays, and jewellery. It is also the angle that fails hardest on a chain, where a flat lay removes the drape that photographing a bracelet depends on. It is the only shot that answers “what do I receive?” in one frame. Flat lay photography at catalogue scale comes down to two rules, and both are geometry rather than styling.
6. Detail
The detail shot carries the material claim. If your copy says full-grain leather or brushed steel, this is the evidence and everything else is assertion. In leather goods that evidence is regulated, and what the FTC leather guides say about depicting grain applies to the macro before it applies to the copy.
Two things make it work.
Depth of field. Close focus collapses it fast. Shoot at f/11 to f/16, or focus stack if the surface angles away from you. A macro with three millimetres of sharpness proves nothing.
Light angle. Rake the light across the surface at a low angle, close to parallel with it. Texture is height, and height only becomes visible when it casts its own small shadows. Light the surface from the front and the stitching, grain, and weave flatten into an even tone.
Shoot two or three details per product, on the features your reviews and returns keep naming.
7. In-scale
The in-scale shot puts something of known size next to the product: a hand, a model, or a familiar object.
It is the most skipped angle and the most consequential. Baymard’s product page research finds 42% of users try to work out a product’s size from images, while 37% of sites do not provide an in-scale image (baymard.com, March 2026). Their guidance is direct: refrigerators belong in kitchens, grills on patios, watches on wrists (baymard.com, July 2026). For anything worn, a human model is the reference (baymard.com, March 2026). Packs are the clearest case, since the published litre figure leaves out the open pockets, and the backpack shot list covers how the gallery closes that gap.
The craft detail people miss: the reference object has to sit on the same focal plane as the product, at the same distance from the lens. Put the hand ten centimetres closer and a long lens makes the hand large and the product small, which is worse than no reference at all.
Order matters as much as the shot, covered in the guide to what PDP images move conversion.
How many product images does a listing need?
Amazon requires at least one image per detail page and recommends six, with additional images showing the product in use or in an environment, from different angles, and highlighting different features (sellercentral.amazon.com, July 2026). Seven is the practical number, because six plus the in-scale shot covers every question without padding the gallery.
The count is the wrong thing to optimise. Nine images that are all front-ish views at slightly different rotations answer one question nine times. Seven that each answer something different is a complete listing.
Work backwards from the questions instead. What does a shopper not know after reading the title? For a jacket: what the lining looks like, how deep the pockets are, whether the hardware is metal or plastic, and how it sits on a body. That is a back, a detail, a detail, and an in-scale.
Variants multiply the front, three-quarter, and in-scale. They rarely need a new detail shot, because the stitching does not change with the colourway. That cuts a variant reshoot roughly in half.
Why does the angle set get reshot every drop?
Because the setups belong to the shoot, not to the product. A colourway does not change the shot list, but it changes every file in it. The lights come back out, the sweep goes back up, the tripod marks get rebuilt, and the same seven frames get produced again for a product that differs by a dye batch.
Seven setups is the first drop. The tenth drop is another seven, and none of them earn a volume discount, because a twelve-image top-up is too small to negotiate and too urgent to postpone. The full breakdown of what a product photoshoot costs prices that cycle properly.
The angles themselves are stable. Only the product changes. Which raises a fair question about what you are paying to rebuild.
Can you generate the full angle set from one photo?
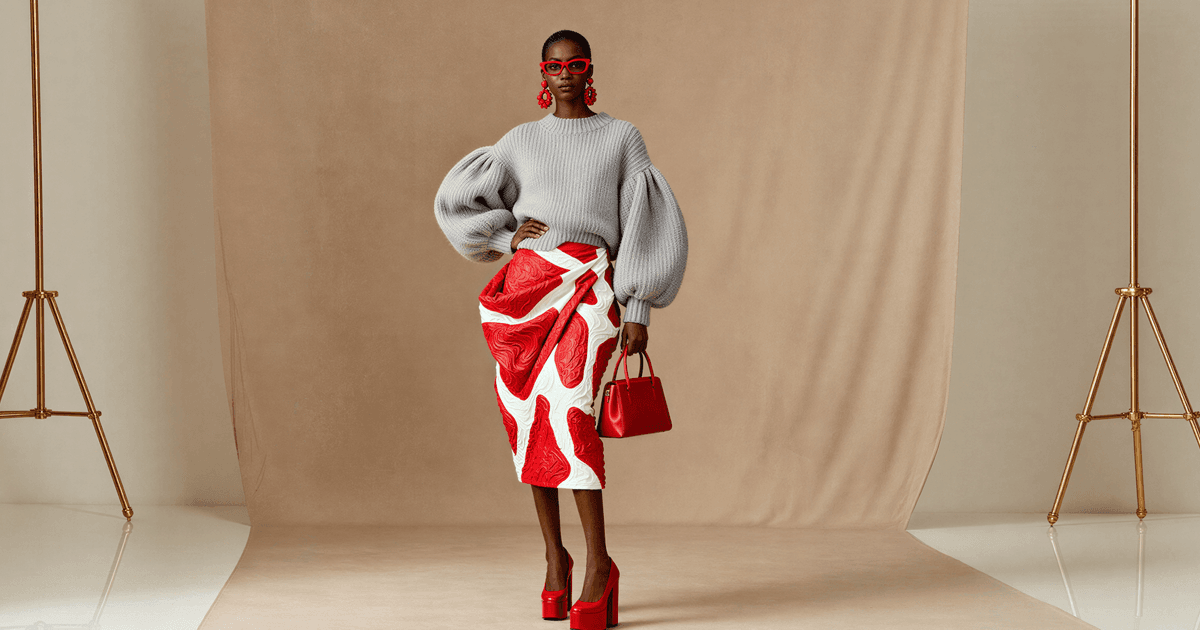
Yes. The remaining six angles are derived from the product in your original shot, so the materials, colour, and proportions come from the real thing rather than from a description of it. You photograph the product once, accurately, and the rotation, profile, overhead, detail crop, and scale reference are produced from that source rather than from a second setup.
The constraint is real: you need one accurate photograph of the actual product. Feed it a bad source and you get seven bad angles instead of one. For what the derived angles look like in practice, and which of them clear a listing slot, see our graded AI product photography examples.
Photo Angles is the app built for this job, and its description is the shot list problem in one line: turn one product photo into every angle your listings and ads need. For the in-scale and in-use frames, Styled Scene Generator places the same product into a scene with a reference in it.
Photo angles also runs as a tool inside Figma, so the set can be built in the layout that needs it rather than in a downloads folder. That route is covered in the Figma AI plugin guide.
The economics are worth doing rather than asserting. Generating or editing an image costs 5 credits, so a seven-angle set is 35 credits per SKU. Against the plan allocations:
| Plan | Price | Credits | Full 7-angle sets per month |
|---|---|---|---|
| Free | $0 | 112 | 3 SKUs |
| Basic | $15 | 500 | 14 SKUs |
| Pro | $35 | 1,000 | 28 SKUs |
| Premium | $75 | 2,500 | 71 SKUs |
| Ultra | $200 | 8,000 | 228 SKUs |
Two honest notes on that table. Importing your own photos and writing custom prompts starts at Pro, and so does the commercial licence, which is the tier that matters if the output runs on a listing or a paid ad. A Free plan set carries a watermark.
Edits do not cost you resolution. Retouch, relight, change angles, and swap backgrounds, and each pass keeps the detail and resolution. That is what makes a derived detail crop usable rather than decorative.
Because every frame builds from the photograph of the real product rather than from a text prompt, nothing comes out looking generic AI. That failure mode has a specific cause, covered in the piece on why generated images give themselves away. For apparel, the same angle set generates on a model too, covered step by step in how to put clothes on a model with AI.
How do you keep an angle set consistent across a catalogue?
Lock the variables once and write them down as a spec: three-quarter rotation at 45 degrees, camera height at the product’s vertical centre, the surface for the top shot, the white point, and the crop ratio. The failure is almost never a bad photo. It is twenty acceptable photos that do not agree with each other, and nobody flags any single frame.
So review by column, not by product. Put all the three-quarters next to each other and the outliers show up in two seconds. Review product by product and you will never see them.
Prompt starting points for each angle sit in the product photography prompts library.
FAQ
What are the seven product photography angles?
Front, back, three-quarter, side, top, detail, and in-scale. Front is the main listing image, back covers labels and closures, three-quarter gives the product volume, side shows depth and profile, top shows layout for sets and flat goods, detail proves material quality, and in-scale tells the shopper how large the product is.
How many product images does a listing need?
Amazon requires at least one and recommends six per detail page, and advises that additional images show the product in use, from different angles, and highlighting different features (sellercentral.amazon.com, July 2026). Seven is the practical target, because it covers the six plus the in-scale shot. Count questions answered, not files uploaded.
Why do in-scale product images matter?
Because shoppers cannot pick the product up. Baymard’s research finds 42% of users try to work out a product’s size from its images, while 37% of sites do not offer an in-scale image (baymard.com, March 2026). Without one, shoppers guess, and a wrong guess costs you either the sale or a size-related return.
How do you shoot a product detail shot that shows texture?
Rake the light across the surface at a low angle, close to parallel with it. Texture is height, and height only reads when it casts small shadows of its own. Front light flattens it. Use f/11 to f/16 or a focus stack, because close focus collapses depth of field fast and a soft weave proves nothing.
Can you generate every angle from a single product photo?
Yes. The remaining angles are derived from the product in your original shot, so materials, colour, and proportions carry across. In DesignerBox this is the Photo Angles app, and generating or editing an image costs 5 credits, so a full seven-angle set is 35 credits per SKU. You still need one accurate photograph of the real product as the source.
Do generated angle edits lose resolution?
No. You can retouch, relight, change angles, and swap backgrounds, and each pass keeps the detail and resolution. That matters most for the detail shot, where a derived crop is only useful if it holds enough resolution to show the stitching or grain it is meant to prove.
Sources
- Amazon main-image requirements (pure white RGB 255, 255, 255, product filling 85% or more of the frame, no text or props) and the one-required, six-recommended image count: (sellercentral.amazon.com, July 2026)
- 42% of users working out product size from images, and 37% of sites providing no in-scale image: (baymard.com, March 2026)
- Guidance on showing products in a size-referencing context, such as watches on wrists: (baymard.com, July 2026)
- DesignerBox credit costs, plan allocations and feature gating verified against live product configuration, July 2026
Image requirements verified from Amazon Seller Central and product page research from Baymard Institute as of July 2026. DesignerBox credit costs and plan allocations verified against live product configuration, July 2026. Marketplace image specifications change and vary by category. Individual results vary.