For independent boutiques and multi-brand stores

Twelve pieces in the drop. One afternoon of shooting.

A boutique carries breadth rather than depth. Twelve styles in three colourways is a normal week, and each one needs a listing image, an on-model view and something for the feed. Photograph the rail once, then build the rest from those files instead of booking a model day you cannot amortise over four units.

Start free
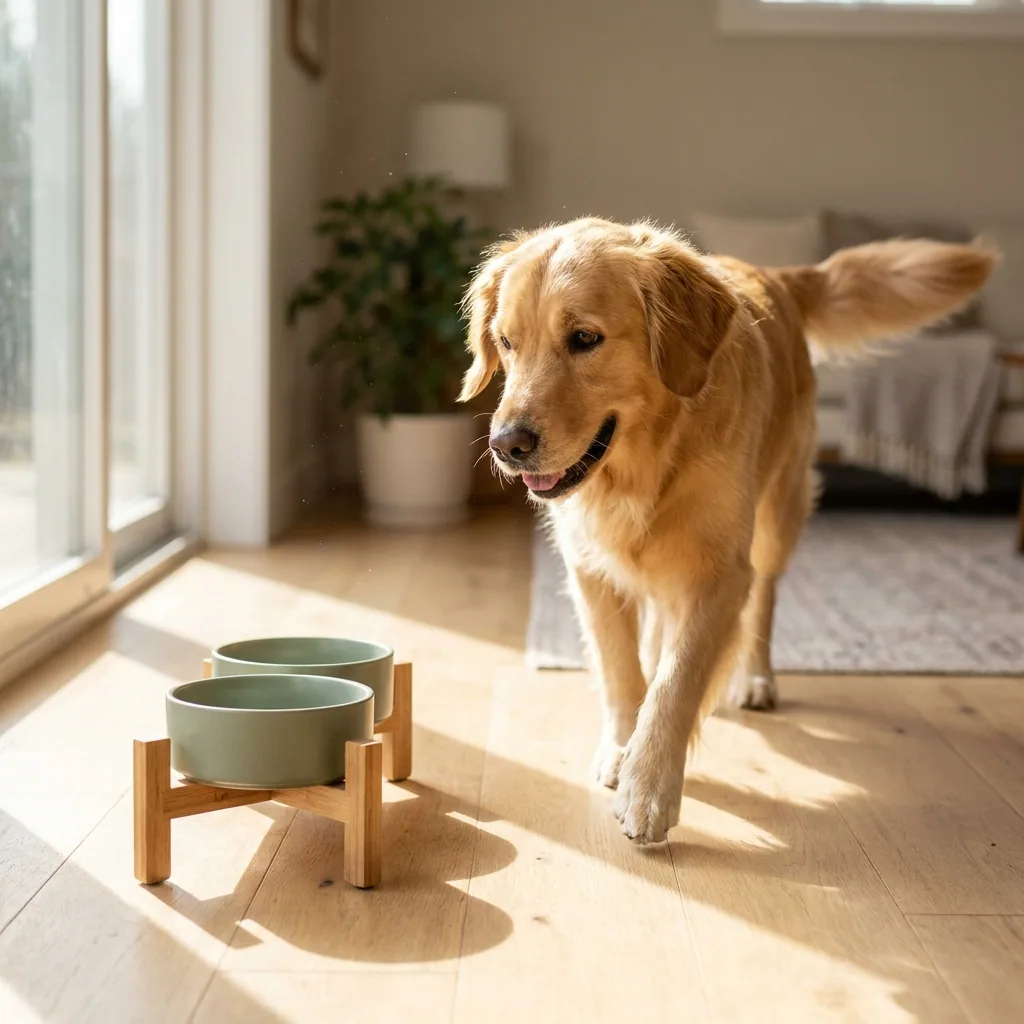
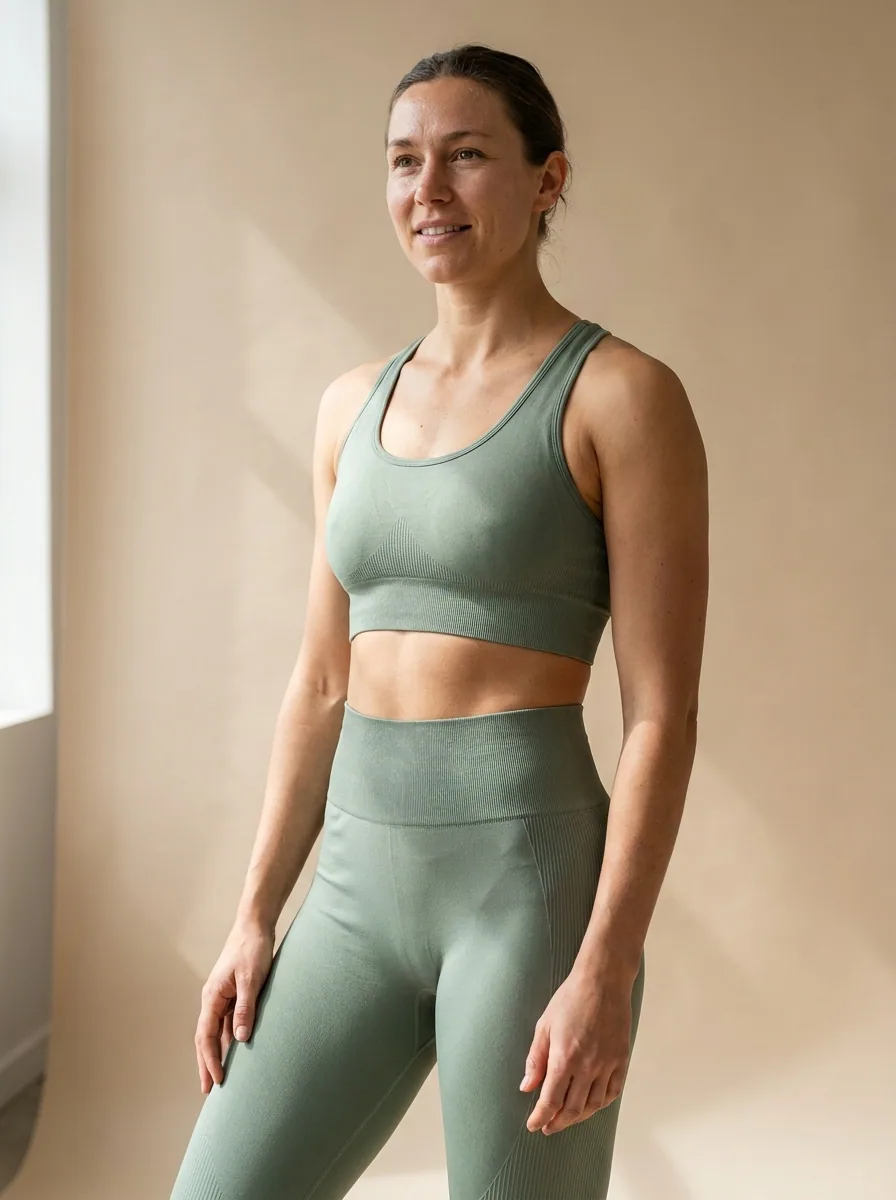
On-model clothing image generated with Nano Banana ProNano Banana Pro
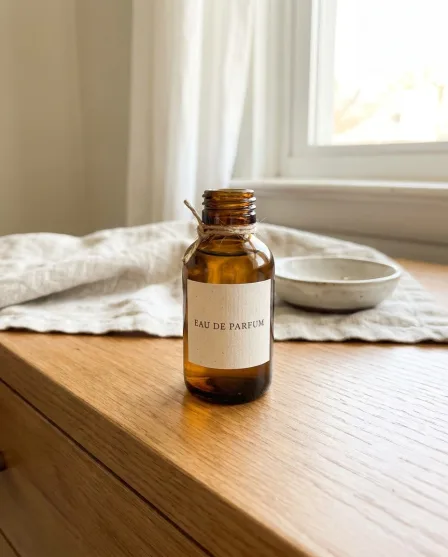
On-model clothing image generated with Seedream 5Seedream 5
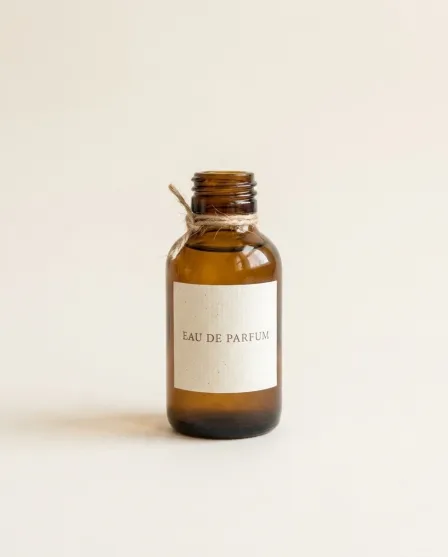
On-model clothing image generated with FLUX 2 FlexFLUX 2 Flex
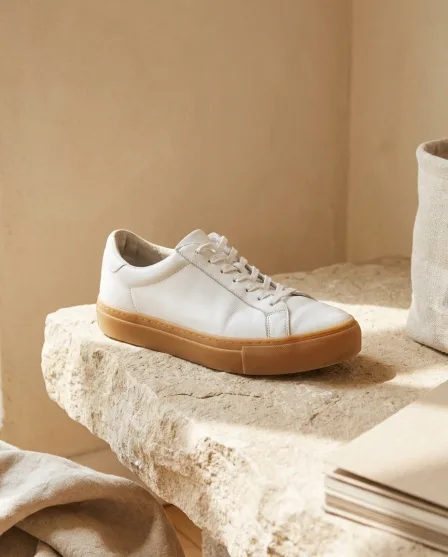
Styled clothing look made with DesignerBoxStyled look

This page is for independent boutiques that carry many styles in small quantities. The economics are the whole problem. A brand shooting one style in ten thousand units can spend a studio day on it; a boutique that took four of a style in two sizes cannot, and it has forty other pieces waiting. DesignerBox works from the photograph you already have. One clean shot of the piece on a hanger or a form, then the on-model view, the flat lay, the white-background listing frame, the extra angles and the social crops all come out of that same file.

What boutique owners use it for

Four jobs that eat the week between a delivery landing and the pieces going live.

Put the stock on a model

Hanger shots convert worse than on-model shots, and booking a model for four units of one style never pays for itself. Photograph the piece flat or on a form, then produce the on-model view from it, so a style you took in small numbers still gets the image that sells it.

Fill the listing gallery

A product page wants the front, the back, a detail of the fabric and something that shows the fit. Generate those views from one source frame rather than shooting each piece four ways, which is where a delivery of thirty styles turns into a week.

Make a mixed rail look like one shop

A boutique sells other people's brands, so the supplier images arrive in twelve different lighting setups and backgrounds. Run them all through one saved look and the category page reads as your shop instead of a scrapbook of other people's photography.

Keep the feed fed

Social wants something new far more often than new stock arrives. Restage a piece you already photographed into a different scene, crop it for stories and the feed, and post it again without pretending it is new stock.

See it on a real piece

Four tools, each aimed at a job a small shop does every week.

Virtual Try-On
Virtual Try-On

Virtual Try-On

Start from the garment you have in stock and produce the on-model view a listing needs. It is the image that answers the fit question, and it is the one a boutique almost never has, because a model day cannot be justified for four units of one style.

Open the tool
Flat Lay Studio - Before
Before
Flat Lay Studio - After
After
Flat Lay Studio

Flat Lay Studio

A flat lay is the fastest honest shot of a garment, and it is also the hardest to light on a kitchen table. Flat Lay Studio takes the phone photo you laid out on the floor and returns it square, evenly lit and cropped the way a category grid wants it.

Open the tool
Spotlight Relight - Before
Before
Spotlight Relight - After
After
Spotlight Relight

Spotlight Relight

Stock arrives all year and the daylight in the back room does not. Spotlight Relight puts the light back where you want it, so a piece photographed on a grey January afternoon sits beside one shot in June without the two looking like different shops.

Open the tool
Social Media Ad Studio

Social Media Ad Studio

The feed wants a laid-out post, not a bare packshot. Social Media Ad Studio takes a finished product image and returns it with your type and palette, sized for the placement, so posting does not mean opening a design tool every time.

Open the tool

Each before and after above demonstrates the tool named on the card, using that app's own sample image, so the subject you see may not be from this industry. Run the same tool on your own photos to see it on your work.

From delivery to live listing

Four steps, starting with a photograph you can take on the shop floor.

1
Photograph the delivery
Hang or lay out each piece and take one clean, sharp frame. A phone against a plain wall is enough. Getting the colour and the shape right matters more than the lighting, because the lighting is the part you can fix later.
2
Set the look once
Relight the first piece, set the background and the crop, and decide what your listing images look like. That decision is the one you are going to reuse forty times, so spend the time here rather than on piece thirty.
3
Build out each style
Produce the on-model view, the flat lay, the extra angles and the social crops from the source frame. One capture per style covers the whole gallery instead of four separate setups.
4
Save it and run the next drop
Save the sequence as a workflow. The next delivery goes through the same steps without anyone rebuilding them, so stock that lands on Tuesday can be live on Wednesday.

Where the images go

Each surface wants a different crop of the same piece.

Your own store

Your product page is the one surface you fully control, and consistency is what makes a mixed rail read as a shop. Hold one crop ratio and one background across every style, put the on-model view first and the flat lay second, and let the detail shots carry the fabric. A shopper scrolling a category page is comparing your photographs before they compare the clothes.

Marketplaces and stockists

Selling through a marketplace or a stockist means shooting to their template, not yours. Most want a plain background, the piece centred, and several images per listing covering the front, the back and a detail. Producing that set from the frames you already have beats re-shooting the same rail to somebody else's spec.

Social and stories

Feed posts run at 1080 by 1350 and stories and Reels at 1080 by 1920, so every piece needs at least two crops before it goes anywhere. Build both from the finished frame, and restage older stock into a new scene when the delivery schedule leaves a gap in the calendar.

Email and lookbooks

A new-in email and a seasonal lookbook both want the pieces shown together rather than one at a time, which is the shot nobody has time to set up. Compose it from the individual frames you already produced, keep the lighting consistent so the group reads as one shoot, and send it the same week the stock lands.

Do it once, then run the delivery

The work a boutique repeats is not creative, it is procedural. Every piece needs the same relight, the same background, the same four crops and the same two social sizes. A workflow saves that sequence once and applies it to the next thirty pieces, which is the difference between a delivery going live in a day and going live over a fortnight. It also fixes the consistency problem that comes with buying from many suppliers. Supplier photography arrives in whatever style each brand shoots in, and running it all through one saved look pulls a mixed rail onto one grid. Brand profiles hold your palette and type, so the social crops and the email header come out on the same line as the listings rather than looking like they came from somewhere else.

Every model, one subscription

Different jobs suit different image models, and a boutique has no reason to hold a licence for each one. A knitted texture and a printed silk need different handling, and an on-model view and a flat white background are not the same problem. DesignerBox puts them in one workspace on one subscription: Nano Banana Pro and Nano Banana 2 from Google, GPT Image 2 from OpenAI, Seedream 5 from ByteDance, and FLUX 2 Flex, FLUX Pro 1.1 and Kontext Multi from Black Forest Labs. Video runs on Veo 3.1 and Veo 3.1 Fast, Sora 2 Pro, Seedance 2.0, Kling 2.6 Pro and Runway Gen-4.5. Put the same piece through three of them, keep the one that reads truest to the garment in the room, and move on.

Boutique photography questions

What independent shops ask before they put a delivery through this.

Do I still need to photograph the stock myself?
Yes, and that is the point. One clean frame of each piece as it actually is, taken on a phone against a plain wall, is the input. Everything after that is production work on your own photograph. Generating a garment from a text description produces something that looks like clothing and is not the piece a customer receives.
Can I use the images my suppliers send me?
Check the terms first, because supplier imagery usually comes with usage conditions and sometimes cannot be edited at all. Where you do have the right to use and modify them, running a set of supplier photos through one saved look is the fastest way to make a mixed rail read as one shop. Where you do not, photograph the piece yourself.
Is an on-model image honest if no model wore the piece?
It is honest when it shows your actual garment truthfully and the shopper is not misled about what arrives. Two rules keep it that way. Start from a photograph of the real piece so the cut, the colour and the fabric are the ones you stock, and do not let the image imply a fit or a drape the garment does not have. Some markets and some marketplaces also expect AI-assisted imagery to be labelled, so check the rules for where you sell.
How long does a delivery of thirty styles take?
The photography is the slow part and it is unchanged: allow a morning to hang and shoot thirty pieces properly. The production afterwards is where the time goes back. Once the look is set on the first piece, the rest run through the same saved sequence rather than being set up individually.
Will the images match across a rail I bought from six brands?
That is the main reason to do it this way. Consistency comes from the treatment rather than the source, so pieces photographed in different rooms on different days can still land on the same background, at the same crop, under the same light. Save the look once and apply it to everything.
How much does it cost to start?
Nothing to try. The free tier carries 112 credits a month, enough to take a couple of pieces from a phone photo to a finished listing image. Paid plans run $15 a month for 500 credits, $35 for 1,000, $75 for 2,500 and $200 for 8,000. Most boutiques size their plan on how many styles land each month.

Put one piece through it

Pick the style you have been putting off photographing, upload the frame you already took, and look at what comes back. The free tier covers it.

Start free