For independent stores selling on their own storefront

The theme is fine. The photos are the problem.

Nobody abandons a store because of the theme. They abandon it because the product images are dim, inconsistent, shot on four different backgrounds, and missing the one angle that answers their question. Fix that from the photographs you already have.

Start free

DesignerBox is an independent product and is not affiliated with, endorsed by or partnered with Shopify. The name is used here only to describe the kind of seller this page is written for.

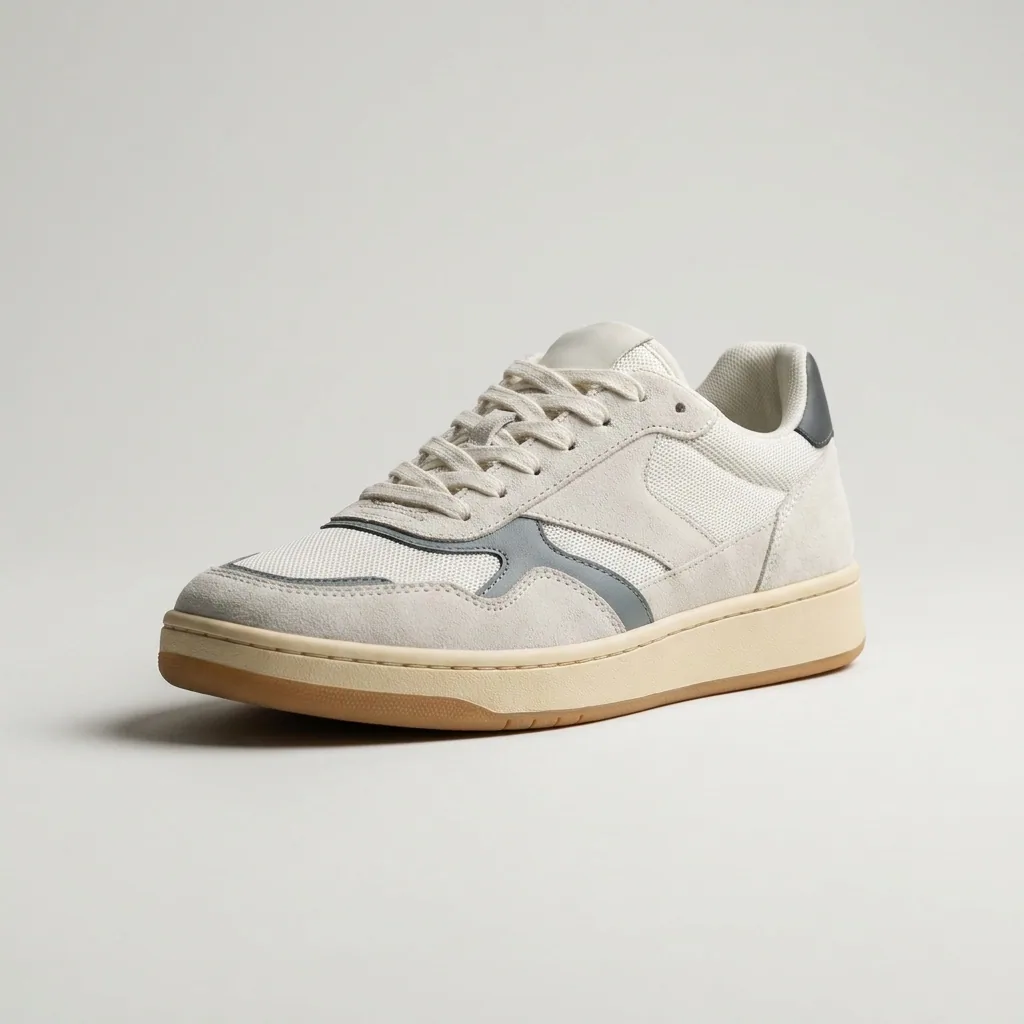
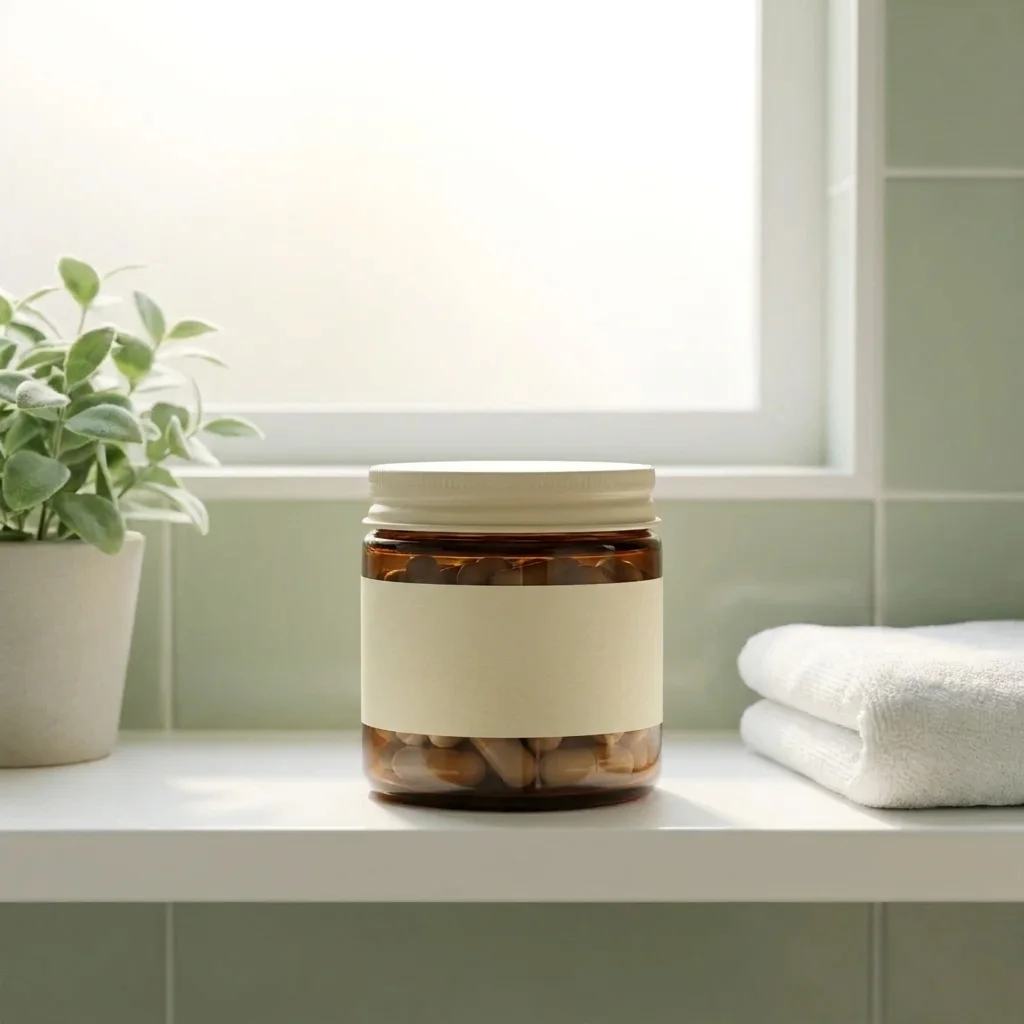
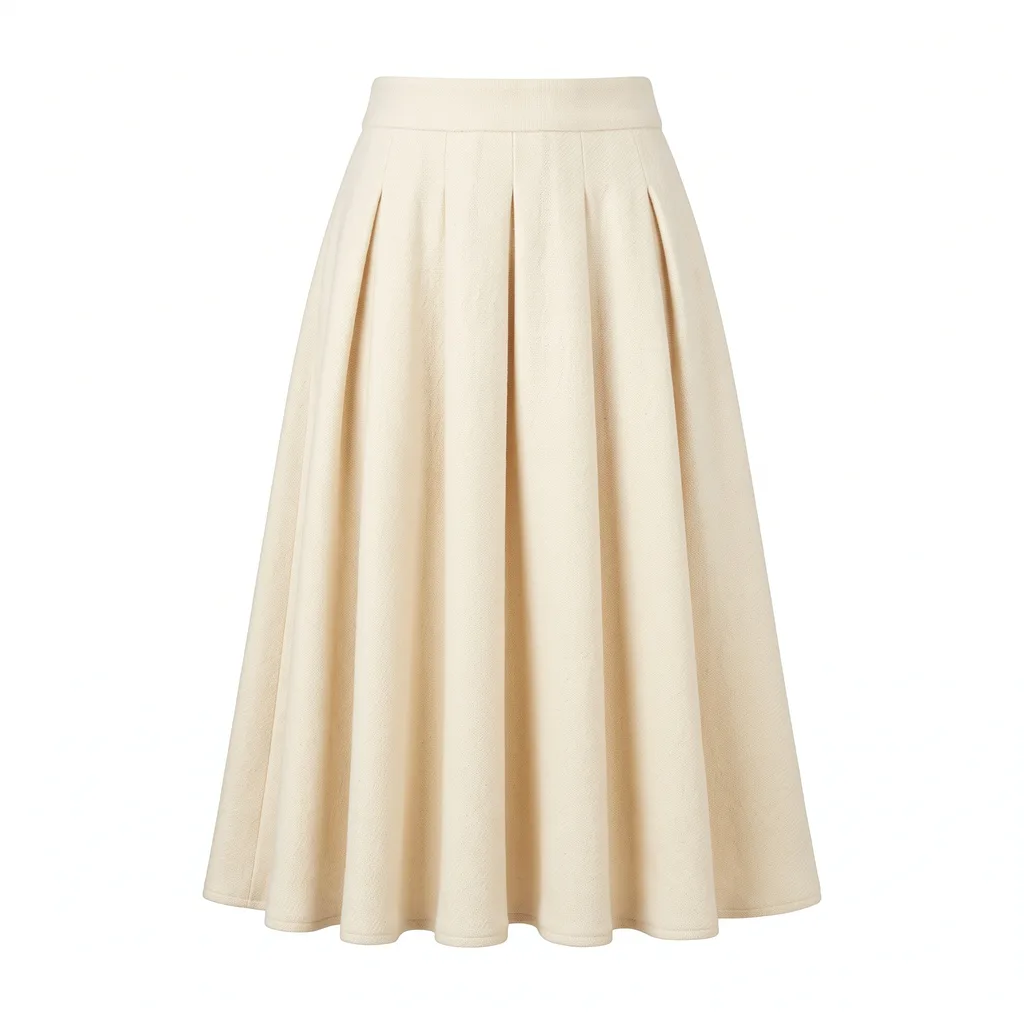
Product packshot generated with Nano Banana ProNano Banana Pro
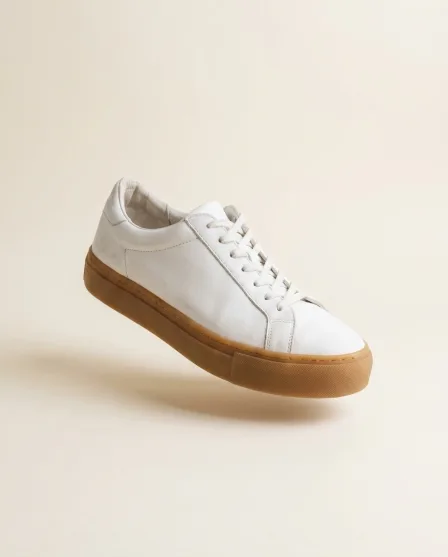
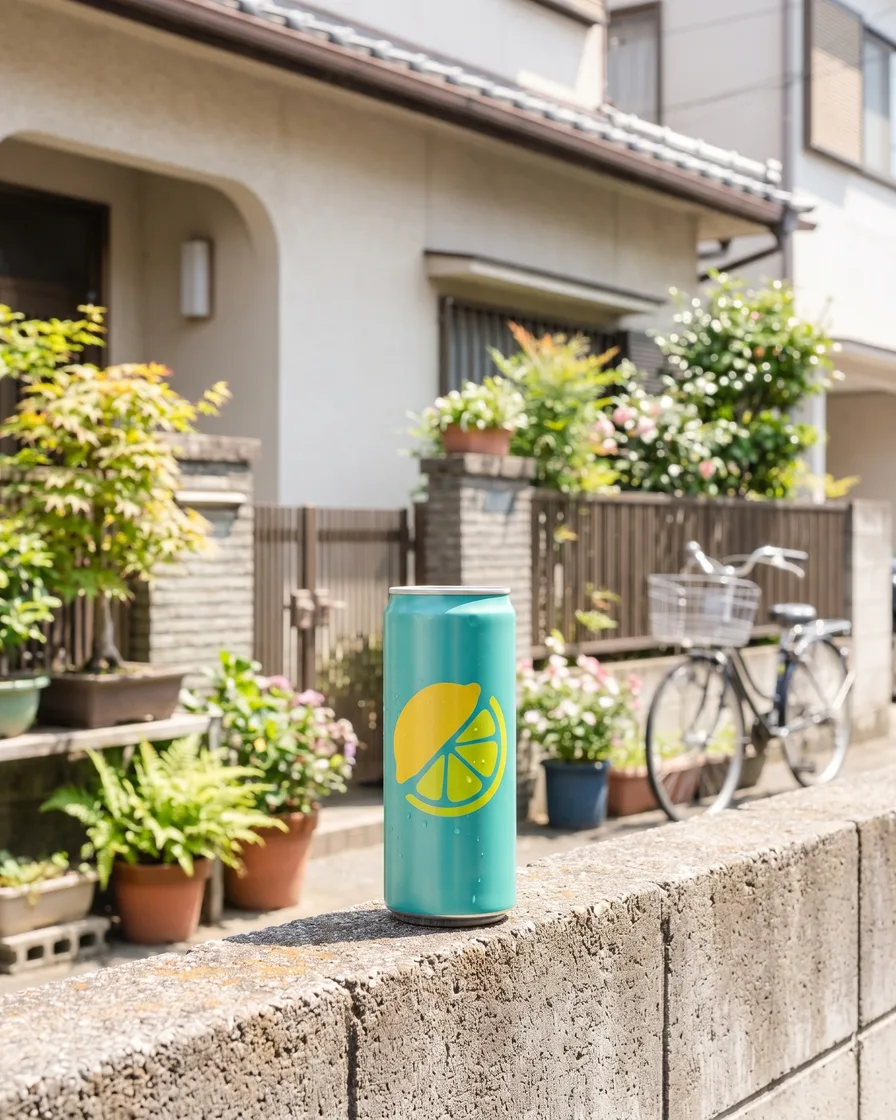
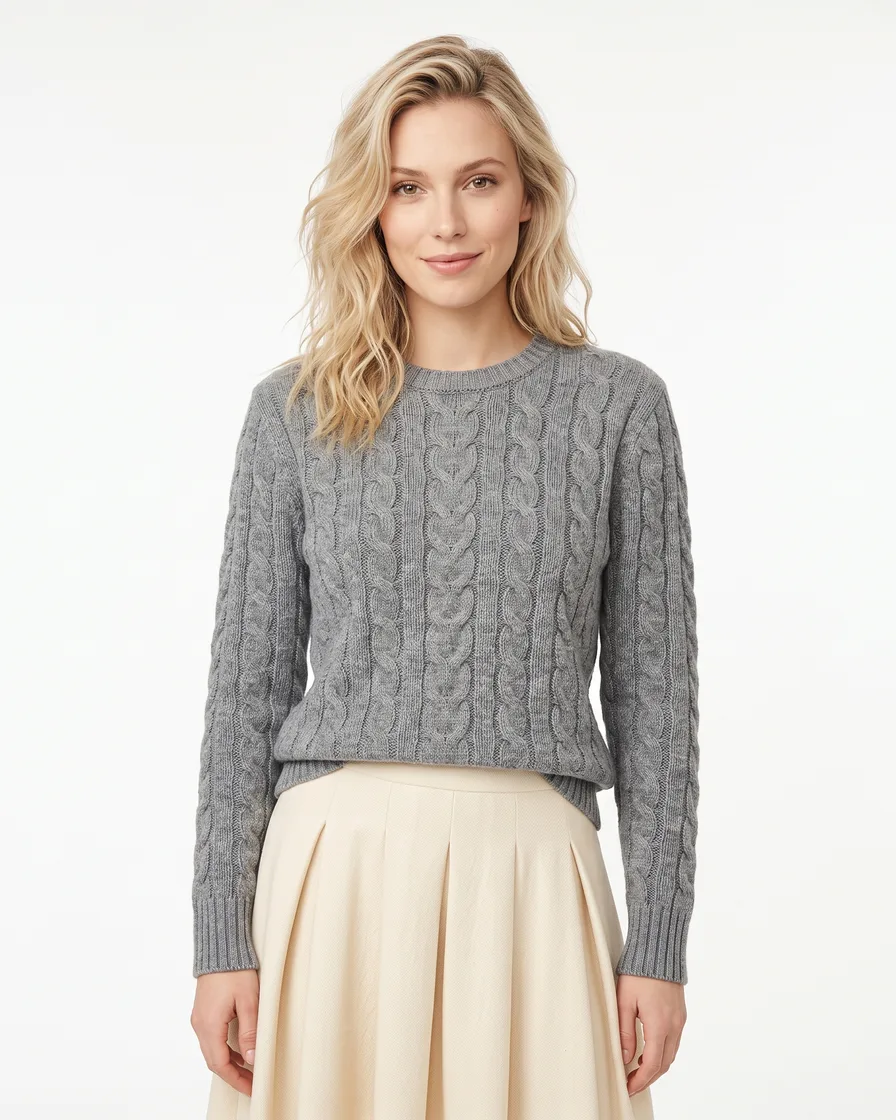
Product packshot generated with GPT Image 2GPT Image 2
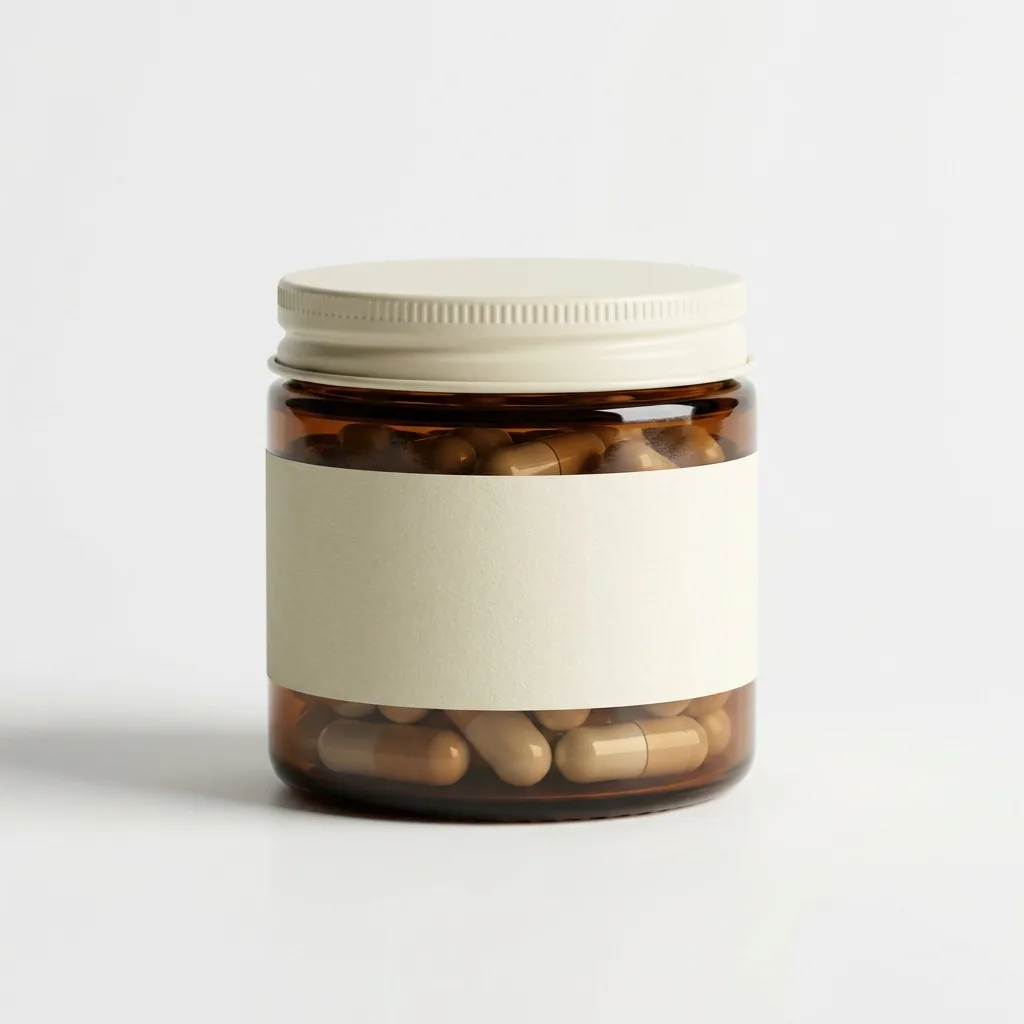
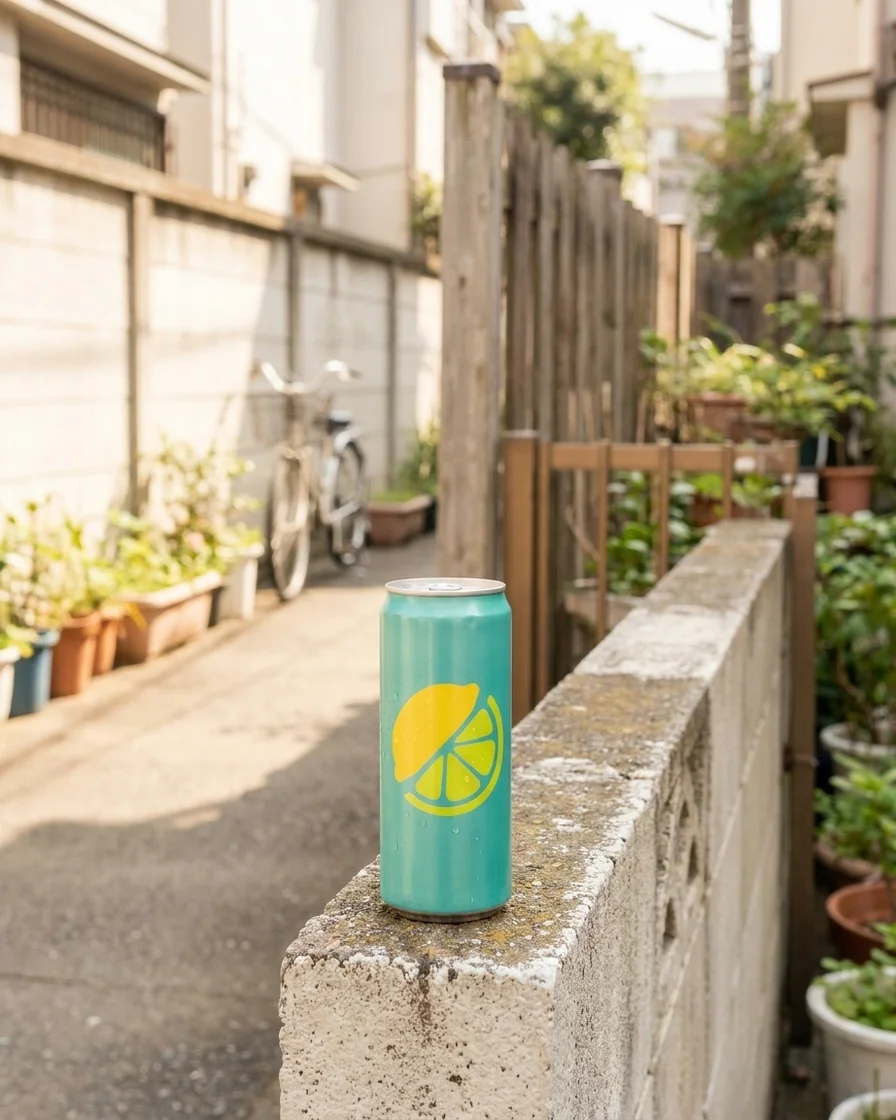
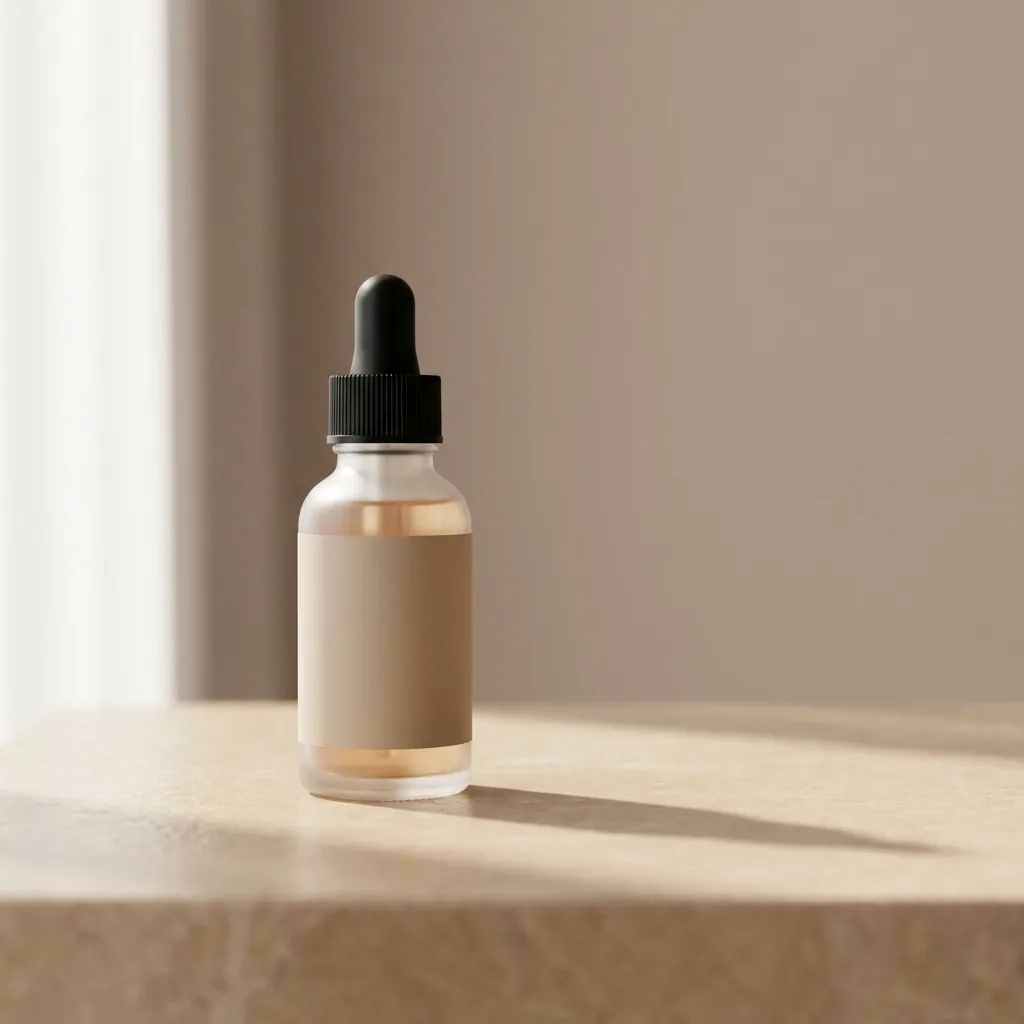
Product packshot generated with FLUX 2 FlexFLUX 2 Flex
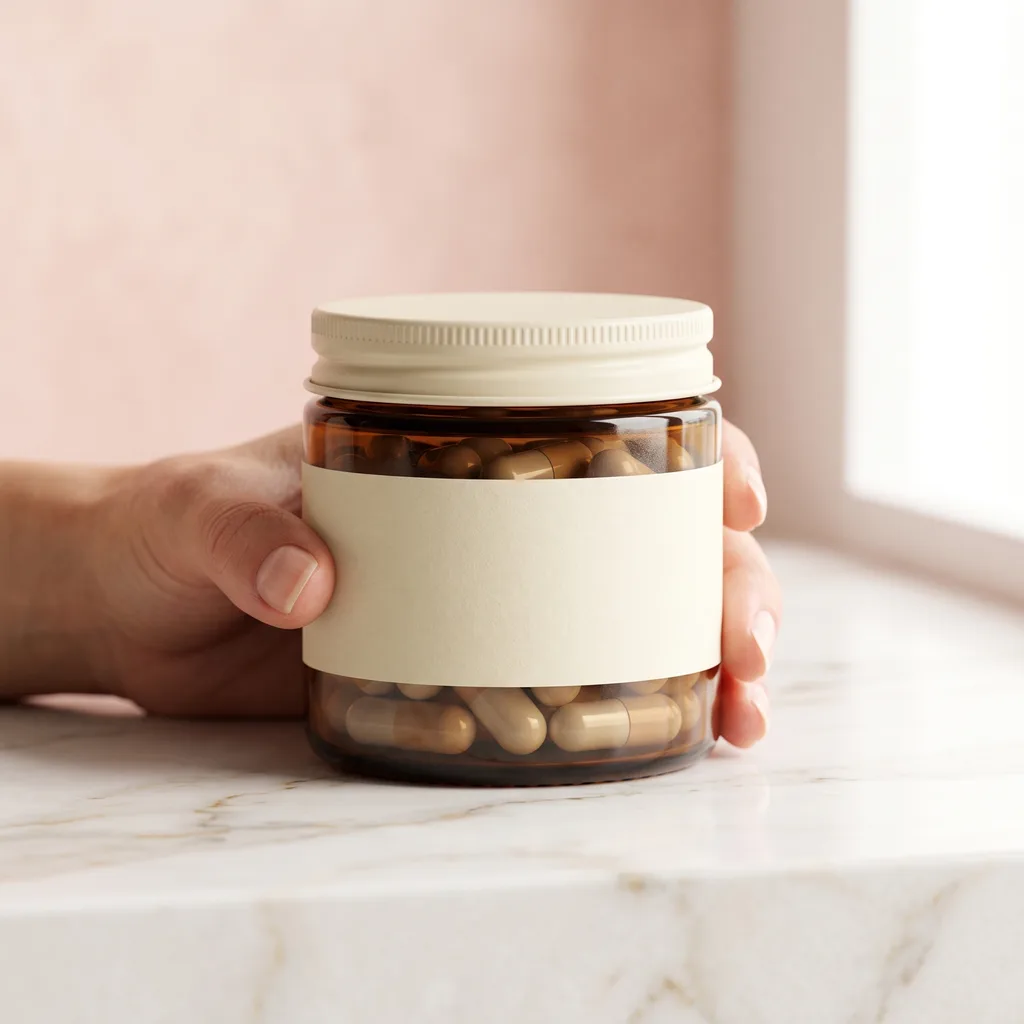
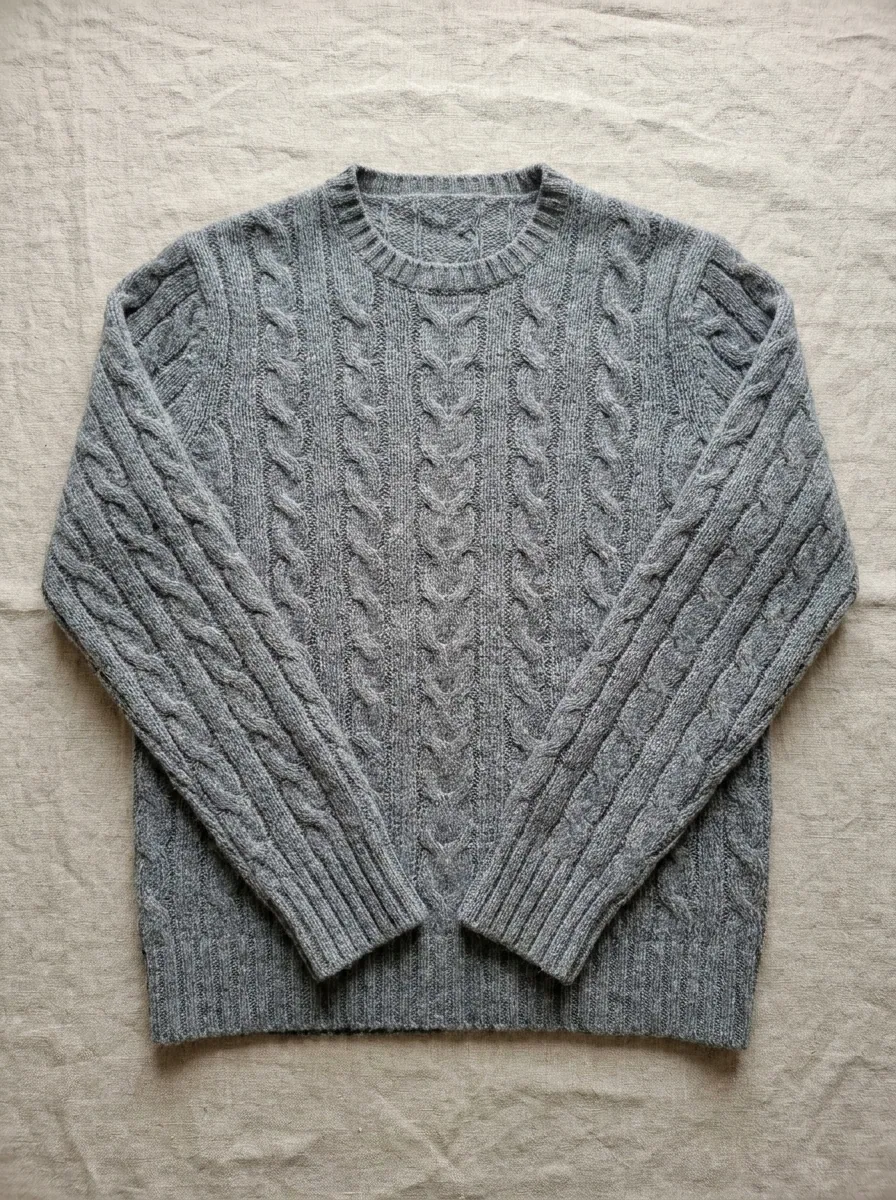
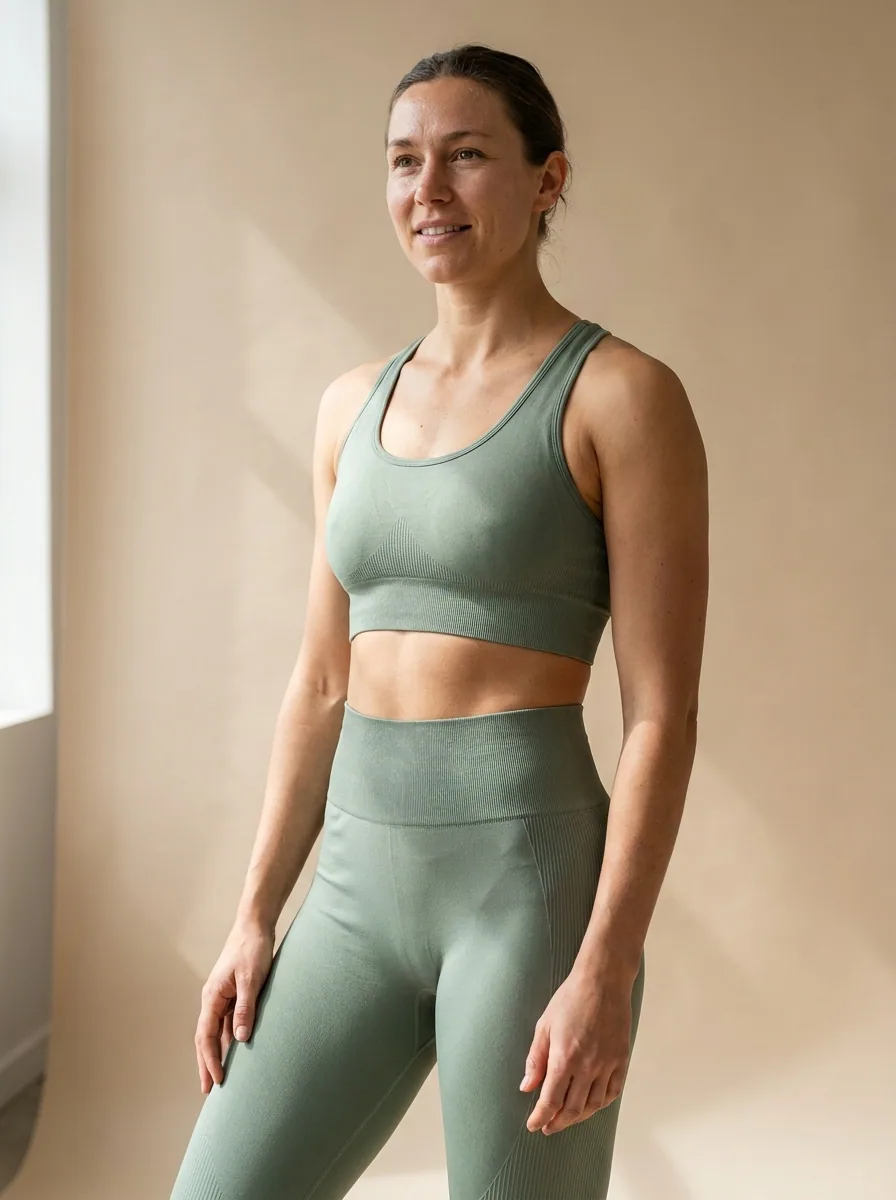
Listing ad creative with text generated with Nano Banana ProNano Banana Pro

This page is for people running a store on their own storefront rather than inside a marketplace, which changes what the images have to do. There is no platform template forcing a standard, so consistency is entirely your responsibility, and a category page of products shot on six different backgrounds is the most common reason a store looks smaller than it is. DesignerBox starts from the photographs you already have. Remove the background, put the light where you want it, generate the angles the product page needs, and build the paid social set from the same finished file.

What store owners use it for

Four jobs between a product arriving and its page converting.

Make the category page look like one shop

Products photographed on different days, by different suppliers, against different walls, is what makes a store read as a hobby. Run everything through one saved treatment so the grid holds a single background, a single crop and a single light.

Fill out the gallery

A product page converts on the images below the hero: the back, the detail, the scale reference, the thing in use. Generate those from the source frame rather than re-shooting each product four ways, which is what stops most stores at one image per item.

Add the lifestyle frame

A packshot proves what it is; a lifestyle frame is what makes someone want it. Place a finished product image into a styled setting so every listing has both, without hiring a location, a set and a photographer for each one.

Feed the ad account

Paid creative wears out faster than a store can shoot replacements, and a tired set quietly raises the cost of every sale. Build fresh variants from product photography you already own, in the sizes each placement runs.

See it on a real product

Four tools, each aimed at a job a product page depends on.

Background Remover - Before
Before
Background Remover - After
After
Background Remover

Background Remover

A clean cutout on true white is the baseline a product grid needs, and it is where most quick tools leave a grey halo or eat a soft edge. Background Remover holds the outline, so the product sits on the page rather than floating in a rectangle of nearly-white.

Open the tool
Product Ad Generator - Before
Before
Product Ad Generator - After
After
Product Ad Generator

Product Ad Generator

The gap between a packshot and a running ad is layout, and that gap is where most store owners stop. Product Ad Generator takes a finished image and returns it laid out with your type and palette, in the size the placement wants.

Open the tool
Photo Angles - Before
Before
Photo Angles - After
After
Photo Angles

Photo Angles

The question a shopper does not have an image for is the reason they leave. Photo Angles produces the back, the side and the detail views from one source frame, so a single capture fills the whole gallery instead of the hero slot alone.

Open the tool
Social Media Ad Studio

Social Media Ad Studio

Organic posts and paid placements need the same product in different shapes with different type. Social Media Ad Studio builds those variants from a finished frame so posting does not begin with opening a design file.

Open the tool

Each before and after above demonstrates the tool named on the card, using that app's own sample image, so the subject you see may not be from this industry. Run the same tool on your own photos to see it on your work.

From product photo to product page

Four steps, starting with what is already in your camera roll.

1
Start from a real photograph
One sharp frame of the actual product, in even light, with the whole item in shot. Phone quality is fine. The two things that cannot be fixed afterwards are focus and shape, so get those right and leave the rest.
2
Set your store's look
Cut out the background, correct the light and choose the crop. This is the decision that repeats across every product in the catalogue, so make it deliberately on the first item rather than by accident on the fortieth.
3
Build the gallery and the ads
Produce the extra angles, the lifestyle frame and the social crops from that finished file. Same product, one capture, a full product page and a paid set.
4
Save it as a workflow
Save the sequence so every new product runs through the same steps. That is what keeps the catalogue consistent as it grows past the point where anyone remembers what was done to item one.

Where the images go

Four surfaces, four different crops of the same product.

Product and collection pages

Your storefront is the only surface where you set the standard, so consistency is the whole job. Hold one aspect ratio across every product so the collection grid does not jump, lead with the same shot type on every listing, and give the zoom viewer enough resolution to be worth using. A shopper compares your photographs before they compare your products.

Social and organic

Feed posts run at 1080 by 1350 and stories and Reels at 1080 by 1920, so each product needs at least two crops before it appears anywhere. Build both from the finished listing frame, keep your palette and type steady with a saved brand profile, and the account reads as an extension of the store rather than a separate project.

Paid acquisition

Ad creative decays, and the cost of that shows up as rising acquisition cost rather than as an obvious failure. Producing three or four fresh variants a week from photography you already own turns creative refresh into routine work instead of a project that keeps getting postponed.

Email and lifecycle

Abandoned cart, back in stock and new arrival emails all want the product shown clearly at small size, which is a different crop from the one that works on a product page. Build the email versions from the same source so the picture in the inbox matches the picture on the page it links to.

Consistency is a saved sequence, not discipline

Store catalogues drift because every product gets photographed under whatever conditions applied that week, and nobody remembers precisely what was done to the first one. A workflow removes memory from the process. Save the cutout, the relight, the crop and the export set once, then run every new product through the same steps, so item one hundred matches item one without anyone comparing them. That consistency is worth more than any individual image. A collection page where every product sits at the same size on the same background reads as a considered range, and one where they do not reads as a dropshipper regardless of what you actually sell. Brand profiles carry the same idea into the ads and the emails, holding palette and type so the paid set and the storefront look like the same business.

Every model, one subscription

Product photography spans jobs that no single image model wins outright. A cutout on a reflective surface, a fabric texture and a lifestyle scene with legible packaging text are three different problems. DesignerBox carries them in one workspace on one subscription instead of a licence each: Nano Banana Pro and Nano Banana 2 from Google, GPT Image 2 from OpenAI, Seedream 5 from ByteDance, and FLUX 2 Flex, FLUX Pro 1.1 and Kontext Multi from Black Forest Labs. Video runs on Veo 3.1 and Veo 3.1 Fast, Sora 2 Pro, Seedance 2.0, Kling 2.6 Pro and Runway Gen-4.5. Run the same product through two or three, keep the one that holds the detail, and standardise on it for that category.

Store owner questions

What people ask before they run a catalogue through this.

Does this connect to my store?
You export finished images and upload them the way you already upload product photos. The work happens in DesignerBox and the files come out in the sizes and formats a storefront wants. There is no plugin to install and nothing that touches your store's data.
Can it generate a product I do not have a photo of?
It can, and for a listing image you should not. Every product image on a store page is a representation of goods a customer is paying for, so it has to start from a photograph of the actual item. Generated scenes and backgrounds around a real product are normal commercial practice; a generated product is a misdescription waiting to become a chargeback.
Will the images look consistent across hundreds of products?
That is what the workflow step is for. Once the treatment is saved, every product runs through the same cutout, light, crop and export, so consistency comes from the process rather than from anyone remembering what was done last month. It is the single biggest visible difference between a small store and one that looks established.
Do I have to disclose that images are AI-assisted?
Check the rules where you sell and where you advertise, because they differ and they are changing. Several ad platforms already require disclosure on certain kinds of AI-generated creative, and some markets are legislating it more broadly. Separately from disclosure, the image must not misrepresent the product: colour, size, material and what is included all have to be accurate.
What about images my supplier gave me?
Check your rights first, because supplier imagery often comes with usage limits and sometimes forbids modification. Where you are permitted to use and edit them, running a set of supplier photos through one treatment is the fastest way to stop a catalogue from looking assembled out of other people's photography.
How much does it cost to start?
Nothing to try. The free tier carries 112 credits a month, enough to take a few products from photograph to finished listing image. Paid plans run $15 a month for 500 credits, $35 for 1,000, $75 for 2,500 and $200 for 8,000. Most stores size their plan on how many new products they list each month.

Fix your worst product page

Pick the listing with one dim photo and no second angle, and rebuild it from the file you already have. The free tier covers it.

Start free