For makers, crafters and handmade shops

Made at the kitchen table. Shot like a studio.

The work is handmade and the photography usually is too, on a table by a window on a grey afternoon. That is fine as a starting point. Take the frame you already have and produce the bright, square, consistent set that a handmade listing actually needs.

Start free

DesignerBox is an independent product and is not affiliated with, endorsed by or partnered with Etsy. The name is used here only to describe the kind of seller this page is written for.

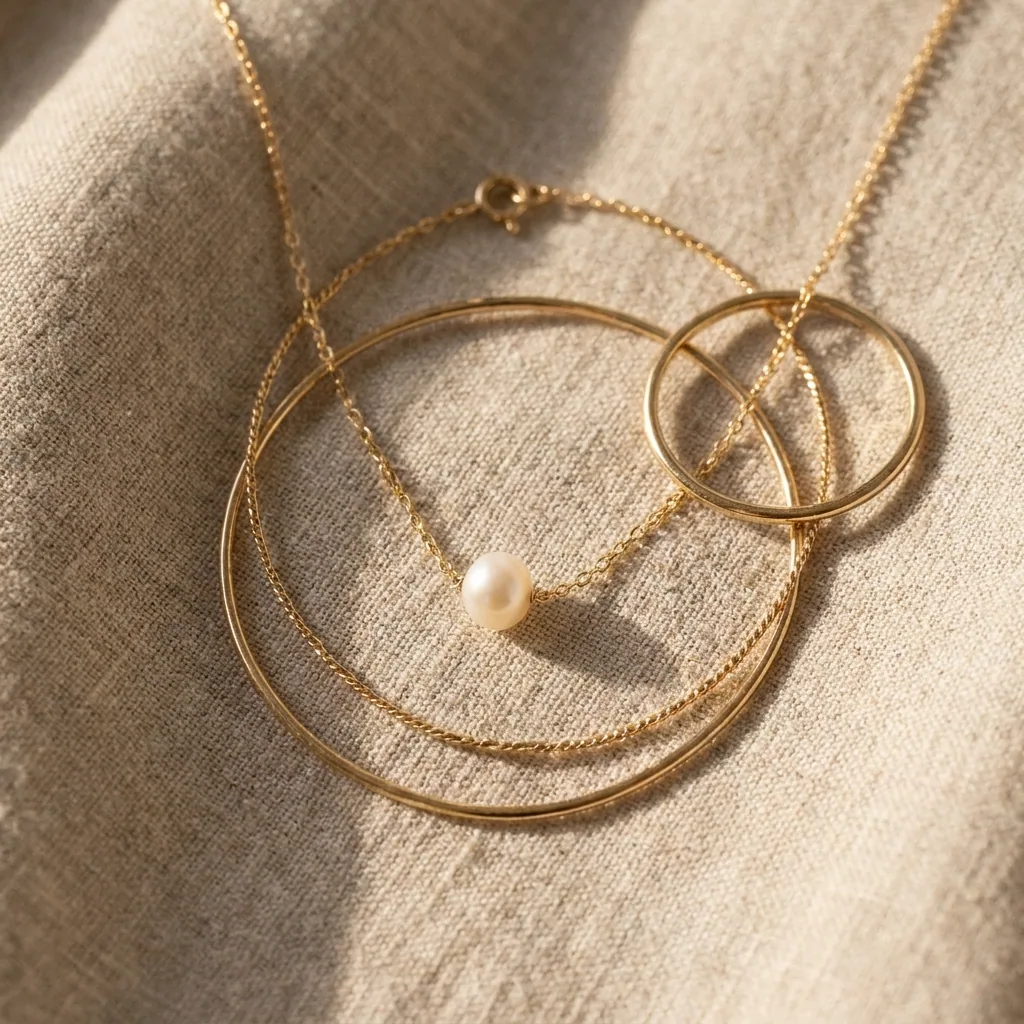
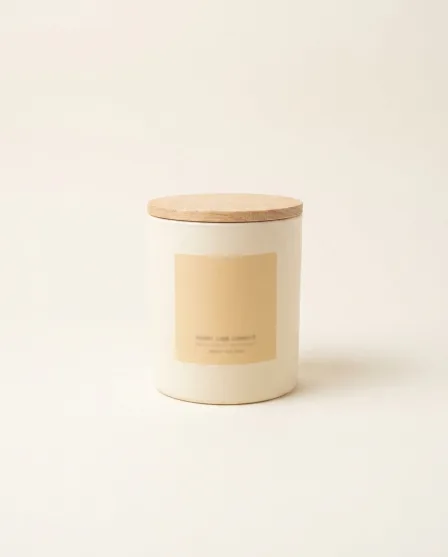
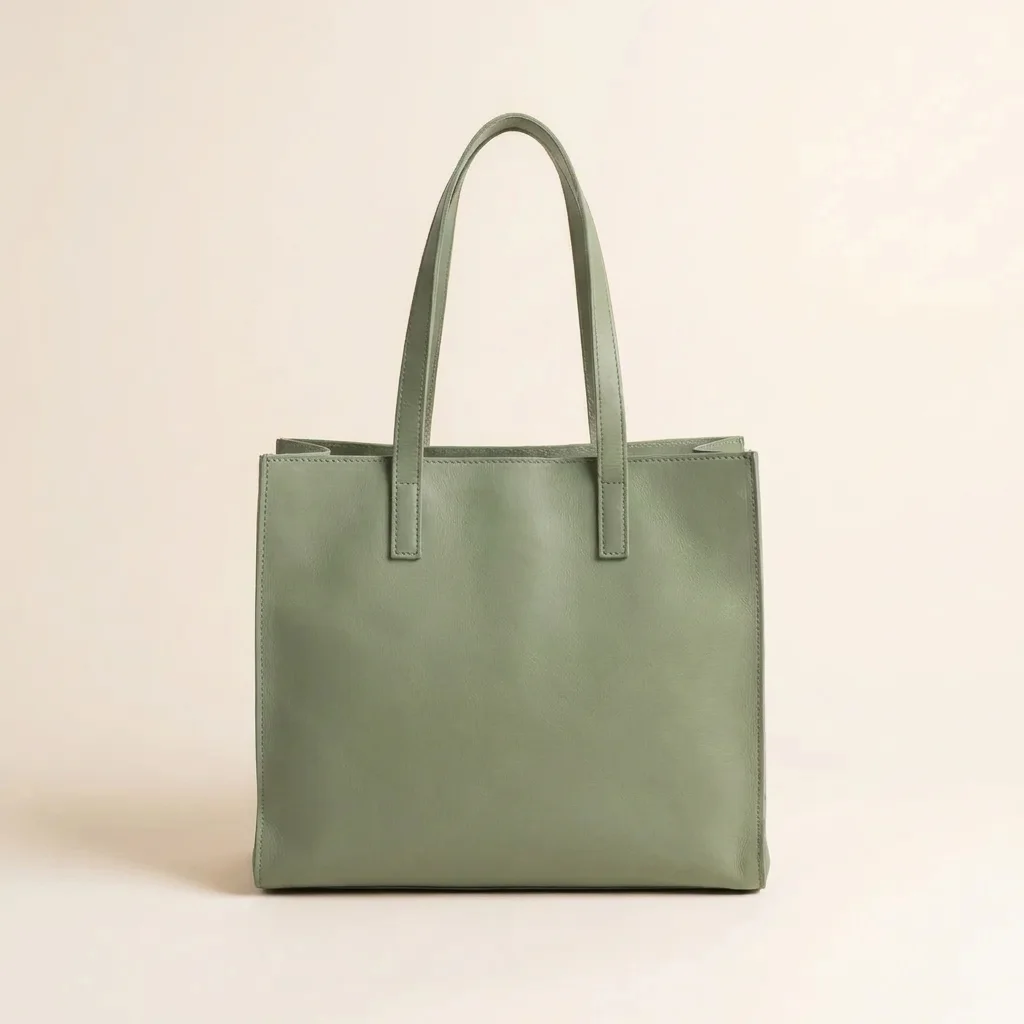
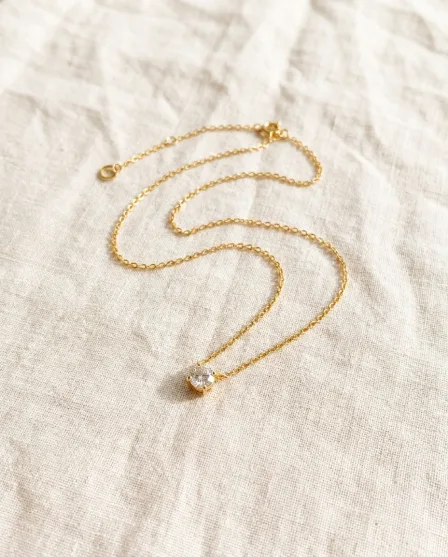
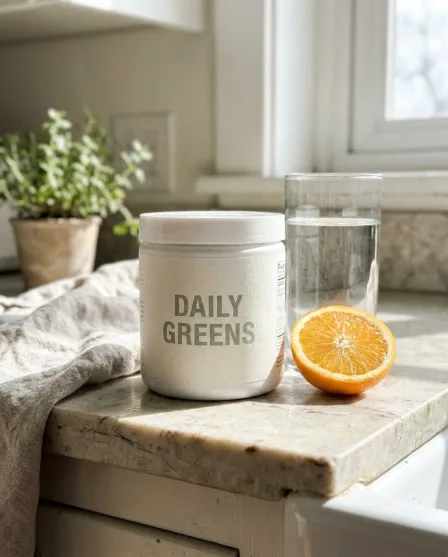
Product packshot generated with Nano Banana ProNano Banana Pro
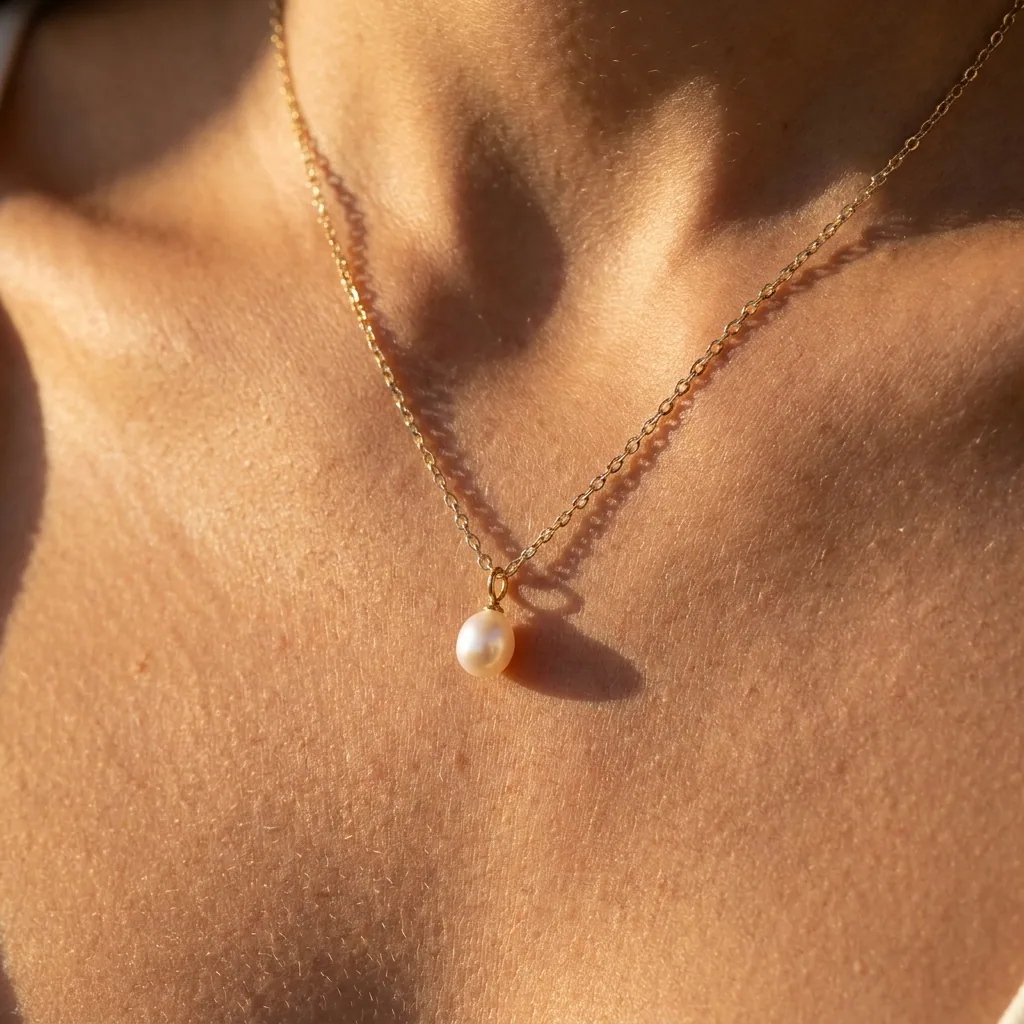
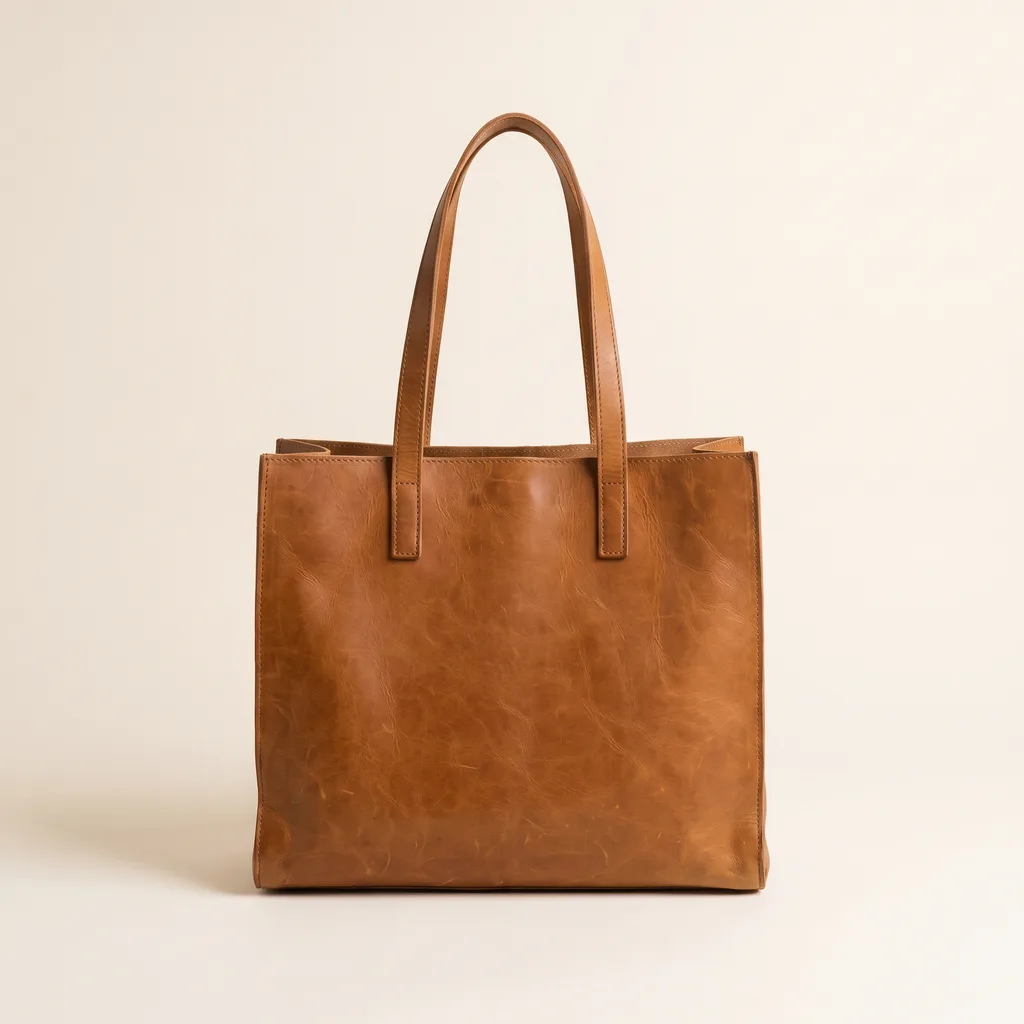
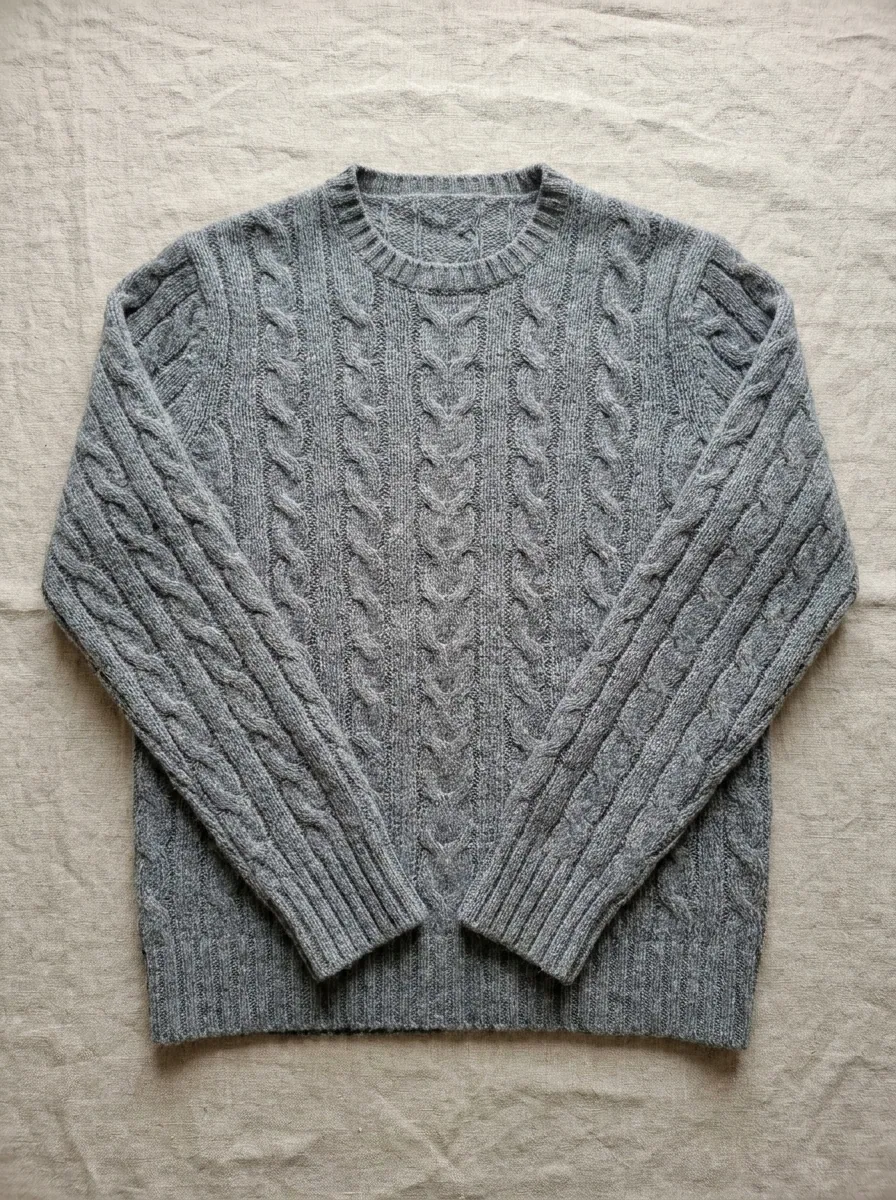
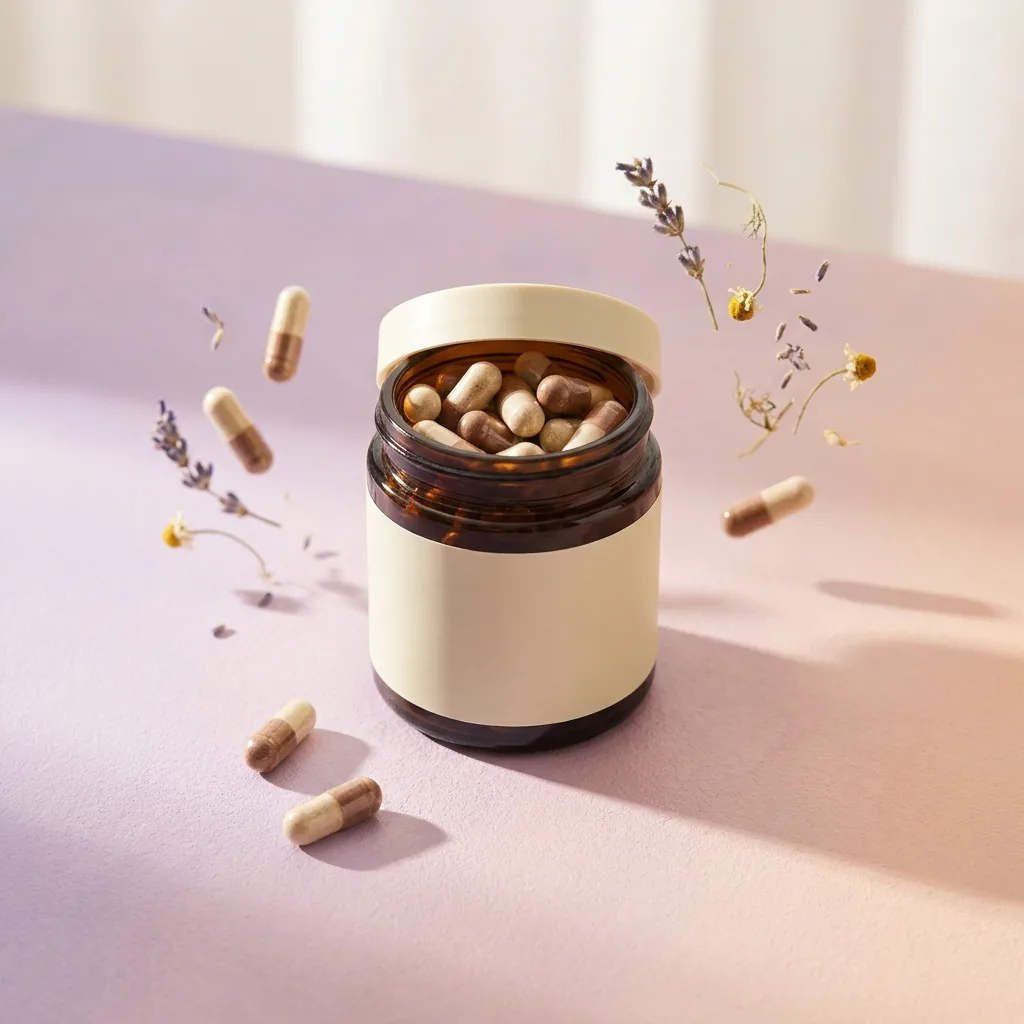
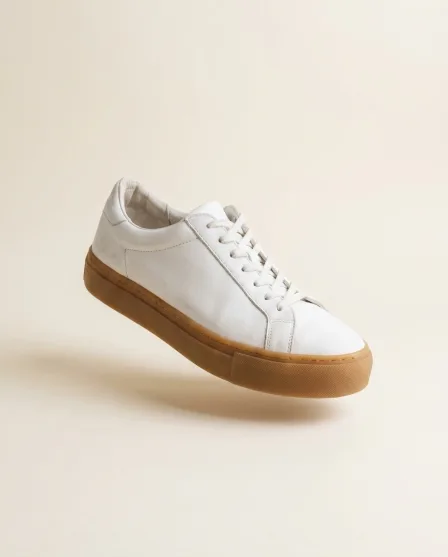
Product packshot generated with GPT Image 2GPT Image 2
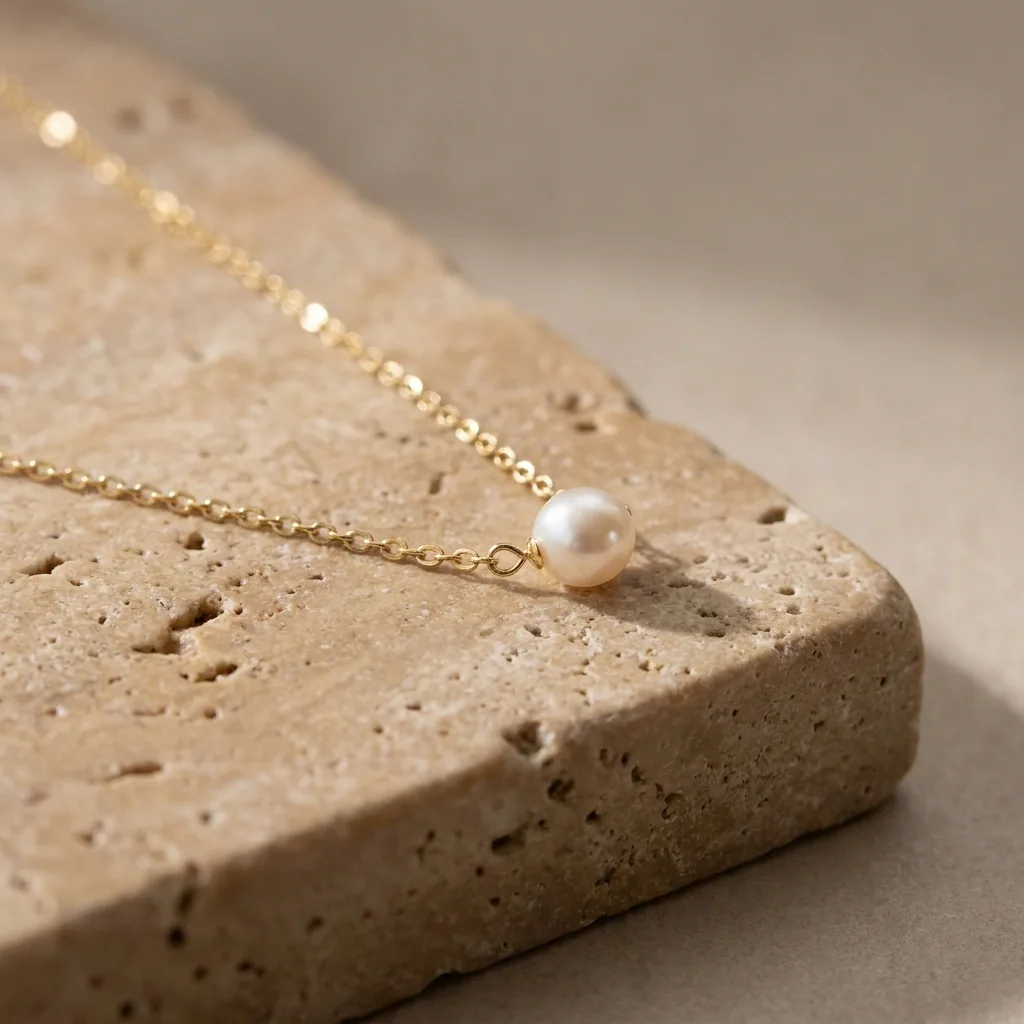
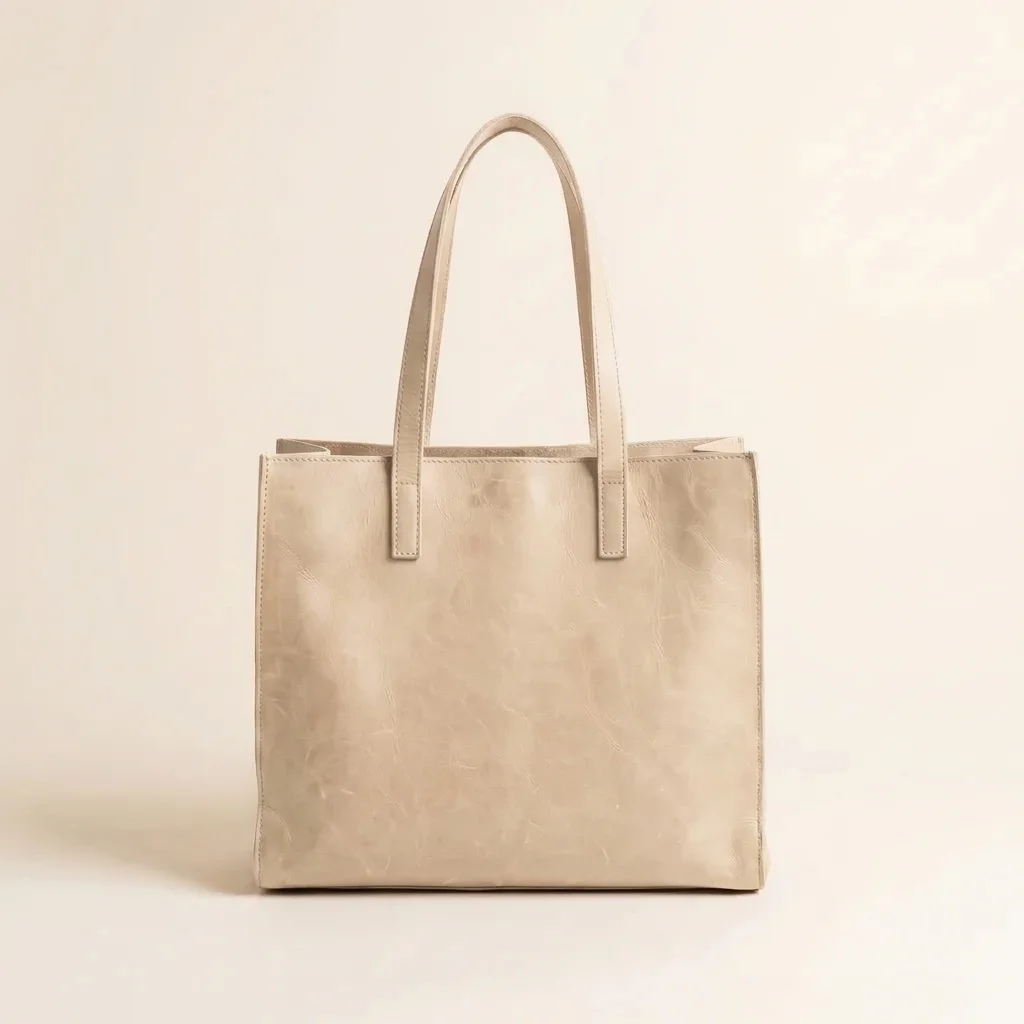
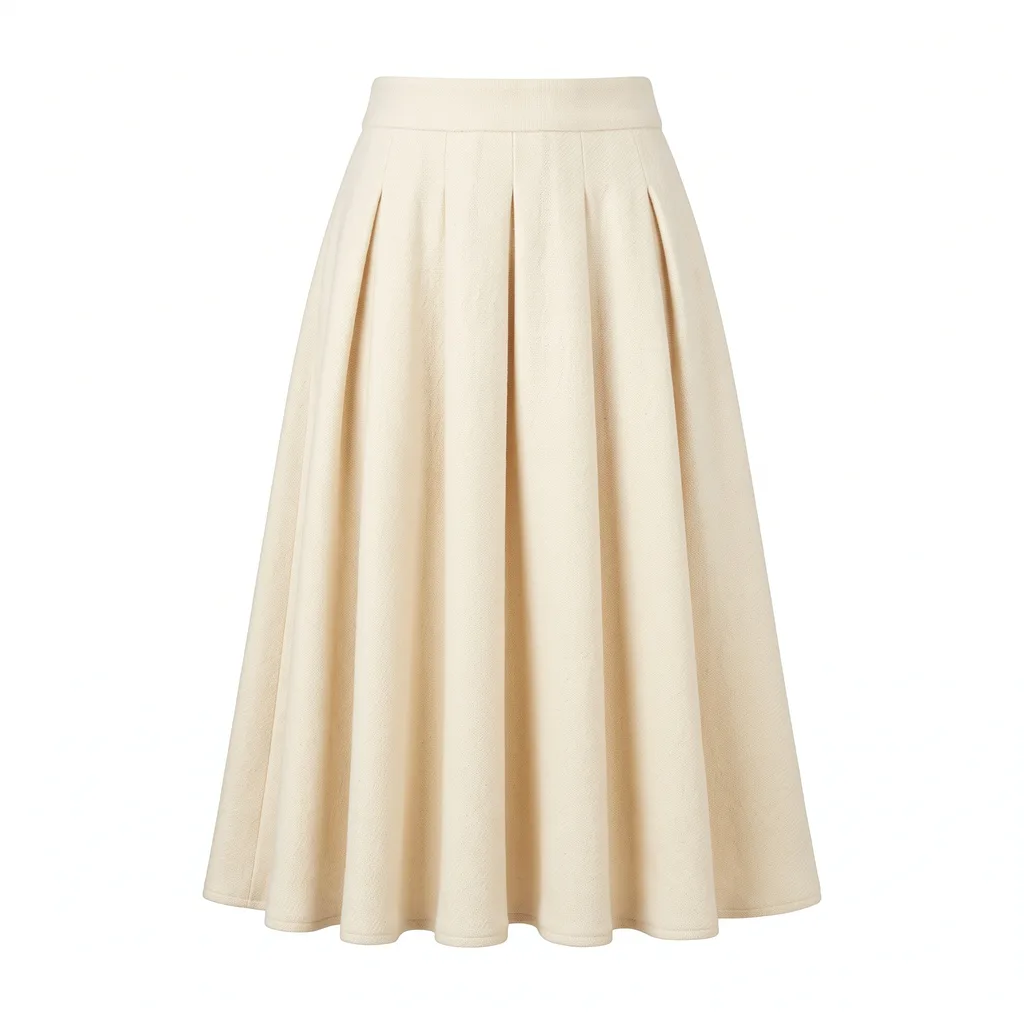
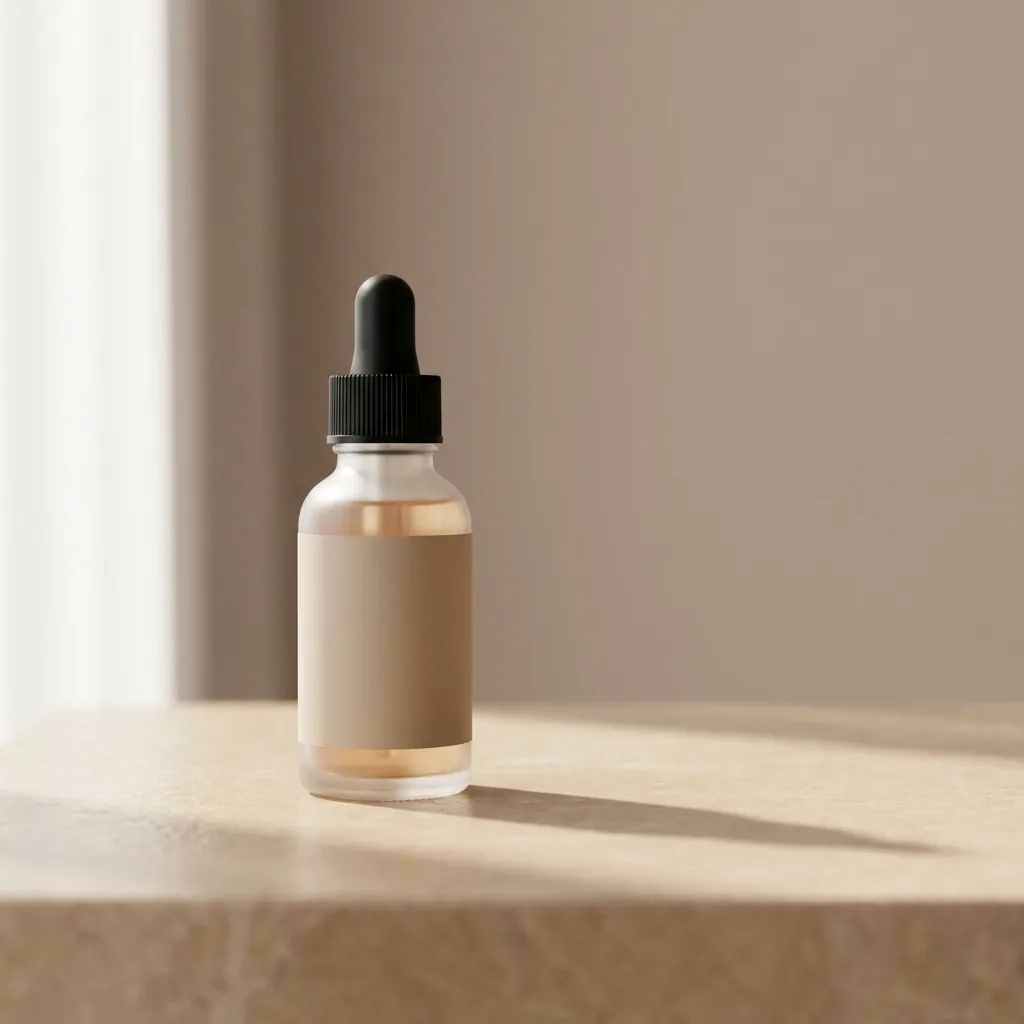
Product packshot generated with FLUX 2 FlexFLUX 2 Flex
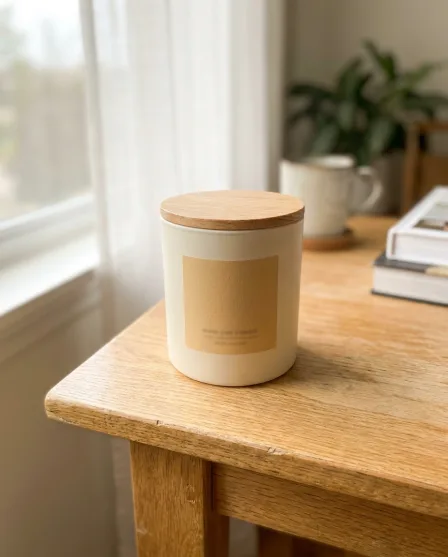
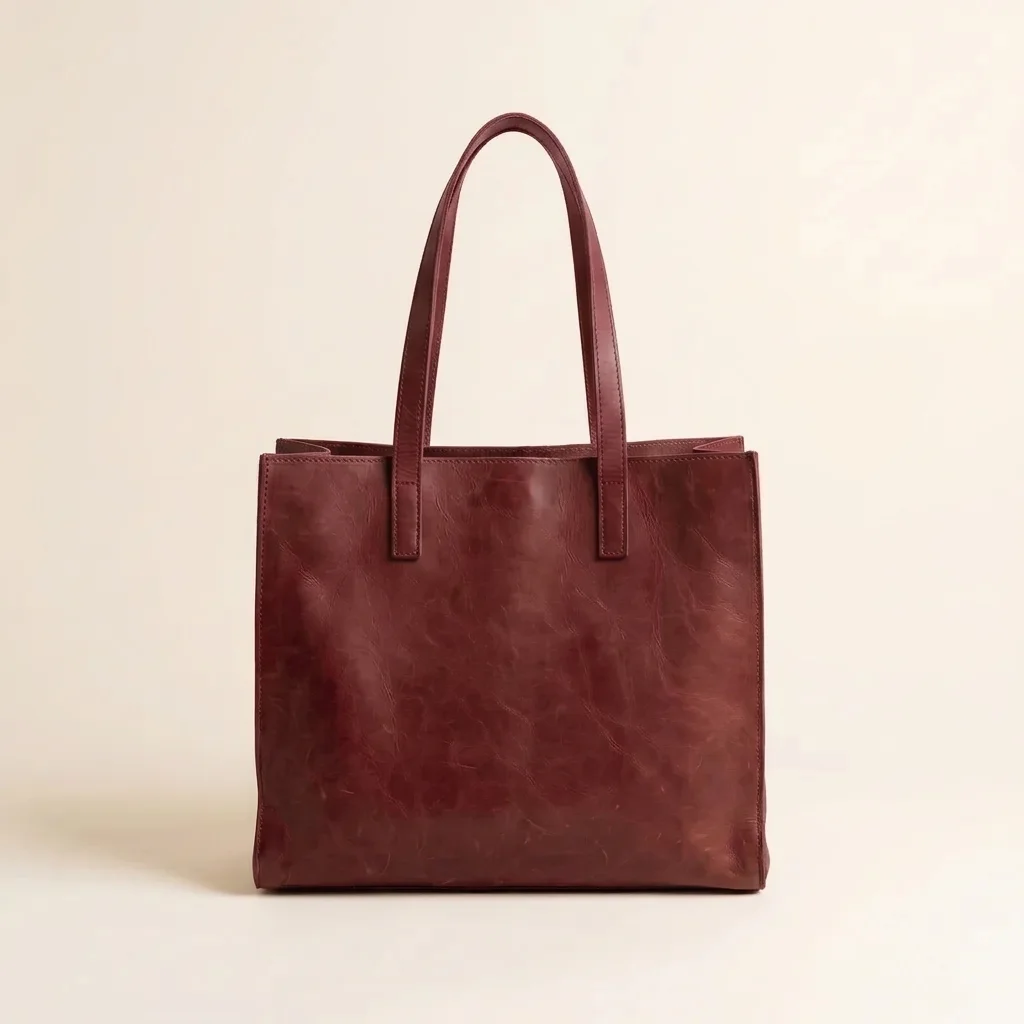
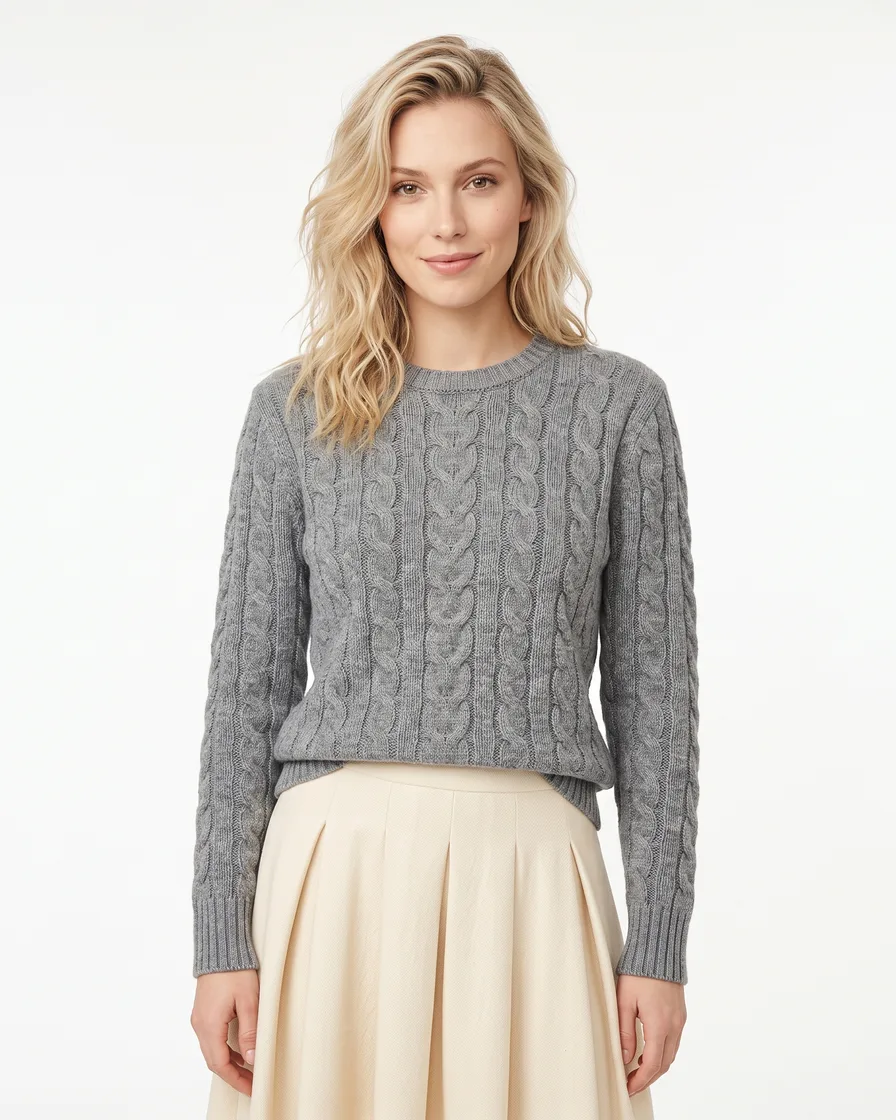
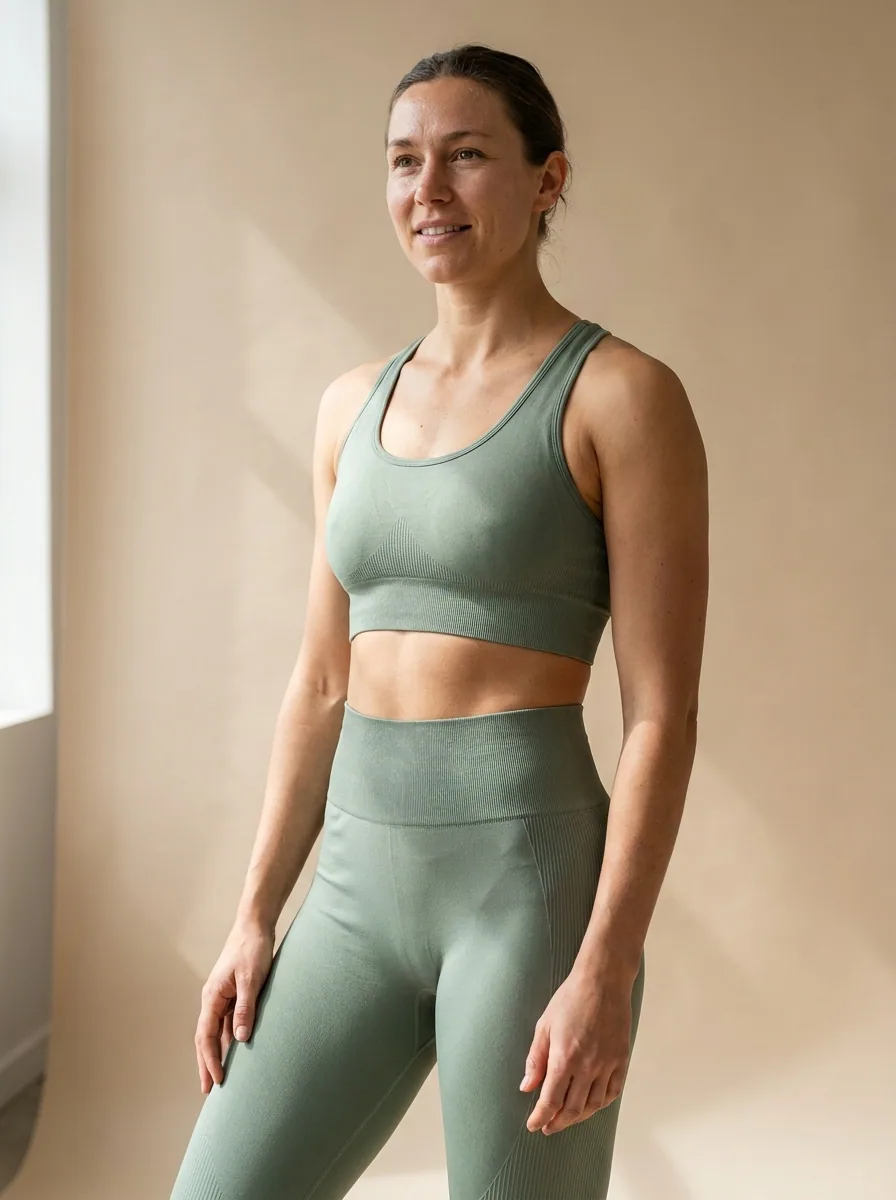
Listing ad creative with text generated with Nano Banana ProNano Banana Pro

This page is for makers selling handmade goods, where the photography is done at home and the listing has to compete in a grid against sellers who do the same. The constraint is light rather than skill: a kitchen table by a window gives you one usable hour a day and a different colour temperature every week. DesignerBox starts from the photograph you already took. Correct the light, clean up the background, build the flat lay and the styled scene, and produce the full set of gallery images a listing wants without buying a lightbox you will use twice.

What makers use it for

Four jobs that decide whether a listing gets clicked.

Rescue the light

Most handmade photography is taken in whatever light the day offered, which means yellow indoor bulbs in winter and blown-out windows in summer. Relight the frame you already have so a piece made in January sits beside one made in June without looking like a different shop.

Win the thumbnail

A handmade marketplace is a grid of squares, and the click happens before anyone reads a word. Produce a square, bright, tightly cropped hero where the item fills the frame, so the listing competes on the item rather than on how much table is in shot.

Fill every gallery slot

Marketplace listings give you several image slots and most sellers use two. Build the flat lay, the detail, the scale reference and the in-use frame from the same capture, so the whole gallery is filled without a second session.

Show it in a room

A shopper buying a print, a candle or a cushion is imagining it in their own space, and a photograph on a table does not help them do that. Place the finished item into a styled setting so the listing answers the question rather than leaving it open.

See it on a real piece

Four tools, each aimed at a problem a home setup creates.

Flat Lay Studio - Before
Before
Flat Lay Studio - After
After
Flat Lay Studio

Flat Lay Studio

The flat lay is the handmade seller's default shot and the hardest one to light evenly at home, because a table by a window is bright on one side and grey on the other. Flat Lay Studio returns it square, evenly lit and cropped the way a listing grid wants.

Open the tool
Spotlight Relight - Before
Before
Spotlight Relight - After
After
Spotlight Relight

Spotlight Relight

A ceiling bulb makes everything look secondhand and an overcast window makes it look flat. Spotlight Relight puts the light back where you want it, so the colours of the yarn, the glaze or the paper are the ones in your hand.

Open the tool
Styled Scene Generator

Styled Scene Generator

Setting up a styled room shot means props, a surface and space you probably do not have. Styled Scene Generator places a finished item into a setting you choose, which is the frame that makes a shopper picture it in their own home.

Open the tool
Background Remover - Before
Before
Background Remover - After
After
Background Remover

Background Remover

A clean cutout is what a marketplace hero image and a printed craft-fair sign both want, and a busy table ruins both. Background Remover holds the edge on soft outlines like fabric, thread and hair, so the piece lands cleanly on white.

Open the tool

Each before and after above demonstrates the tool named on the card, using that app's own sample image, so the subject you see may not be from this industry. Run the same tool on your own photos to see it on your work.

From kitchen table to listing

Four steps that fit around making the actual thing.

1
Photograph what you made
Put the piece near a window, use a plain surface, and take one sharp frame from directly above and one from the front. Do not chase perfect light. Sharp and true to shape is what matters, because those are the two things that cannot be recovered later.
2
Fix the light and the crop
Correct the colour cast, even out the light and crop to square with the item filling the frame. This is the version the whole listing is built from, so it is worth a few minutes.
3
Fill the gallery
Produce the flat lay, the detail crop, the scale reference and the styled room shot from the same file, so every image slot in the listing is used rather than two of them.
4
Save it for the next batch
Save the sequence as a workflow. Everything you make from now on runs through the same treatment, which is what turns a shop full of individual photos into a shop with a look.

Where the images go

The same piece, four different demands.

Your marketplace listing

The hero image is a square thumbnail in a grid, so it is competing at small size before anyone opens the listing. Fill the frame with the item, keep the background plain and consistent across your shop, and use every gallery slot the platform gives you rather than the two most sellers manage.

Social

Handmade sells well on social because the process is interesting, but the posting cadence is what most makers cannot sustain. Feed posts run at 1080 by 1350 and stories and Reels at 1080 by 1920, and building both from a finished listing image means posting does not require a separate photo session.

Craft fairs and packaging

Stall signage, price cards, thank-you inserts and packaging stickers all come from the same photographs and all show every flaw that a phone screen hides. Upscale before printing, keep the colours consistent with the online listings, and the stall and the shop read as the same maker.

Your own site and email

Most makers eventually want sales that do not carry a marketplace fee, and that means a site and a list. Both want the same images at different crops: a wide header, a square grid tile, a small in-email version. Producing all three from one file is what makes the second channel cheap to run.

One look across everything you make

A handmade shop grows one piece at a time, which is exactly why the photography drifts. Each item gets shot on the day it is finished, in that day's light, and after forty items the shop looks like forty separate small businesses. Saving the treatment as a workflow fixes it at the source: the same relight, the same background, the same square crop and the same gallery set, applied to whatever came off the bench this week. It also removes the part of the job most makers dislike. Photography is rarely why anyone started making things, and turning it into a repeatable ten-minute step rather than an afternoon means listings actually go up when stock is ready. Brand profiles hold your colours and type, so the packaging inserts, the stall signage and the listings all end up looking like one maker.

Every model, one subscription

Handmade goods cover materials that behave very differently under a camera. A glaze, a wool, a pressed flower and a silver clasp each reward a different model, and a maker has no reason to hold a licence for several to find that out. DesignerBox carries them in one workspace on one subscription: Nano Banana Pro and Nano Banana 2 from Google, GPT Image 2 from OpenAI, Seedream 5 from ByteDance, and FLUX 2 Flex, FLUX Pro 1.1 and Kontext Multi from Black Forest Labs. Video runs on Veo 3.1 and Veo 3.1 Fast, Sora 2 Pro, Seedance 2.0, Kling 2.6 Pro and Runway Gen-4.5. Run one piece through a couple of them, keep the one that renders your material honestly, and use it for that range.

Handmade seller questions

What makers ask before they use this on their own listings.

Is this allowed on a handmade marketplace?
Editing your own photographs is standard practice everywhere. What marketplaces care about is that the listing image shows the actual item a buyer receives, and several now have specific rules about AI-generated content and disclosure. Read the policy for the platform you sell on before you publish, because the rules have been changing and they differ between marketplaces.
Does it change what my product looks like?
It should not, and that is on you to check. Relighting, background removal and cropping present the item accurately. Anything that alters the colour of a glaze, the thickness of a yarn or the size of a piece has crossed from presentation into misdescription, and handmade buyers notice immediately because they are paying for the specific object.
Can I put my item into a room I do not have?
Yes, and that is normal for a styled or lifestyle image as long as it is clearly the context rather than the claim. The item in the frame has to be your real piece at its real proportions, and the setting must not imply something included that is not. Keep at least one plain, unstyled image in the gallery so a shopper can see exactly what arrives.
I only have a phone. Is that enough?
Yes, for almost everything. Modern phone cameras resolve more than a marketplace listing needs. Wipe the lens, shoot near a window rather than under a ceiling light, put the piece on a plain surface, and take several frames. Focus and framing are the parts you cannot fix afterwards; light and background are the parts you can.
Will this make my shop look generic?
It can, if you accept the first background you are offered and so does everyone else. The point of saving a treatment is to pick a look that suits your work and repeat it, which is the opposite of generic. Choose a surface and a light that fit your material, then apply that consistently rather than chasing a different style each week.
How much does it cost to start?
Nothing to try. The free tier carries 112 credits a month, enough to take a few pieces from a phone photo to a finished listing set. Paid plans run $15 a month for 500 credits, $35 for 1,000, $75 for 2,500 and $200 for 8,000. Most makers size their plan on how many new pieces they list each month.

Redo one listing

Take the photo of the piece that is not selling, fix the light and fill the gallery, and compare the two. The free tier covers it.

Start free