


Consumer electronics
Electronics product photography with AI
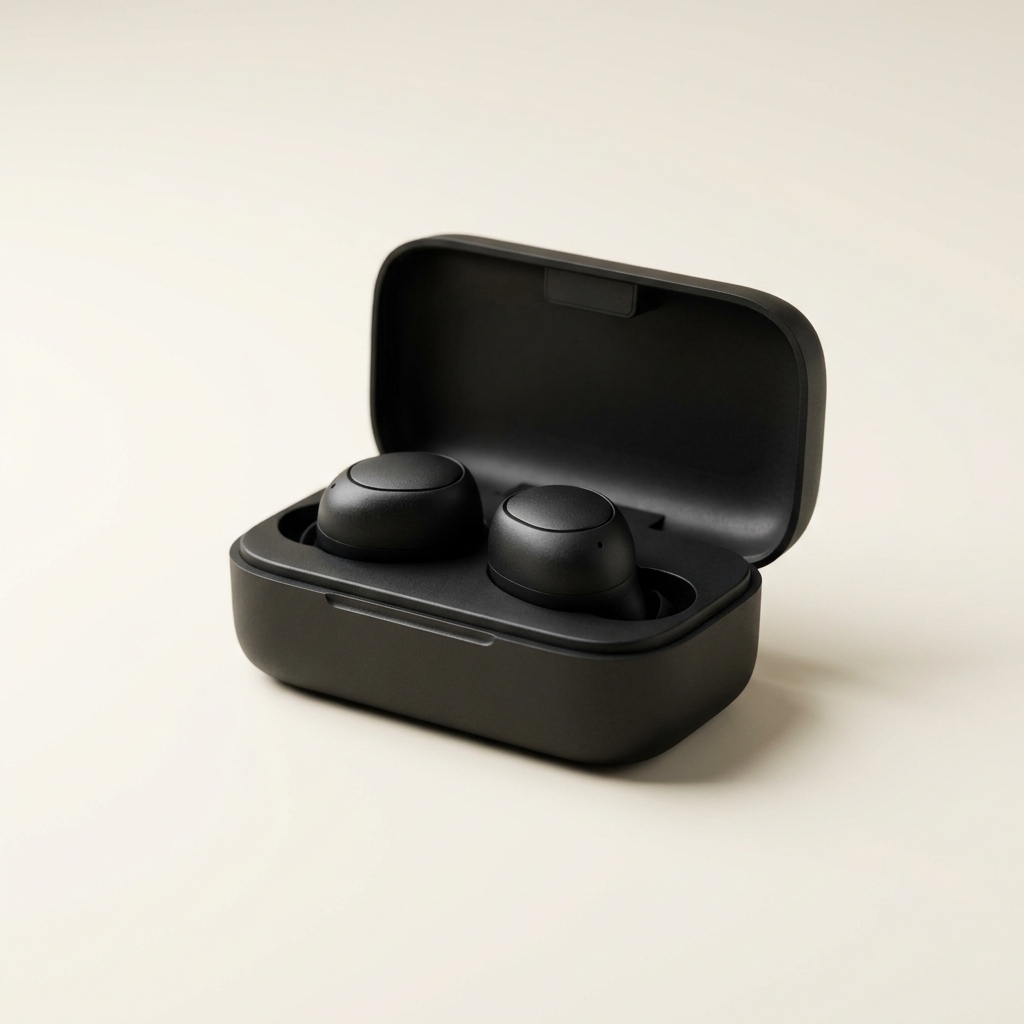
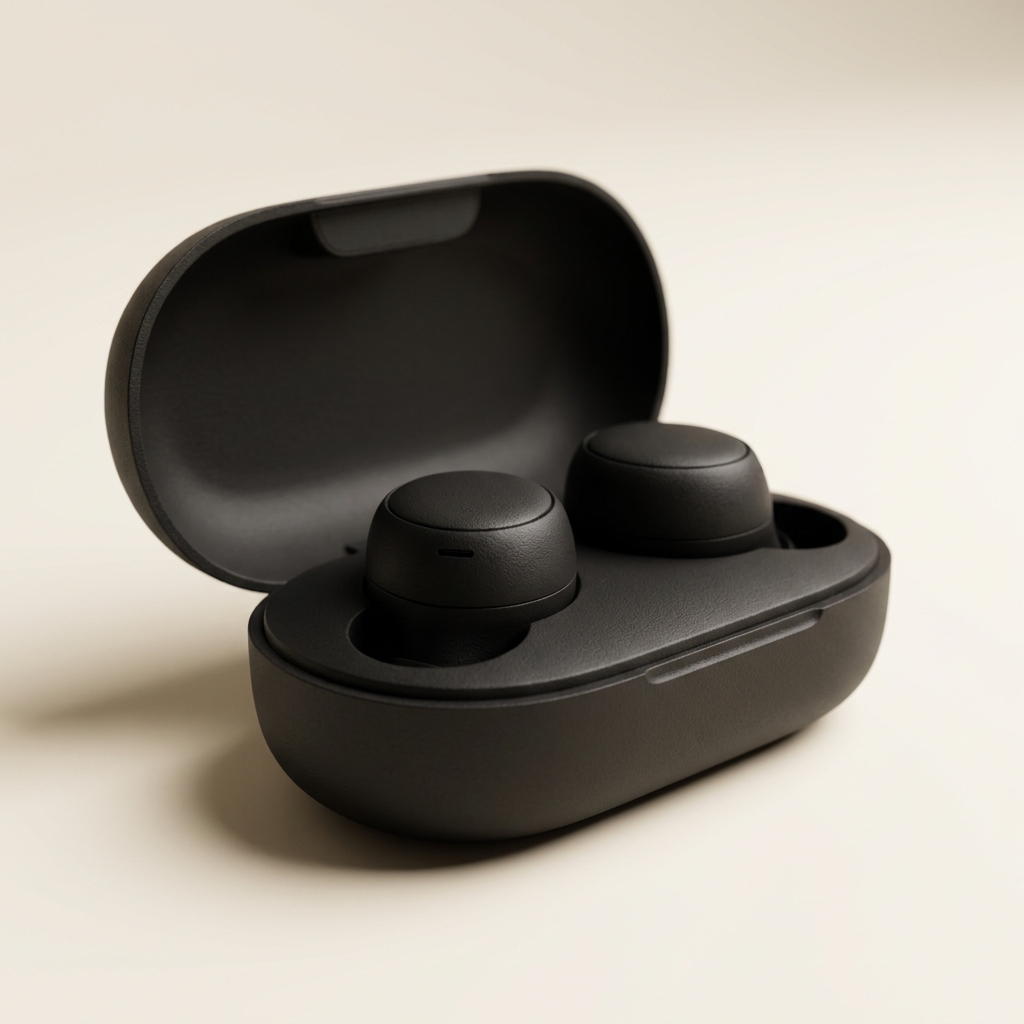
A gadget is several surfaces in one object. A mirrored panel, a brushed band, a soft-touch body and a cable. Light them together, show the ports and the screen as they really are, and the listing answers what the spec sheet leaves open. Every picture keeps your brand's look, at any volume.
Last updated


Who it is for
Does that sound like you?
Scaling without compromising quality.
You need more pictures every week for the shop, the ads and the socials. Anyone can make an AI picture. Making hundreds that still look like your brand is the hard part. A shoot for every product costs weeks, and every new generator returns a different look.
- A template or a workflow you build once, with your brand rules
- One run on one product, or a batch over your whole catalogue
- Every result in Assets, with the same look on the first and the last
Cut the waiting time and budget for deliverables.
You make this for clients, and every client has their own look. A shoot for each one costs weeks and most of the budget. A different generator for each one returns a different look, so somebody fixes it by hand before it is delivered.
- Each client's brand rules, saved once and used on every run
- A workflow you build once and run for every client
- A batch over a client's whole catalogue, delivered from Assets
Electronics and gadgets
Electronics photography is the job of lighting several surfaces at once. One device can hold a mirrored screen, a brushed metal band, a matte plastic body and a rubber cable. Each of those wants a different light. You photograph the device so all four read correctly in one frame. Then you add the frames a buyer needs to check the ports, the buttons, the screen and what is in the box.
What a gadget listing has to solve
Four problems that come with photographing several surfaces at once.
Gloss and matte in one frame
A mirrored panel copies whatever is in front of it, so it needs a large, controlled source. A matte body absorbs that same light and turns grey. Light the gloss first, then add a second source to lift the matte parts. Check that the reflection carries no shape from the room.
What the screen shows
A black screen reads as a dead device. Put the real interface on it, at the brightness a buyer would see, and keep the reflection off the panel. Whatever the screen shows has to be what the device does, because a mocked-up interface is a claim about the product.
Ports and buttons
Buyers count the ports and check the connector type before they buy. Shoot the edge with the light raking across it. Each port then reads as a real opening with depth. A flat light makes it look like a dark shape printed on the side.
Cables and what is in the box
A loose cable is the fastest way to make a clean shot look untidy. Coil it into one repeated shape and give it a fixed place in the frame. The in-the-box frame matters as much as the hero, because it settles the question of what a buyer receives.
The shot list for a device
Four steps, in the order that keeps every surface honest.
Light beats angle on electronics, so settle the lighting before you generate a single extra view. A reflection that is wrong in the hero is wrong in every angle built from it. Photograph the device closed and clean first, set the screen second, and only then produce the edge, back and detail frames. Cables and box contents come last. They are arrangement rather than lighting, and they are easy to redo. Save the whole sequence once. A range of black devices lit two different ways looks like two different brands.
What an electronics listing needs
Four frames, and the question each one answers about a device.
Hero on white
The device at a three-quarter angle on plain white, with both the glossy and the matte parts readable. Leave a little space at the edges, so a marketplace crop does not clip a corner off the product.
Port and button edge
One frame per edge that carries something. Ports, buttons, switches and the charging contact. Light it from the side so each opening has depth, and shoot it close enough that a connector type is identifiable.
Screen frame
The device with its display on, showing the interface it really runs. Keep the panel free of room reflections. This frame does more selling than any other on a device with a screen, and it is the easiest one to fake.
In the box
Every item a buyer receives in one overhead frame, cables coiled to a repeated shape. This is the frame that answers the pre-purchase question about accessories, and the one a returns team refers to afterwards.
Questions about electronics photos
What sellers ask before they shoot a device range.
How do I light a glossy screen and a matte body together?
What should be on the screen in the photo?
How do I photograph a black product on a white background?
Do I need a separate photo of the ports?
How should I handle the cable in the shot?
Can I publish these images to my store automatically?
Other categories
The same craft, written for a different product.
Footwear photography
Three-quarter hero, profile, sole and lace detail from your shoe photos.
Jewellery photography
Reflection control on metal, stone brilliance, macro detail and a size cue.
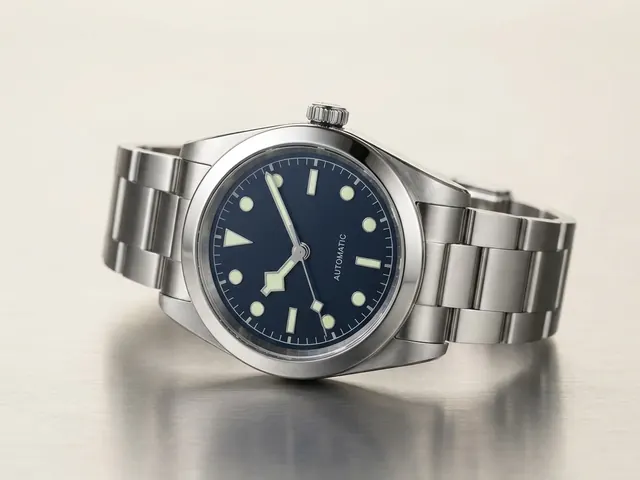
Watch photography
Crystal glare, dial legibility, bracelet finish and the ten past ten hand set.

Eyewear and sunglasses
Reflection control, frame angles and on-face fit shots.

Bags and handbags
Shape, leather grain, hardware and the interior view.

Wallets, belts and small goods
Flat lay sets, open and closed states, edge paint and thickness.
Everything you need, in one place
The full workflow from the first product photo to the finished ad, in one subscription.
Scale content without limits.
Generate content for your products or services with AI, starting today, and keep your brand on every piece.








