For private label and FBA sellers

Seven image slots. Most sellers fill two.

The main image gets all the attention and the supporting slots decide the sale. Scale, what is in the box, the detail that answers the one-star review, the product in use. Produce that whole set from one clean capture instead of shipping the unit to a studio.

Start free

DesignerBox is an independent product and is not affiliated with, endorsed by or partnered with Amazon. The name is used here only to describe the kind of seller this page is written for. Marketplace image requirements are set by the marketplace and change without notice, so check the current specification before you publish.

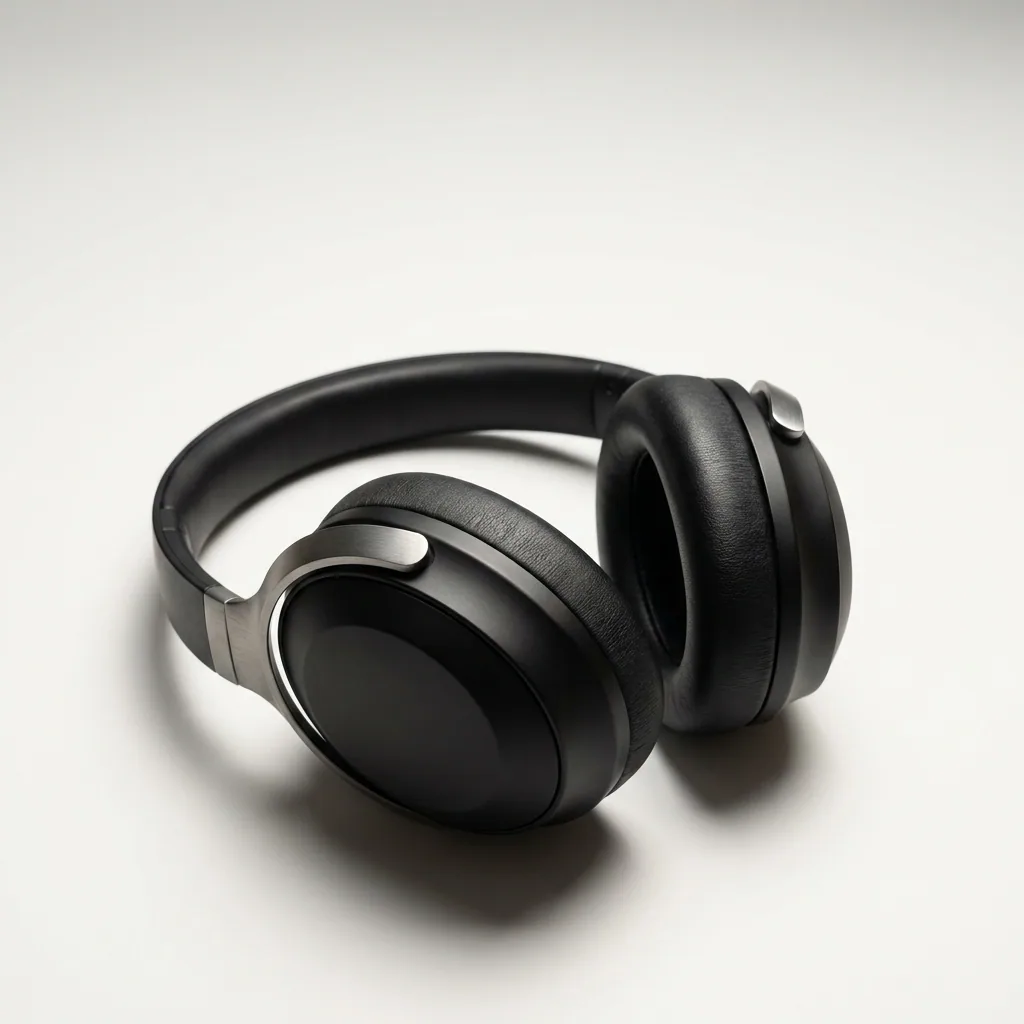
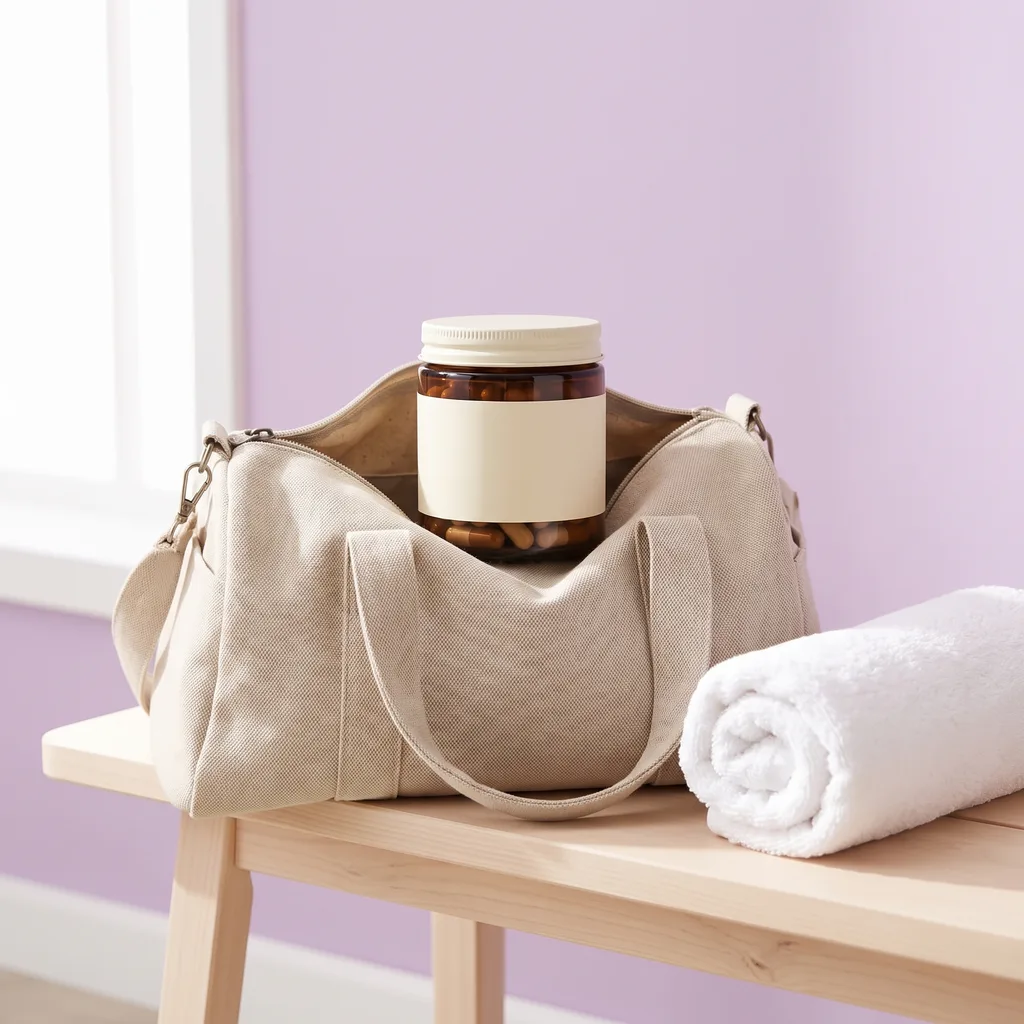
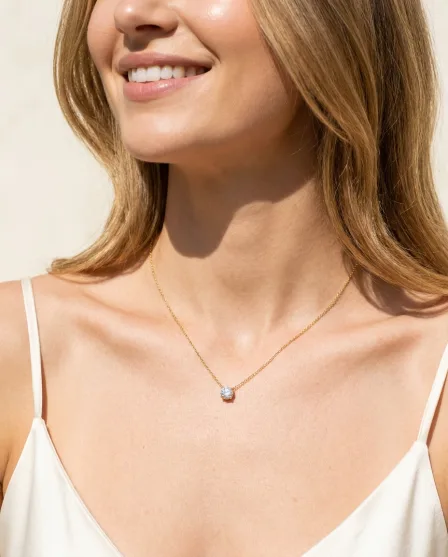
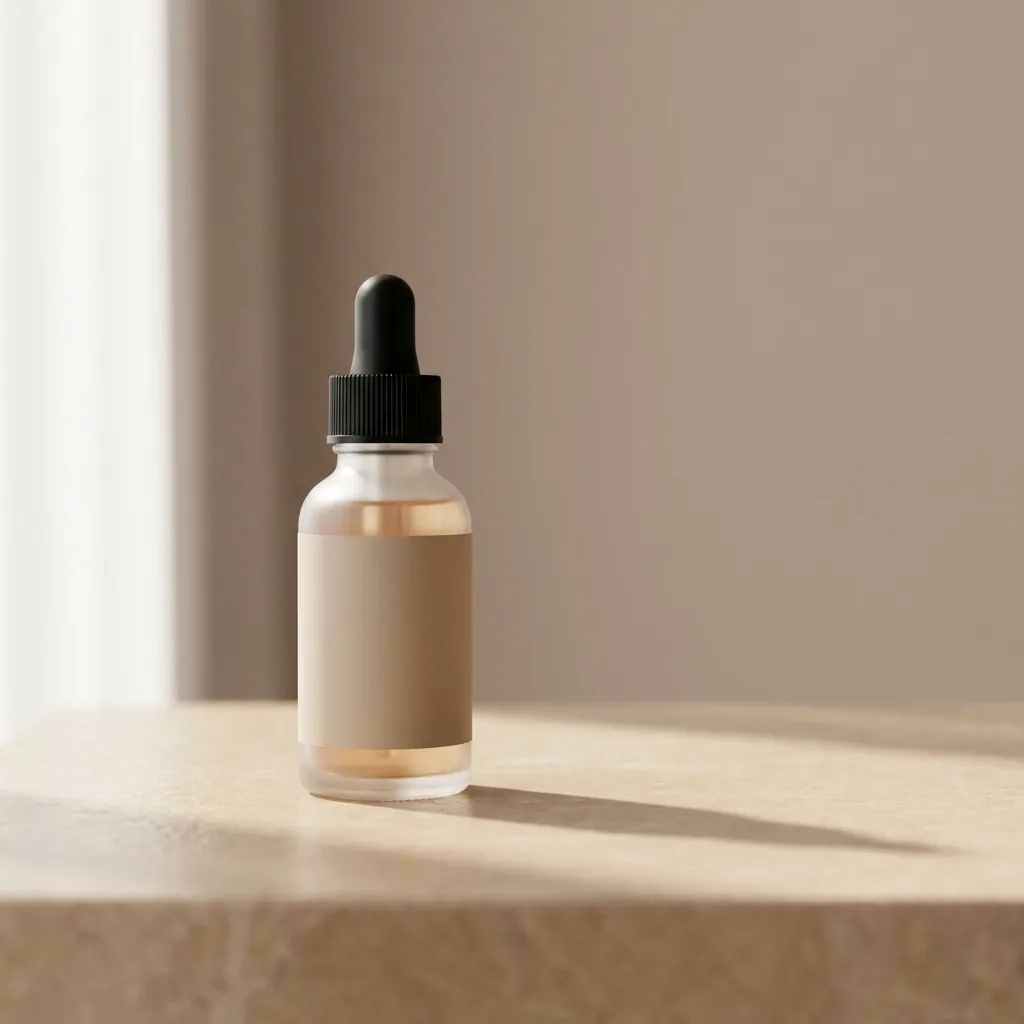
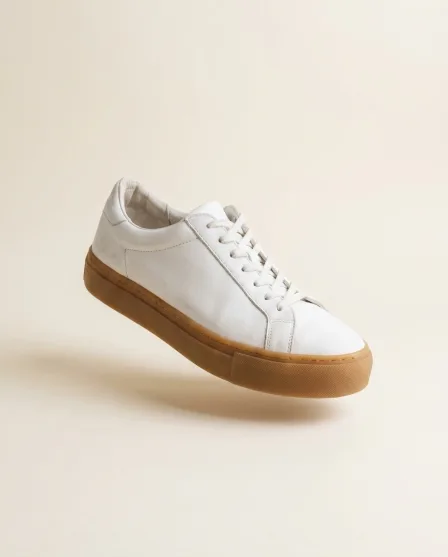
Product packshot generated with Nano Banana ProNano Banana Pro
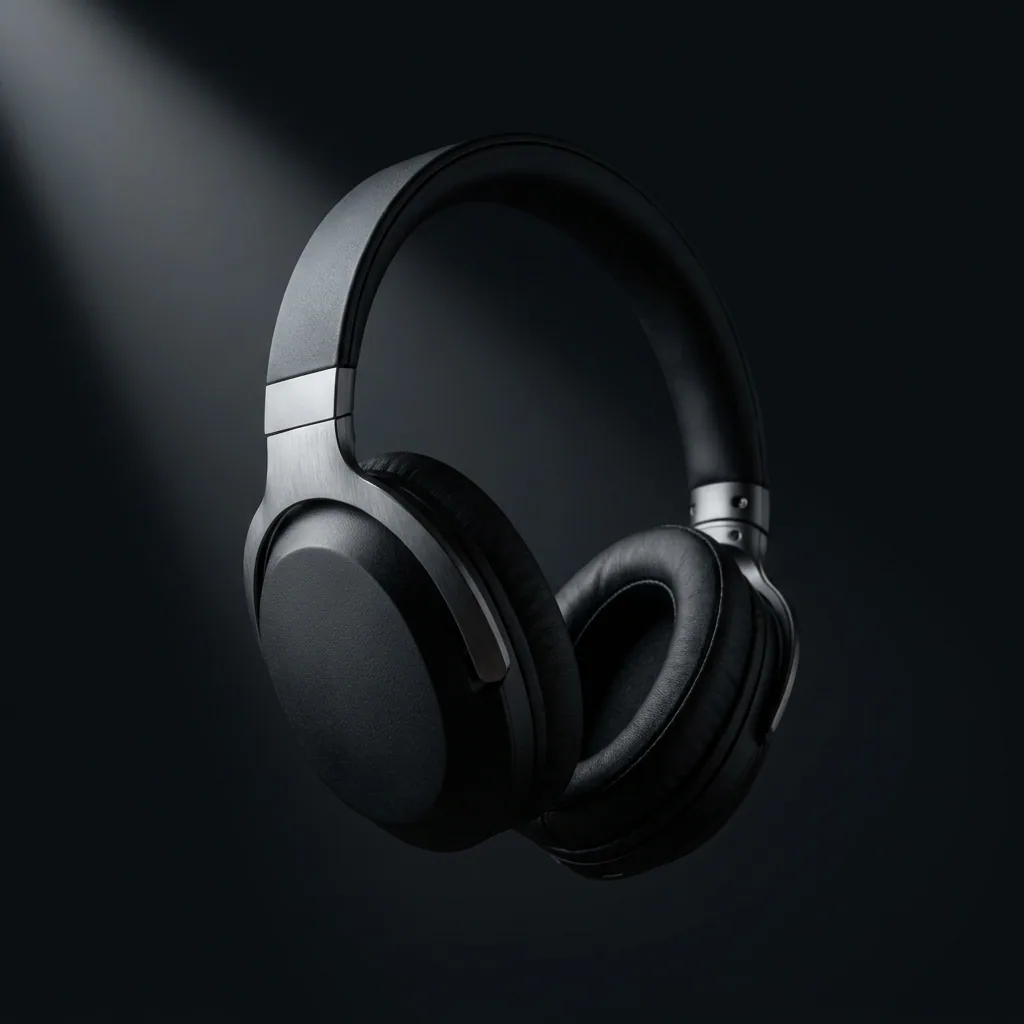
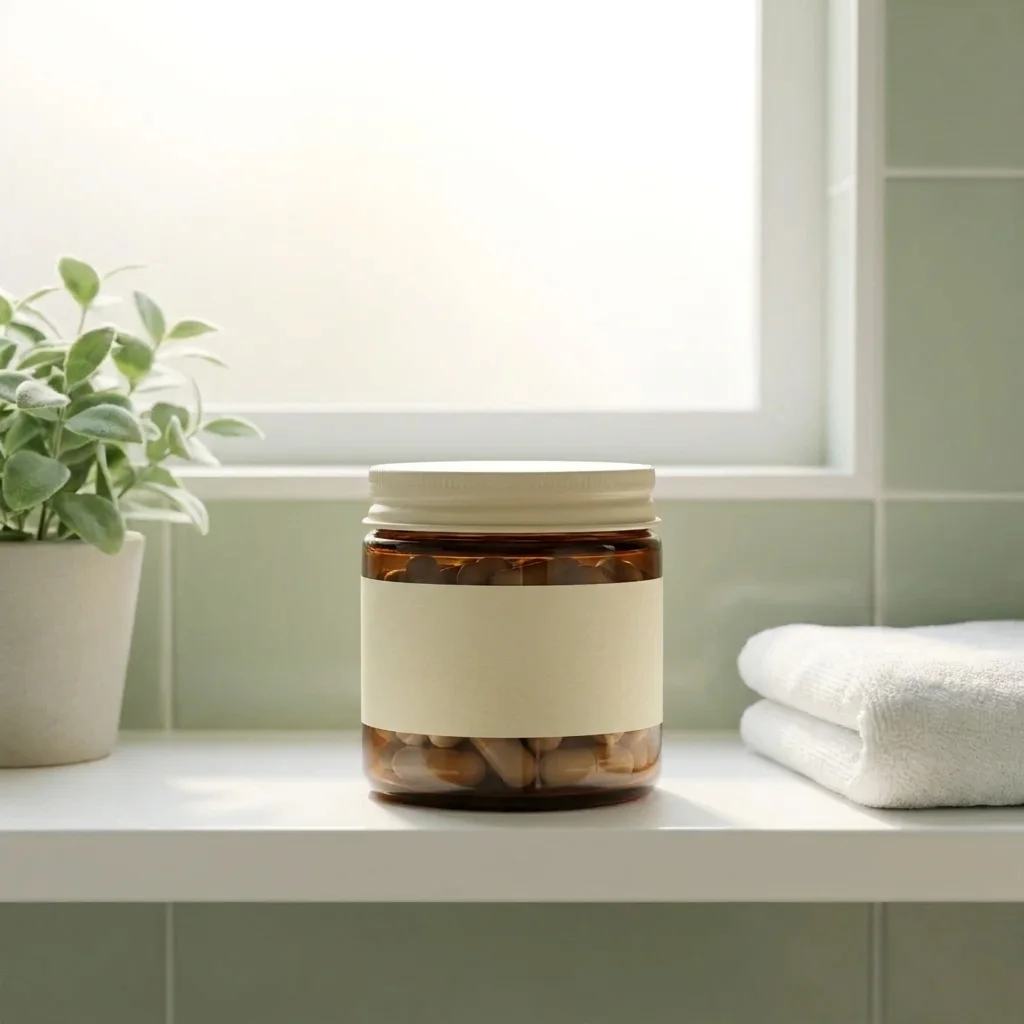
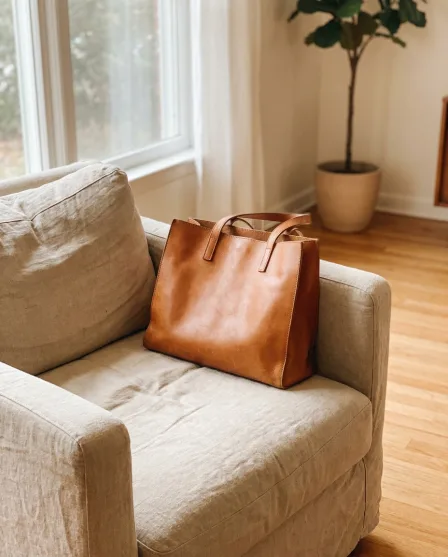
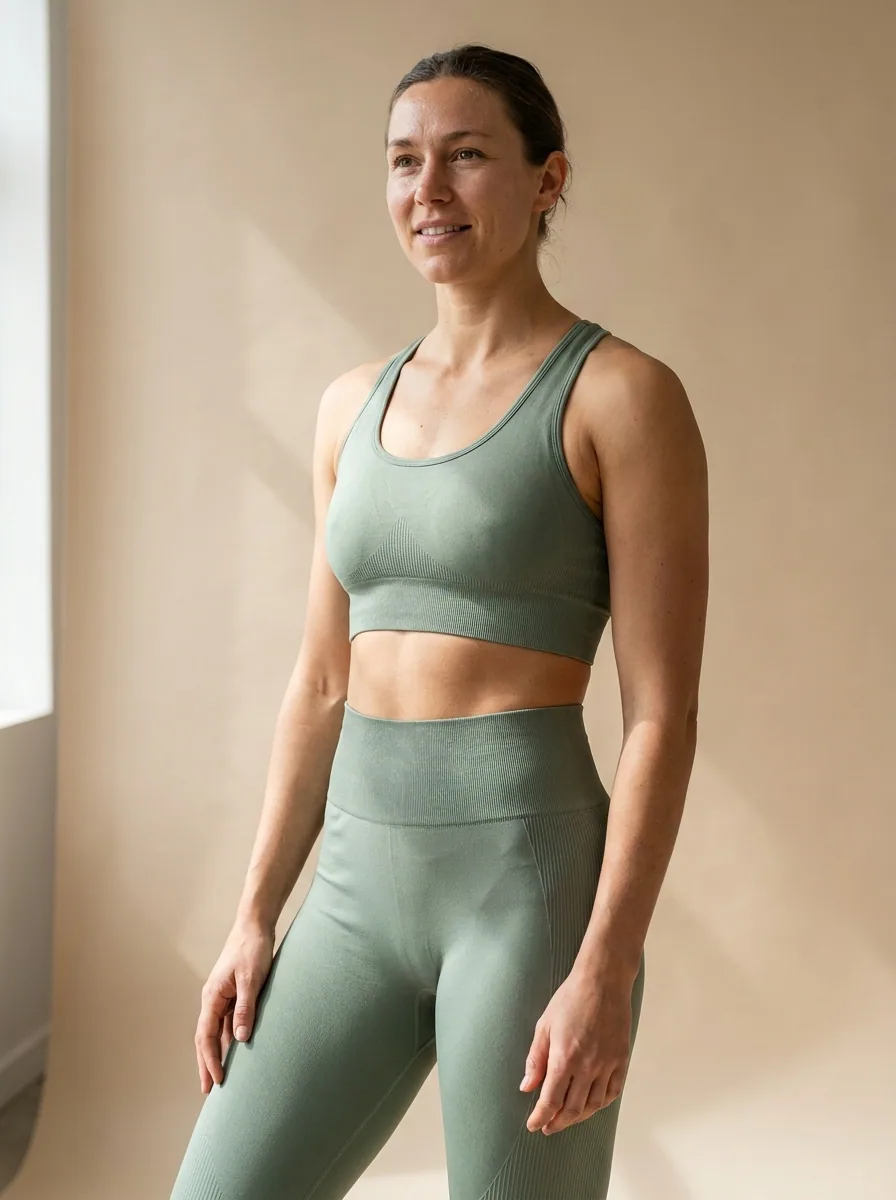
Product packshot generated with GPT Image 2GPT Image 2
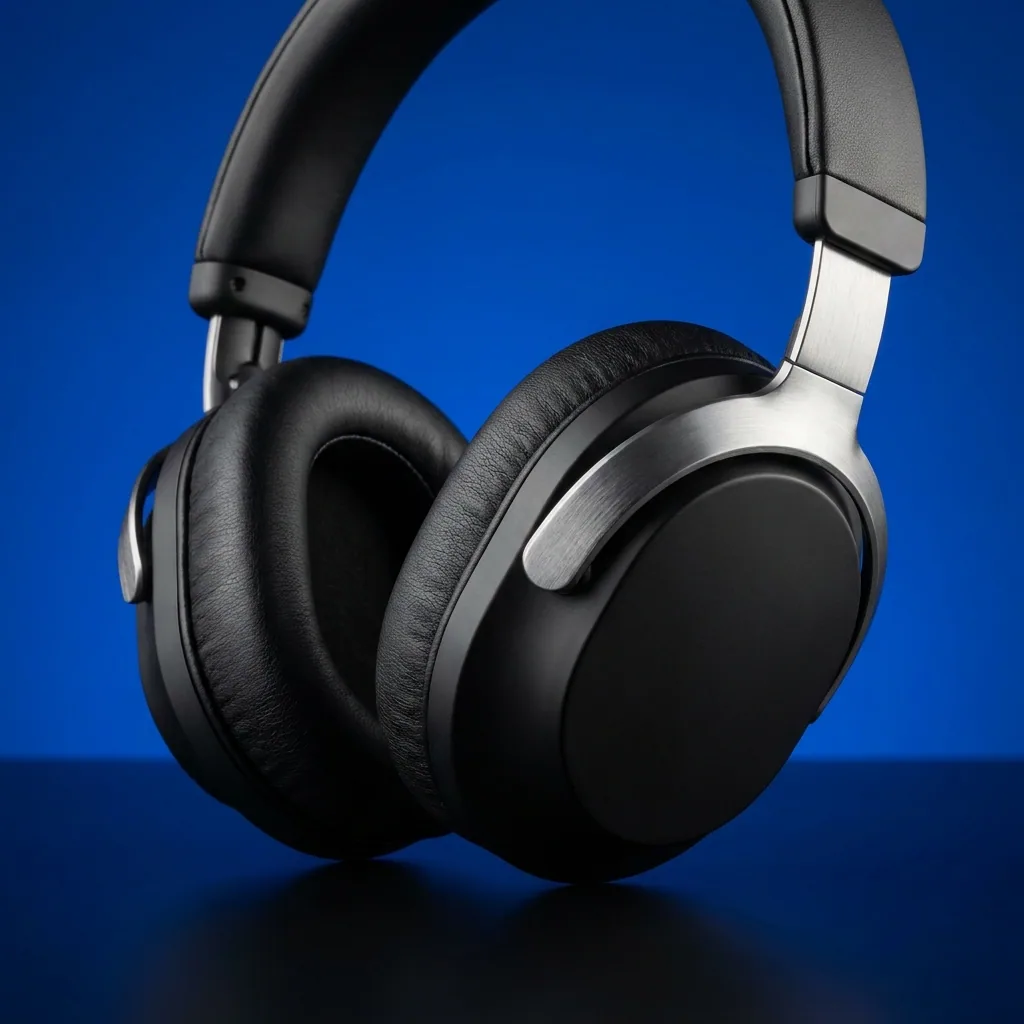
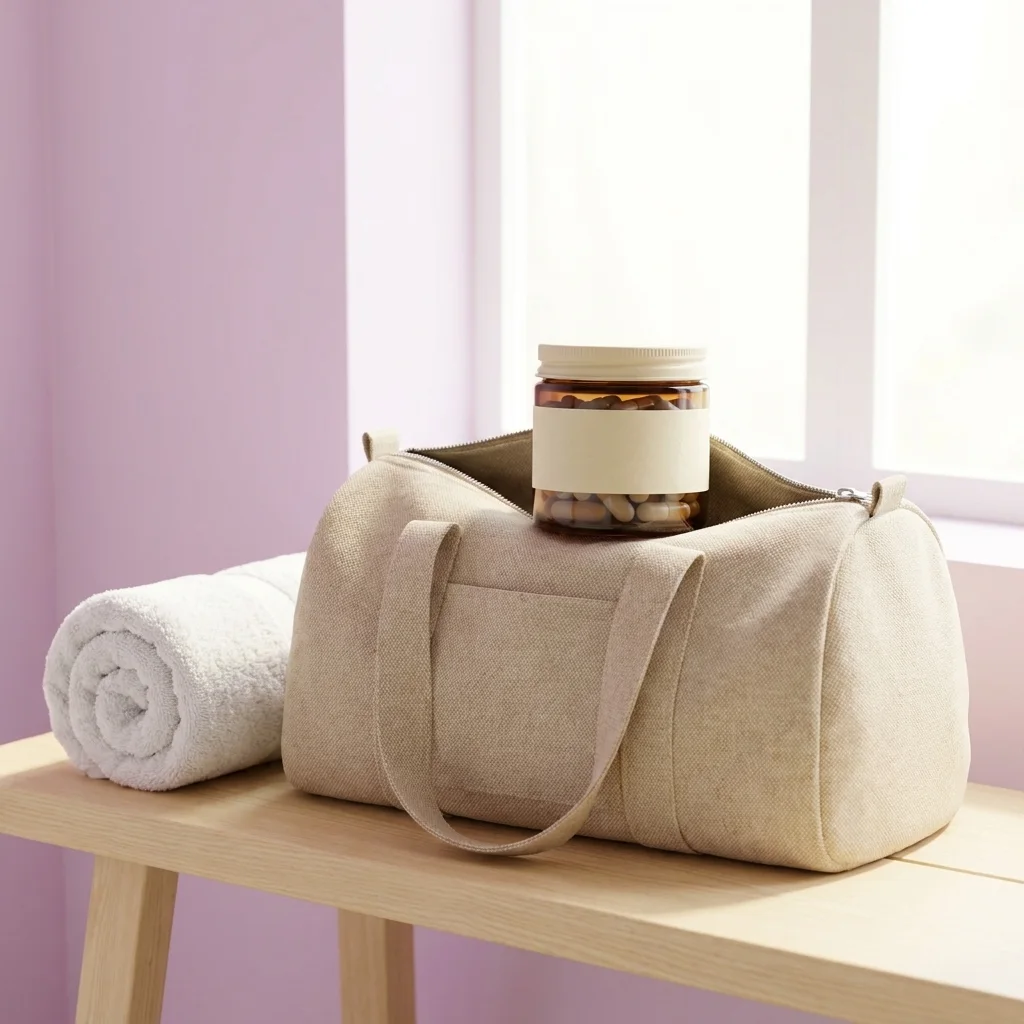
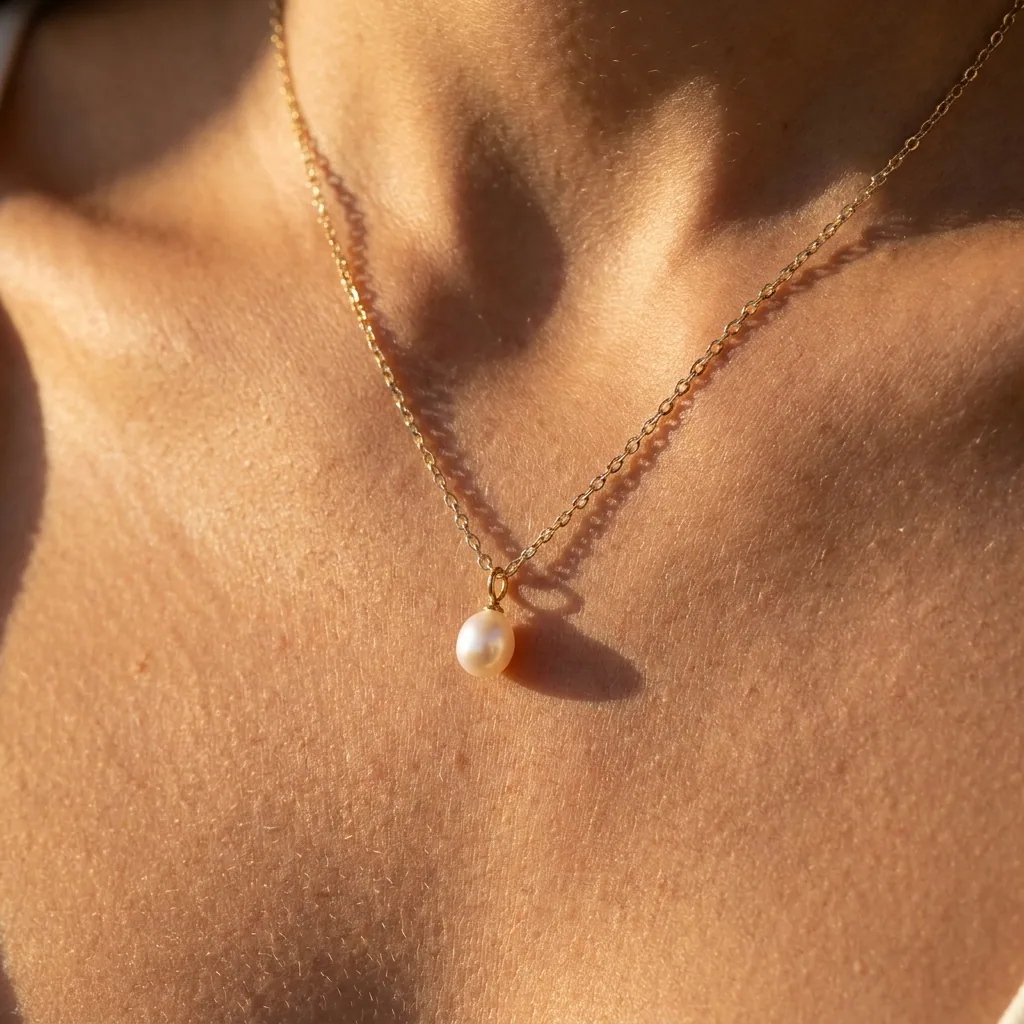
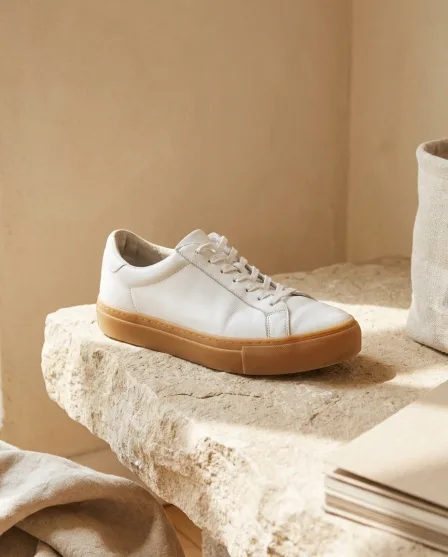
Product packshot generated with FLUX 2 FlexFLUX 2 Flex
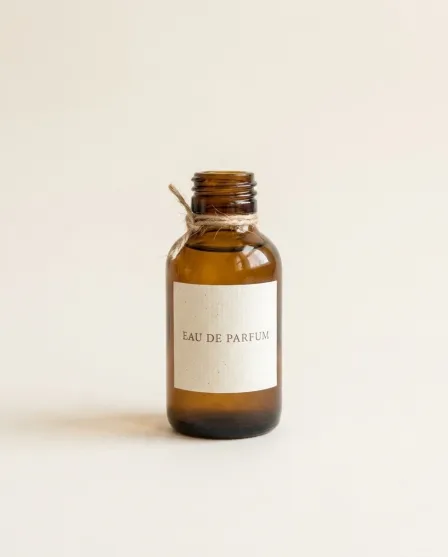
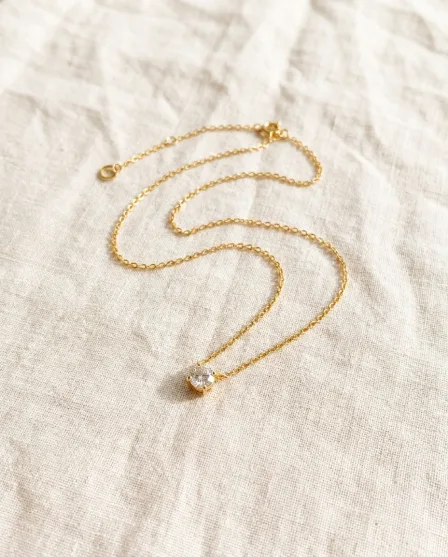
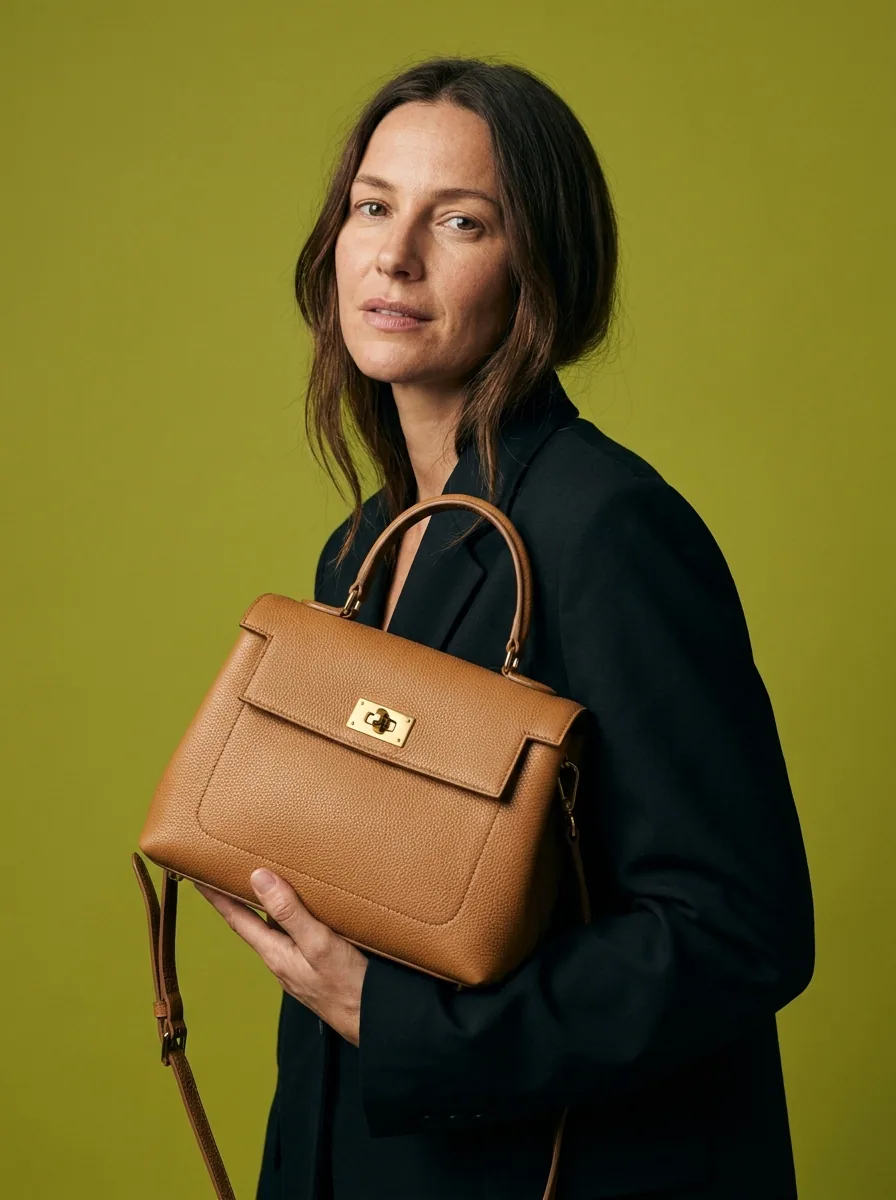
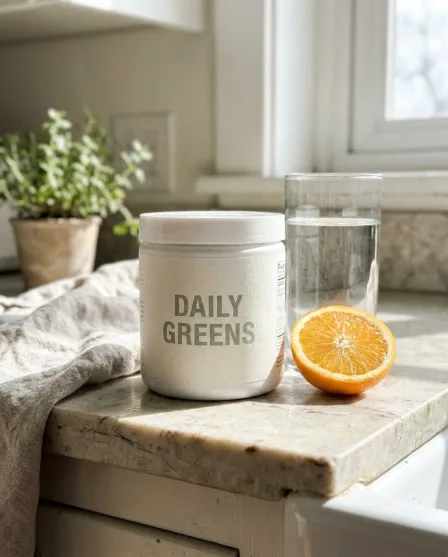
Listing ad creative with text generated with Nano Banana ProNano Banana Pro

This page is for private label sellers listing on a marketplace, where the image set is a template rather than a creative decision. The main image has to meet a hard specification, usually a pure white background with the product filling most of the frame, and the supporting slots reward exactly the images that answer a buyer's remaining doubts: how big it is, what is in the box, what the material is like, what it looks like in use. DesignerBox works from one clean capture of the unit you already have in hand, and produces that whole set from it rather than sending stock to a studio and waiting on a queue.

What marketplace sellers use it for

Four jobs the listing template asks for and most sellers skip.

Get a compliant main image

The main image is the one with rules, and a nearly-white background from a lightbox will not pass as pure white. Cut the product out properly and place it on a true white ground at the frame fill the marketplace asks for, so the listing is not held up over an image.

Produce the angles

Supporting slots want the back, the underside, the ports, the clasp, the thing a buyer would pick it up to check. Generate those views from one source capture rather than photographing each unit six ways or shipping it back for a second session.

Answer size and contents

Two of the most common returns come from a buyer misjudging the size or expecting something that was not included. A scale reference and a clear what-is-in-the-box frame answer both, and they are the slots almost nobody fills.

Add the lifestyle set

The last slots sell the situation rather than the object. Place the finished product into a real-looking setting so a buyer sees where it fits in their life, without hiring a location and a model for a unit selling at a modest margin.

See it on a real unit

Four tools, each aimed at a slot in the listing template.

Background Remover - Before
Before
Background Remover - After
After
Background Remover

Background Remover

The main image standard is pure white, not the pale grey a home lightbox produces, and a soft or haloed edge is the usual reason an image gets rejected. Background Remover holds the outline cleanly so the hero shot meets the specification the first time.

Open the tool
Photo Angles - Before
Before
Photo Angles - After
After
Photo Angles

Photo Angles

A buyer wants to see the back, the underside and the connector before they commit, and every one of those is a separate setup with the unit in hand. Photo Angles produces them from one source capture, which is what makes filling seven slots realistic.

Open the tool
Product Ad Generator - Before
Before
Product Ad Generator - After
After
Product Ad Generator

Product Ad Generator

Sponsored placements and the supporting slots both want the product laid out with a headline rather than bare on white. Product Ad Generator returns a composed frame with your type and palette in the size the placement needs.

Open the tool
Styled Scene Generator

Styled Scene Generator

The lifestyle slots decide whether a buyer can picture using the thing. Styled Scene Generator places the finished product into a chosen setting, which is the frame that turns a specification into a purchase.

Open the tool

Each before and after above demonstrates the tool named on the card, using that app's own sample image, so the subject you see may not be from this industry. Run the same tool on your own photos to see it on your work.

From unit in hand to full listing

Four steps, starting with one product you already have.

1
Photograph one unit properly
Take one sharp, evenly lit capture of the actual product, ideally on a plain surface. This is the only photography step and everything downstream depends on it, so give it the ten minutes rather than three.
2
Build the compliant hero
Cut the product out, place it on true white and set the frame fill the marketplace specifies. Check the current rules rather than assuming, because marketplace image requirements change and a rejected main image suppresses the whole listing.
3
Fill the supporting slots
Produce the angles, the scale reference, the contents frame, the detail crops and the lifestyle shots from the same source file. That is the difference between a listing with two images and a listing with seven.
4
Save it and repeat per SKU
Save the sequence as a workflow so the next product runs through it unchanged. For a catalogue that adds SKUs regularly, this is where the time actually comes back.

Where the images go

One product, four demands with different rules.

The listing gallery

The main image is the one with a hard specification and the supporting slots are where the selling happens. Fill every slot the platform offers, put the scale reference and the contents frame early rather than last, and make sure the images hold up at the small size a search results page shows them at, because that is where the click is won.

Enhanced brand content

The extended description modules want wide banners, comparison blocks and detail crops, which are different shapes from anything in the main gallery. Building them from the same source captures keeps the two halves of the listing visually consistent, which is what makes a private label look like a brand rather than a shipment.

Sponsored and external ads

Sponsored placements inside the marketplace and paid social outside it both want composed creative rather than a bare packshot, and both burn through it. Producing variants from the photography you already own means testing a new angle costs an afternoon rather than a shoot.

Your own store and wholesale

Most private label sellers eventually want a channel that does not charge marketplace fees, and a wholesale buyer wants a line sheet. Both run on the same source captures at different crops and resolutions, so the second channel does not need its own photography budget.

One sequence per SKU, not one project per SKU

Marketplace selling is a volume business and photography is the step that does not scale with it. Every new SKU needs the same seven or eight images, in the same order, to the same specification, and treating each launch as a fresh project is what leaves half the slots empty. A workflow makes it mechanical: cut out, place on white to the required frame fill, generate the angle set, add the scale and contents frames, compose the lifestyle shots, export at the resolution the zoom viewer wants. The other benefit is defensive. When a marketplace changes its image rules, or a category demands something different, you change one saved sequence and rerun the catalogue, rather than working out what was done to each listing and when. Brand profiles hold the palette and type so the enhanced content and the sponsored creative stay in line with the gallery.

Every model, one subscription

A private label catalogue rarely stays in one category, and the model that handles a matte plastic housing is not the one that handles a glass bottle or a printed textile. DesignerBox carries them in one workspace on one subscription instead of a licence each: Nano Banana Pro and Nano Banana 2 from Google, GPT Image 2 from OpenAI, Seedream 5 from ByteDance, and FLUX 2 Flex, FLUX Pro 1.1 and Kontext Multi from Black Forest Labs. Video runs on Veo 3.1 and Veo 3.1 Fast, Sora 2 Pro, Seedance 2.0, Kling 2.6 Pro and Runway Gen-4.5. Test a new SKU against two or three, standardise on whichever holds its material, and move on to the next launch.

Marketplace seller questions

What FBA and private label sellers ask before they use this on a listing.

Will an AI-assisted main image pass the marketplace requirements?
The requirements are about the image, not how it was produced: a pure white background, the product filling the specified share of the frame, no added text or logos on the main image, and enough resolution for the zoom viewer. Those are all achievable from a clean cutout of a real photograph. The rules do change without notice, so check the current specification for your category before you publish.
Can I list a product using generated images before stock arrives?
Not for the product itself. Every gallery image represents goods a buyer is paying for, so it has to start from a photograph of the actual unit, including the packaging and the accessories that ship with it. Getting a sample photographed before the container lands is the honest version of this, and it is also the version that does not generate a return rate you cannot recover from.
What about the lifestyle images, do those have to be real?
The setting can be produced, the product cannot. A generated kitchen around your real, correctly proportioned product is normal commercial practice. A frame that implies included accessories, a size the product does not have, or a result it does not deliver crosses into misleading advertising, which marketplaces enforce as well as regulators.
Does this work for products with a lot of packaging text?
It depends on the model and the crop. Text rendering has improved sharply but it is still the thing to check at full size before publishing, because a garbled label on a box is worse than no lifestyle image at all. Where the packaging text matters, work from the real photograph of the box rather than asking a model to reproduce it.
How many images should a listing have?
Use every slot the platform gives you. The common pattern is a compliant hero, then a scale reference, a what-is-in-the-box frame, two or three feature or detail crops, and one or two lifestyle images. The scale and contents frames are the ones that reduce returns, and they are also the ones most listings leave out.
How much does it cost to start?
Nothing to try. The free tier carries 112 credits a month, enough to take one SKU from a single capture to a full listing set and judge it against your category. Paid plans run $15 a month for 500 credits, $35 for 1,000, $75 for 2,500 and $200 for 8,000. Most sellers size their plan on how many SKUs they launch a month.

Fill the empty slots on one listing

Take your best selling SKU, build the scale and contents frames it is missing, and watch what happens to the conversion rate. The free tier covers it.

Start free