For print on demand sellers and merch brands

Same blank tee. Same mockup as everyone.

Every seller in your category is printing on the same garment and using the same generator mockup, which means the listing image is the only variable left. Produce your own on-model views and scenes from your artwork instead.

Start free
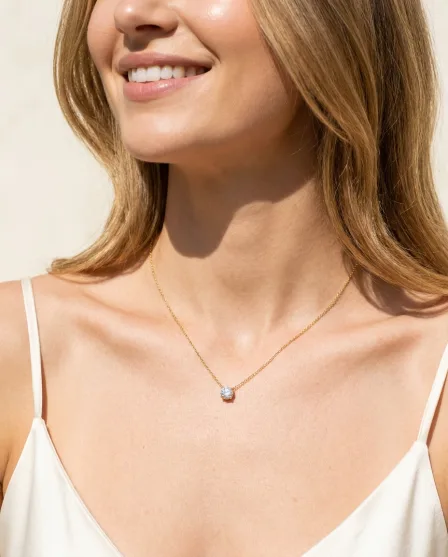
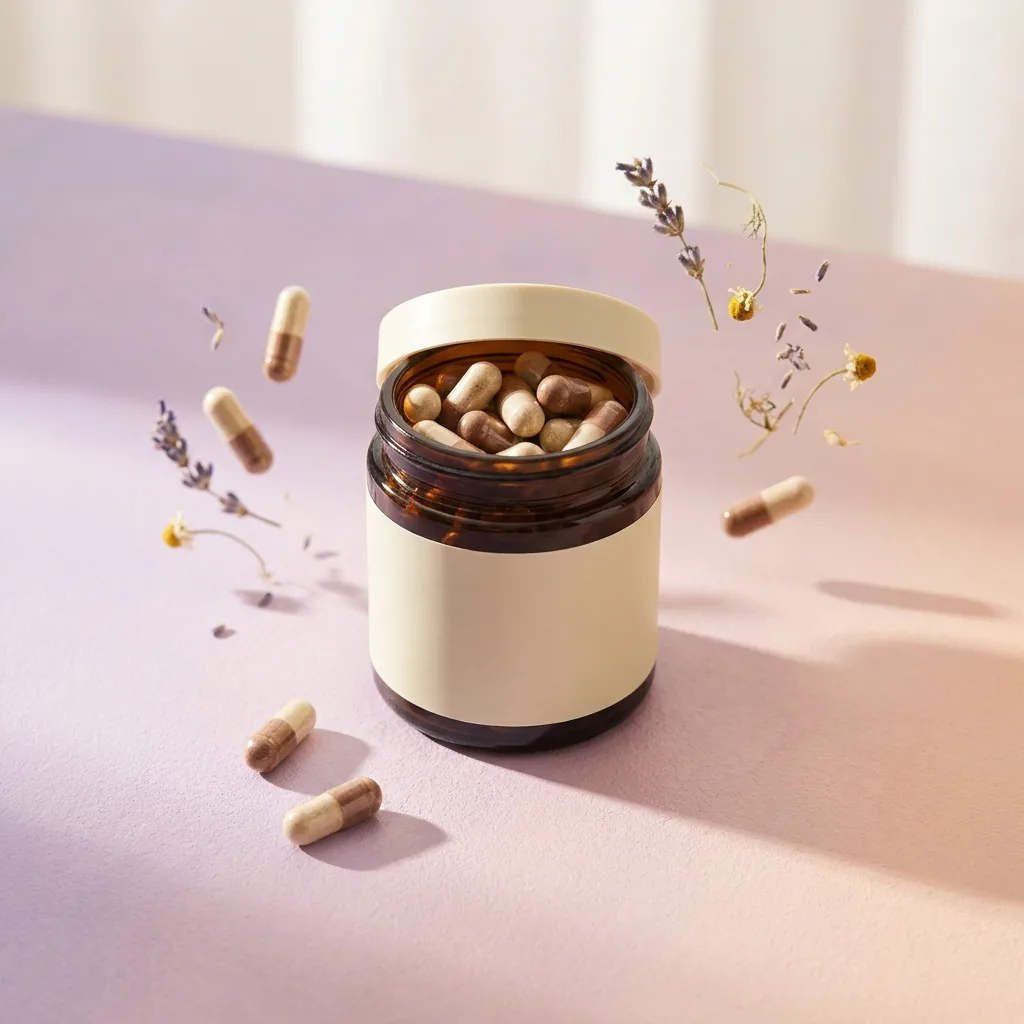
On-model clothing image generated with Nano Banana ProNano Banana Pro
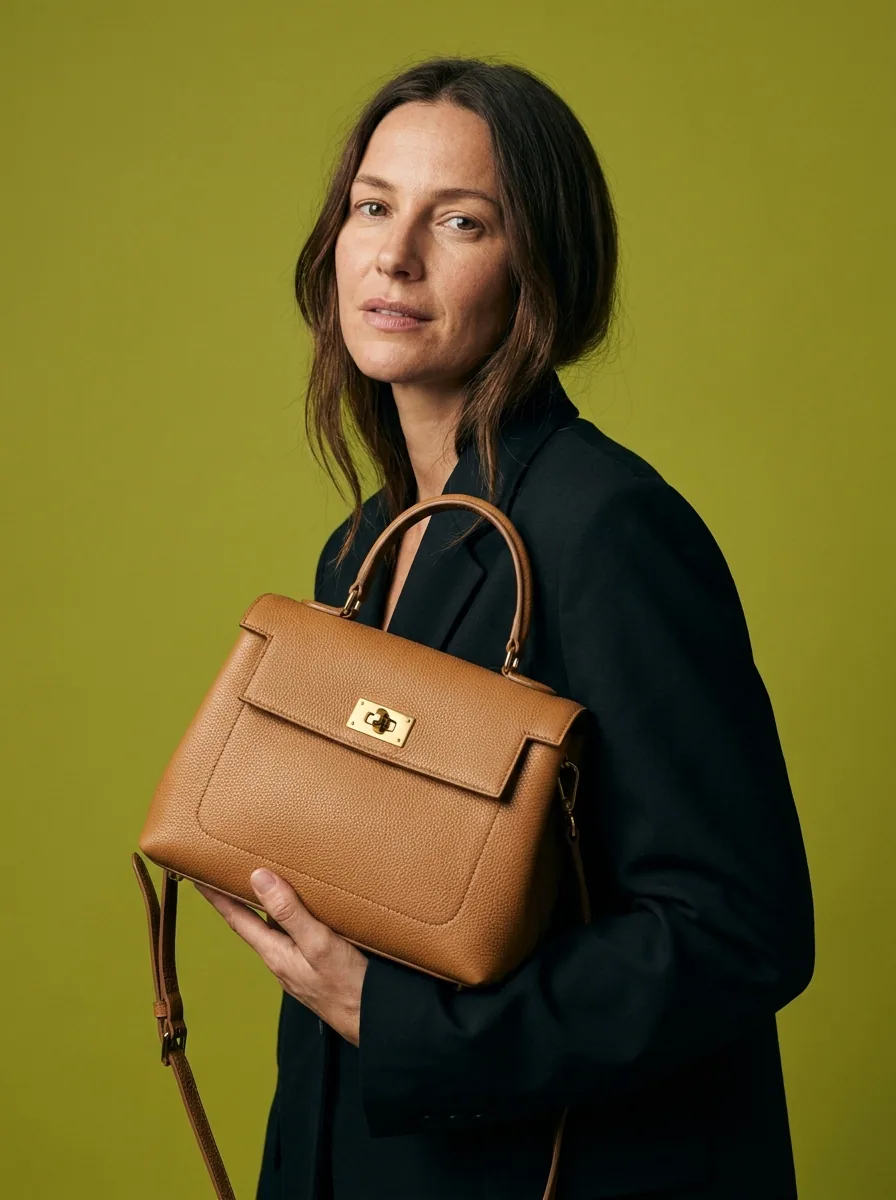
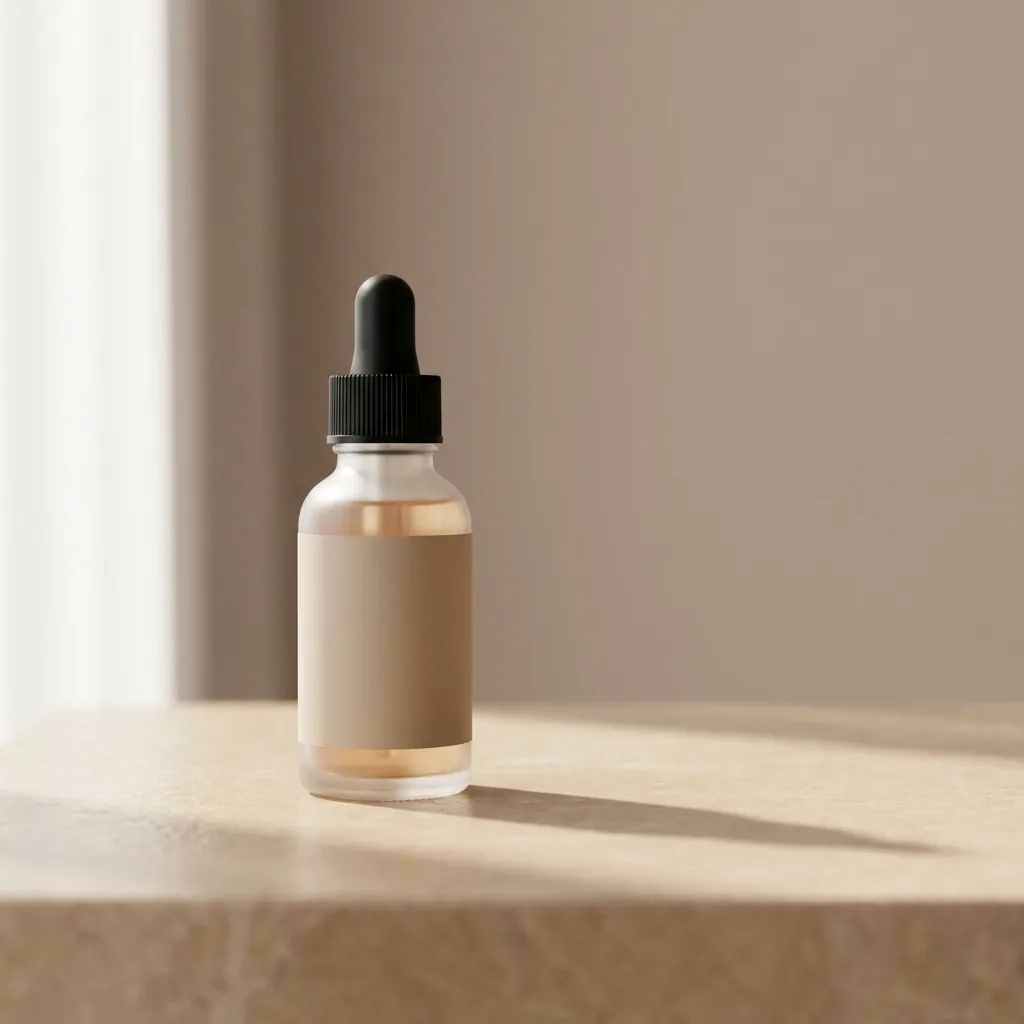
On-model clothing image generated with Seedream 5Seedream 5
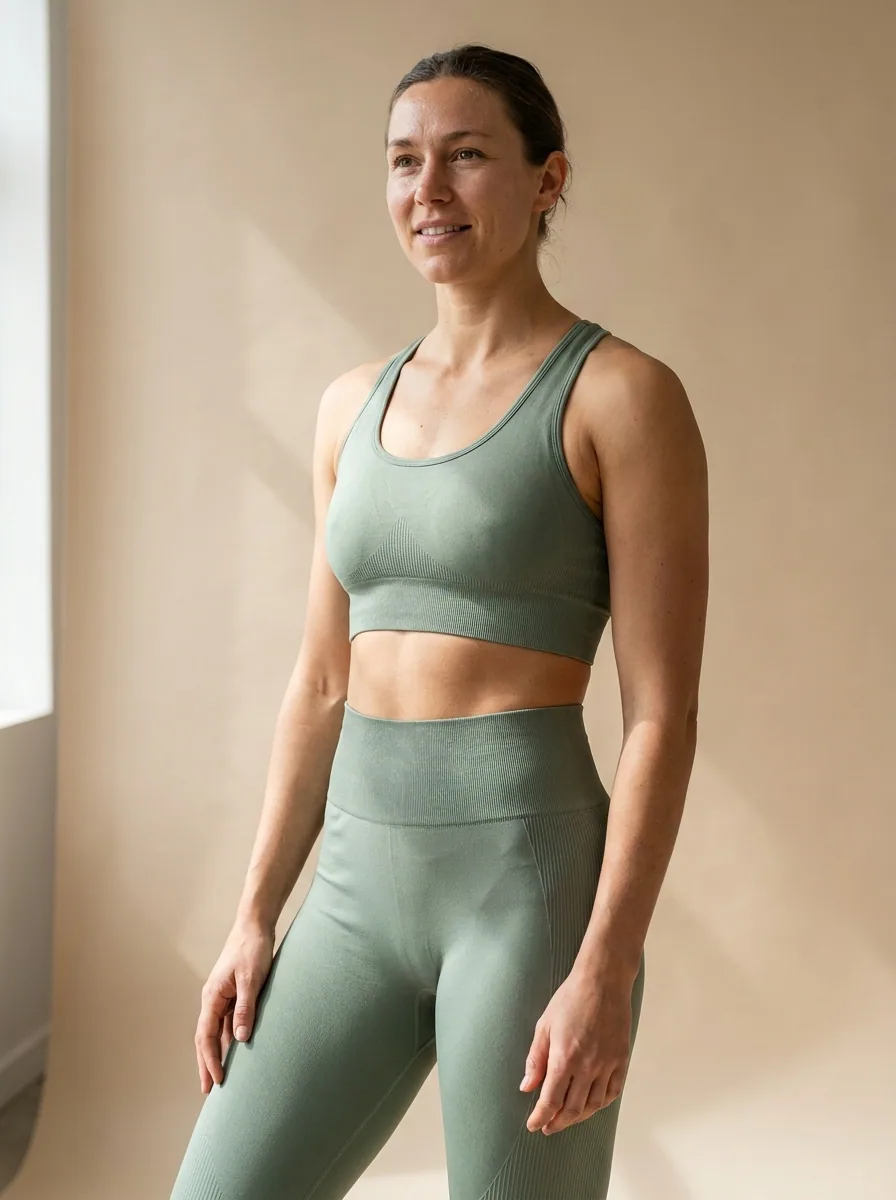
On-model clothing image generated with FLUX 2 FlexFLUX 2 Flex
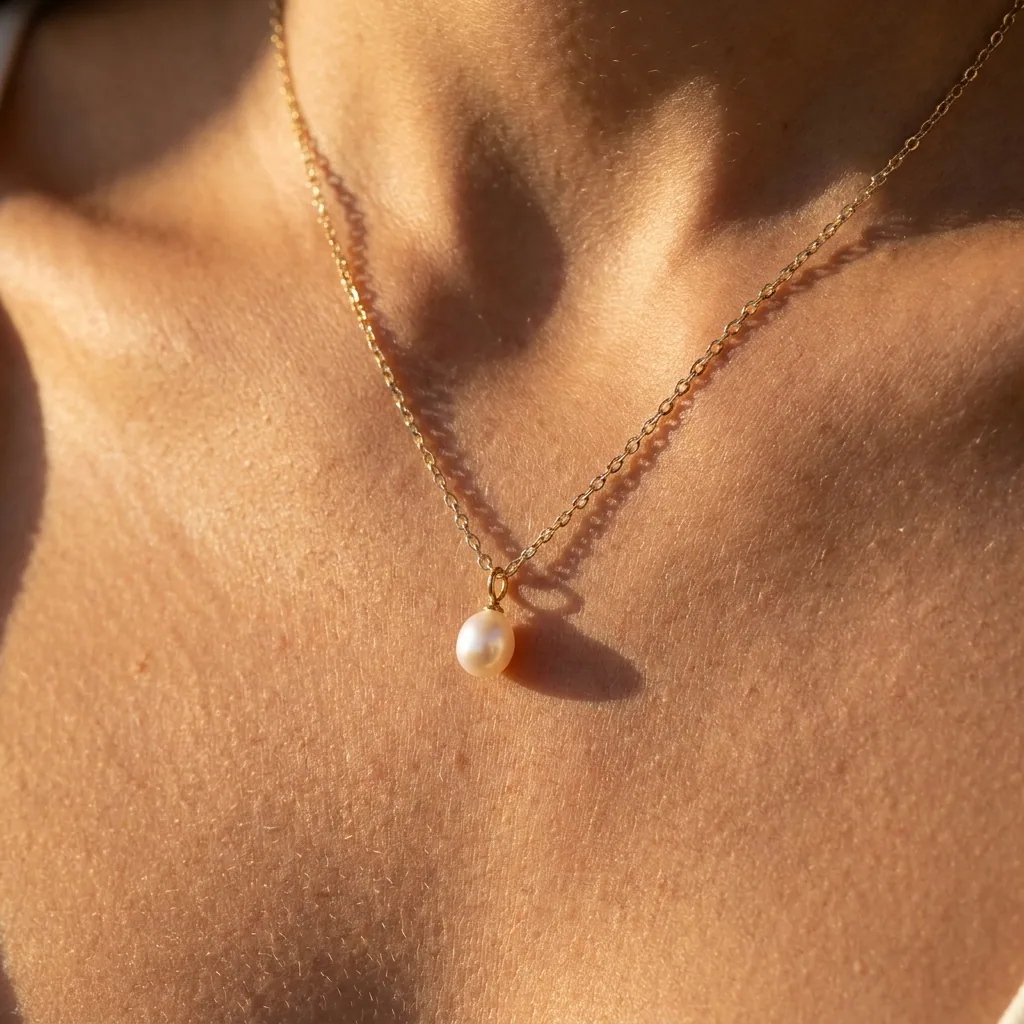
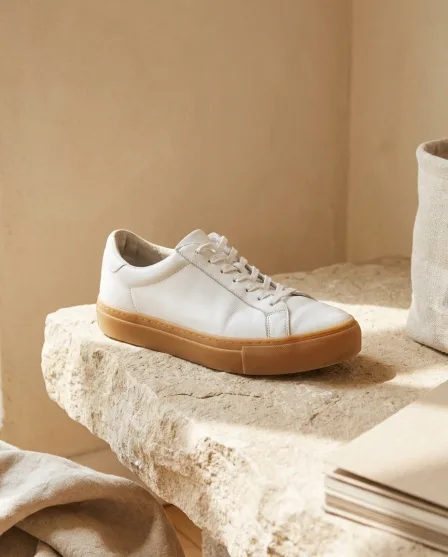
Styled clothing look made with DesignerBoxStyled look

This page is for print on demand sellers, where the product is identical to a competitor's and the images are the entire differentiator. The default mockup generators everyone uses produce the same handful of flat garment templates, on the same handful of models, in the same lighting, which is why category pages in this space look copy-pasted. DesignerBox produces the listing set from your artwork and the real blank you print on: on-model views, styled scenes, detail crops that show the print quality, and paid creative, none of it locked to a template a thousand other sellers are using.

What print on demand sellers use it for

Four jobs the default mockup generator cannot do.

Get off the template mockup

Stock mockups are recognisable, and a shopper who has seen the same template on six listings stops reading them. Produce on-model views that are yours, so the design gets judged rather than the template it is sitting on.

Show the print, not just the design

Buyers in this category worry about print quality, cracking and placement, and a flat mockup answers none of it. Show the print on real fabric at close range so the listing addresses the actual objection.

Cover the colourways

One design usually sells across several garment colours and several product types, and photographing or mocking each combination is where the listing work multiplies. Build the set from the same artwork so the range page is complete.

Put the product in a scene

A flat garment on white shows what it is; a styled frame shows who wears it. That context is what separates a merch listing from a design listing, and it is the part stock mockup libraries almost never provide.

See it on a real garment

Four tools, each aimed at getting past the template.

Virtual Try-On
Virtual Try-On

Virtual Try-On

The on-model shot is where a print listing is won and where every seller is using the same three stock models. Start from the actual printed garment and produce your own, so the listing is not visually interchangeable with a competitor's.

Open the tool
Flat Lay Studio - Before
Before
Flat Lay Studio - After
After
Flat Lay Studio

Flat Lay Studio

A flat lay of the real printed piece shows placement and scale on the garment, which is exactly what a generated mockup tends to get wrong. Flat Lay Studio makes that shot consistent across every colourway and product type.

Open the tool
Product Ad Generator - Before
Before
Product Ad Generator - After
After
Product Ad Generator

Product Ad Generator

Merch sells through paid social far more than through search, and that needs composed creative rather than a bare mockup. Product Ad Generator lays out the piece with your type and palette in the size the placement runs.

Open the tool
Styled Scene Generator

Styled Scene Generator

The context sells the design. Styled Scene Generator places the finished garment into a setting that matches the audience the design is for, which is the thing a stock mockup library cannot supply per niche.

Open the tool

Each before and after above demonstrates the tool named on the card, using that app's own sample image, so the subject you see may not be from this industry. Run the same tool on your own photos to see it on your work.

From artwork to listing set

Four steps, starting with one real printed sample.

1
Print and photograph one
Order a single sample of the design on the blank you actually sell and photograph it. This is the step most sellers skip and it is the one that makes everything else honest, because it shows the real print at the real scale on the real fabric.
2
Set your listing look
Fix the light, the background and the crop. This is the decision that separates your listings from every other seller using the same generator, so make it deliberately rather than accepting a default.
3
Build the range and the ads
Produce the on-model views, the colourway variations you genuinely offer, the print detail crops and the styled scenes, then cut the paid creative from the same set.
4
Save it and run every design
Save the sequence as a workflow. A print on demand catalogue grows fast, and a saved treatment is what keeps design two hundred looking like it belongs with design one.

Where the images go

Four surfaces, and the same design has to work on all of them.

Marketplace listings

Print marketplaces are grids of near-identical products, so the thumbnail is doing all the work at small size. Make the design legible at thumbnail scale, fill the remaining gallery slots with the print detail and the on-model view, and avoid the mockup template that the three listings beside yours are also using.

Your own store

Selling direct is where the margin is, and it needs a product page that carries more than one mockup. The on-model view, the flat lay, a close crop of the print on the fabric weave, and a size reference. This is also where consistency across a large catalogue starts to look like a brand rather than a design dump.

Paid social

Merch is bought on impulse from paid social, which means creative burn is constant and a tired set raises the cost per sale immediately. Producing several variants per design from the same source is what makes a real testing cadence possible on thin margins.

Niche communities

Print on demand lives or dies on picking a niche and speaking to it, and generic imagery undoes good niche targeting instantly. A styled scene built for that audience rather than a stock studio backdrop is what makes a design read as made for them.

Differentiation is the image, because the product is not

The uncomfortable truth of print on demand is that the product is a commodity. The same blank, the same printer, often the same fulfilment partner as every competitor in the category. What is left to compete on is the design and the way it is presented, and the presentation half is where most sellers give up and use whatever the generator produced. A saved workflow makes the alternative practical at catalogue scale. Decide once what your listings look like, then run every new design through it: the on-model view, the colourways, the print detail, the scene, the ad cuts. The scale argument is what makes this worth the setup. A seller adding twenty designs a month cannot art-direct each one, but they can inherit a treatment. Brand profiles hold the palette and type so that a catalogue that grew by two hundred designs still reads as one shop.

Every model, one subscription

Print work stresses two things image models are uneven at: reproducing a graphic accurately and rendering the fabric weave it sits on. A design that softens, warps across a seam or loses its text is worse than no mockup at all. DesignerBox carries the models in one workspace on one subscription rather than a licence each: Nano Banana Pro and Nano Banana 2 from Google, GPT Image 2 from OpenAI, Seedream 5 from ByteDance, and FLUX 2 Flex, FLUX Pro 1.1 and Kontext Multi from Black Forest Labs. Video runs on Veo 3.1 and Veo 3.1 Fast, Sora 2 Pro, Seedance 2.0, Kling 2.6 Pro and Runway Gen-4.5. Test your busiest design against two or three and standardise on whichever holds the artwork.

Print on demand questions

What sellers ask before they replace their mockup generator.

Do I have to order a sample first?
For an honest listing, yes, at least once per blank and print method you sell. The sample is what tells you the real print scale, the real colour on that fabric and how the ink sits on the weave. It is also what protects you when a buyer says the item did not match the picture, because the picture started from the item.
Is this different from a mockup generator?
Yes, in the input. A mockup generator applies your artwork to a fixed template photograph that every other seller can also use. This starts from a photograph of your actual printed garment and produces images around it, so the result is not a template anyone else has.
Can I show colourways I have not printed?
Only where you genuinely offer them and the blank is a known, standard colour. The safer practice is to sample the colours that sell and be accurate about the rest. A shopper who receives a shirt in a noticeably different shade from the listing returns it, and on print on demand margins a return costs more than the sale earned.
How do I keep a large catalogue consistent?
By saving the treatment and never art-directing individual listings. Sellers adding twenty or more designs a month cannot make per-listing decisions, so the only workable consistency comes from a sequence that every design inherits automatically.
Does this help with marketplace search?
Indirectly. Marketplace ranking responds to click-through and conversion, and both are driven by whether the thumbnail stands out in a grid of near-identical products. Better imagery does not change the algorithm; it changes the behaviour the algorithm measures.
How much does it cost to start?
Nothing to try. The free tier carries 112 credits a month, enough to take one design through a full listing set and compare it against your current mockup. Paid plans run $15 a month for 500 credits, $35 for 1,000, $75 for 2,500 and $200 for 8,000. Most sellers size their plan on designs added per month.

How these products are shot

This page covers how a business like yours works. These cover the craft: lighting, angle, background and the shot list.

Redo your best selling design

Take the one that already converts, replace the template mockup with your own set, and compare. The free tier covers it.

Start free