For owner-run businesses with no studio and no design team

No studio. No designer. Still needs photos.

The photographs a small business needs are not complicated. A clean shot of the product, something for the feed, an ad that does not look homemade. What is missing is the studio, the design skill and the afternoon. Start from the picture on your phone and produce all three from it.

Start free
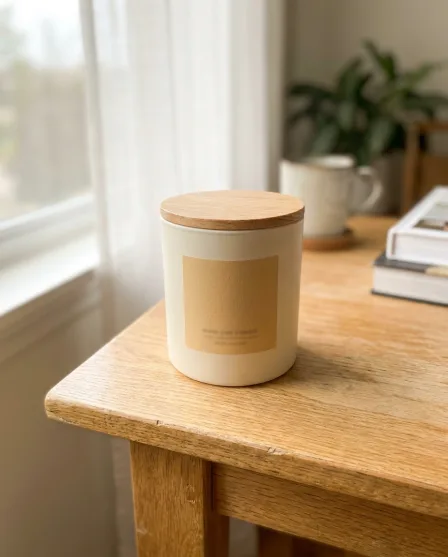
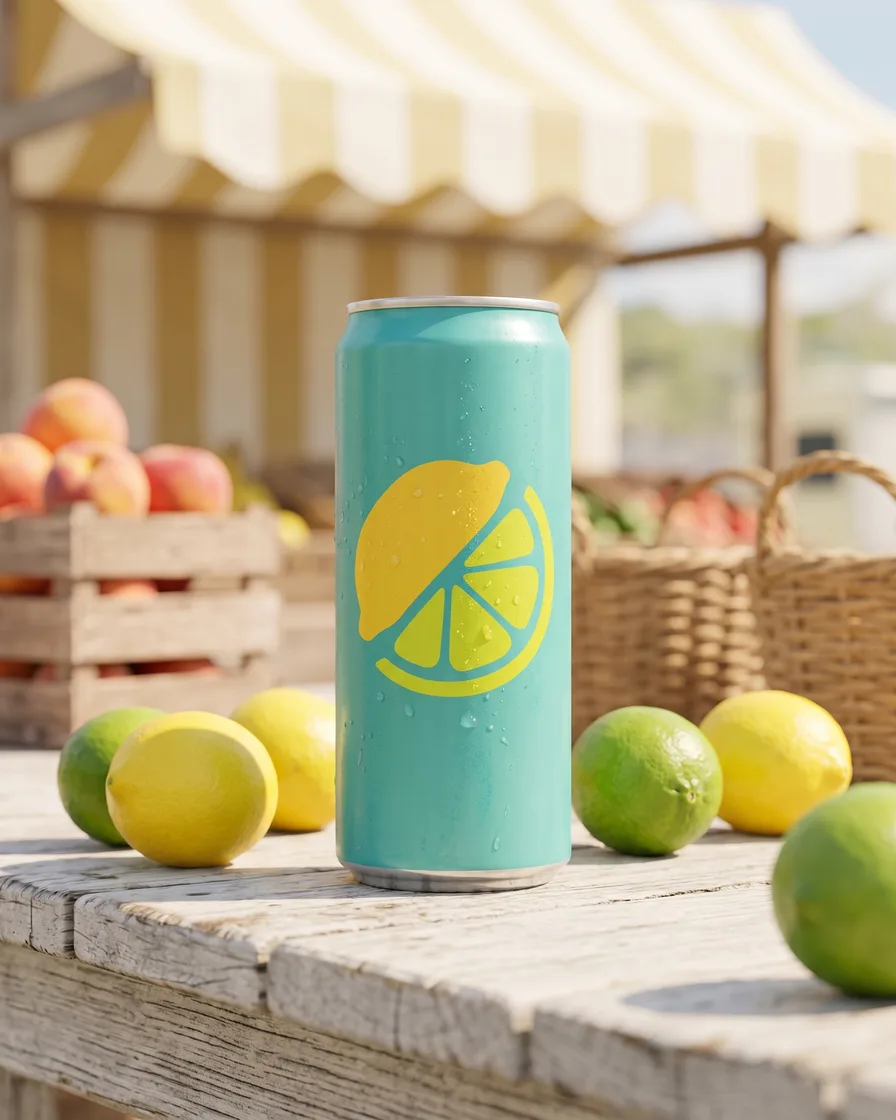
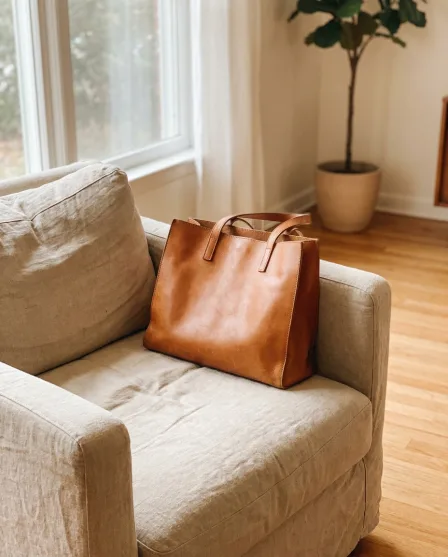
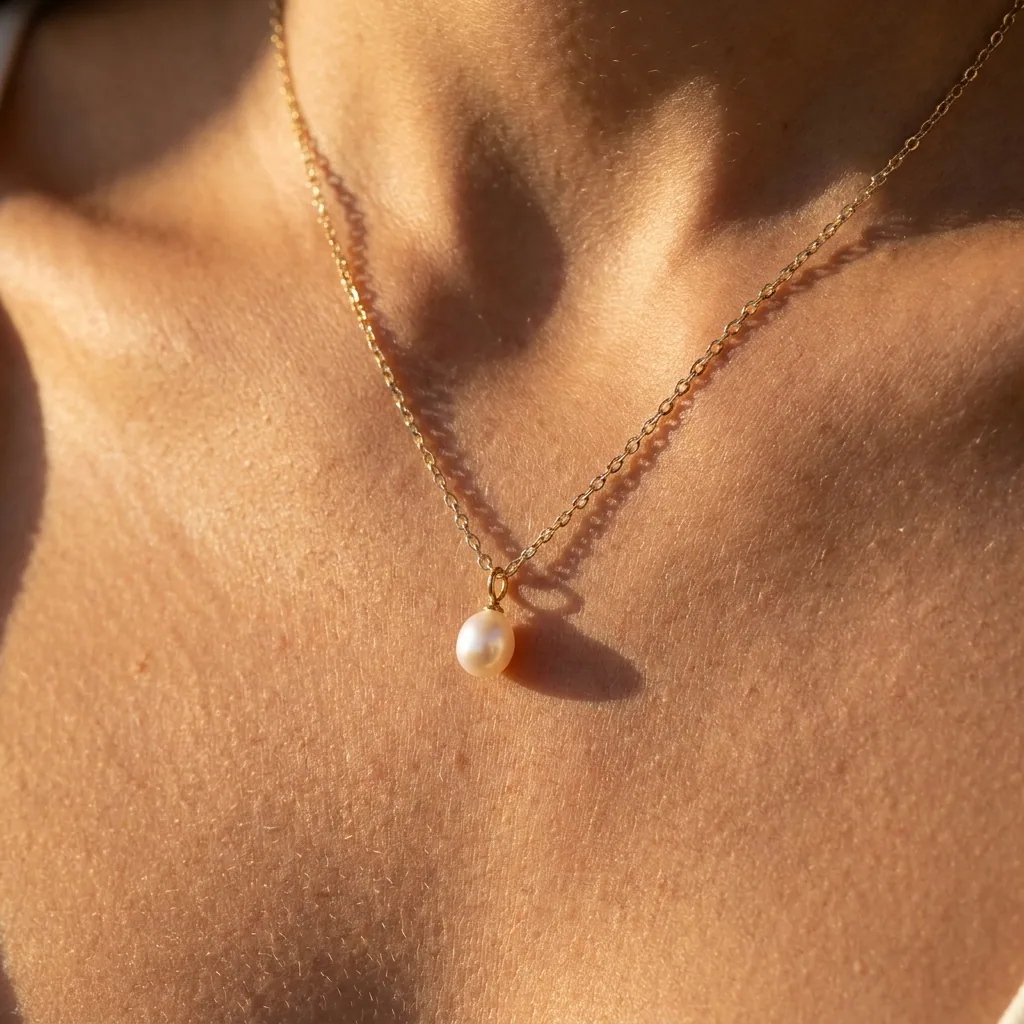
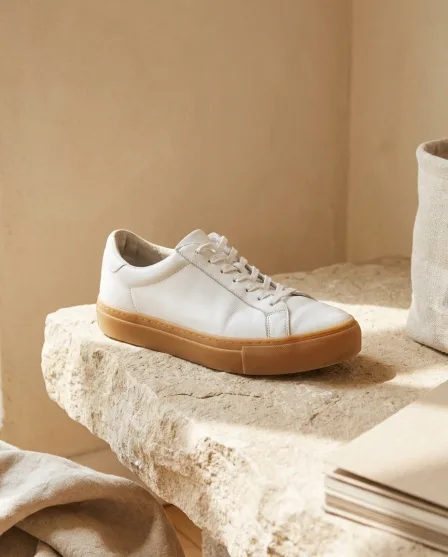
Product packshot generated with Nano Banana ProNano Banana Pro
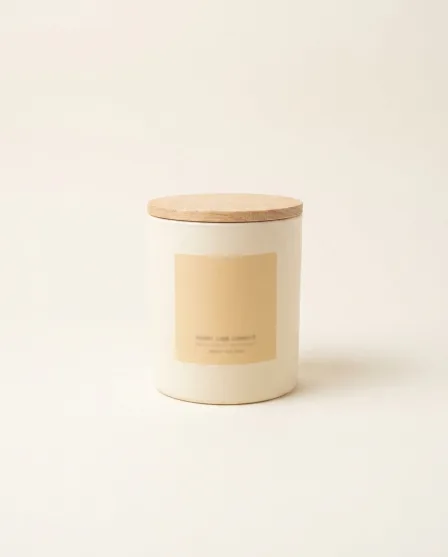
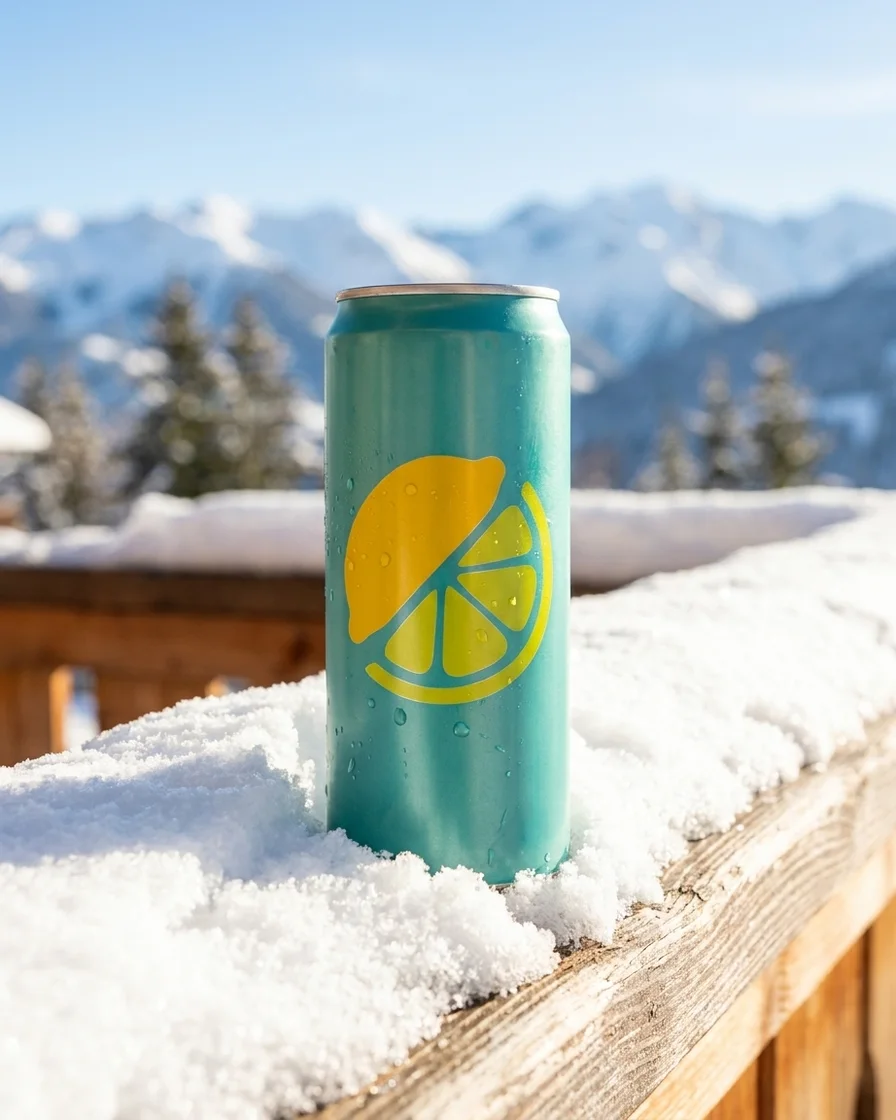
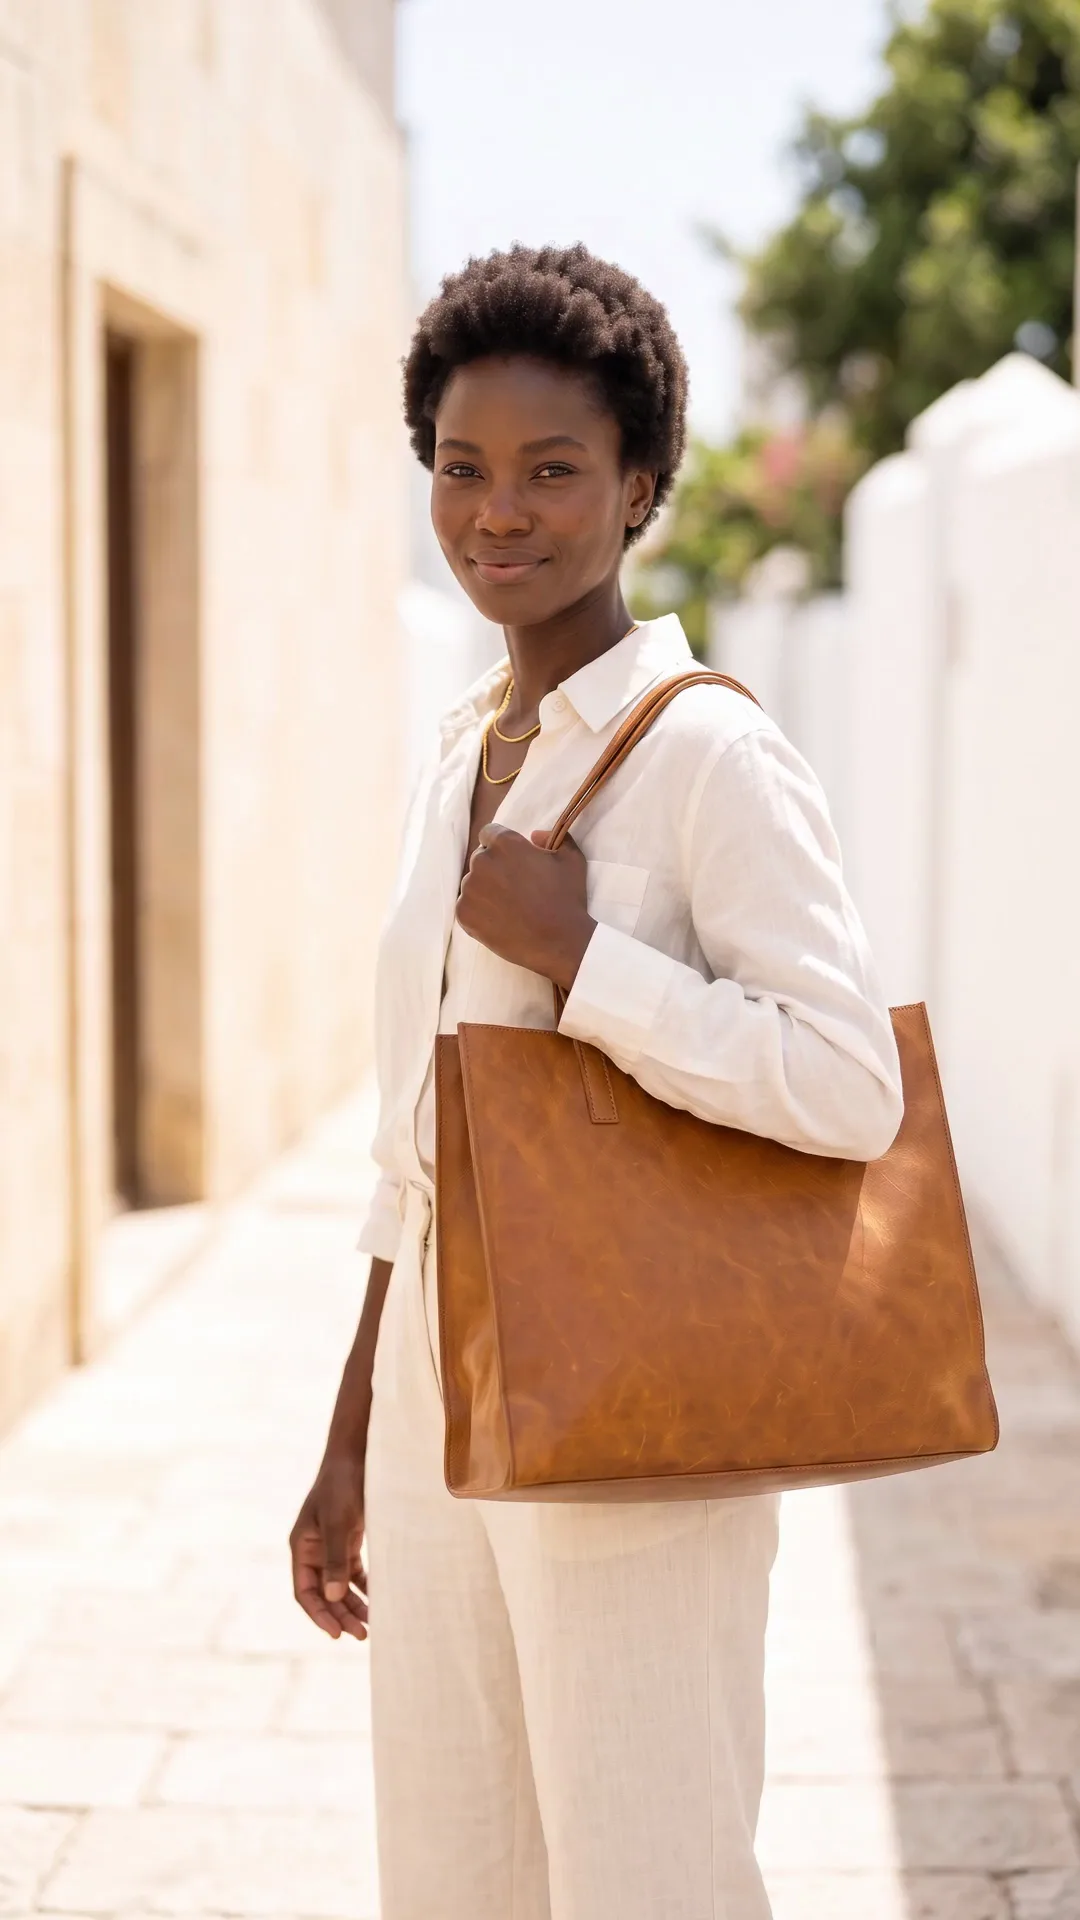
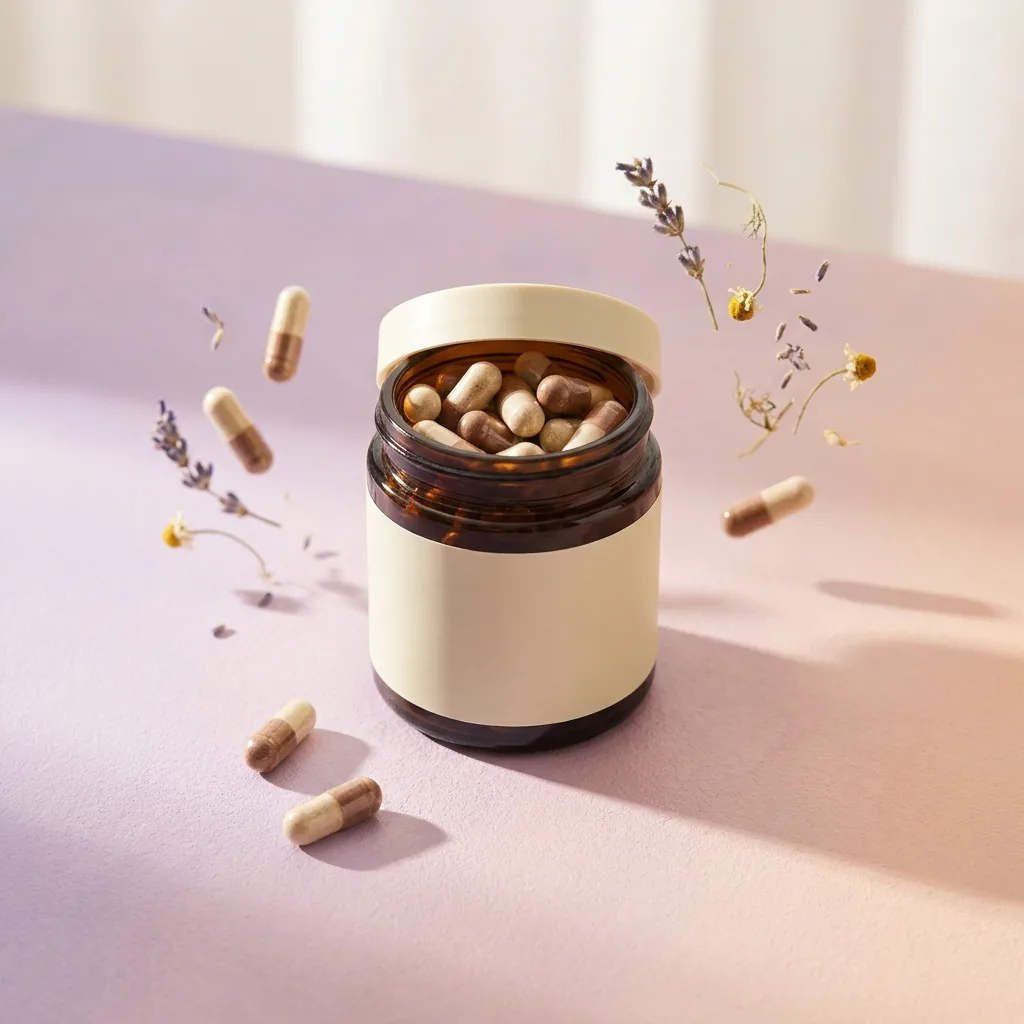
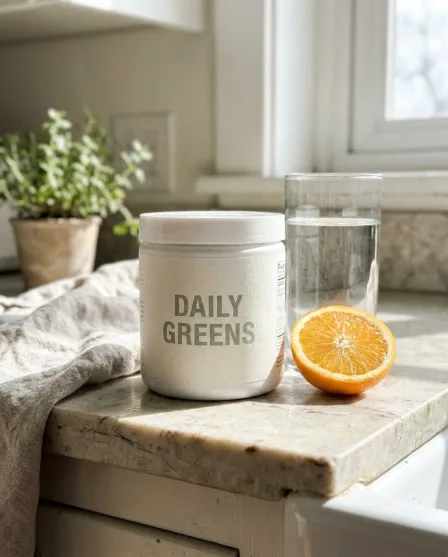
Product packshot generated with GPT Image 2GPT Image 2
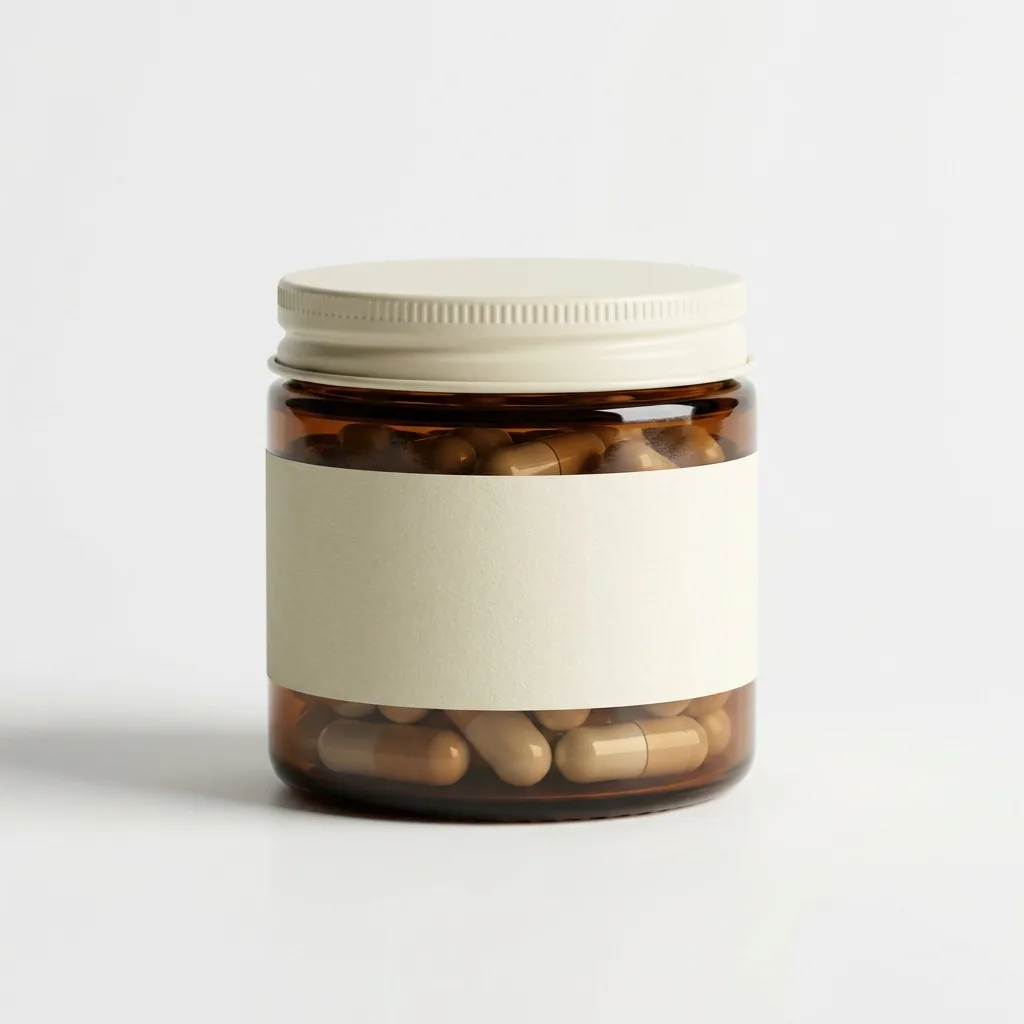
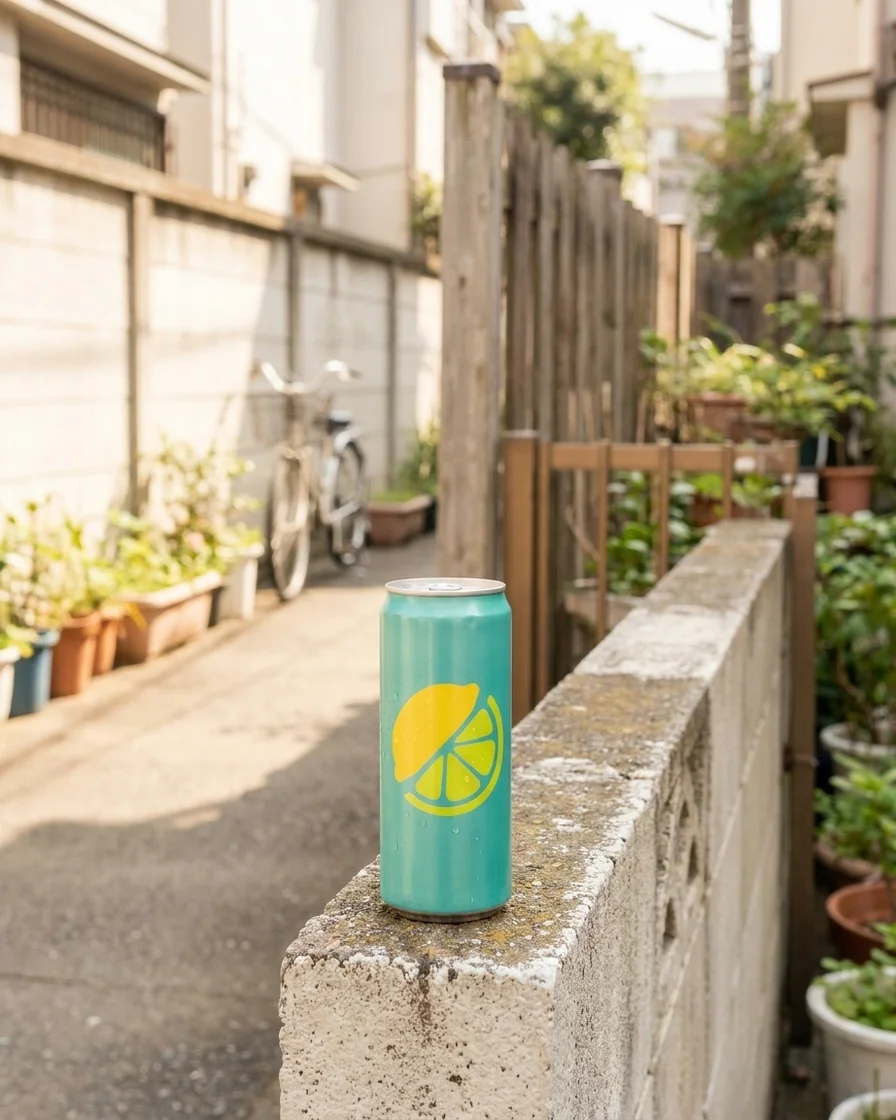
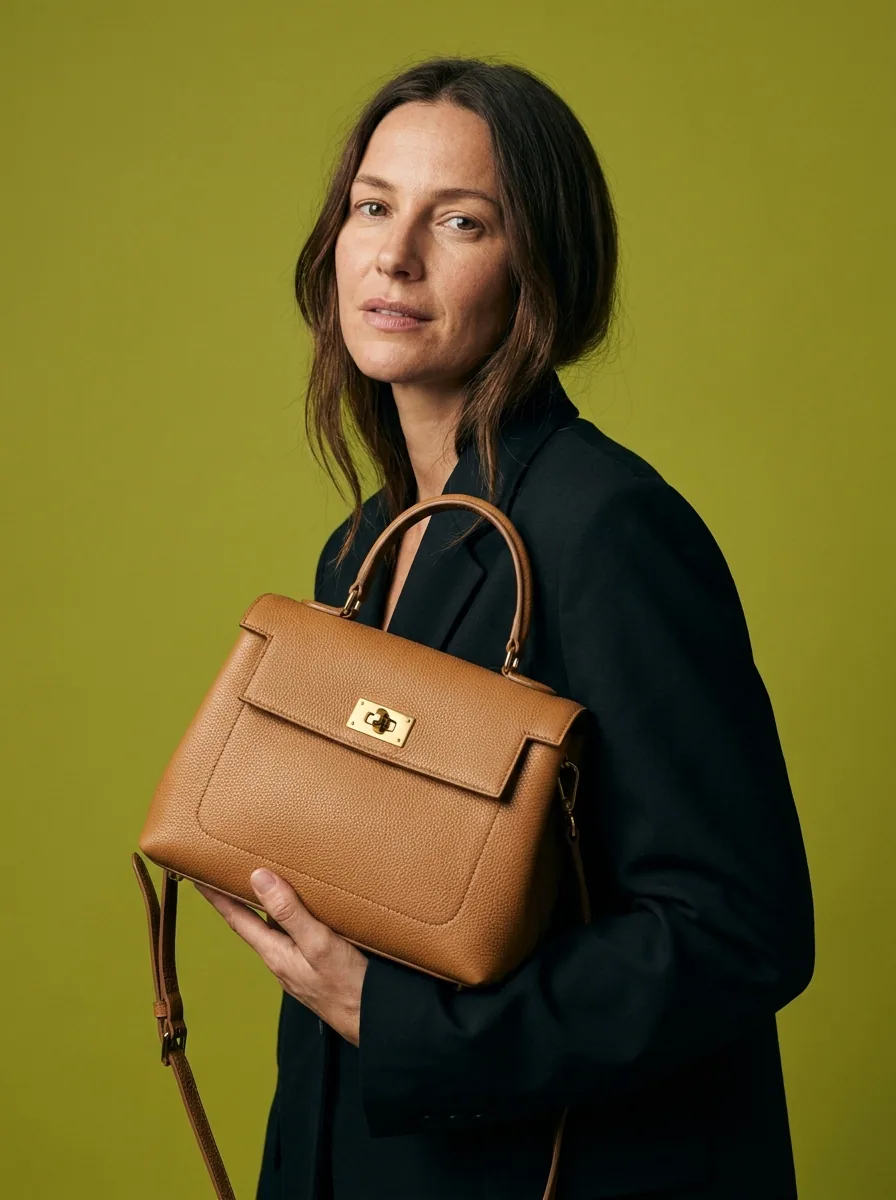
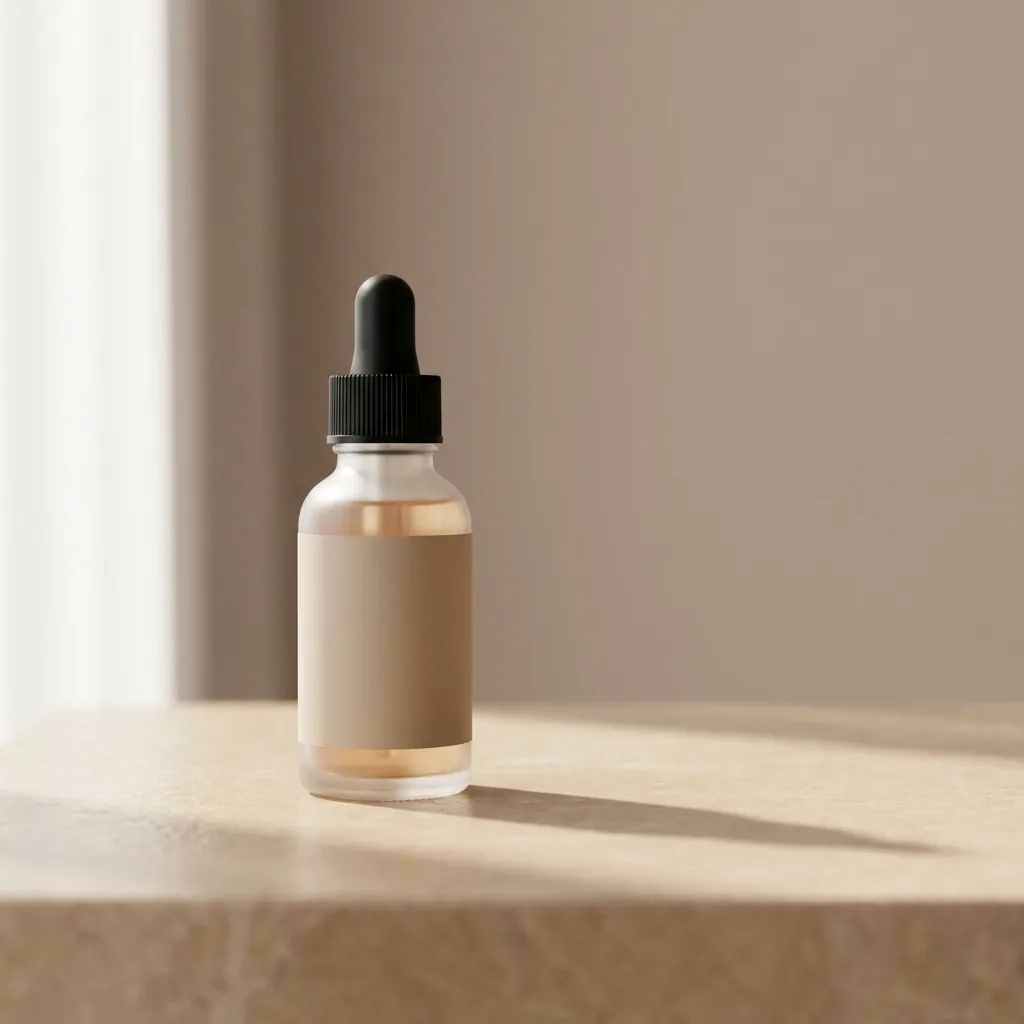
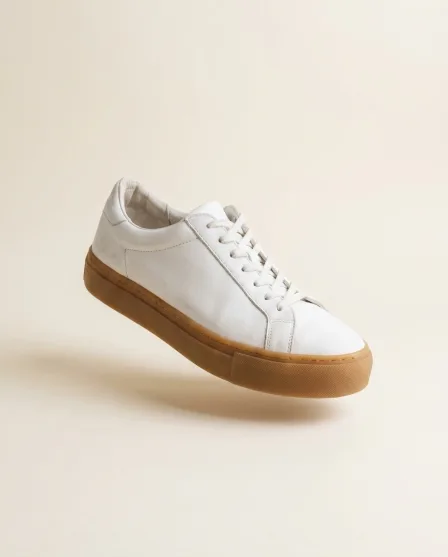
Product packshot generated with FLUX 2 FlexFLUX 2 Flex
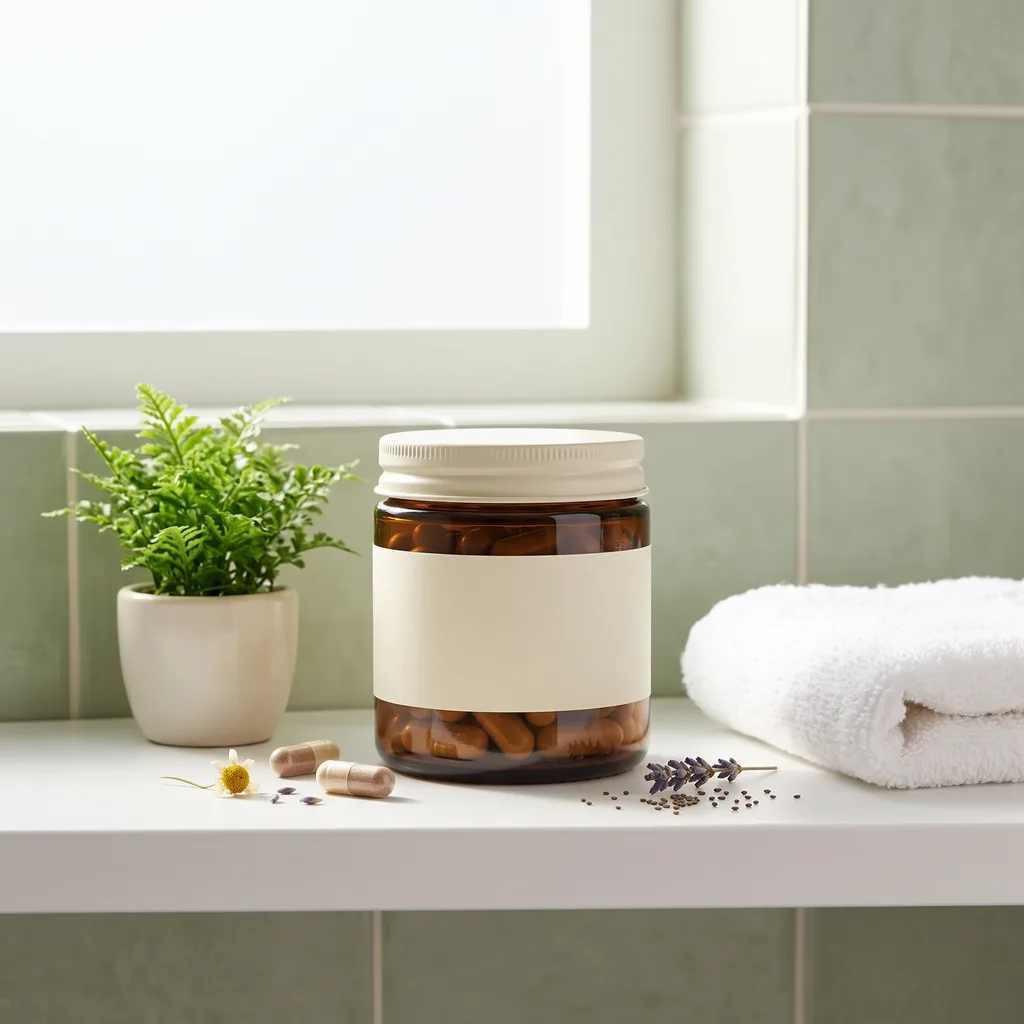
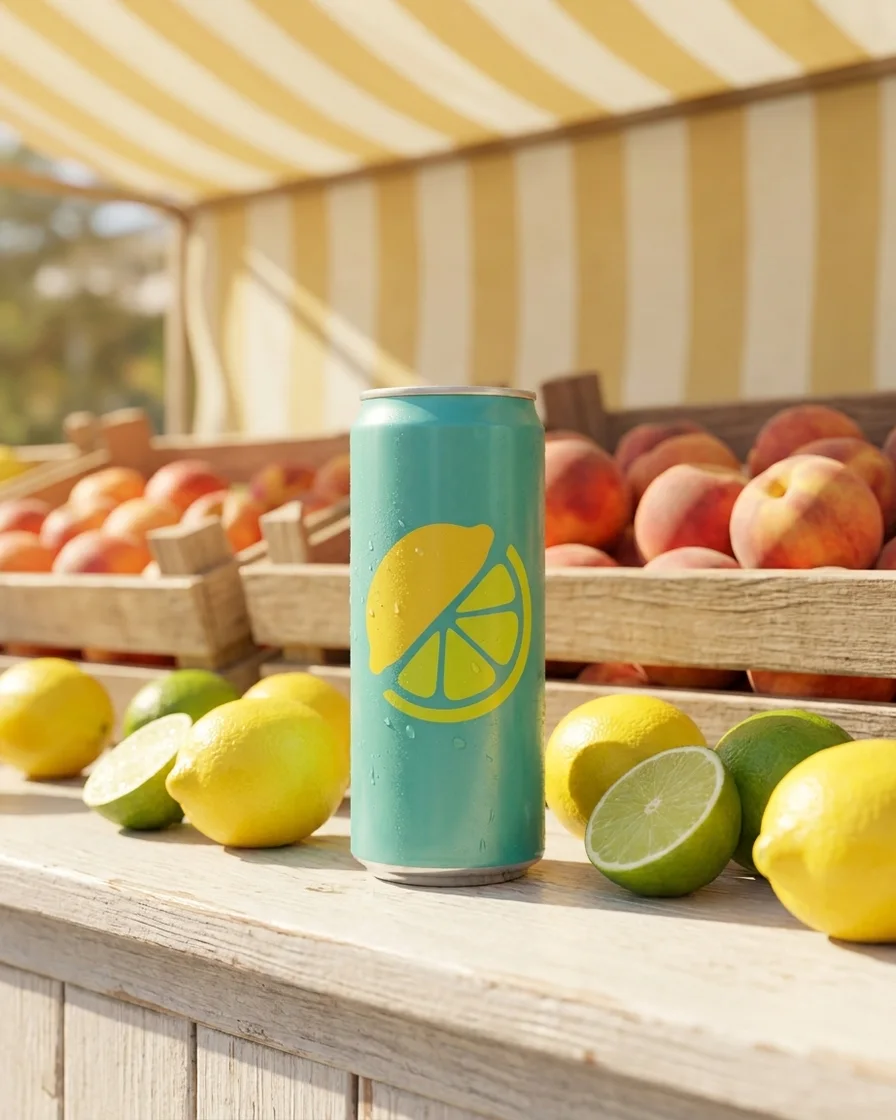
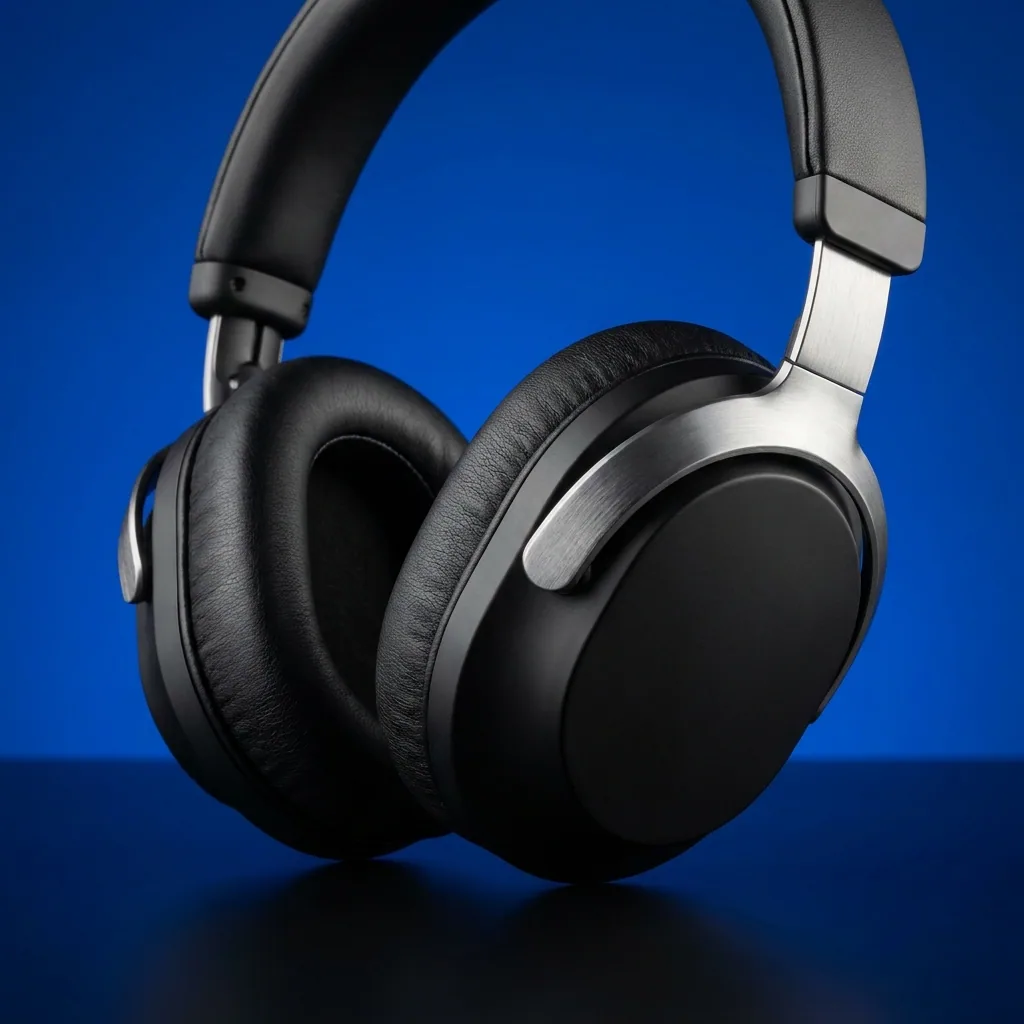
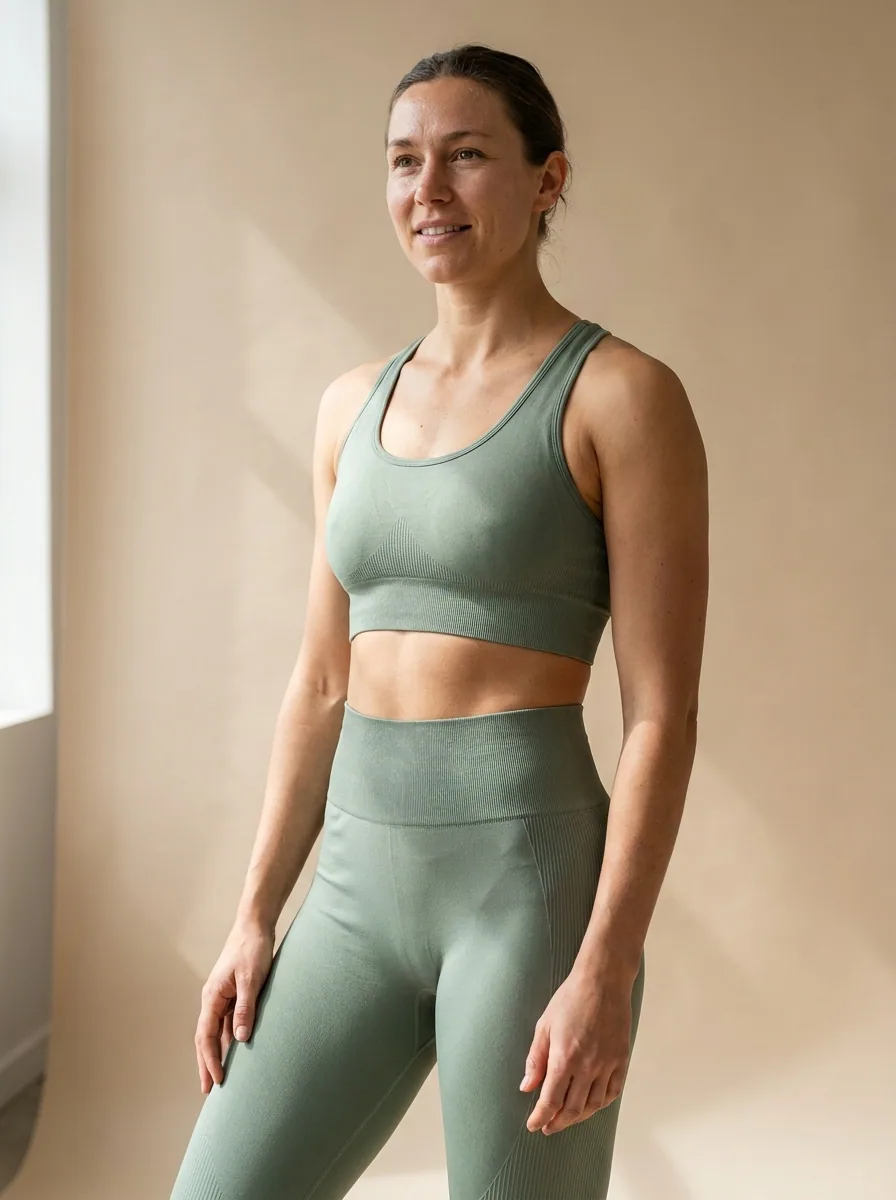
Listing ad creative with text generated with Nano Banana ProNano Banana Pro

This page is for owner-run businesses that need commercial photographs and marketing images without a studio, a designer or a marketing budget. The gap is rarely ideas. It is that a decent product photograph needs lighting and a clean background, a social post needs layout, and an ad needs both plus three sizes, and all of that lands on the same person who is also serving customers. DesignerBox starts from the photograph you already have on your phone. Cut out the background, put the light where you want it, place your type and palette, and export the sizes each channel asks for.

What small businesses use it for

Four jobs that usually mean hiring someone or going without.

Get a clean product shot

A plain white background is what a listing, a marketplace and a printed flyer all want, and a kitchen table with a window behind it is not that. Cut the product out of the photo you took and drop it on a clean background, with the edges holding up at full size.

Fix the lighting after the fact

Most small-business photographs are underlit, yellow from a ceiling bulb, or shot in whatever light the shop had at four in the afternoon. Relight the picture you already have instead of waiting for a better day or buying equipment you will use twice.

Make posts that look designed

A post needs a headline, your colours and the right crop, and doing that by hand in a design tool is a twenty-minute job every time. Take a finished photograph and get back a laid-out post in the sizes each channel runs.

Run an ad without an agency

Paid social needs several sizes of the same idea and fresh creative when the set tires. Build the variants from a photograph you already own, so testing an ad does not start with commissioning one.

See it on a real photo

Four tools, each aimed at something a small business would otherwise pay for.

Background Remover - Before
Before
Background Remover - After
After
Background Remover

Background Remover

The counter, the cardboard box and the corner of the van all have to come out before a photo can be a listing image. Background Remover holds the edge, including on hair, glass and anything with a soft outline, so the product lands clean on white.

Open the tool
Spotlight Relight - Before
Before
Spotlight Relight - After
After
Spotlight Relight

Spotlight Relight

A yellow cast from a shop ceiling makes everything look secondhand. Spotlight Relight puts the light back where you want it and corrects the colour, so a phone photo taken in bad light reads like it was shot on purpose.

Open the tool
Social Media Ad Studio

Social Media Ad Studio

The step between a good photograph and a post is layout, and that is the step that never happens. Social Media Ad Studio returns the photo laid out with your type and palette, sized for the placement you are posting to.

Open the tool
Brand Story Creator
Brand Story Creator

Brand Story Creator

Most small businesses have a logo and nothing else, so every post is designed from scratch. Brand Story Creator builds the set of pieces that hold a look together, so the next post starts from something instead of a blank canvas.

Open the tool

Each before and after above demonstrates the tool named on the card, using that app's own sample image, so the subject you see may not be from this industry. Run the same tool on your own photos to see it on your work.

From phone photo to published

Four steps, and the first one takes two minutes.

1
Take the photo
Put the product somewhere with even light, hold the phone steady and take one sharp frame. Do not worry about the background or the colour cast. Sharp and correctly shaped is what matters, because those are the two things that cannot be fixed afterwards.
2
Clean it up
Remove the background, correct the light and the colour, and crop it square. This is the version everything else is built from, so it is worth getting right once.
3
Make the versions you need
Produce the listing image, the feed post, the story crop and the ad from that one clean file. Same product, four outputs, no second photograph.
4
Save it for next time
Save the sequence as a workflow so the next product goes through the same steps. That is what stops the twentieth photo looking nothing like the first.

Where the images go

Four places a small business has to show up, each wanting something different.

Your listing and your profile

Your website, your Google Business Profile and any directory you appear in all want clean, current photographs, and a stale profile picture is doing more damage than an empty one. Keep one square, well-lit image per product and refresh them when the range changes rather than when someone complains.

Social

Feed posts run at 1080 by 1350 and stories and Reels at 1080 by 1920, so anything you post needs at least two crops. Build both from the same finished photograph, keep your colours and type consistent between them, and the account starts looking like a business rather than a camera roll.

Paid ads

A paid set needs several sizes of the same idea, and it needs replacing when performance drops. Producing three variants from a photograph you already own turns a test into an afternoon rather than a project, which is the difference between running ads and talking about running them.

Print and signage

Leaflets, market stall boards, menus and window vinyl all show every flaw a screen forgives. Upscale the finished image before it goes to print, keep the background genuinely white rather than nearly white, and check the crop at the size it will actually be seen from.

Set it up once, use it every week

The reason small-business imagery drifts is that every photograph gets treated as a one-off. The first product gets an hour, the tenth gets five minutes, and the difference shows on the page. A workflow removes that. Save the background removal, the relight, the crop and the export sizes once, then send every new product through the same sequence, so the twentieth photograph looks like the first. Brand profiles do the same job for the design side. Store your colours, your type and a couple of reference images, and posts, ads and print pieces all come out on the same line without anyone having to remember what the line was. The practical effect is that marketing stops being a project you schedule and becomes something that fits in the gaps.

Every model, one subscription

Small businesses have no reason to know which image model suits which job, and no reason to pay for several to find out. One workspace carries them all on one subscription: Nano Banana Pro and Nano Banana 2 from Google, GPT Image 2 from OpenAI, Seedream 5 from ByteDance, and FLUX 2 Flex, FLUX Pro 1.1 and Kontext Multi from Black Forest Labs. Video runs on Veo 3.1 and Veo 3.1 Fast, Sora 2 Pro, Seedance 2.0, Kling 2.6 Pro and Runway Gen-4.5. In practice you run the same photo through two or three, keep the one that looks right, and never think about the difference again.

Small business questions

What owners ask before they try it on their own photos.

Do I need any design skill to use this?
No, and that is the design brief for the tools themselves. You upload a photograph and pick what you want done to it. The parts that normally need a designer, which are the layout, the crop sizes and keeping the colours consistent, come from a saved brand profile rather than from your judgement on the day.
Will a phone photo be good enough?
Usually, if it is sharp and the product is the right shape in frame. Focus and framing are the two things that cannot be recovered afterwards. Lighting, colour cast and a messy background all can. Wipe the lens, put the product near a window rather than under a ceiling light, and take three frames instead of one.
Is it honest to edit a photo of my own product?
Editing is normal commercial practice; misrepresenting the goods is not. Cleaning up the background, correcting the light and cropping properly all show the product as it is. Changing the colour, hiding damage or making it look larger than it is misleads the buyer, and consumer law in most markets treats that as an enforcement matter rather than a style question.
How much time does this actually take?
The first product takes the longest, because you are deciding what your images look like. After that the same sequence runs on each new item, so the work per product is a couple of minutes rather than an evening. The photography itself is unchanged and is still the part worth doing carefully.
Can I use it for a service business with no products?
Yes, though the job is different. A service business is usually making social posts, ads and profile imagery rather than listing photographs. Start from photographs of the real work you have done, and treat generated scenes as backgrounds and graphics rather than as evidence of a result you have not produced.
How much does it cost to start?
Nothing to try. The free tier carries 112 credits a month, enough to take a few photos from the camera roll through to finished images and see whether it fits how you work. Paid plans run $15 a month for 500 credits, $35 for 1,000, $75 for 2,500 and $200 for 8,000.

Try it on the photo you were about to post

Upload the one you took this morning, clean it up and see the difference at full size. The free tier covers it.

Start free