For WordPress and WooCommerce store owners

You control every pixel of the theme. The photos are still the weak part.

WooCommerce hands you the whole storefront and expects you to fill it. The plugin stack is sorted, the checkout works, and the product gallery is still four phone photos on four different backgrounds. Fix that from the images already in your media library.

Start free

DesignerBox is an independent product and is not affiliated with, endorsed by or partnered with WooCommerce, Automattic or WordPress. The names are used here only to describe the kind of store this page is written for. There is no plugin to install and nothing connects to your site.

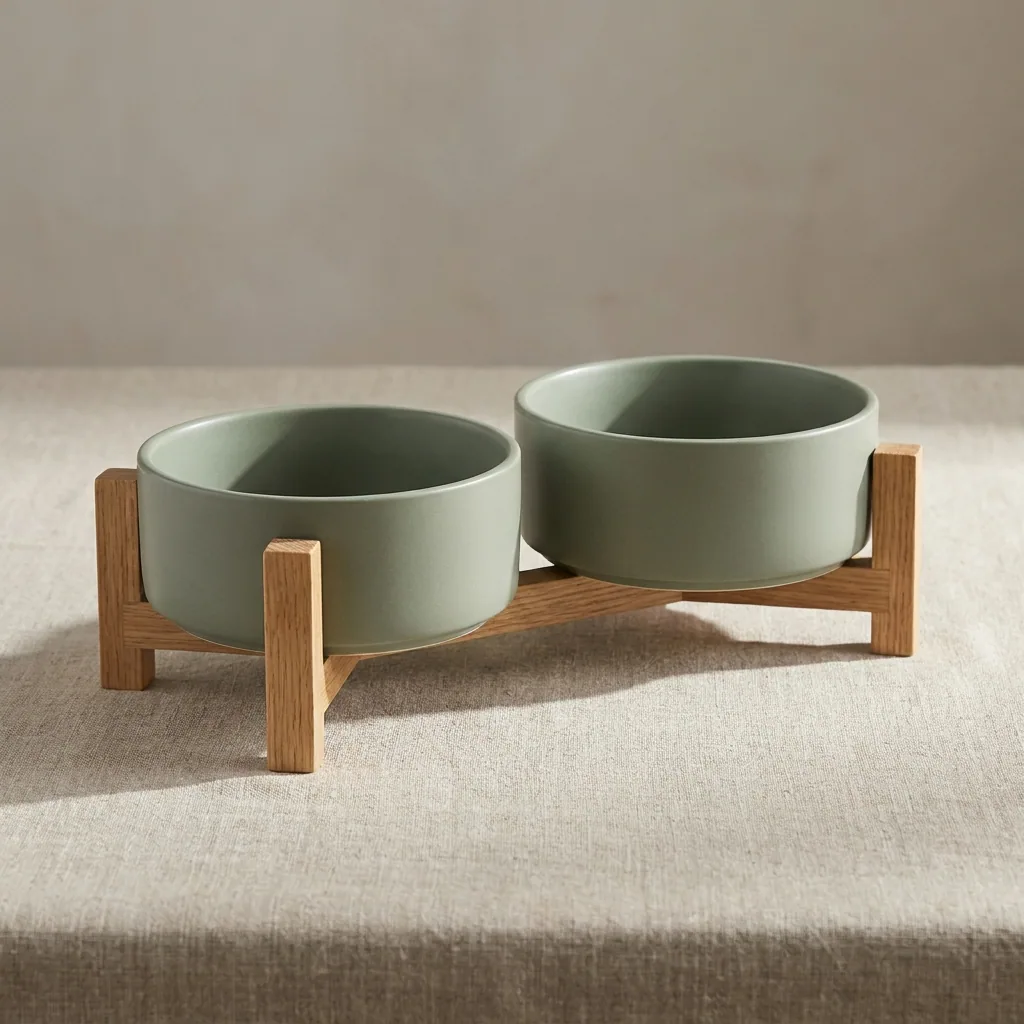
Product packshot generated with Nano Banana ProNano Banana Pro
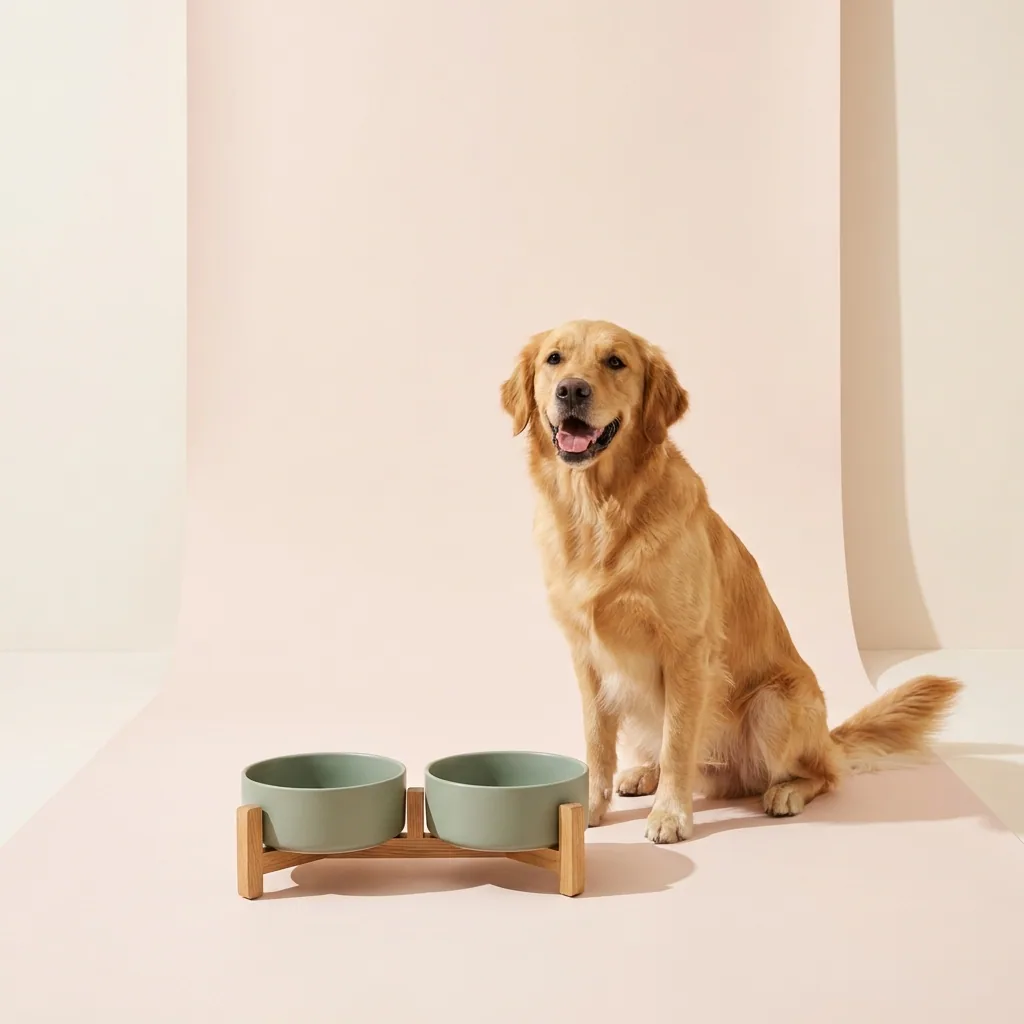
Product packshot generated with GPT Image 2GPT Image 2
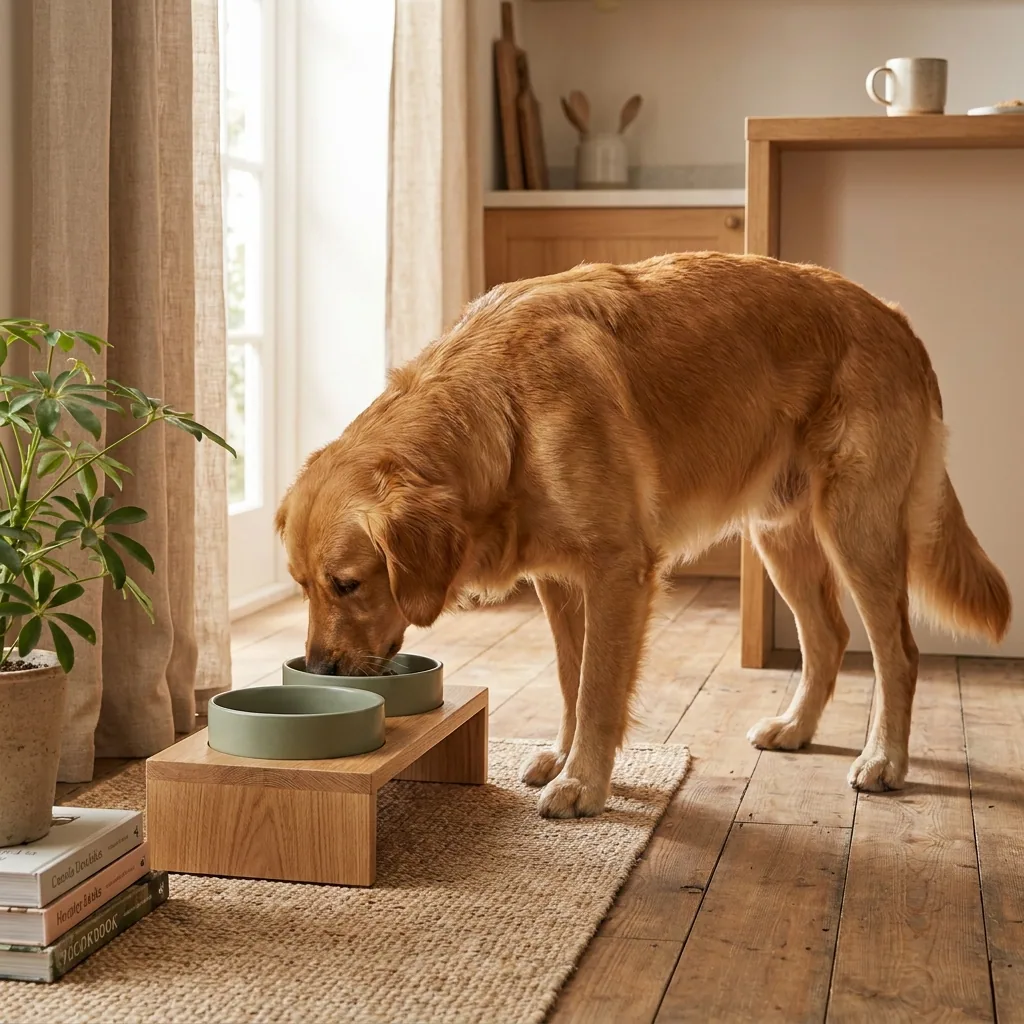
Product packshot generated with FLUX 2 FlexFLUX 2 Flex
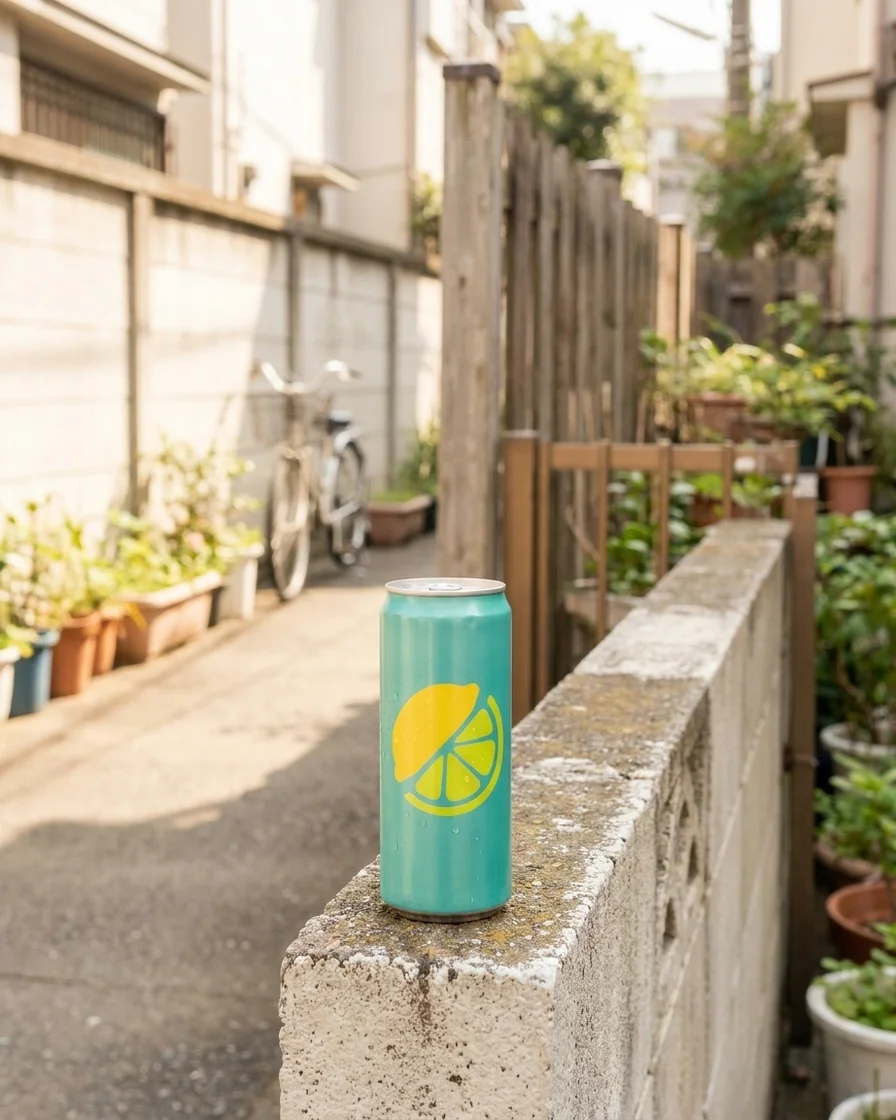
Listing ad creative with text generated with Nano Banana ProNano Banana Pro

This page is for people running a store on WooCommerce rather than inside a marketplace, which changes what the images have to do. Nobody arrives at your product page from a grid of competing sellers, so the gallery is not fighting for a click. It is doing the whole job of the shop floor: showing scale, material, fit and finish to somebody who cannot pick the thing up. WooCommerce gives you as many gallery slots as you want and most stores fill three. DesignerBox starts from the photographs you already uploaded to the media library, corrects the light, holds one background across the catalogue and builds the angles and scenes the page is missing. The output is image files. You upload them the way you upload any product photo.

What store owners use it for

Four jobs between a product arriving and its page converting.

One background across the catalogue

Products photographed over months drift: different rooms, different light, different backdrops. A category page shows twenty of them side by side and the drift is the first thing a visitor notices. Put every item on the same background and the catalogue reads as one shop rather than a collection of listings.

Fill the gallery slots

WooCommerce lets you add as many gallery images as you like and most stores stop at three. Build the top-down, the three-quarter, the detail crop and the in-use frame from one capture, so the page answers the questions that otherwise become pre-sale emails.

Rescue supplier and phone photos

Half the images in a WooCommerce media library came from a supplier, at low resolution and with a watermark, or from a phone in a stockroom. Relight them, clean the background and upscale before they go on a page that a paying customer reads.

Ad creative from the same files

The images that sell the product page also have to work as paid social and retargeting creative, at different crops and with text safe zones. Produce those from the product photo you already finished rather than briefing a separate round.

See it on a real product

Four tools, each aimed at a job a product page depends on.

Background Remover - Before
Before
Background Remover - After
After
Background Remover

Background Remover

A clean cutout is what a category grid and a variation swatch both want, and a stockroom shelf behind the product ruins both. Background Remover holds the edge on hair, glass and reflective surfaces, so the item lands cleanly on whatever background the theme uses.

Open the tool
Product Ad Generator - Before
Before
Product Ad Generator - After
After
Product Ad Generator

Product Ad Generator

A WooCommerce store usually runs its own paid social rather than handing it to an agency, which means somebody has to make the creative. Turn a finished packshot into a composed ad with scene, lighting and layout already handled.

Open the tool
Photo Angles - Before
Before
Photo Angles - After
After
Photo Angles

Photo Angles

The angle a customer wants is nearly always the one nobody shot: the back, the base, the inside, the fastening. Generate the missing views from the frame you have instead of getting the product back out of the stockroom.

Open the tool
Styled Scene Generator

Styled Scene Generator

A packshot on white tells a shopper what the thing is. A styled scene tells them where it goes. Place the finished product into a setting you choose and give the page the second kind of image it is usually missing.

Open the tool

Each before and after above demonstrates the tool named on the card, using that app's own sample image, so the subject you see may not be from this industry. Run the same tool on your own photos to see it on your work.

From media library to product page

Four steps, starting with what you already uploaded.

1
Start from the photo you have
Pull the best existing frame of the product out of your media library, or take one new sharp shot on a plain surface. Sharpness and true shape are the two things that cannot be recovered later. Everything else can.
2
Set the house background
Cut the product out and place it on the background your catalogue will use everywhere. Decide this once. It is the single change that makes a mixed catalogue look deliberate.
3
Build the rest of the gallery
Generate the extra angles, the detail crop and a styled scene from the same file, then export at the sizes your theme serves. Upload them as gallery images the way you always have.
4
Save it and rerun it
Save the sequence as a workflow. The next product that arrives runs through the same treatment, so consistency stops depending on anyone remembering what was done last time.

Where the images go

Four surfaces, four different crops of the same product.

The product page

The gallery is the whole shop floor for a store nobody can walk into. It needs the hero, the alternate angles, the detail that shows material, and something that gives scale. Square crops are the safest default because most WooCommerce themes serve the gallery as a square grid and crop anything else unpredictably.

Category and shop pages

A category page is judged as one image, not twenty. Identical background, identical light and identical product scale across every thumbnail is what makes it look like a real shop. This is the surface where drift is most visible and easiest to fix.

Paid social and retargeting

Feed placements want 1080 by 1350 and stories want 1080 by 1920, with the product clear of the areas platforms cover with interface. Build both from the finished product image so the ad and the page a shopper lands on show the same thing.

Email and abandoned cart

Cart recovery and campaign emails reuse product photography at small sizes, often on a white or light background, and often on a phone. An image that reads at 300 pixels wide is a different crop from the one on the product page, and it is faster to export both at once.

Consistency is a saved sequence, not discipline

Store catalogues drift because every product gets photographed under whatever conditions applied that week, and nobody writes down what was done. Six months later the shop page shows warm-toned items next to cool-toned ones on three different whites, and fixing it means reprocessing everything by hand. A saved workflow removes the discipline problem. The relight, the background, the crop and the export sizes stop being decisions and become one step you rerun on whatever arrived this week, which is what keeps a catalogue consistent while it grows. It matters more on WooCommerce than on a hosted platform because you own the whole stack and there is no design team upstream enforcing anything. The store looks exactly as consistent as your process is, and a workflow is the cheapest process there is. Brand profiles hold your colours and type, so the ad creative and the email crops come out matching the storefront rather than approximating it.

Every model, one subscription

Product photography spans jobs that no single image model wins outright. A clean cutout on a reflective surface, a fabric texture that has to stay honest, a styled room scene and an ad frame with legible text are four different problems, and the model that leads on one is rarely the model that leads on the next. DesignerBox routes each job to the engine that handles it best and bills all of them from one credit pool, so choosing well costs nothing extra and you are never stacking subscriptions to cover the gaps. That matters most on a self-hosted store, where you are the whole production department and switching tools per shot is time you do not have.

Store owner questions

What people ask before they run a catalogue through this.

Is there a WooCommerce plugin?
No. You export finished images and upload them the way you already upload product photos into the media library. The work happens in DesignerBox and the files come out in the sizes and formats a WooCommerce theme wants. Nothing installs into WordPress and nothing touches your site or its database.
Can it generate a product I do not have a photo of?
It can, and for a product page you should not. Every image on a product page represents goods somebody is paying for, so it has to start from a photograph of the actual item. Generated scenes and backgrounds around a real product are normal commercial practice. A generated product is a misdescription waiting to become a chargeback.
Will the images look consistent across hundreds of products?
That is what the workflow step is for. You set the background, the light and the crop once, save it, and rerun it on every product. Consistency then depends on running the same sequence rather than on remembering what you did six months ago, which is why large catalogues drift in the first place.
What about the images my supplier gave me?
Check your supplier agreement first, because reusing supplier photography is a licensing question before it is a technical one. Where you are permitted to use them, they are usually low resolution, watermarked or shot against a background that does not match your shop. Cleaning them up, upscaling and restaging onto your own background is exactly the job here.
Which image sizes should I export?
Square is the safest default for the gallery, because most WooCommerce themes serve product thumbnails as squares and crop other ratios unpredictably. Export the largest sharp version you have and let WordPress generate its own thumbnail sizes from it, rather than uploading something already small.
How much does it cost to start?
The free plan includes credits so you can run real products through before paying. Paid plans start at BASIC for $15 a month with 500 credits, and most single image jobs cost between 4 and 14 credits, so a first catalogue pass is cheap to size before you commit.

Redo one product page

Take the product that gets the most pre-sale questions, rebuild its gallery, and see how many of those questions the images answer. The free plan covers it.

Start free