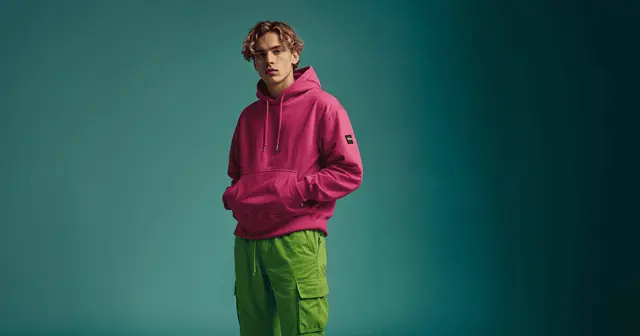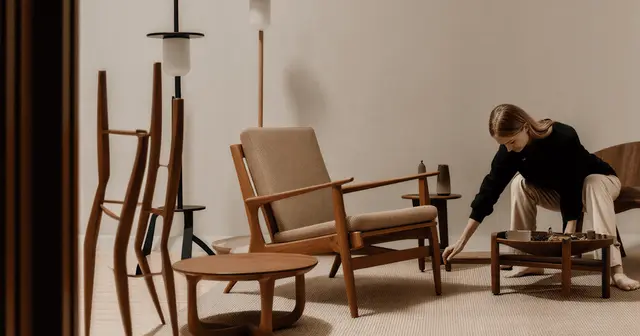
Fashion videography is filming clothes on a moving person so the viewer sees what a photo cannot: how the fabric falls, how it moves and how it fits. Eight techniques decide the result. Plan five shots per garment, set frame rate and shutter for motion, stop flicker, light the fabric, move the camera with purpose, direct the model, shoot a neutral reference take, and grade to the real garment.
A still sells the look. A video sells the proof. A buyer who watches a dress move sees the weight of the fabric, the length of the hem and the way the waist sits. That is why a bad fashion video costs more than no video: a print that shimmers, a color that shifts or a hem that never appears in frame raises the questions the clip was meant to answer.
This guide is for brand teams and agencies who film clothes every season, and for the videographer they hire. It covers the eight techniques in the order a shoot uses them. It then shows which shots still need a camera and which an AI model can make from your approved stills, with the platform rules checked in September 2026.
Key Takeaways
- Plan five shots per garment. A front walk, a side or back view, a turn, a fabric close-up and a detail shot. Each one proves a different thing about the garment.
- Shutter follows frame rate. Set the shutter near double the frame rate: 1/50 at 24 or 25 fps, 1/120 at 60 fps for slow motion.
- Flicker comes from the mains. Lights on mains power pulse at twice the mains frequency. Use 1/50 or 1/100 under 50 Hz power and 1/60 or 1/120 under 60 Hz.
- Light the fabric first. Matte cloth needs side light to show weave. Satin needs a large soft source. Sheer fabric needs backlight. Sequins need small hard light.
- Shoot a neutral reference take. One locked, evenly lit take of every garment gives the editor a color reference and gives you stills for later variants.
- Film what needs proof, generate what needs volume. Drape, fit and sheen in motion need a camera. Extra variants of an approved look can come from stills.
- Label AI where the platform asks. TikTok asks for a label on AI-made ads. Meta labels some AI ads itself. In the EU, a realistic AI clip can need a visible label.
What is fashion videography?
Fashion videography is the craft of filming garments on a model for a product page, a social feed, an ad or a campaign film. It differs from fashion photography in one way that changes everything: the garment has to look right in every frame, not only in the best one. Light, camera movement and model direction all serve that goal. A good fashion video shows fit, fabric and movement that a still cannot.
Most brands now need both. The fashion photographer Javier Cortés told Canon that “almost every brand in the world is now looking for video” and that a fashion photographer “will be asked to make videos” (Canon Europe, accessed September 2026). The techniques below assume you already know how to take a good fashion photo. They cover what changes when the garment moves.
If you are still pricing the shoot itself, start with what a fashion photoshoot costs. The day rate, the model and the studio cost the same whether the camera records stills or video.
Technique 1: Plan five shots per garment
Write the shot list before you book anything. A fashion video that works on a product page, a Reel and an ad is five short shots, each with one job. Missing one shot is the most common reason a shoot needs a second day.
| Shot | What it proves | Length to record | Camera |
|---|---|---|---|
| Front walk | Silhouette, length, how the garment moves | 6 to 10 seconds | Locked or slow push-in, full body |
| Side or back view | Back seams, fastenings, the fit at the back | 5 to 8 seconds | Locked, full body |
| Turn | Volume and drape from every side | 4 to 6 seconds | Locked, full body, model turns 360 degrees |
| Fabric close-up | Texture, weight, sheen | 4 to 6 seconds | Close, hand moves the fabric |
| Detail | Buttons, zips, print, label, stitching | 3 to 5 seconds | Close, slow move across the detail |
Record each shot longer than the edit needs. Canon’s advice to new fashion filmmakers is to “include a five-second static shot at the start and end of your cut to help in the editing process” (Canon Europe, accessed September 2026). A clean start and a clean end give the editor room for a cut, a crop and a text card.
The same five shots work for a whole collection. That is the point of writing them down: the tenth garment gets the same coverage as the first, and the catalog looks like one brand.
Technique 2: Set frame rate and shutter for motion
Frame rate sets how smooth the motion looks. Shutter speed sets how much blur each frame carries. Get the pair wrong and fabric looks jittery or smeared.
The common rule is the 180-degree shutter: set the shutter to about double the frame rate. At 24 fps that is 1/48, which most cameras round to 1/50. The blur it gives looks natural to the eye, so a skirt swings the way it does in life.
| Use | Frame rate | Shutter | Why |
|---|---|---|---|
| Campaign film, lookbook | 24 or 25 fps | 1/50 | Natural motion blur, a film look |
| Social clip, product page | 25 or 30 fps | 1/50 or 1/60 | Plays smoothly on phones |
| Slow motion walk or hair | 50 or 60 fps | 1/100 at 50 fps, 1/120 at 60 fps | Slows 2x to 2.5x on a 24 or 25 fps timeline |
| Fabric close-up in slow motion | 100 or 120 fps | 1/200 or 1/240 | Shows the fabric settle. Needs lights built for filming (Technique 3) |
The slow-motion math is plain division. Footage recorded at 50 fps and played on a 25 fps timeline runs at half speed. Footage recorded at 60 fps on a 24 fps timeline runs 2.5 times slower. Decide the timeline frame rate before the shoot, and tell everyone who records.
Keep a little depth of field. Canon warns that a very wide aperture is hard to hold in focus while a subject moves, and that a blur you like in a still “may not” work in video (Canon Europe, accessed September 2026). A garment that drifts in and out of focus hides the detail you filmed it to show.
Technique 3: Stop flicker before it reaches the edit
Flicker is a light problem that looks like a camera problem. Lights that run on mains power pulse twice per power cycle. On 50 Hz power, used across Europe, they pulse 100 times a second. On 60 Hz power, used in the US, they pulse 120 times a second.
If each frame’s exposure does not cover a whole number of pulses, frames get different amounts of light. The picture pulses, or dark bands roll across a white wall. Fix it with the shutter:
- Under 50 Hz power: use 1/50 or 1/100.
- Under 60 Hz power: use 1/60 or 1/120.
- Slow motion under 50 Hz: 1/100 works at 50 fps. At 100 fps and above, use lights built for filming or daylight.
Test for flicker before the model arrives. Record ten seconds of a white wall under every light you plan to use, at every frame rate on the shot list. Watch it at full size. A shop floor, a hotel lobby or a street at night can hold three kinds of light, and each one can pulse.
Technique 4: Light the fabric, not only the face
Fashion lighting has two jobs that pull in different directions. Skin looks best in soft, even light. Fabric shows its texture in light that comes from the side. The answer is a soft key light for the face and a second source placed for the fabric.
Each fabric asks for something different. Test the real garment under the real lights before the shoot day, because a swatch in the hand does not behave like a sleeve on a moving arm.
| Fabric | What goes wrong | What to do |
|---|---|---|
| Cotton, wool, denim | Flat front light hides the weave | Side light at a low angle, so the texture casts small shadows |
| Satin, silk | Hot spots that clip to white as the model moves | A large, soft source; watch highlights on the monitor |
| Sheer fabrics | The fabric disappears against the background | Backlight, so the edges and the layers show |
| Sequins, leather, metallic | Glare, or a dull surface with no sparkle | Small, hard sources for sparkle; flags to control glare |
| Knitwear | Loses depth, reads as a flat color | Side light and a darker background for contrast |
Set white balance for the light, not for the garment. A white shirt under warm light should look white on screen because the balance is right, not because you pushed the color in the edit. Put a gray card in frame at the start of every setup. The editor uses it in Technique 8.
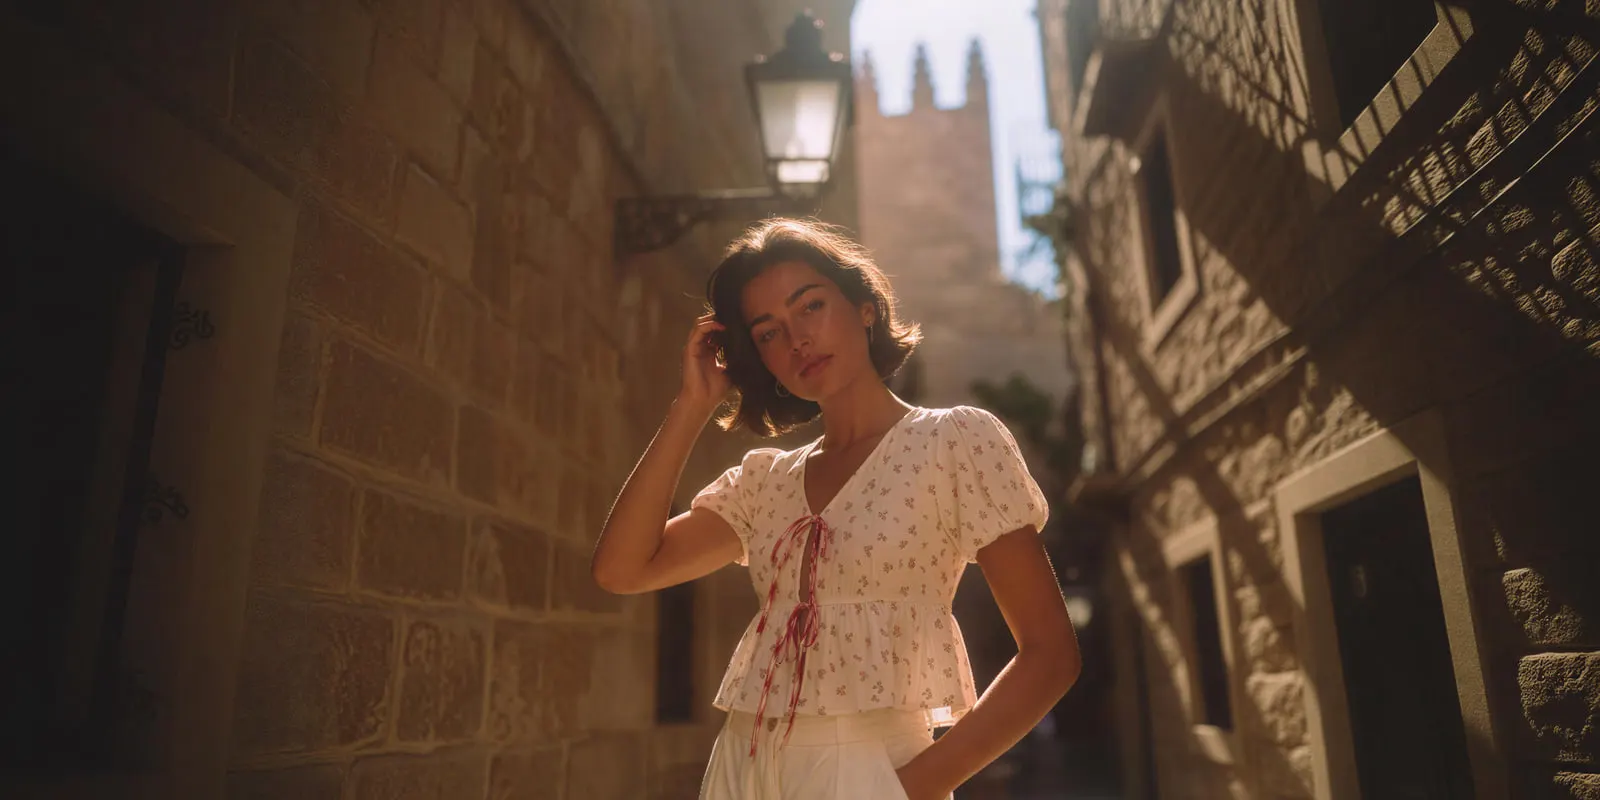
The floral blouse above shows the backlight idea. Low sun behind the model outlines the fabric and separates it from the wall.
Technique 5: Move the camera only when the move shows the garment
Every camera move should answer one question about the garment. If it answers none, lock the camera. A locked shot also compares well: the same frame on every garment shows the differences in length and cut.
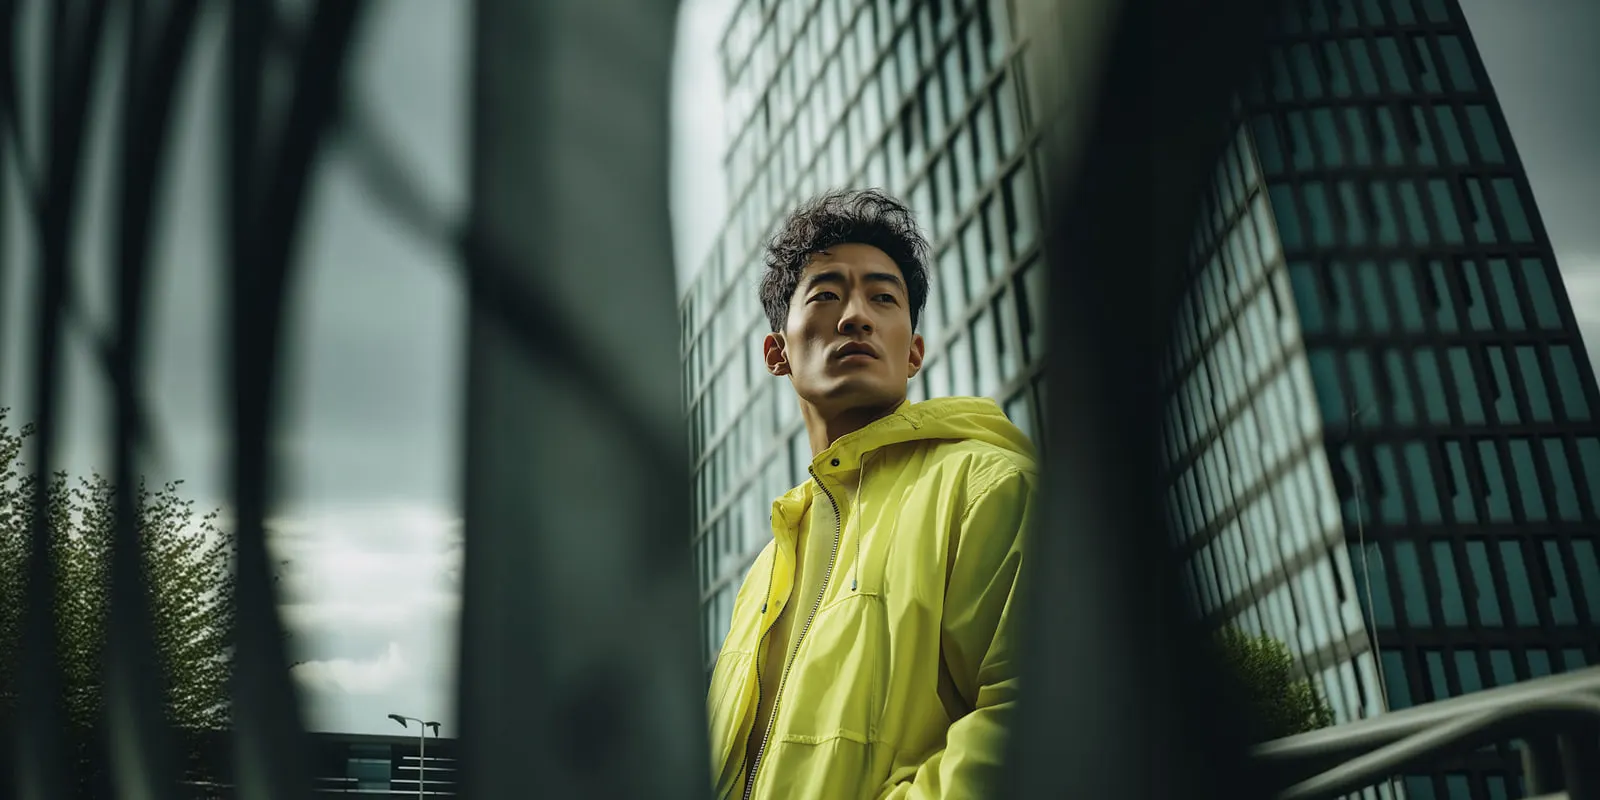
Four moves cover most fashion work:
- Locked shot. Shows proportion and fit. Use it for the front walk and the turn.
- Slow push-in. Moves attention from the whole look to one detail, such as a collar or a print.
- Side track. The camera moves beside a walking model and shows how a coat or a skirt swings.
- Short arc. The camera moves part of the way around the model and shows volume.
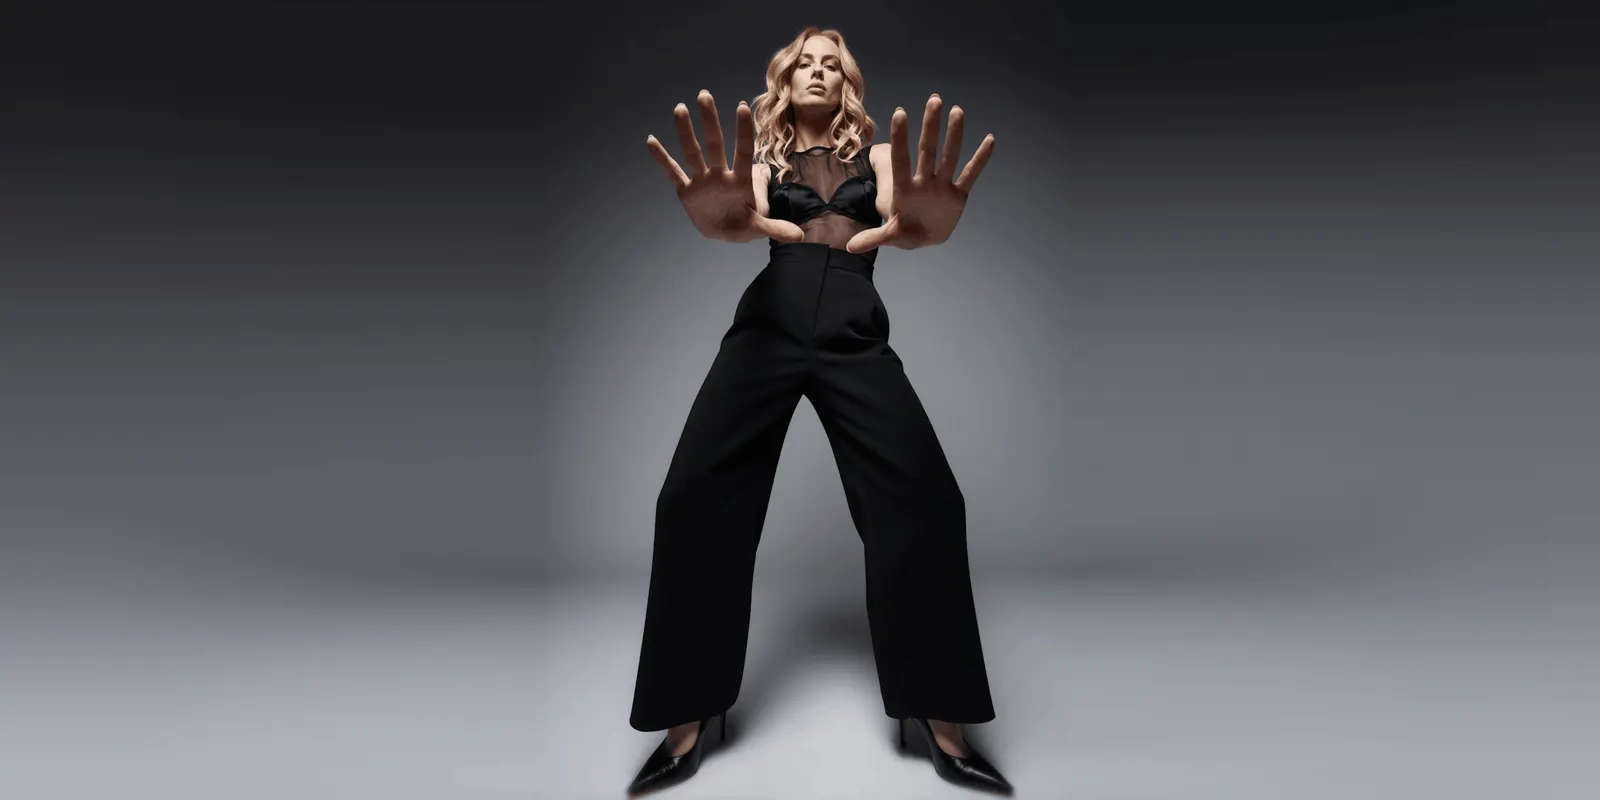
A low angle, like the rain jacket above, makes the look feel strong and the legs longer. It also changes proportions, so keep it for the social and campaign cuts and film the product page shots at chest height.
Handheld work has its place. Javier Cortés almost always shoots handheld, and says it helps a new filmmaker “record more shots in less time” and “find more angles and movements” (Canon Europe, accessed September 2026). For a product page, where the viewer needs to judge fit, a steady frame still wins.
Technique 6: Direct the model with counted moves
A fashion model is trained to hit a pose and hold it. Video needs the move between poses, and it needs the same move many times. Vague direction such as “walk naturally” gives a different take every time, and the editor cannot cut between them.
Give counted, physical cues instead: “Walk four steps to the mark, stop, turn your head left on three, look back to camera on five.” Repeat the count on every take. The garment then moves the same way in each one, and a cut between two takes is invisible.
Direct for the garment:
- Coats and jackets: open the front with one hand, or turn fast enough that the hem swings.
- Dresses and skirts: a walk and a half turn show how the fabric falls and follows.
- Tailoring: slow movement and stillness. Fast movement pulls a suit out of shape.
- Knitwear: hands in the frame, touching the fabric, show its weight.
Steam every garment before each setup and check it between takes. A crease that you can fix in a still with retouching runs through every frame of a video.
Technique 7: Shoot a neutral reference take
For every garment, record one extra take that nobody will post. The camera is locked at chest height. The light is even. The model stands still, then turns slowly, front, side and back. A gray card is in frame.
This take does three jobs. It is the color reference the editor grades against. It is the fit record the product team can check against returns and reviews. And it is a source of clean frames: sharp front, side and back stills of the garment on the body.
Those stills matter more now than they used to. An AI image-to-video model can only animate what it can see. A clip made from a front photo invents the back. A clean set of reference frames gives any later AI work the true front, side and back to start from, so it does not have to guess.
Technique 8: Grade to the real garment and cut for each placement
Grade with the real garment next to the monitor, not from memory. Balance each shot to the gray card first. Then compare the key colors to the physical sample or the approved swatch. A buyer who receives a burgundy dress that looked red on screen sends it back.
Record once, then cut for each placement. Javier Cortés records in 4K because “there are many social formats where I need to have a Full HD in 9:16” (Canon Europe, accessed September 2026). A 4K horizontal frame holds a full-resolution vertical crop, so one take gives you the product page cut and the social cut.
| Placement | Shape | What the platform publishes |
|---|---|---|
| TikTok in-feed ad | 9:16 recommended | At least 540 by 960 pixels, up to 10 minutes, up to 500 MB (TikTok ads help, updated June 2026) |
| YouTube Shorts | Square or vertical | Up to three minutes counts as a Short (YouTube Help, accessed September 2026) |
| Product page | Usually the store’s product image shape | Check your store’s own media limits before you export |
Keep the full walk in frame on every crop. Check each vertical cut for a head or a hem that leaves the frame. For the rest of the export and caption work, the step-by-step guide on making AI video for a clothing brand lists each platform’s safe zones.
Which fashion video shots need a camera, and which can AI make?
A camera proves what the garment does. An AI model shows what an approved look could be in another setting or another motion. Fashion teams that use both split the work by what each shot has to prove. Here is that split for the five shots in Technique 1.
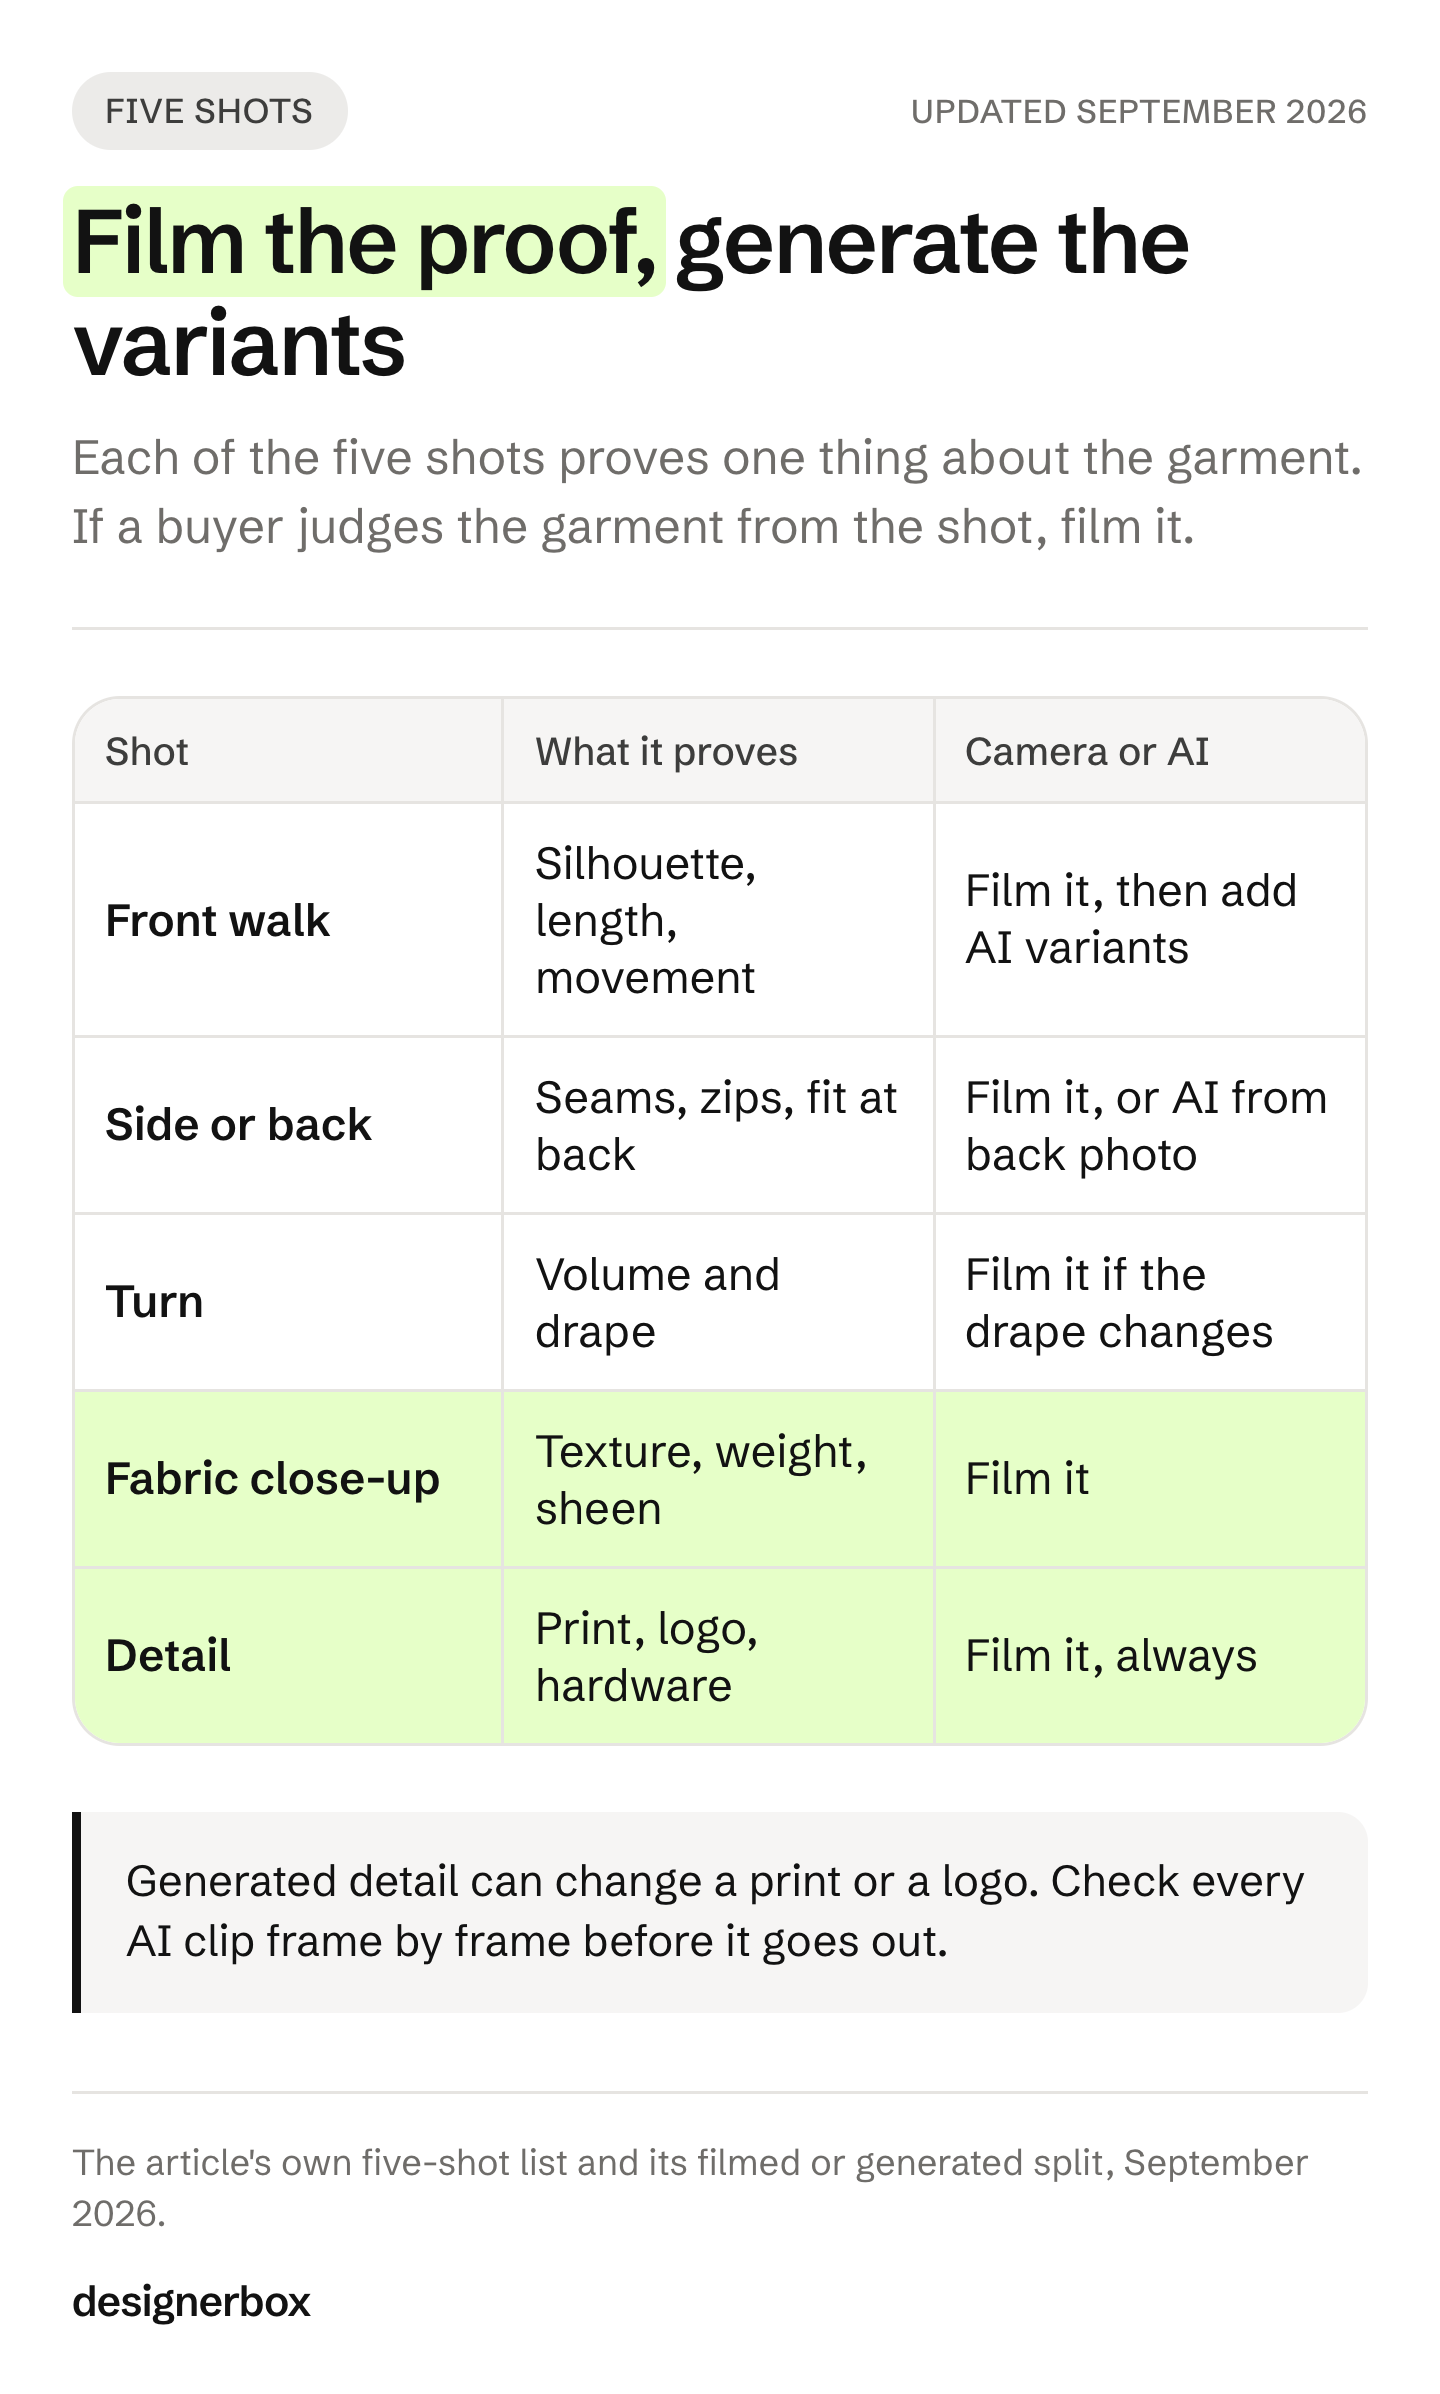
| Shot | Film it with a camera when | An AI clip from approved stills can work when |
|---|---|---|
| Front walk | It is the product page proof of fit | You need more social variants of a look you already filmed |
| Side or back view | The back has seams, a zip or a cut-out | You have a real back photo for the model to start from |
| Turn | The garment has volume or drape that changes with movement | The garment is simple and you have front, side and back photos |
| Fabric close-up | The fabric’s weight, sheen or stretch is the selling point | Rarely. Texture in motion is the hardest thing to invent |
| Detail | Always, for prints, logos and hardware | Never as proof. Generated detail can change a print or a logo |
The rule underneath the table is simple. If a buyer will judge the garment from the shot, film it. If the shot adds reach for a look the buyer has already seen filmed, a generated variant can do the job, and costs far less than a second shoot day.
Generated fashion video fails in known ways: a print that bends as the model walks, a logo that changes shape, a sleeve that grows or a hem that moves the wrong way. Check every generated clip frame by frame for those four before it goes out. The guide to avoiding distortions in AI video shows how to catch each one, and virtual try-on video explains which garment photos each motion needs.
AI labels on fashion video
The rules below are general information, not legal advice. Check each platform’s current page before you publish.
- TikTok ads. TikTok allows ads with AI-generated or heavily AI-edited media if you apply its AIGC label or add your own clear disclaimer. If it finds undisclosed AI content, the ad is “rejected or restricted”. Changes to lighting, brightness or color, and removing or changing a background, do not need a label (TikTok ads policy, accessed September 2026).
- Meta ads. Meta asks advertisers to disclose AI only in ads about social issues, elections or politics. For other ads, Meta adds an “AI info” label itself when you use its own AI tools, or when it detects signals of third-party AI such as C2PA metadata (Meta Business Help Center, accessed September 2026).
- The EU. Article 50 of the EU AI Act has applied since 2 August 2026. A business that publishes a deep fake must disclose it clearly, at the latest when a person first sees it (European Commission FAQ, accessed September 2026). The Commission’s guidelines give an AI product image that can mislead about how the real product looks as an example of a deep fake.
Filmed footage that you only graded, relit or cropped does not become AI content. A generated walk of a model who does not exist is a different matter. Keep a note of which clips are filmed and which are generated, so the right label goes on the right clip.
Fashion video as a saved workflow
DesignerBox is AI creative production for brands and agencies. Anyone can make an AI picture. Making hundreds that still look like your brand is the hard part. The eight techniques above give you filmed proof and clean reference stills. DesignerBox turns the approved stills into more video, the same way for every garment.
- Put the garment on a model. The Dress my model app dresses a model in your garment. You approve the still before any motion.
- Move the still. The Animate an image app turns one image into a short clip, guided by a text prompt.
- Cut the clip. The video editor is a real timeline, with several tracks, transitions, animated text and audio.
- Run it on the next garment. Save the steps as a workflow, or publish it as an app a colleague runs from a form. Batch runs one workflow over a whole sheet of products, and you review the results in one pass.
You set the brand once in your brand record, with its logos, fonts, colors and rules. The workflow reads it on every run. The full workflow from the first product photo to the finished ad, in one subscription.
The cost is shown before each run. An 8-second clip costs 40 to 560 credits, depending on the model. AI video starts on the Premium plan, and the commercial license starts on the Pro plan. Plans and credits are on the pricing page. Every plan below Ultra is one seat. DesignerBox does not post to your store or your social accounts: you download the results. What it makes for a collection is on the fashion brands page.
A free plan for your first run
Start from a template, add your brand and your products, and see the cost before you run it.
FAQ
What frame rate is best for fashion videography?
Use 24 or 25 fps for campaign films and lookbooks, and 25 or 30 fps for social clips. Record at 50 or 60 fps for slow-motion walks and hair. Set the shutter near double the frame rate, such as 1/50 at 24 or 25 fps.
How do you light fabric for video?
Use a soft key light for the face and a second light placed for the fabric. Side light shows the weave of cotton, wool and denim. A large soft source keeps satin from clipping. Backlight shows sheer fabric. Small hard sources give sequins their sparkle.
Why does my fashion video flicker?
Lights on mains power pulse twice per power cycle. If the shutter does not match, frames get different amounts of light. Use 1/50 or 1/100 under 50 Hz power, and 1/60 or 1/120 under 60 Hz power, or turn on your camera’s flicker reduction.
How many shots does a fashion video need?
Plan five per garment: a front walk, a side or back view, a turn, a fabric close-up and a detail shot. Record each one longer than the edit needs, with a still start and end for the editor.
Can AI replace a fashion video shoot?
Not for proof. Drape, fit and sheen in motion still need a camera, and generated detail can change a print or a logo. AI video works best for more variants of a look you already filmed, made from approved stills.
Do I need to label AI fashion video?
It depends on where it runs. TikTok asks for a label on ads with AI-generated or heavily AI-edited media. Meta labels some AI ads itself. In the EU, a realistic AI clip can count as a deep fake that needs a visible label. This is general information, not legal advice.
What resolution should I record fashion video in?
Record in 4K when you need both horizontal and vertical cuts. A 4K horizontal frame holds a full HD 9:16 crop, so one take gives a product page cut and a social cut.
Sources
- Canon Europe: learning fashion videography, with Javier Cortés, accessed September 2026
- TikTok ads help: In-Feed video ad specifications, updated June 2026, accessed September 2026
- TikTok ads policy: misleading and false content, accessed September 2026
- YouTube Help: three-minute YouTube Shorts, accessed September 2026
- Meta Business Help Center: AI info labels on ads, accessed September 2026
- European Commission: transparency obligations under Article 50 of the AI Act, accessed September 2026
- European Commission: guidelines on the transparency obligations of Article 50, published 20 July 2026, accessed September 2026
- DesignerBox apps, video editor and pricing (designerbox.ai), September 2026
Camera techniques, platform specs and AI label rules verified from the sources above as of September 2026. Individual results vary.