


Rings and fine pieces
Jewellery product photography with AI
Start from a photo of the real piece on your bench. Build the reflections, fire the stone, hold the colour of the gold and give the piece a size cue. Every picture keeps your brand's look, at any volume.
Last updated
Who it is for
Does that sound like you?
Scaling without compromising quality.
You need more pictures every week for the shop, the ads and the socials. Anyone can make an AI picture. Making hundreds that still look like your brand is the hard part. A shoot for every product costs weeks, and every new generator returns a different look.
- A template or a workflow you build once, with your brand rules
- One run on one product, or a batch over your whole catalogue
- Every result in Assets, with the same look on the first and the last
Cut the waiting time and budget for deliverables.
You make this for clients, and every client has their own look. A shoot for each one costs weeks and most of the budget. A different generator for each one returns a different look, so somebody fixes it by hand before it is delivered.
- Each client's brand rules, saved once and used on every run
- A workflow you build once and run for every client
- A batch over a client's whole catalogue, delivered from Assets
Jewellery photography
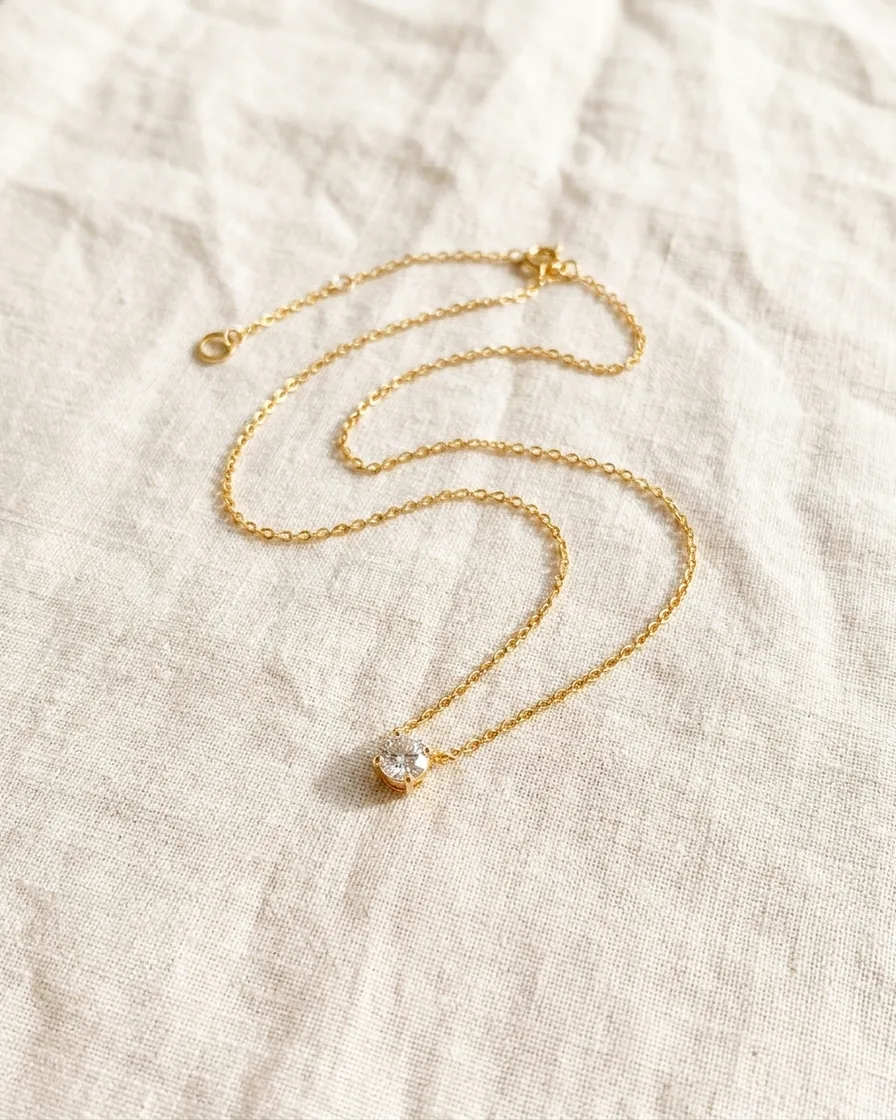
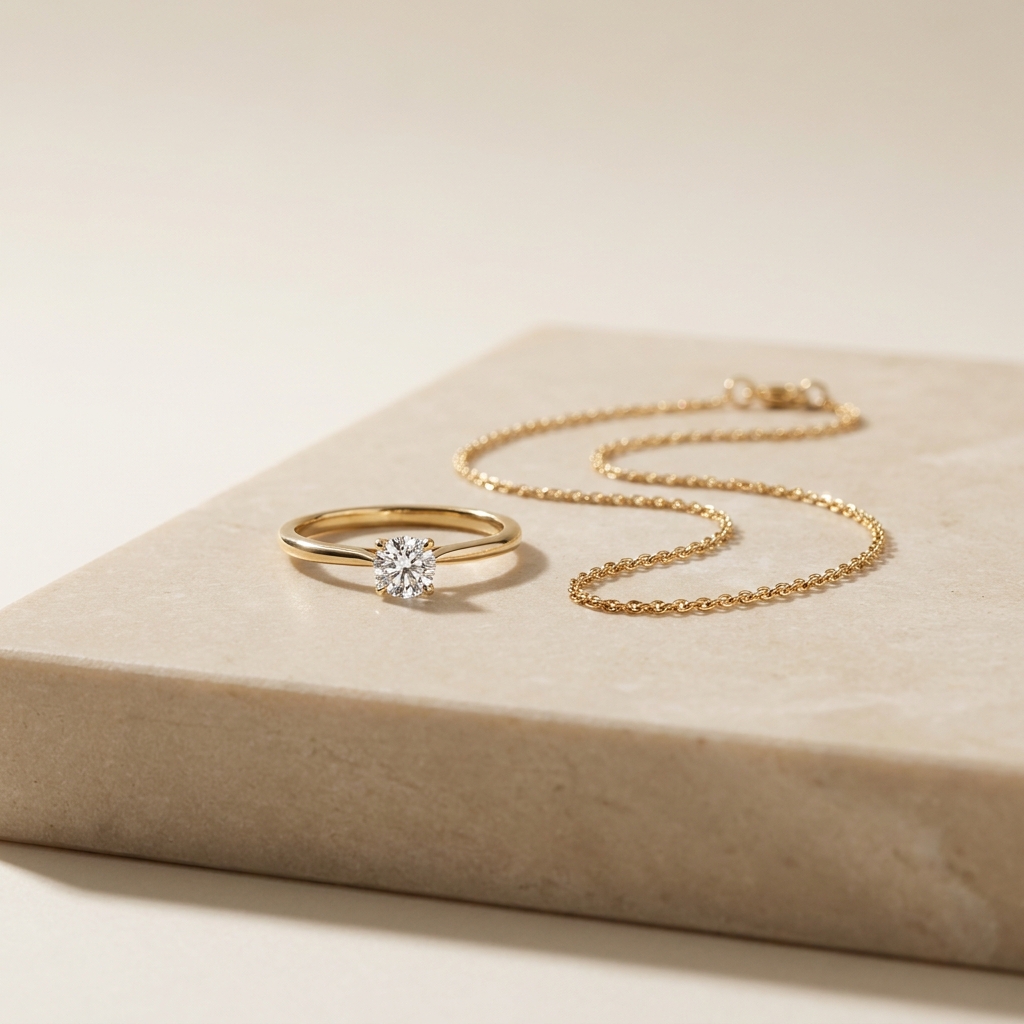
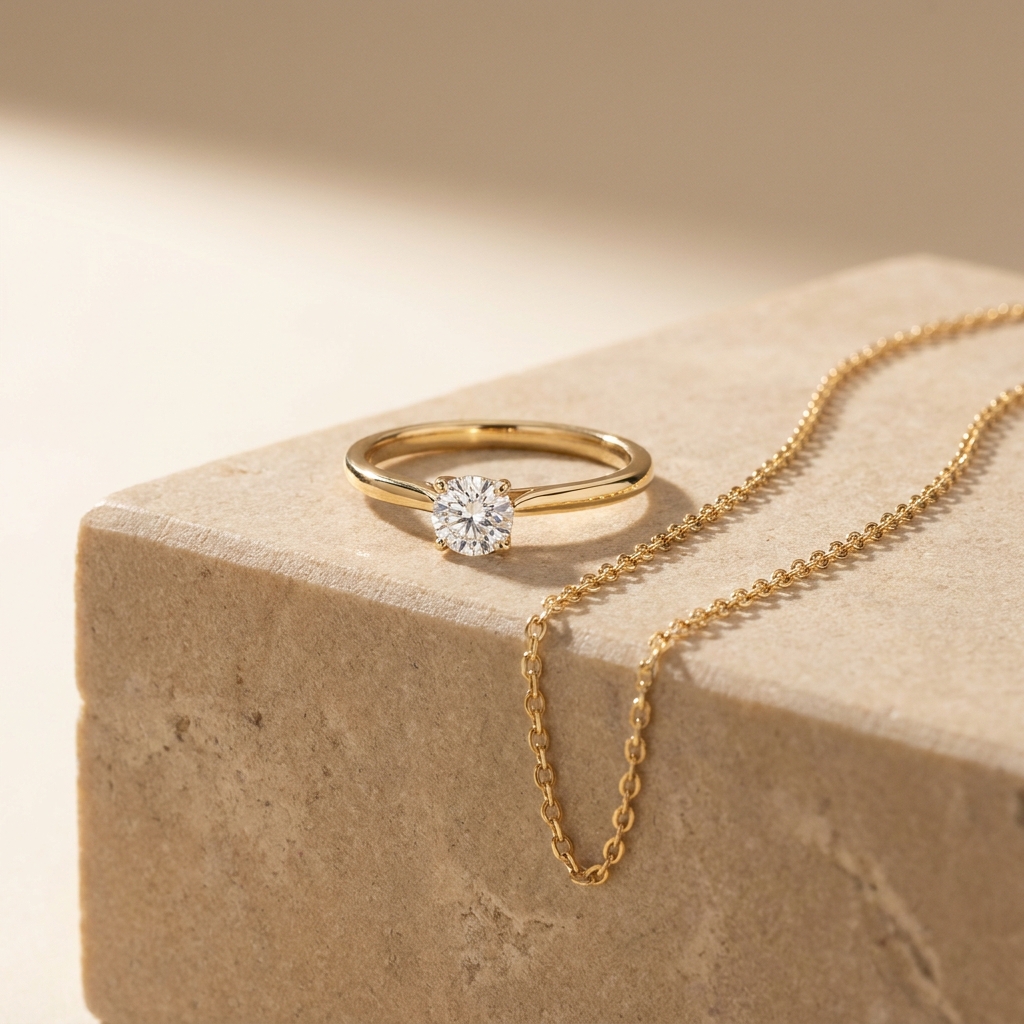
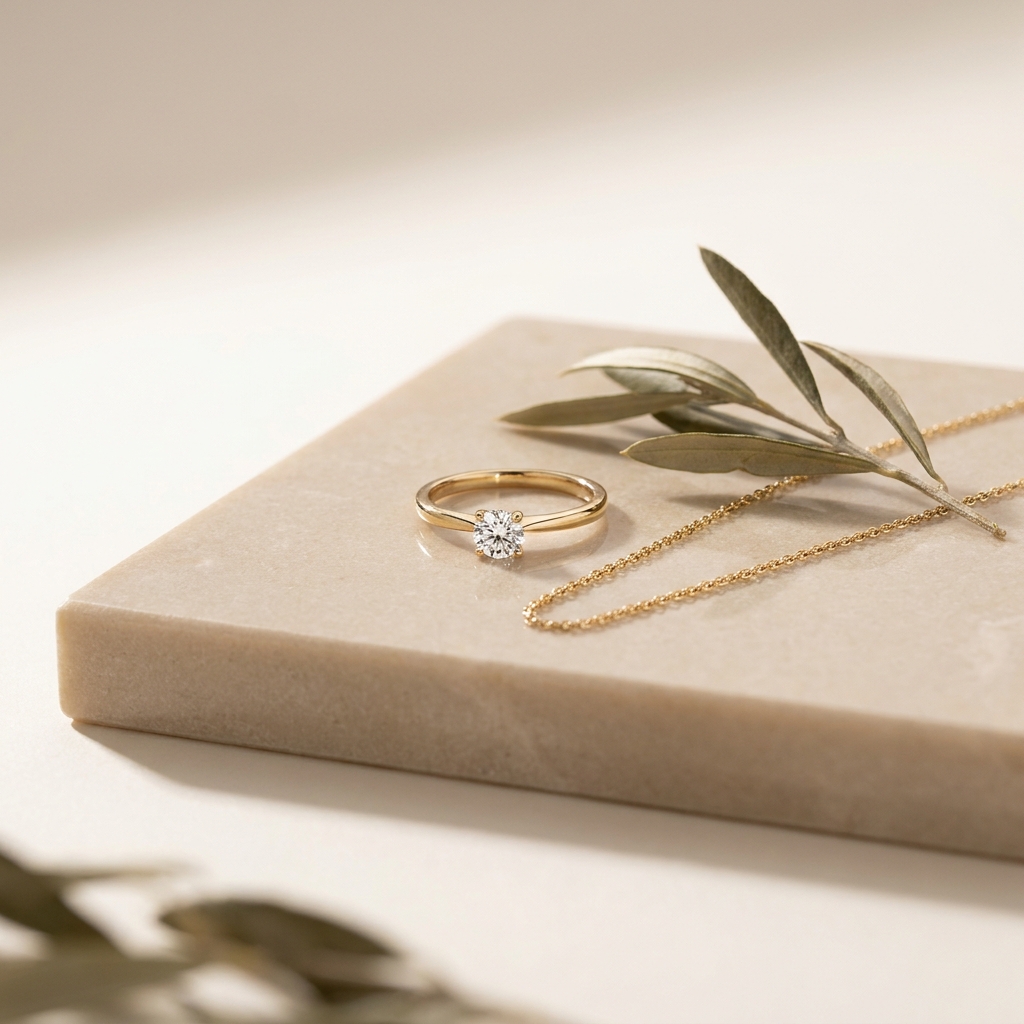
Jewellery product photography is the practice of lighting a small, mirrored object so its metal, its stones and its size all read correctly. Polished gold and silver do not have a colour of their own on camera. They show whatever is around them, so the work is shaping the reflection rather than aiming a light. Stones need a small hard source to fire. DesignerBox does this from a photo of the piece you sell.
What a small mirrored object demands
Four problems that decide whether a jewellery photo sells.
You light the reflection, not the metal
A polished band is a mirror bent into a circle. Point a bare light at it and you get one hot spot and a lot of black. A large, curved source gives the smooth gradient that makes metal look like gold. Black card at the edge stops the outline from disappearing into white.
Metal wants soft light, stones want hard
The same frame has two opposite needs. Diffuse light makes the band beautiful and the diamond grey. A small hard source makes the stone flash and the band ugly. Real jewellery shots combine both, which is why a single flat phone photo never looks like a catalogue image.
A ring on white has no size
Photographed alone against white, a signet ring and a napkin ring look identical. Every jewellery set needs a size cue. Show the piece worn on a hand or neck, print a measurement in millimetres on one frame, or place a known object beside it.
Macro leaves a millimetre in focus
Close to a ring, the depth of field is thinner than the setting. The front prong is sharp and the stone table is soft, or the reverse. Buyers of fine pieces zoom to the limit, so a set needs frames that hold focus from the front prong to the back of the setting.
From bench to listing, in order
Clean first, light second, scale last. That order is the whole job.
The order matters more on jewellery than on almost any other product. Clean the piece first, because a fingerprint at macro scale costs more retouching than the whole shoot. Settle the reflection next, since every later frame inherits the metal you approve here. Colour comes third, judged against the real piece under daylight rather than against a screen. Scale comes last, because the worn frame and the measured frame only make sense once the piece itself is correct. Save the sequence as a workflow and run each new collection through it.
What a jewellery listing needs
Four deliverables, and what each one has to prove.
Hero on white, piece filling the frame
A ring lost in the middle of a large frame is unreadable in a search result. Fill the square, keep the background clean white, and hold one metal gradient across the whole collection so the category page looks like one maker.
Macro detail of the setting
One frame close on the stone, the claws and the shoulder. This is where a buyer decides the piece is well made and the stone is held safely. Keep the front prong and the stone table both sharp.
Worn frame for scale
The piece on a hand, a wrist or a neck at a stated size. This one image answers what a white background cannot. How big is it, and how does it sit against skin.
True metal and stone colour
Yellow, rose and white gold each need their own approved reference, and coloured stones shift with the light temperature. Fix the colour once per metal, save it, and apply the same treatment to every piece in that finish.
Questions about jewellery photography
What jewellers ask before they photograph a collection this way.
Why does my gold look grey in photos?
How do I make a diamond sparkle in a photo?
How do I show the size of a small piece?
Can I photograph a chain or a bracelet the same way?
Will the generated image match the real piece?
What resolution should a jewellery image be?
Other categories
The same craft, written for a different product.
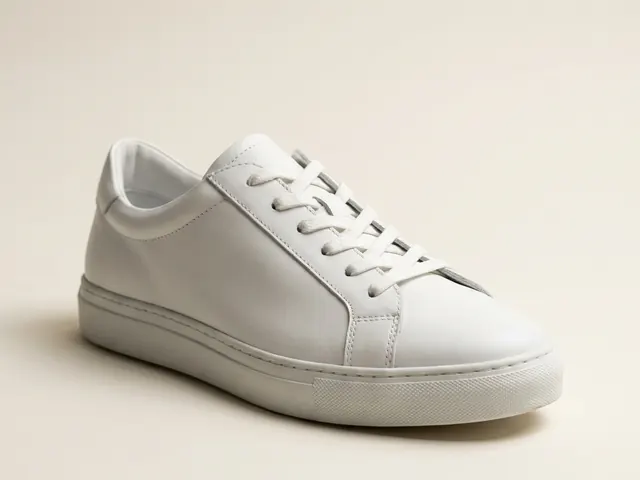
Footwear photography
Three-quarter hero, profile, sole and lace detail from your shoe photos.
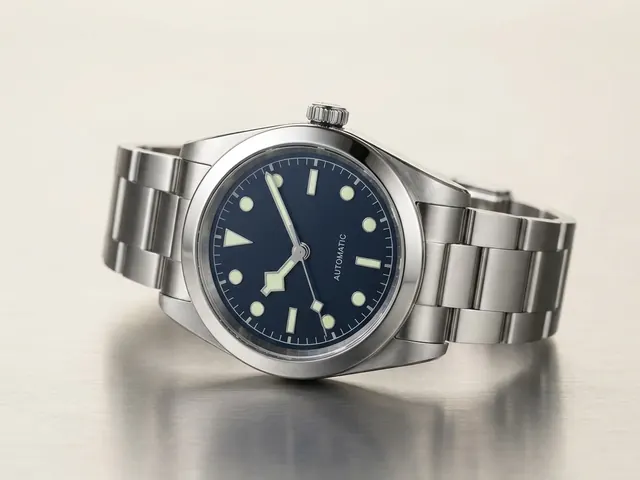
Watch photography
Crystal glare, dial legibility, bracelet finish and the ten past ten hand set.
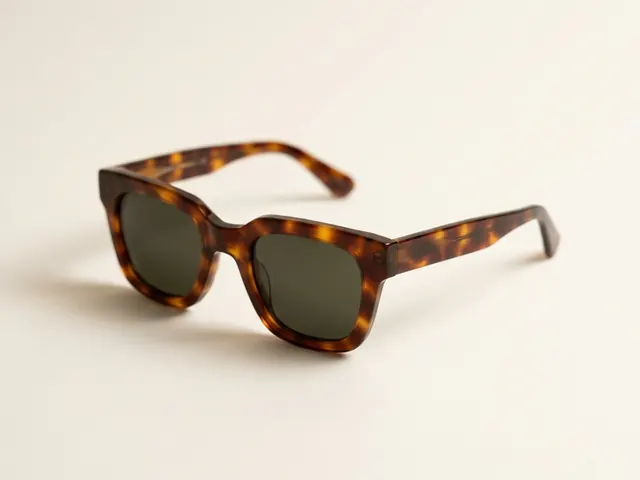
Eyewear and sunglasses
Reflection control, frame angles and on-face fit shots.
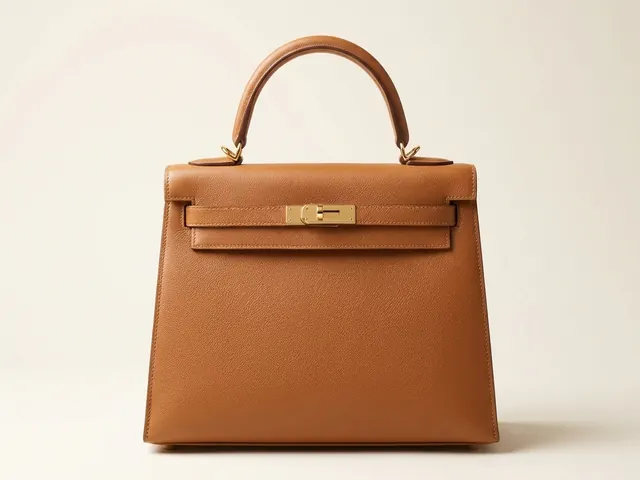
Bags and handbags
Shape, leather grain, hardware and the interior view.
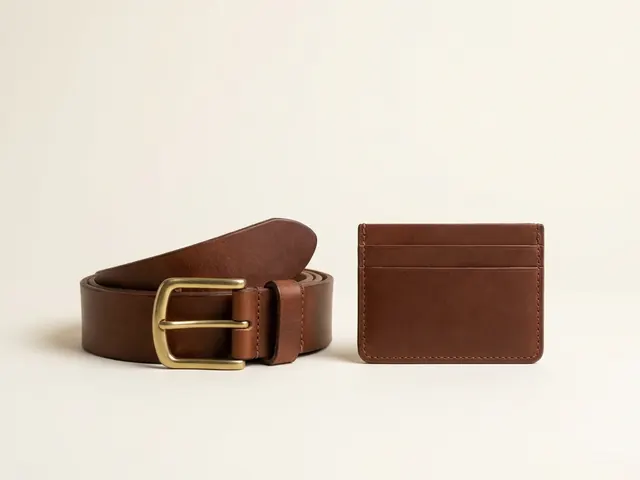
Wallets, belts and small goods
Flat lay sets, open and closed states, edge paint and thickness.
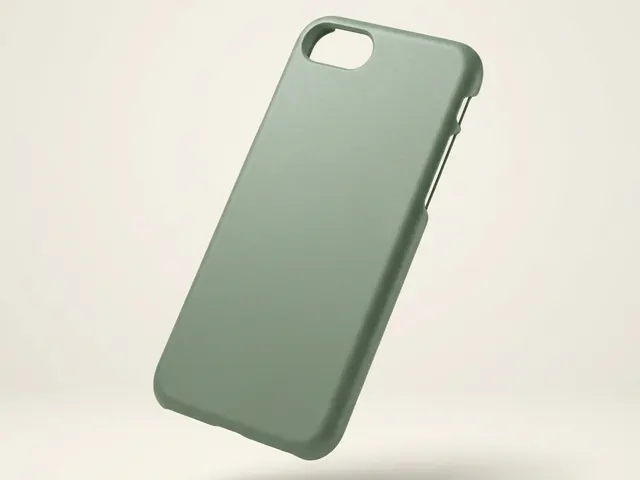
Phone cases
Curved-shell prints, sharp camera cutouts and one look across a whole design range.
Everything you need, in one place
The full workflow from the first product photo to the finished ad, in one subscription.
Scale content without limits.
Generate content for your products or services with AI, starting today, and keep your brand on every piece.








