Background Remover
The background cut-out
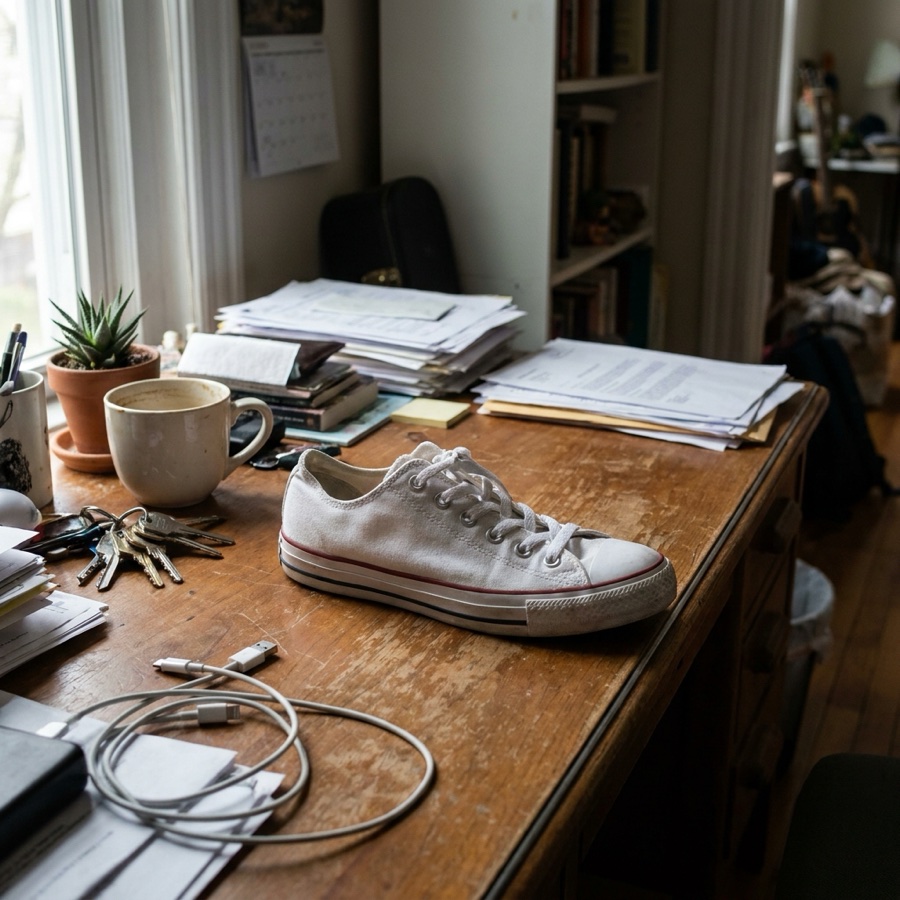
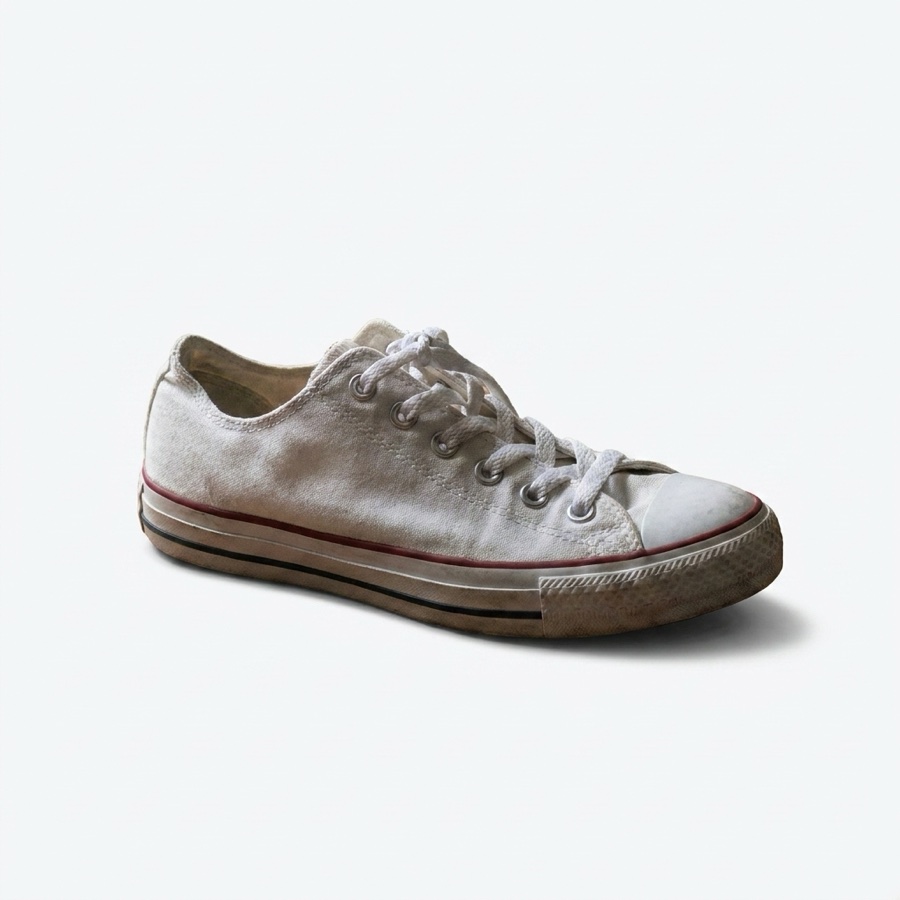
The Background Remover separates the garment from the studio backdrop and the floor. You take the form itself out first, with Remove Object in the image editor.
Open the toolPhotograph the garment on a mannequin, then remove the mannequin from the picture. The garment keeps its worn shape and sits on clean white, ready for a product page.
Start freeA ghost mannequin photo shows a garment holding its worn shape. No model, no hanger and no mannequin appears in the frame. You photograph the item on a mannequin or a dress form. You then take the visible parts of the form out with Remove Object in the DesignerBox image editor. The Background Remover drops the studio backdrop and the floor, so the garment sits on plain white. There is no one-click ghost mannequin button in DesignerBox.
The four things that make the worn shape look real.
Remove Object takes the visible parts of the form out of the photo. The Background Remover then drops the studio backdrop, so the garment sits on plain white.
The neck decides whether the effect works. A second photo of the inside back of the collar fills the opening.
Spotlight Relight applies one lighting treatment, so a whole drop reads as a single shoot rather than a pile of separate photos.
Colour is the claim a shopper can return. Compare the cut-out against the real garment before you publish it.
Each card opens the app that does that part of the job.
The Background Remover separates the garment from the studio backdrop and the floor. You take the form itself out first, with Remove Object in the image editor.
Open the tool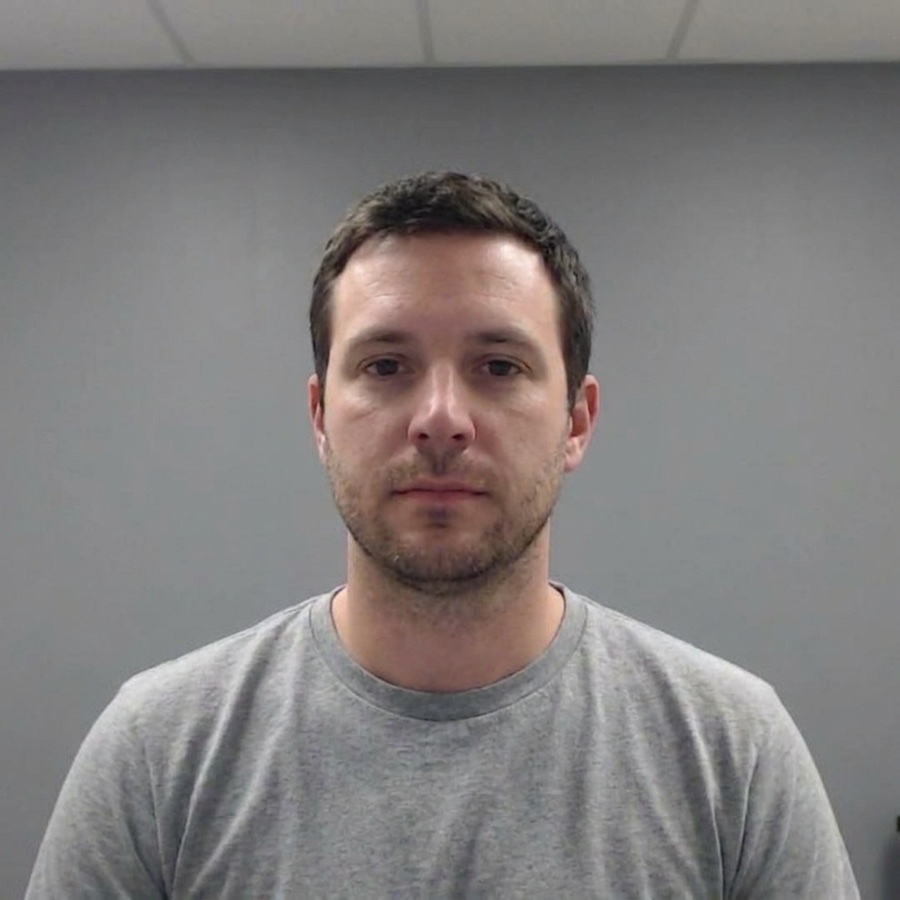
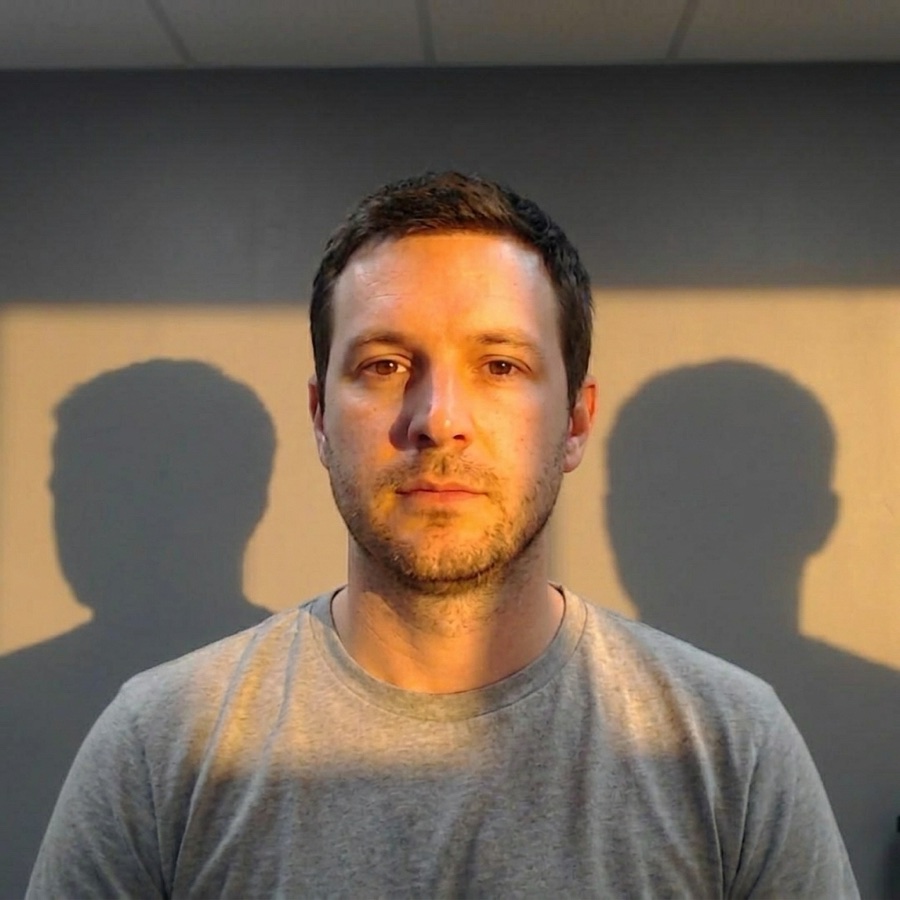
Spotlight Relight applies one lighting treatment to every garment, so a row of thumbnails matches instead of drifting from shot to shot.
Open the tool
Photo Angles builds the side and back views a shopper wants, from the photo you already have.
Open the tool
Flat Lay Studio arranges a garment flat on a surface. Use it for items that hold no shape on a form, such as scarves and socks.
Open the toolTwo photographs, then two passes in the image editor.
Cut out a single garment and check the neck at full zoom before you process a whole drop.
The neck is the part that fails. On a form, the mannequin sits behind the collar. Taking the form out leaves an empty gap there. The inside of the garment should show instead. The fix is a second photograph of the inside back of the collar, taken in the same light. Place that image behind the neck opening in the design editor. The garment then reads as worn rather than as a flat shape with a hole in it.
Colour is where a cut-out goes wrong most often. Deep black, grey marl and any fabric with a sheen shift the most. The cut removes the surroundings that told your eye what the light was. Check the finished file beside the real garment in daylight, not beside the original photo. A shopper who receives a different shade returns the parcel. That cost sits with you rather than with the software.
A drop is judged as a set. Twelve garments cut out on twelve slightly different whites look worse than twelve plain photographs on one background. A shopper sees the difference across a category page before reading any single image. Settle the background, the crop and the lighting once. Save the sequence as a workflow. Then run every new garment through the same steps in the same order.
Six checks that separate a clean cut-out from a pasted one.
The inside back of the collar has to come from a second photograph. Without it the neck reads as a hole rather than as a shape.
A cut-out can shift a shade. Hold the finished file beside the real garment in daylight before you publish it.
The hanger shadow and the floor shadow go with the backdrop. Decide whether the garment floats on white or keeps a soft contact shadow. Keep that choice for the whole set.
Loose knit, fur and lace have soft edges. Check them at full zoom, because a hard edge makes the garment look pasted onto the background.
Every thumbnail in a category should sit on the same white and the same crop. The garment on a slightly different white is the one a shopper notices.
Product pages let a shopper zoom, so the file has to be large. Upscale at the end, once the cut-out and the neck are final.
Each one handles a part of an apparel image set.
The tool that separates the garment from the studio backdrop and the floor.
One lighting treatment across a set, so every garment thumbnail matches.
Layers and precise placement, for putting the collar image behind the neck opening.
The on-model version of the same garment, for pages that need a person in the picture.
A larger file for product-page zoom, run as the last step on a finished image.
Save the sequence once, then run every garment in a drop through it.
What apparel sellers ask before they shoot a drop.
Shoot one garment on a form, remove the form, and check the neck at full zoom.
Start free