Fashion brands4 steps
How to make the product page photos for every garment
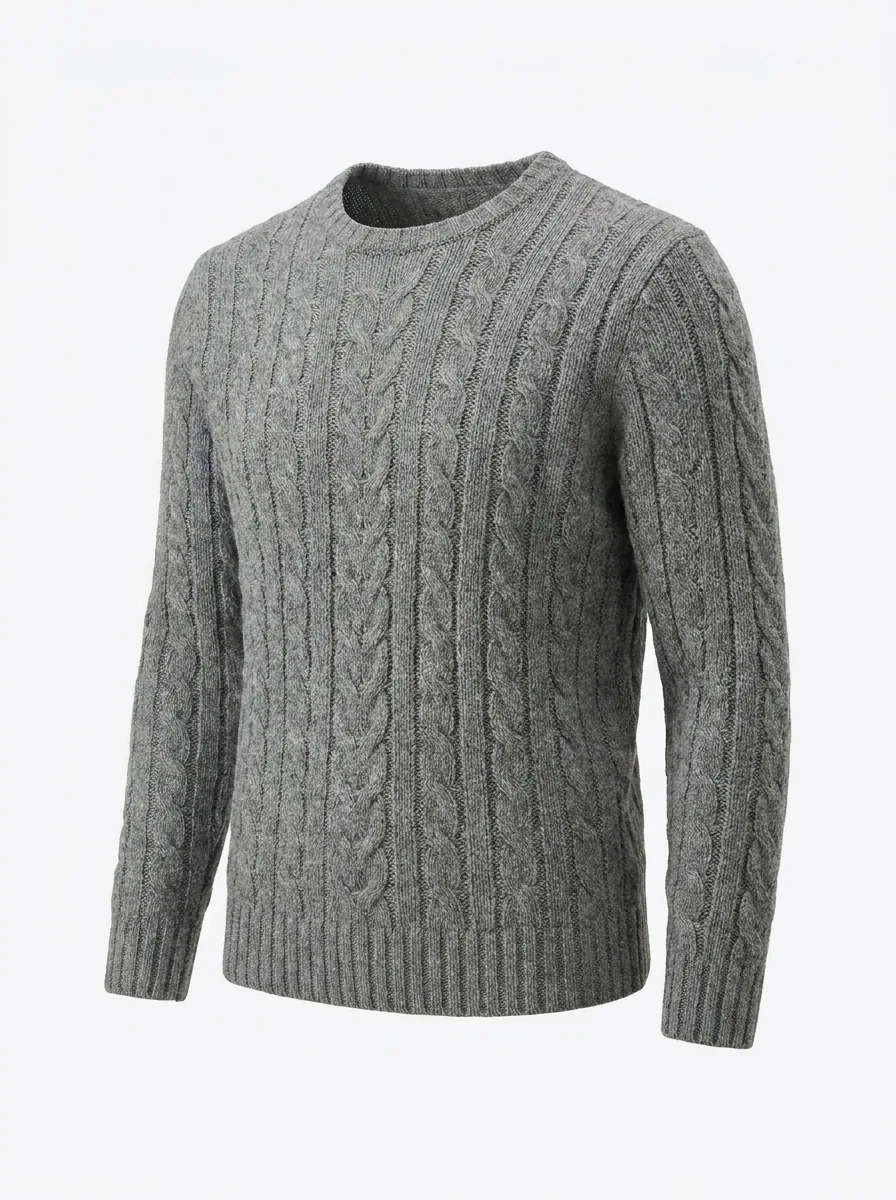
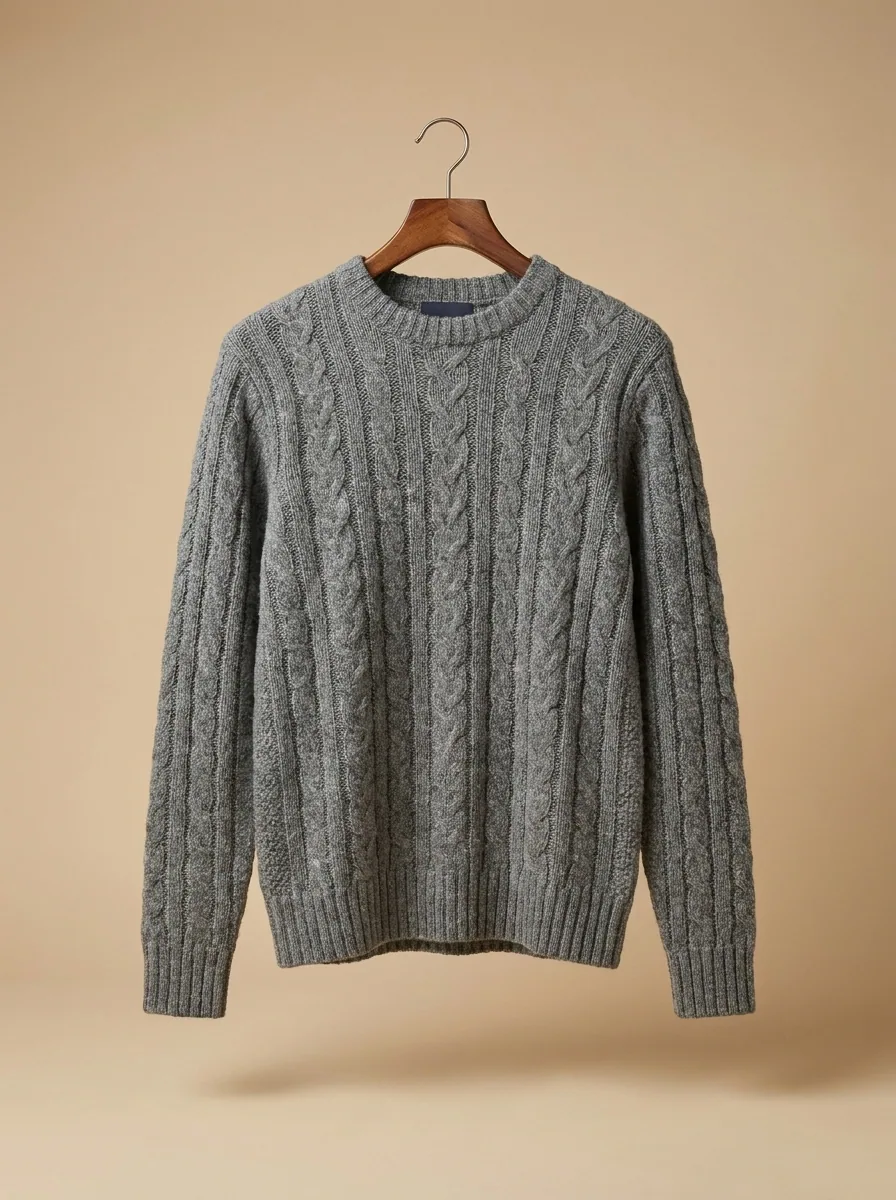
Turn one photo of each garment into the set a product page needs. You get the shape with no mannequin, a plain white background and the front, back and detail angles.
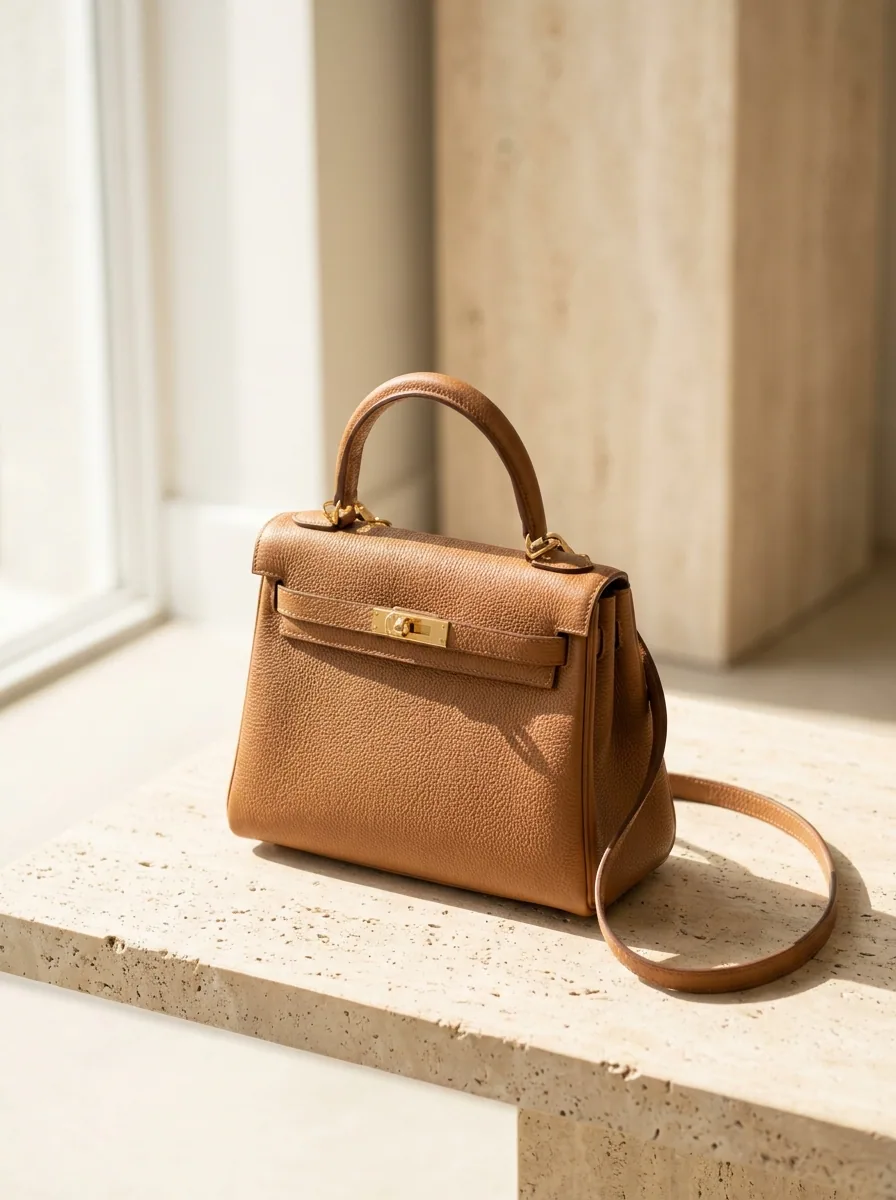
What you get
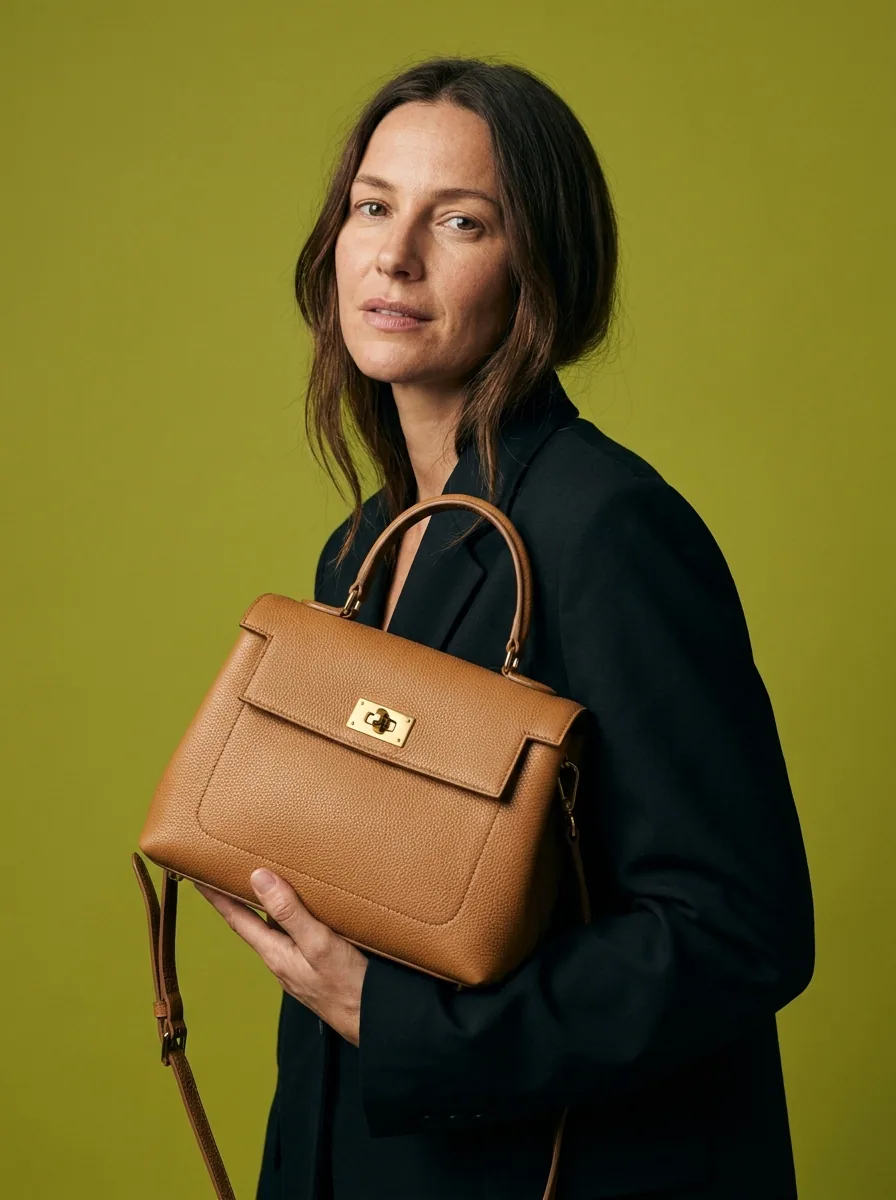
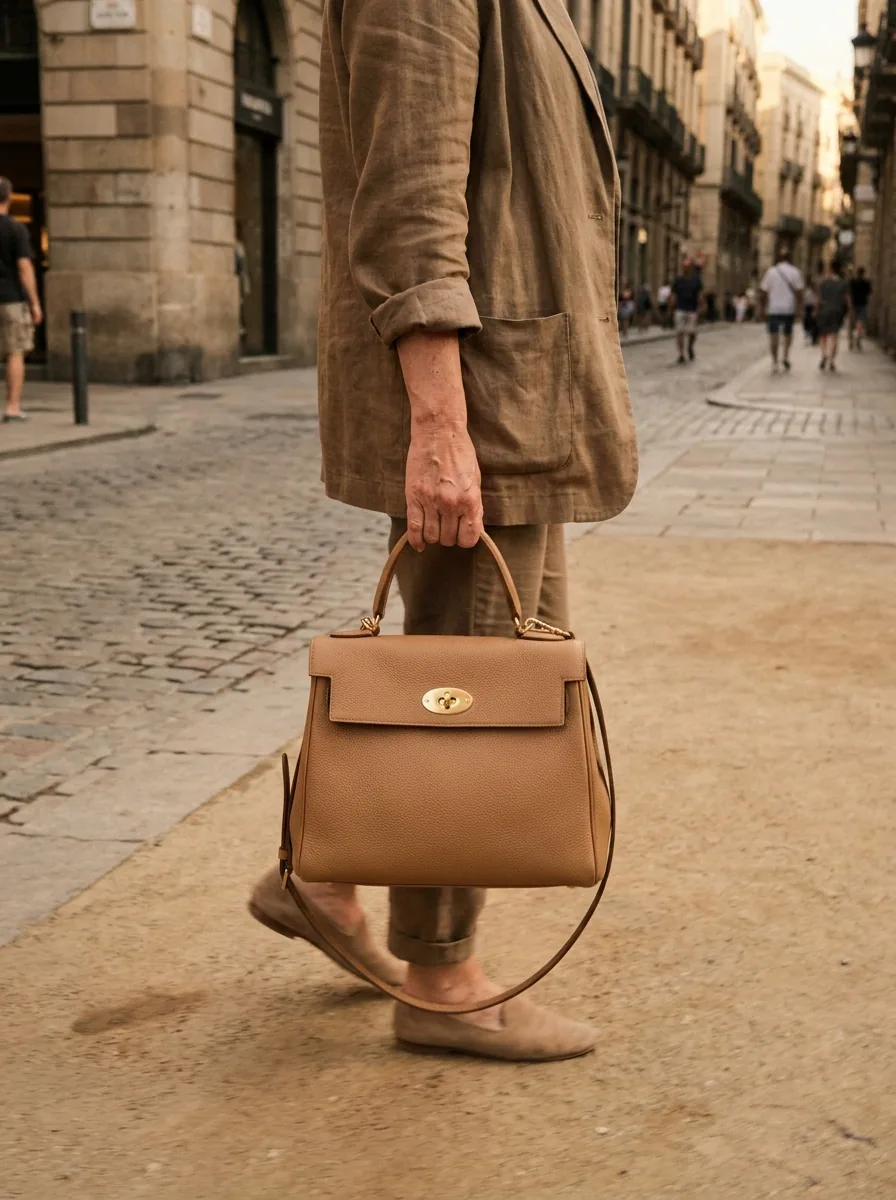
How it works
A product page sells the garment through its pictures. A shopper wants to see the shape, the colour and the back. They check all three before they add anything to the basket. A marketplace asks for a plain background before it lists the item at all. Booking a studio for each new drop is slow. A phone photo of a garment on a rail hides the shape. This recipe starts from one photo of each garment. It builds the whole set: the shape with no mannequin, the plain white background, and the angles.
Give the garment its shape
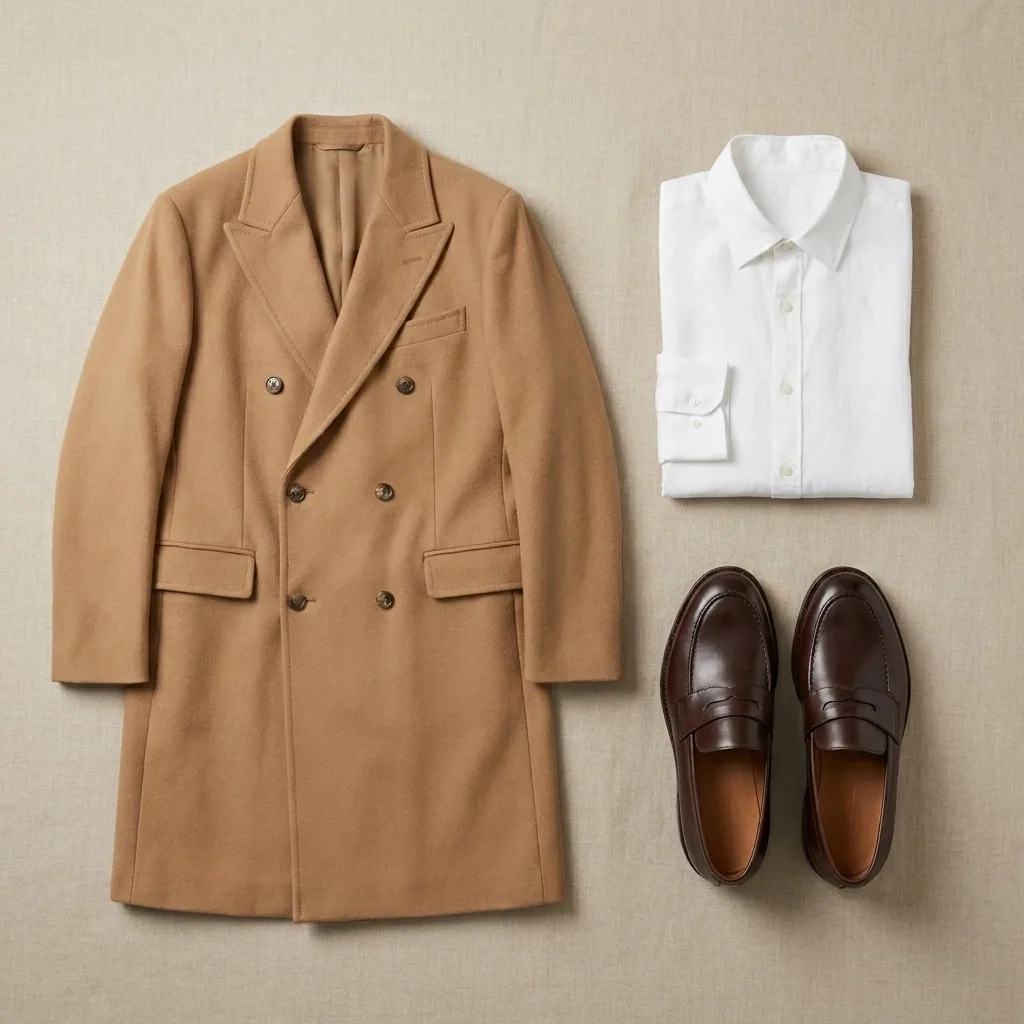
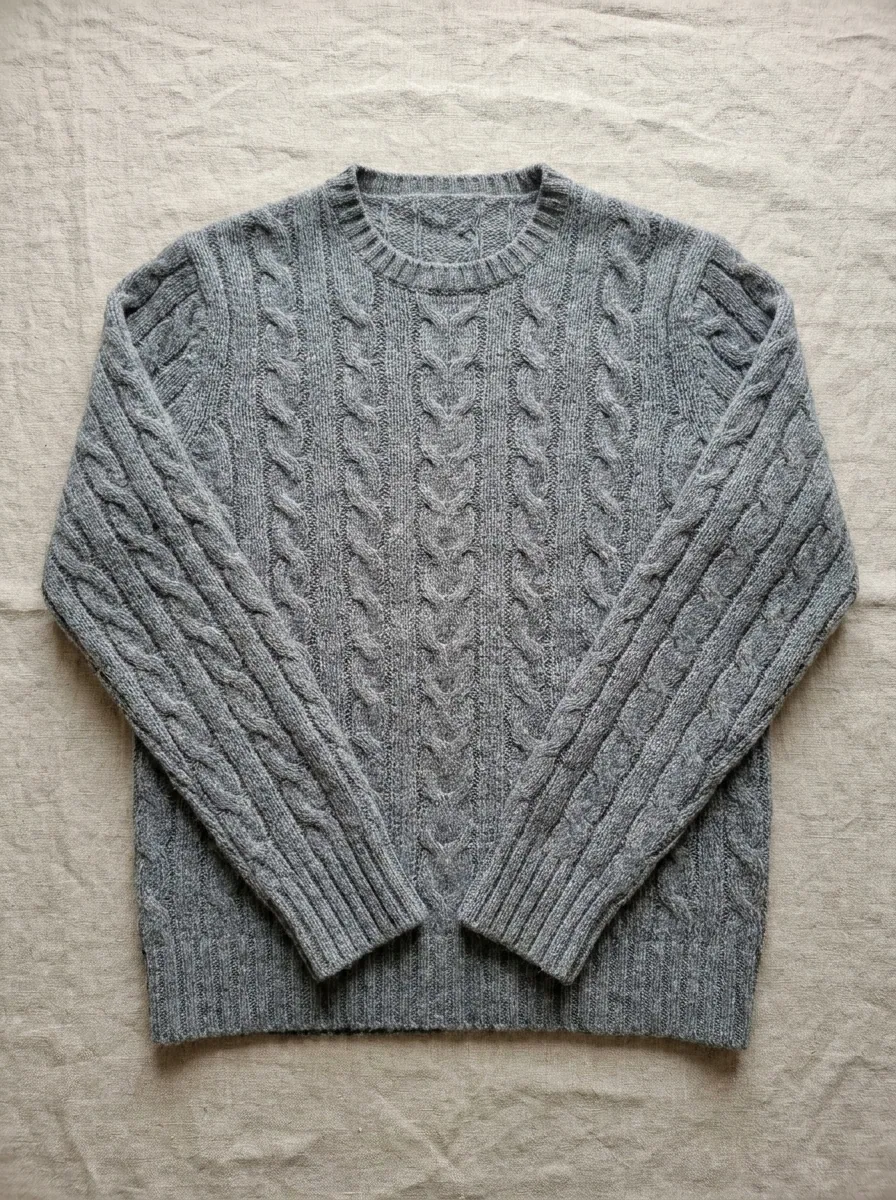
Upload the front photo of the garment. The template shapes it as if someone is wearing it. It removes the mannequin, the hanger and the rail. You see a garment with shoulders, a neckline and a body, and nothing behind it. Do the same with the back photo.
Open the Ghost mannequin templatePut it on a plain white background
Most marketplaces want plain white and nothing else in the frame. Send each picture to this template. It removes the room, the floor and the shadow behind the garment. The colour and the texture stay as they are. The picture still matches the item in the parcel.
Open the White background templateAdd the angles you did not shoot
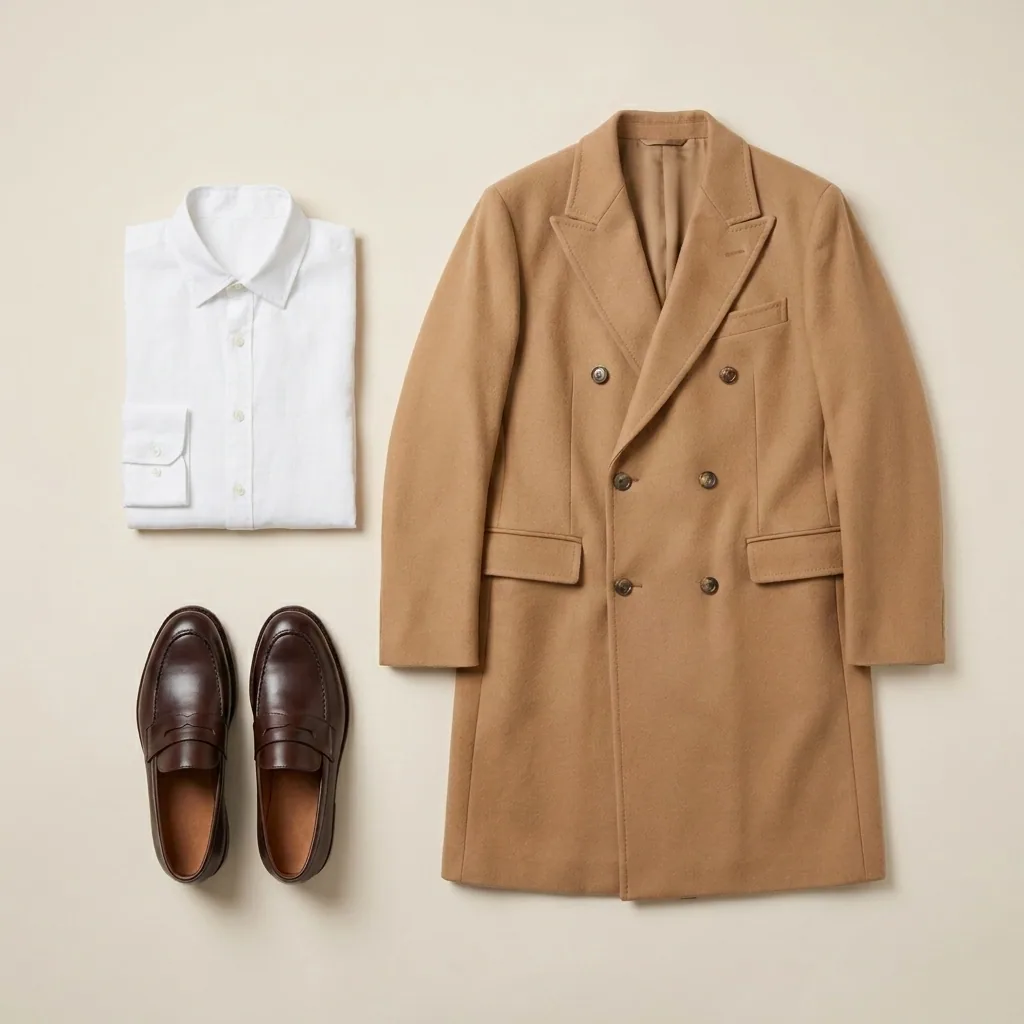
A product page needs more than one view. This template works from the one photo you have. It gives you the front, the back and a close crop of the fabric or the stitching. Put the close crop next to the size chart. A shopper studies the fabric before they choose a size.
Open the Multi-angle templateSize the finished set for your shop
Your shop and each marketplace ask for their own picture sizes. This template returns the finished packshots at those sizes. Each one is cropped the same way. Every garment sits the same way on the collection page. Download the set when it is ready.
Open the Packshots template
Where the pictures go
- Upload the set to the product page in your shop. Put the shaped front picture first and the back picture second.
- Upload the plain white versions to each marketplace. They check that picture before they list the item.
- Keep the detail crops for the size guide, the lookbook and your Instagram grid.
The same set for the next drop
Save these steps as a workflow. When the next drop is ready, add the new garment photos to a batch. Each one comes back with the same shape, the same background and the same angles. Nobody has to repeat the work.
See how batch worksQuestions
Do I need a model or a mannequin?
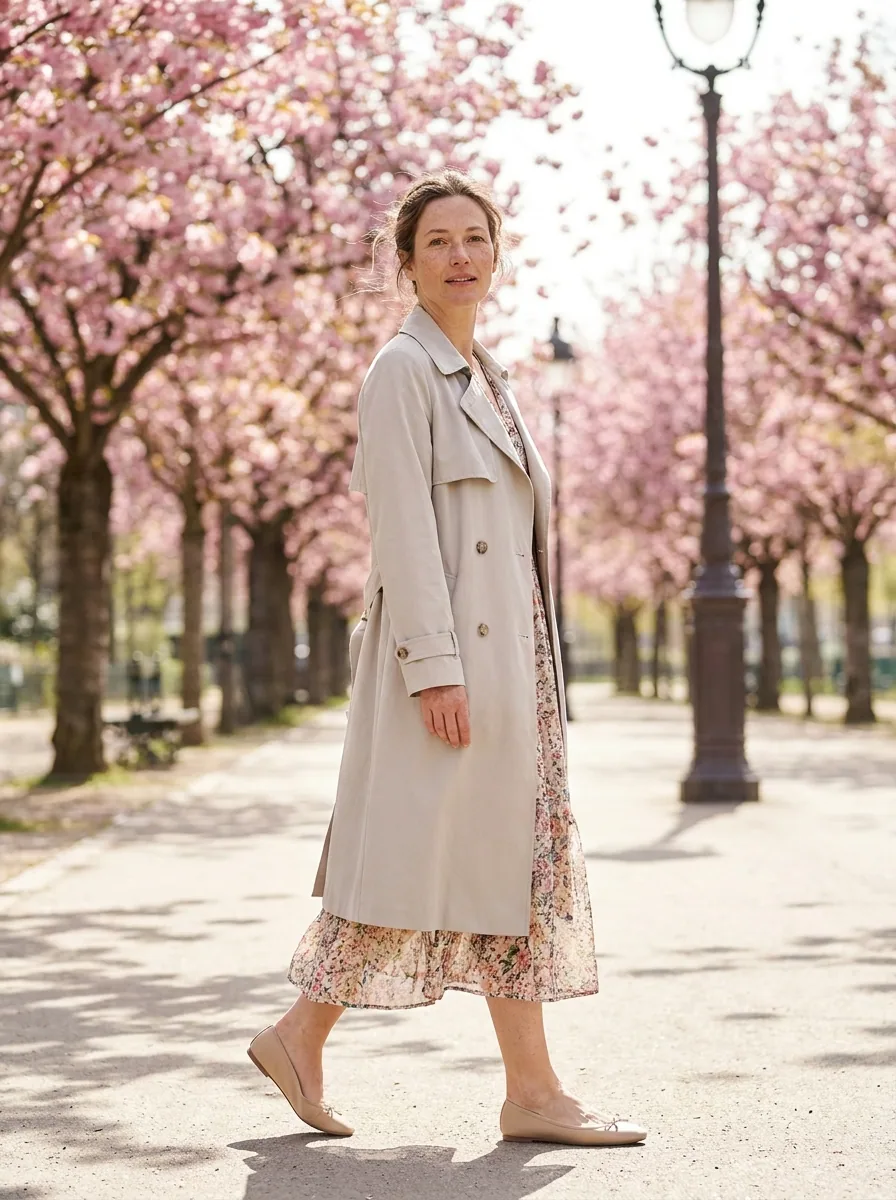
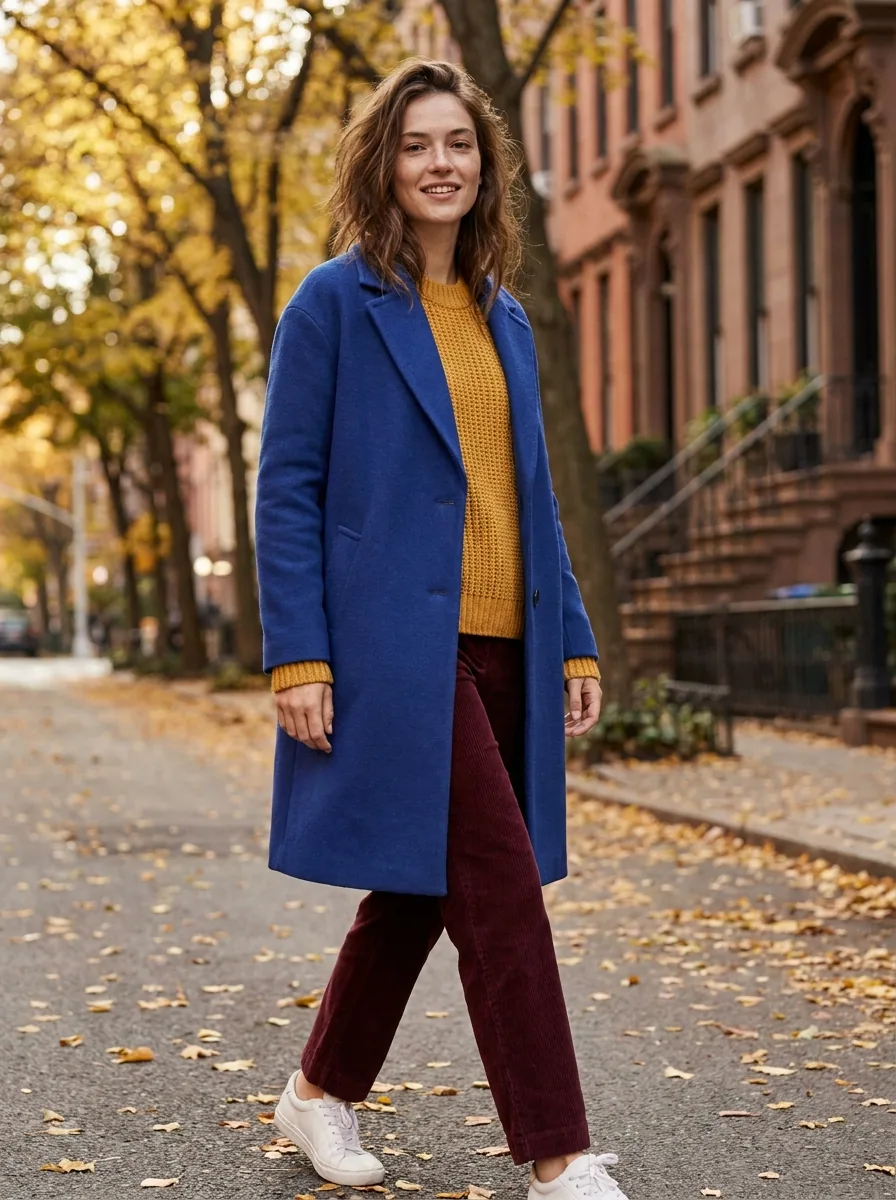
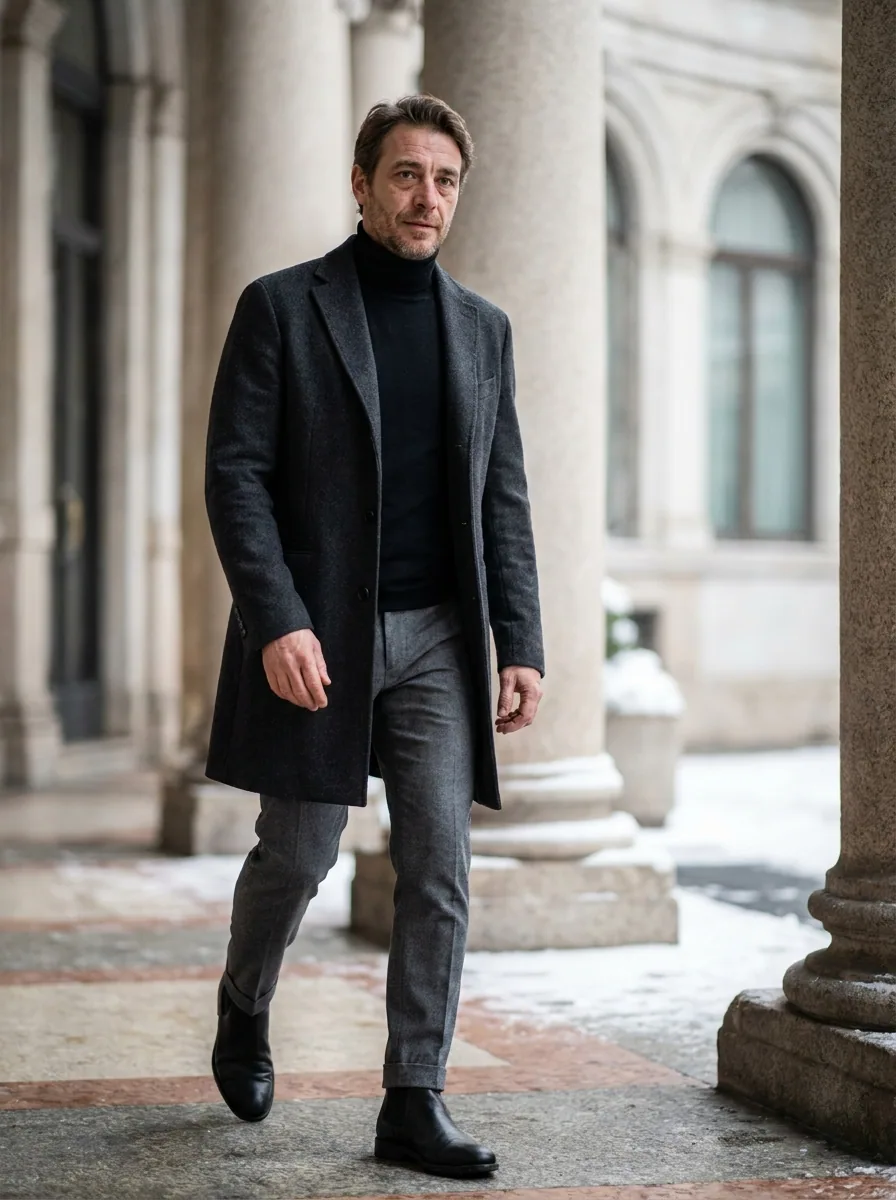
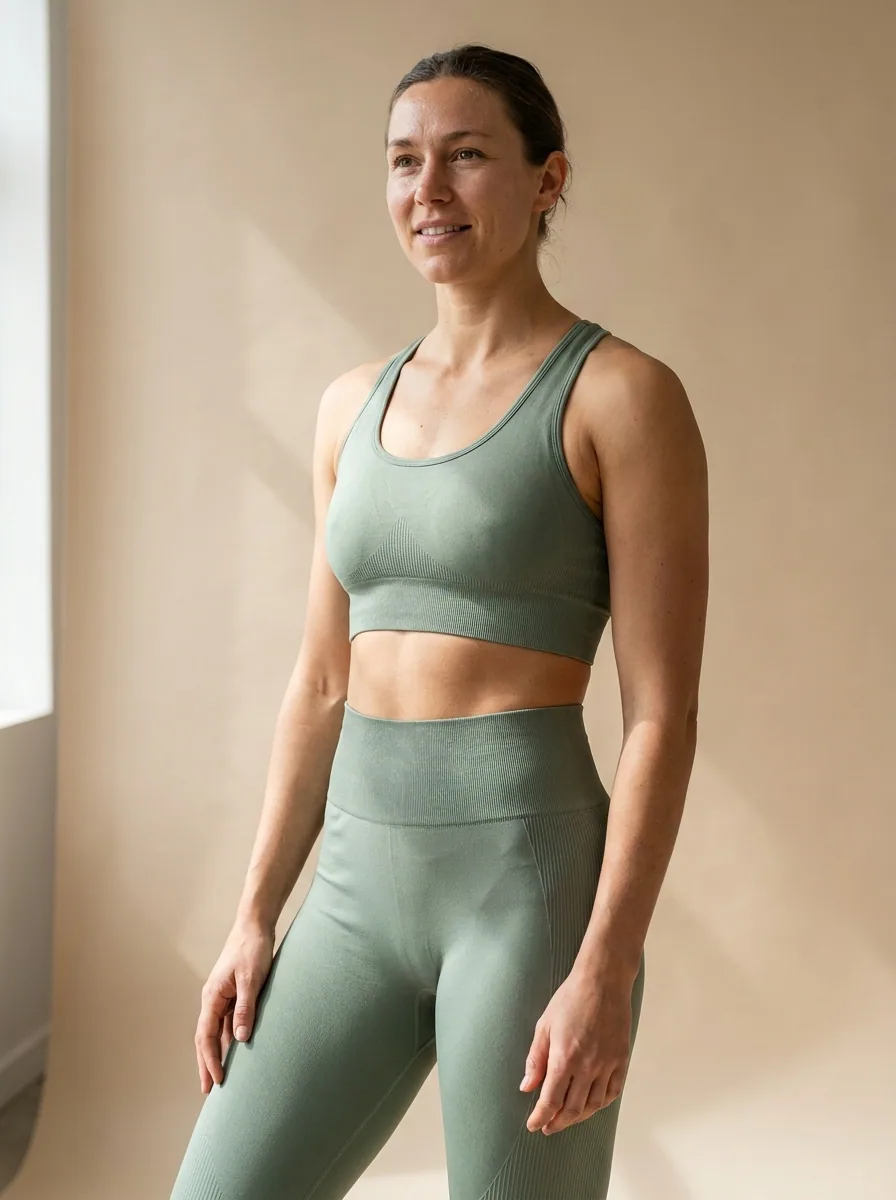
No. The shaped picture is made from the garment on its own. Every person in the pictures here is generated. None of them is a customer or a hired model.
Will the colour still match the real garment?
Yes, because each picture starts from your own photo of your own garment. Shoot near a window so the colour is right in the photo you upload.
Can I use these pictures in my ads?
Yes. The commercial licence starts on the Pro plan.