Fashion brands5 steps
How to get on-model photos without booking a model
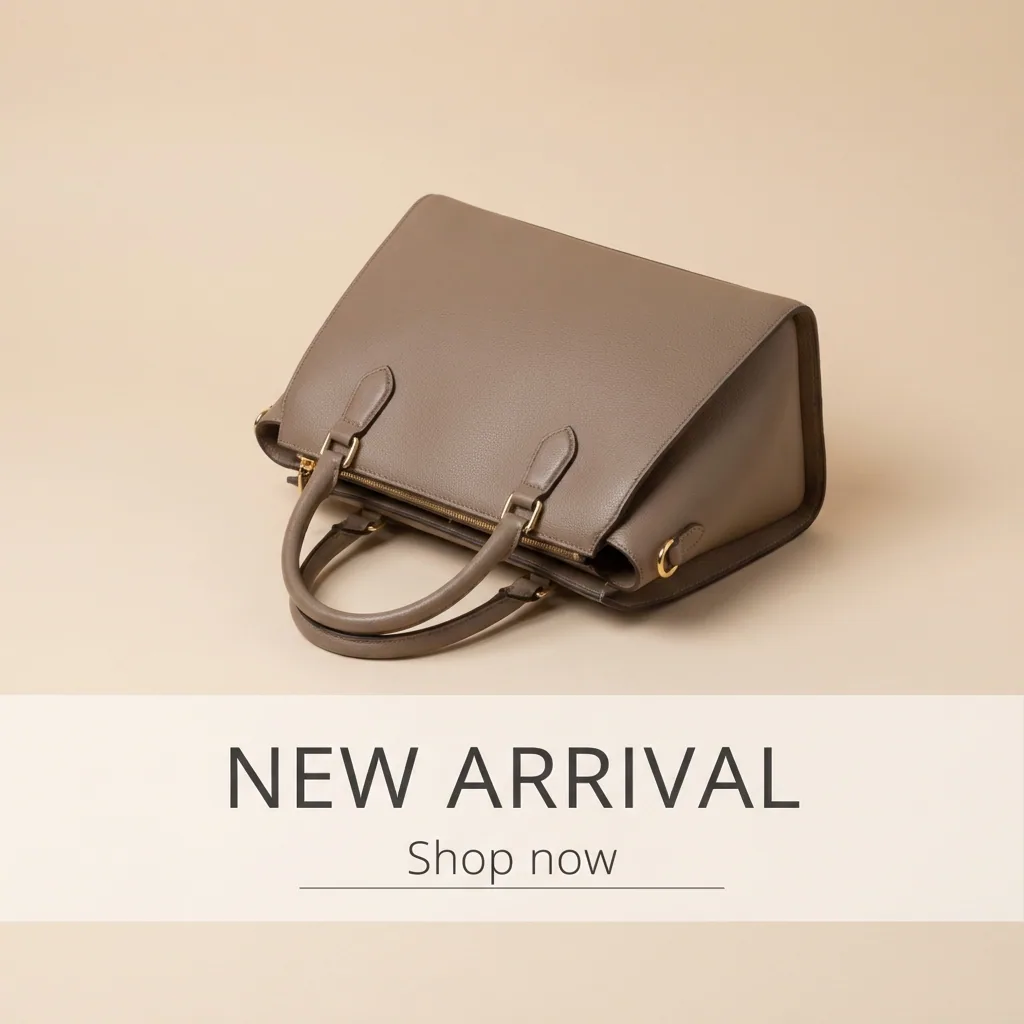
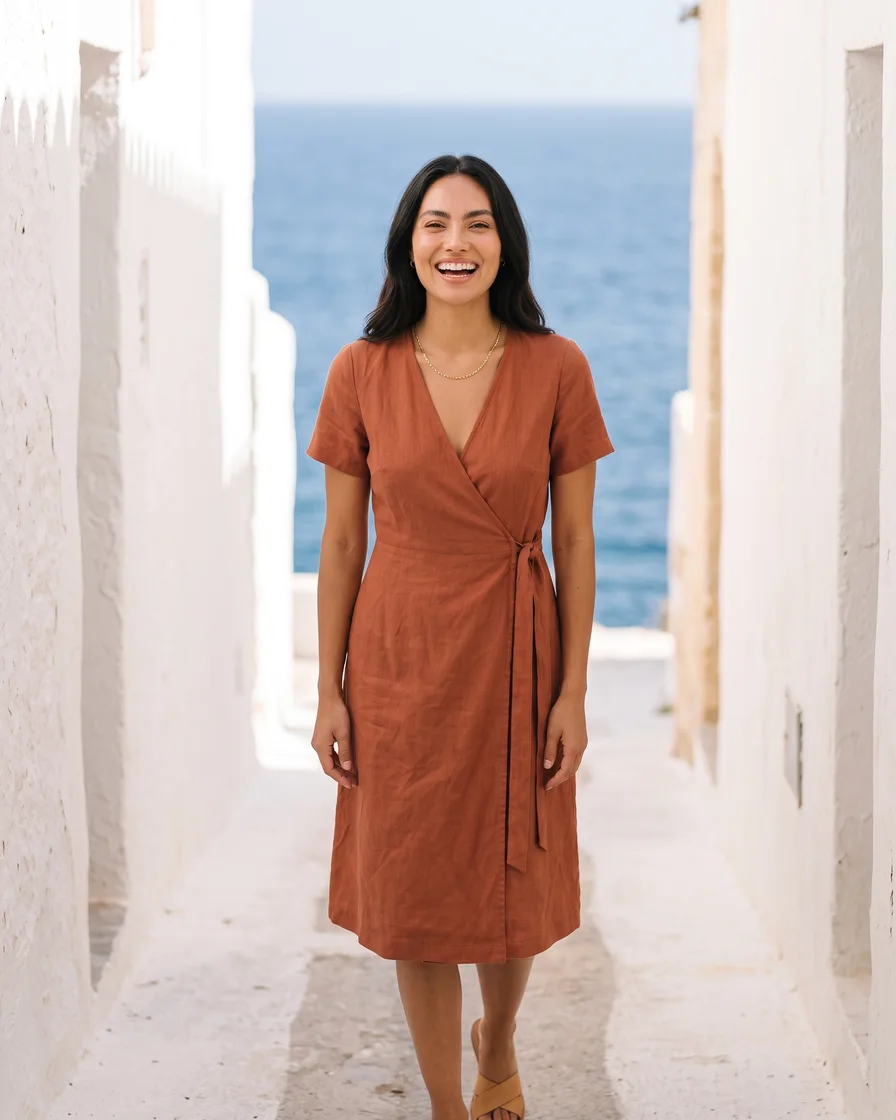
Turn one flat photo of each garment into on-model pictures for your shop, your marketplace listings and Instagram, with the same model across the collection.
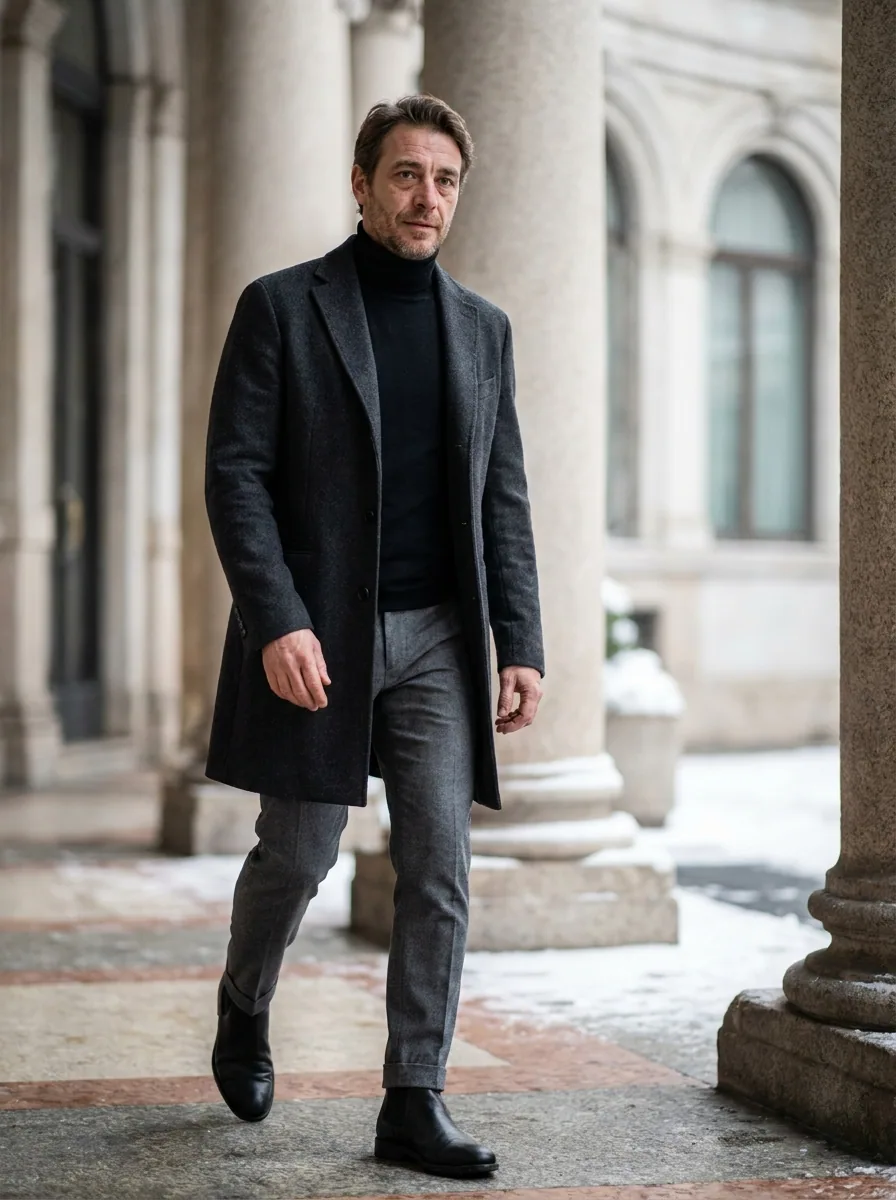
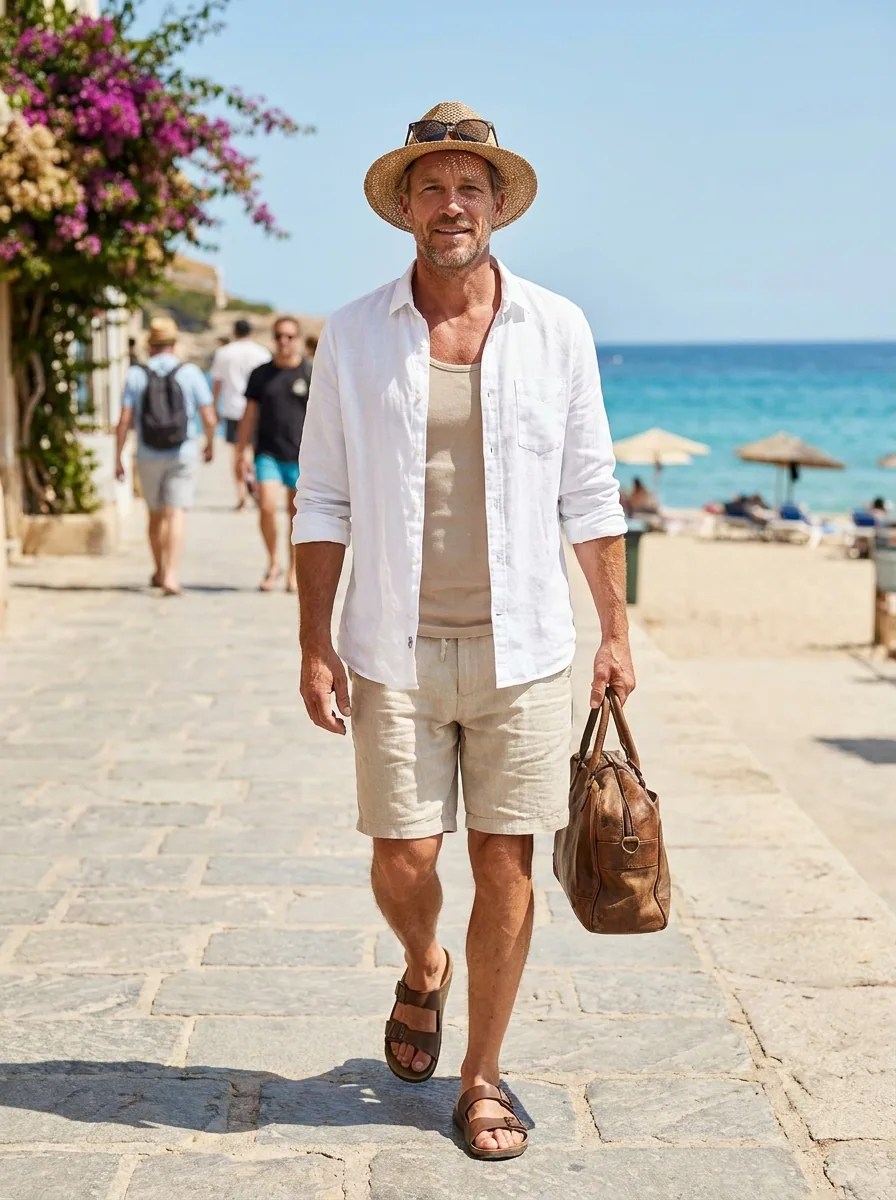
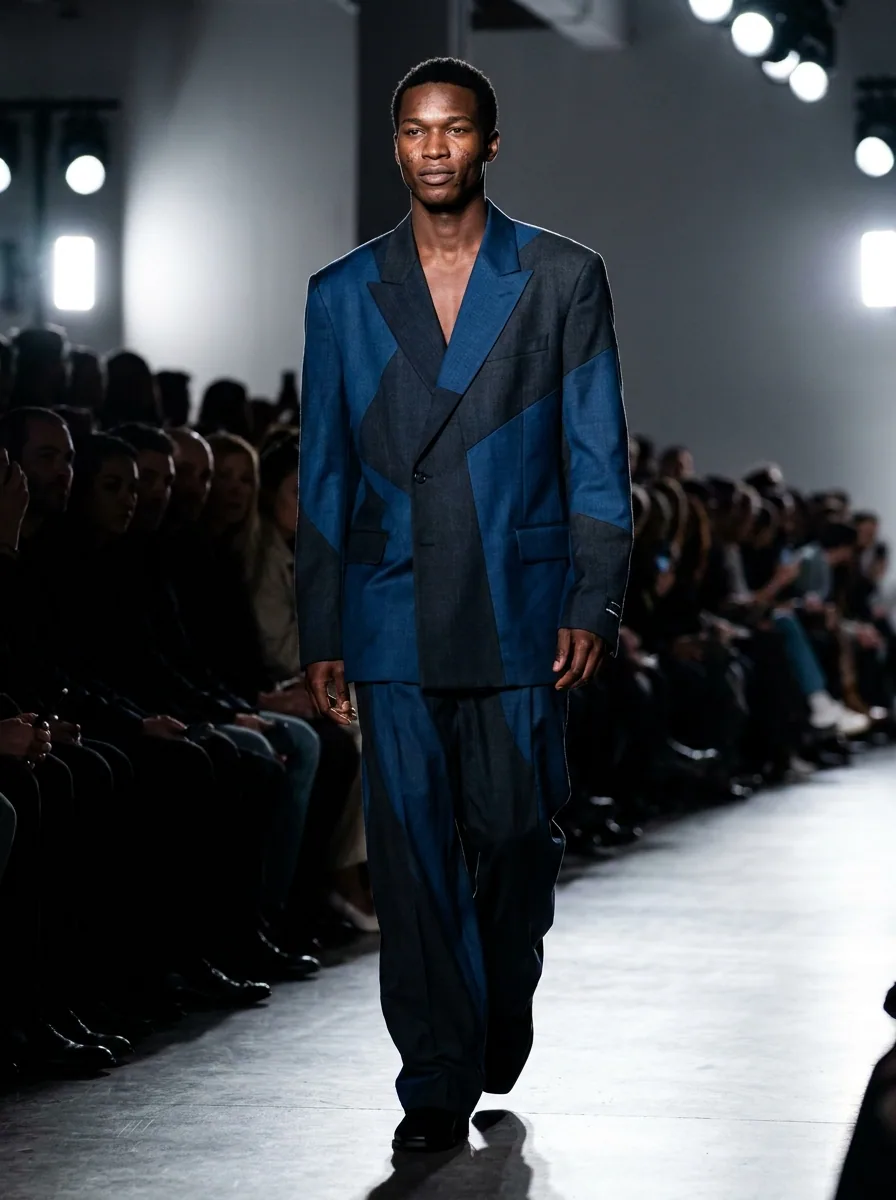
What you get
How it works
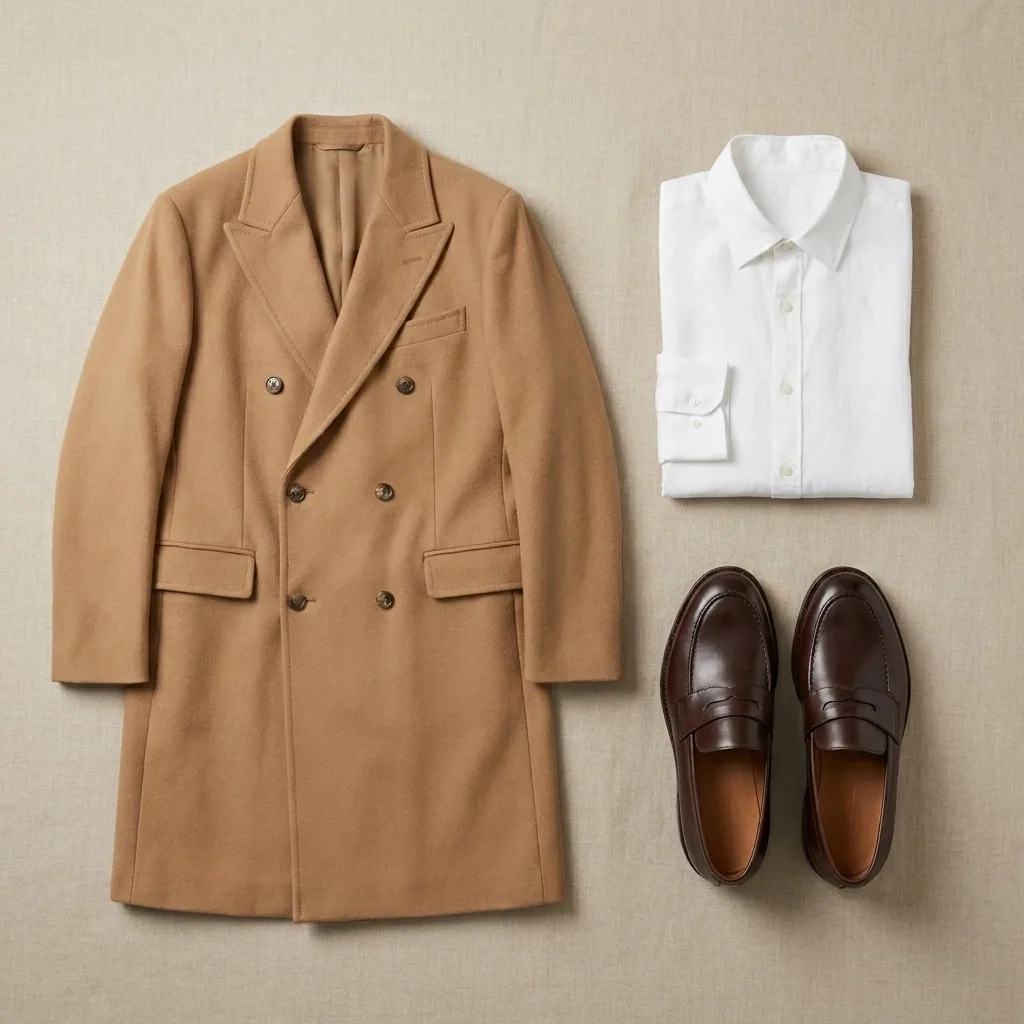
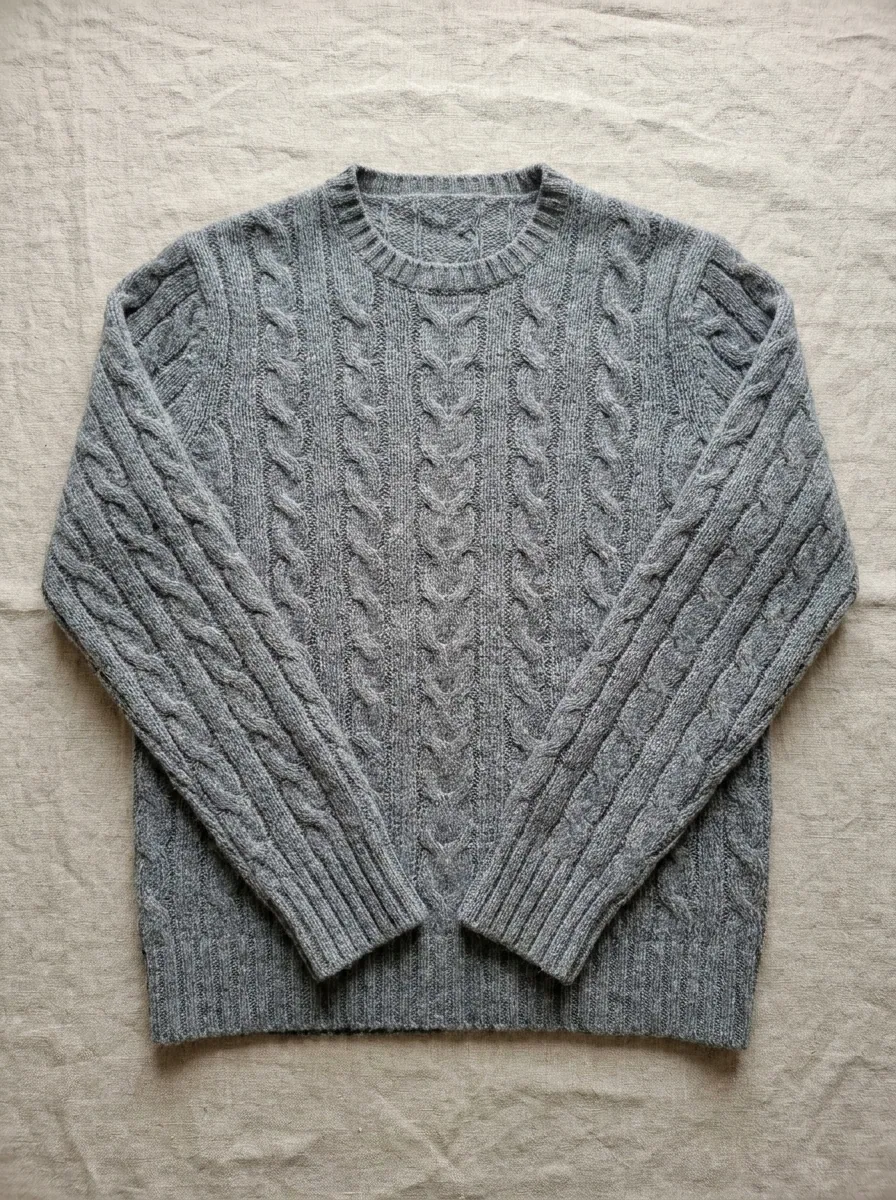
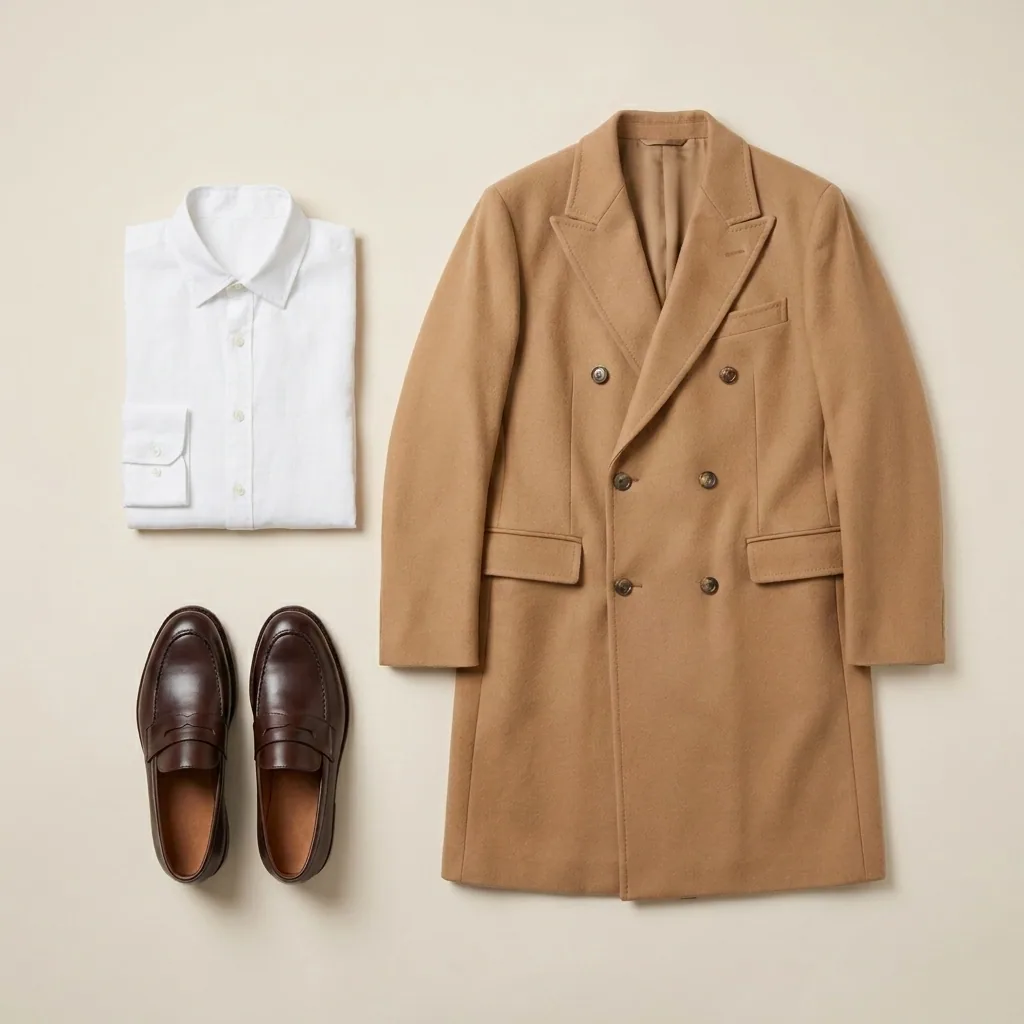
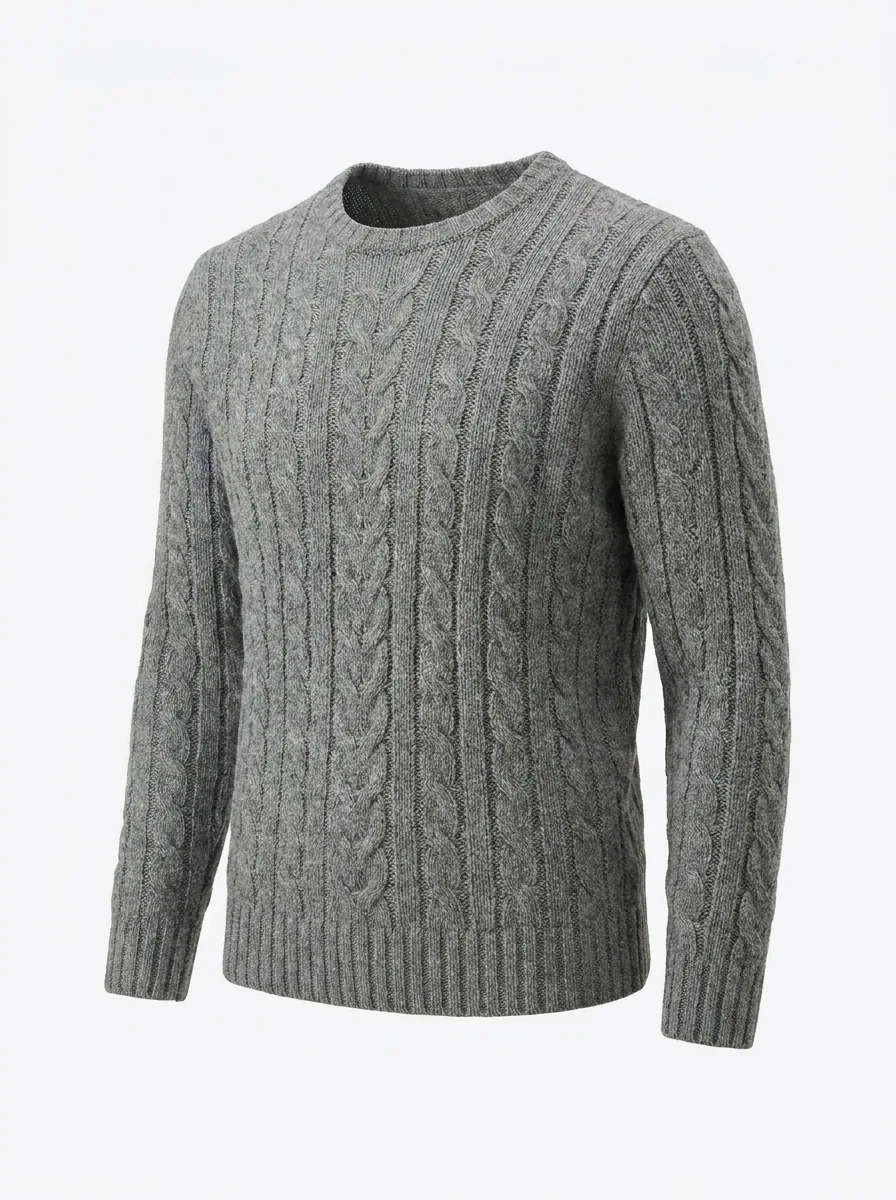
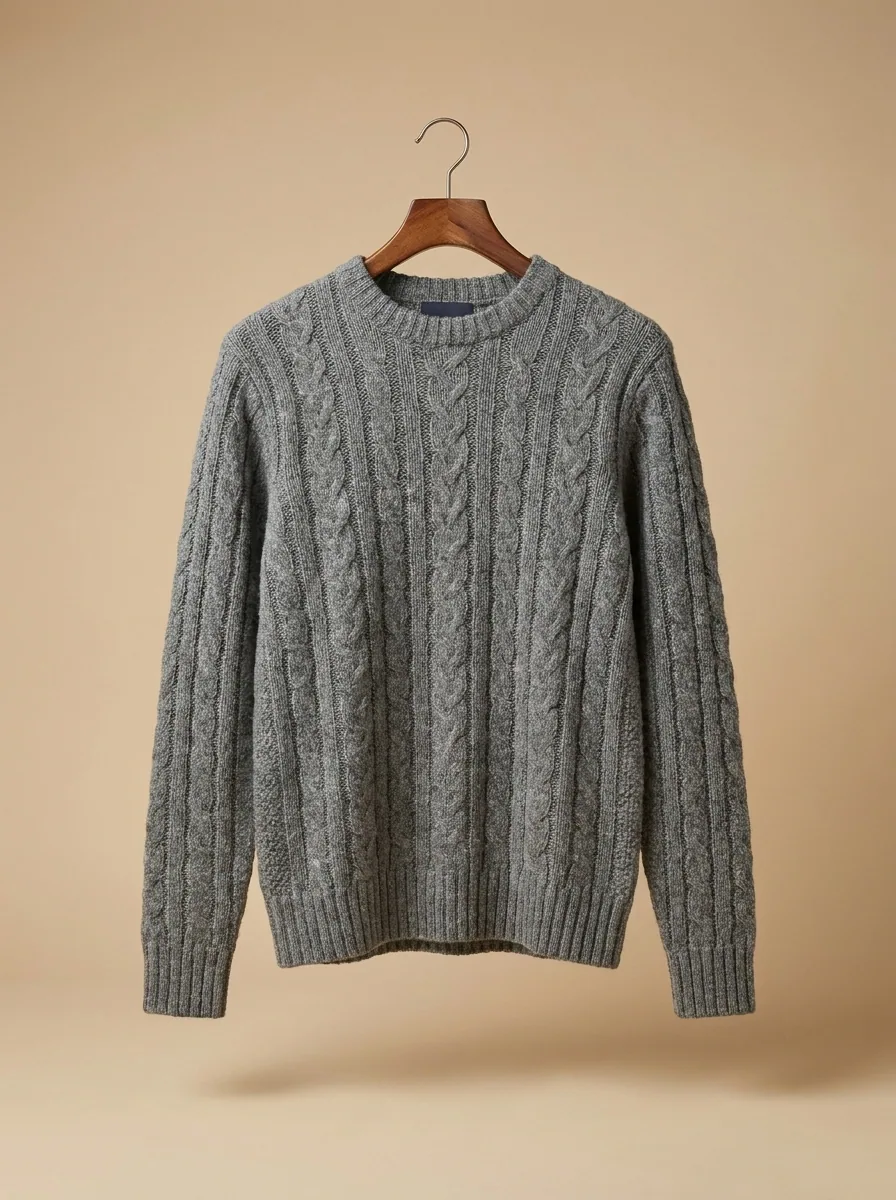
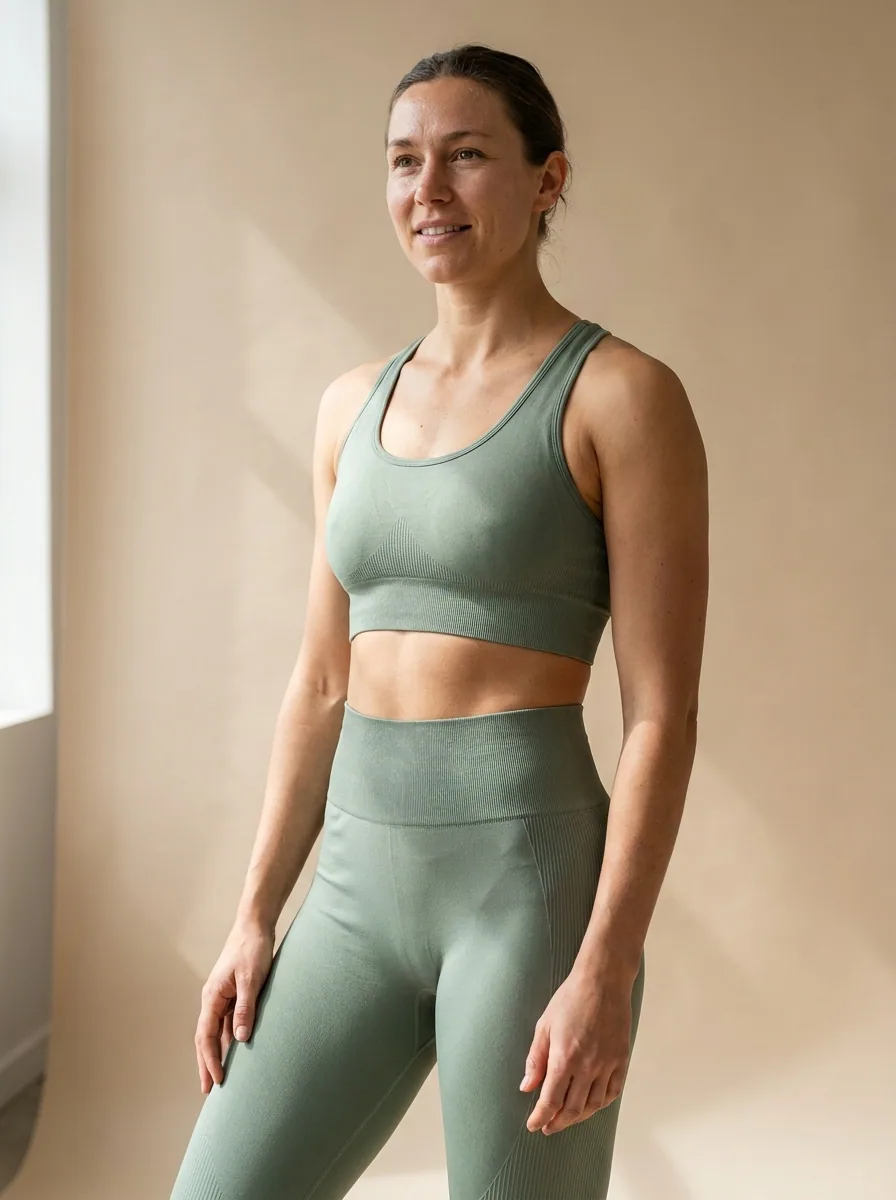
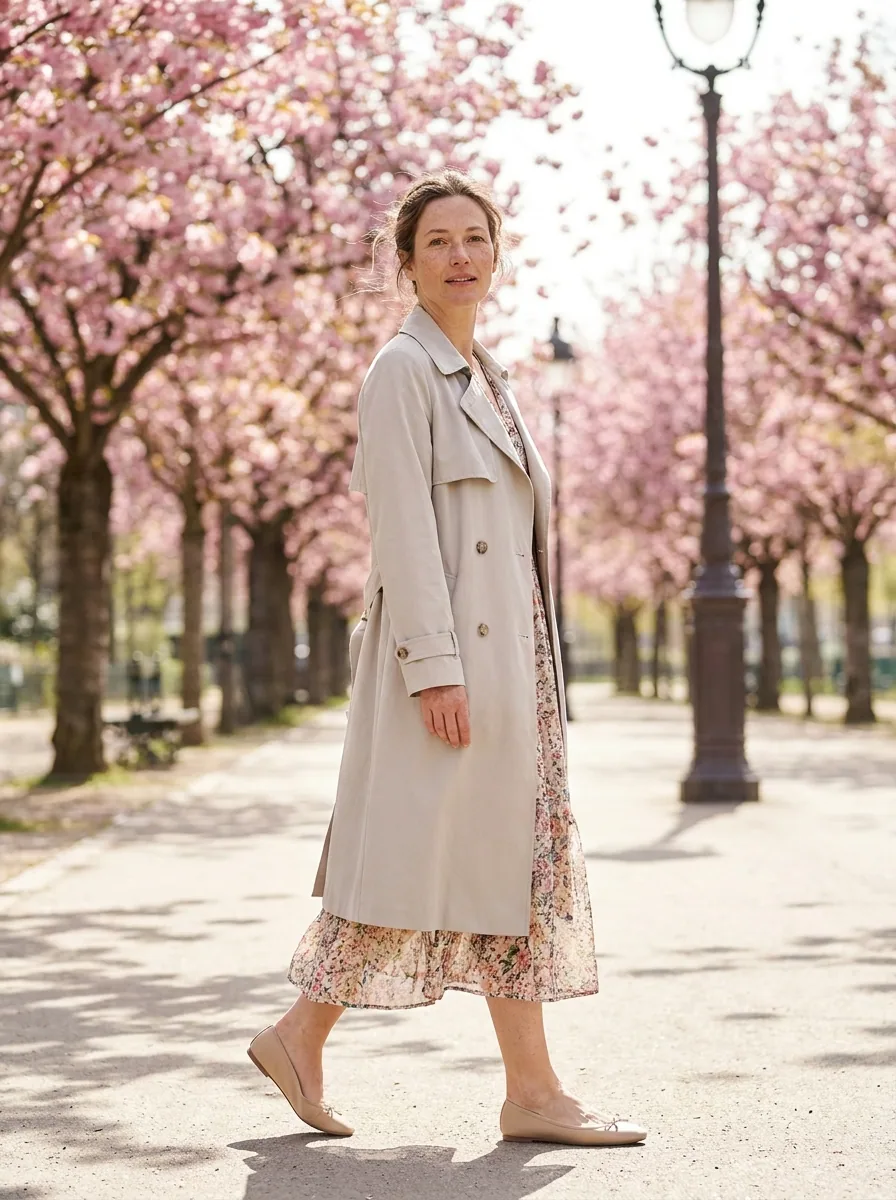
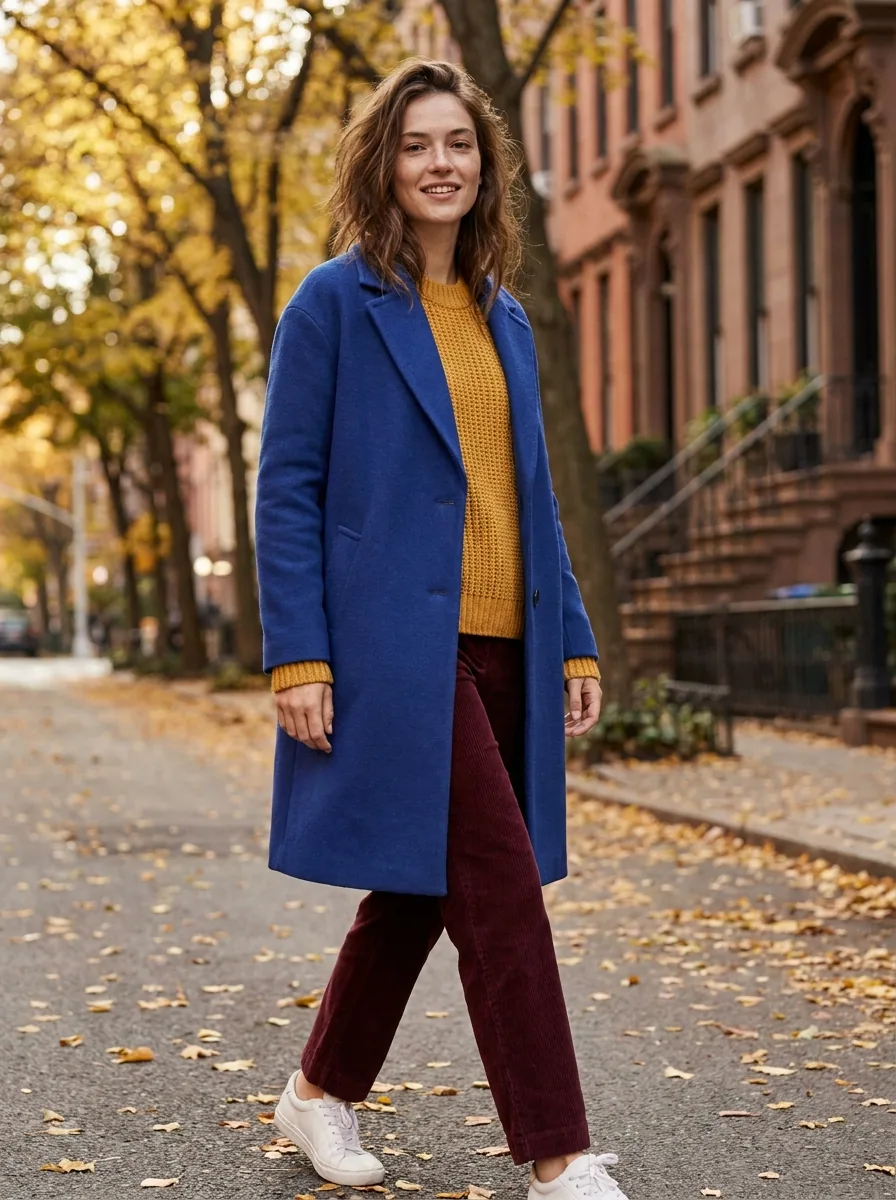
Shoppers buy clothes from a picture of someone wearing them. A flat photo on a white background shows the colour. It does not show the length or the fit. This recipe starts from the flat photos you already have. It gives you the same garments on a model, across the whole collection. The light and the person stay the same on every piece. Every model in these pictures is generated, not a photographed person.
Put one garment on a model
Upload the flat photo of one piece, front and back. You get the same garment worn by a model, with the cut, the colour, the seams and the buttons kept as they are. Start with one piece. Compare it with the garment on your table before you run the rest.
Open Dress my modelKeep one model across the collection
A shop page looks like one collection when one person wears every piece. Make your model once, then use the same face, hair and body on every garment. Save that model. The next drop uses the same person, so a returning customer sees one brand.
Open the Model creator templateMove the same outfit to a street or a location
A product page needs a plain background. An Instagram post works better in a real place. Take the same garment and the same model into a street, a doorway or a location set. You get a second picture of one piece without photographing anything new.
Open the Editorial shoot templateShow one garment on several body shapes
One picture of one body answers one shopper. Run the same garment on several models and body shapes. A customer can then find the fit closest to their own. Add two or three of these under the main picture on the product page.
Open the Try-on templateRun the whole collection at once
Once one garment looks right, load the rest. Batch reads every flat photo as a row and gives you the finished picture beside it. You keep the rows that look right. You rerun the few that do not. There is no need to repeat the steps garment by garment.
See how batch works
Where the pictures go
- Download the set. Upload the main picture to each product page in your shop, the front view first and the back view second.
- Add the same pictures to your marketplace listings, so a shopper sees one brand in both places.
- Keep the street pictures for Instagram. Keep the plain ones for the product page, because each place needs a different picture.
The same shoot for the next drop
Save these steps as a workflow once, with your model, your light and your framing already set. The next drop starts from that workflow. The new season matches the last one, so the brand stays the same. Whoever loads the new garments can run it without asking you.
See how workflows workQuestions
Do I need to book a model or a studio?
No. Each picture starts from a flat photo of a garment you already own. The model, the light and the street are made around that photo.
Will the picture match the garment I ship?
It matches the photo you upload, so shoot the real piece in daylight. Check the colour, the length and the buttons against the garment in your hand before the picture goes on the page.
Can I use these pictures in my shop and in ads?
Yes, on a paid plan. The commercial licence starts on the Pro plan.