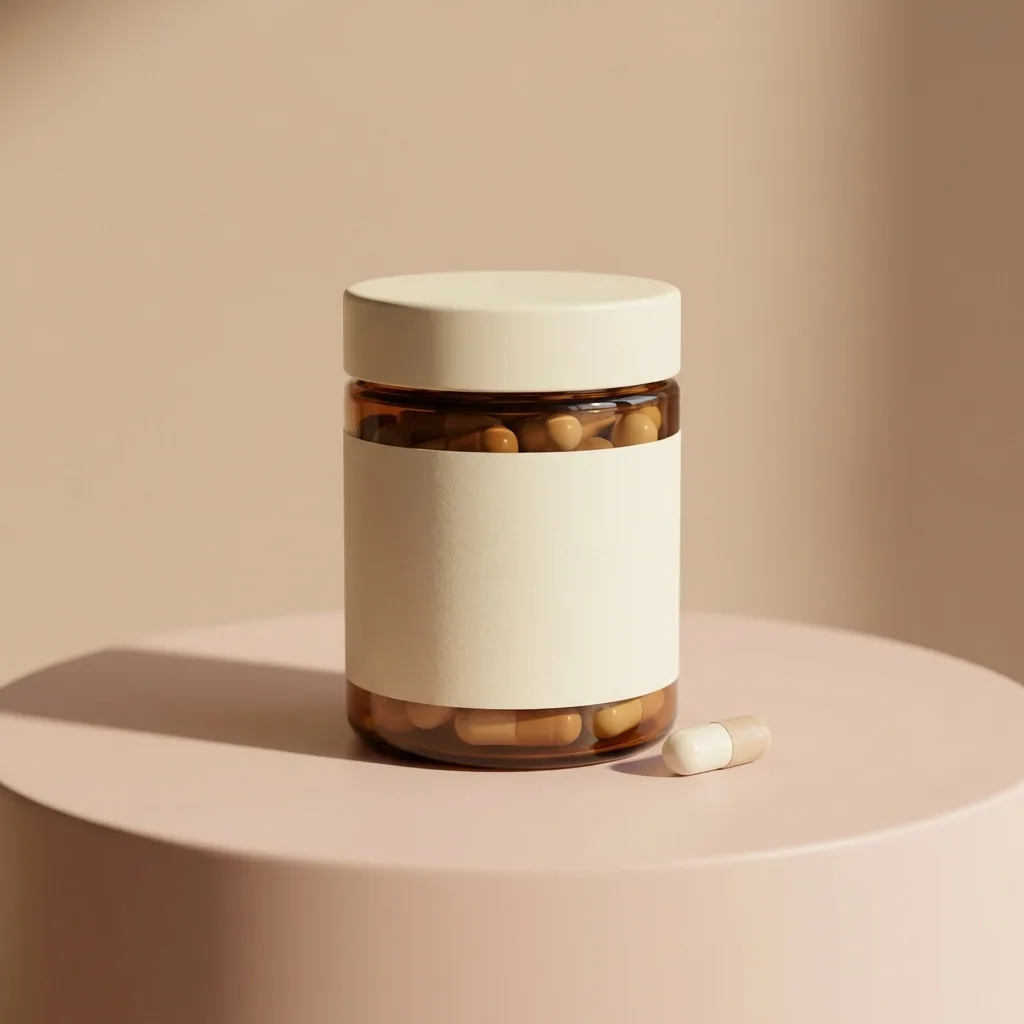
Online shops4 steps
How to make product photos for your own online shop
Turn one phone photo of each product into a main shop image, extra angles and room scenes. Then save every size your Shopify theme and your ads need.
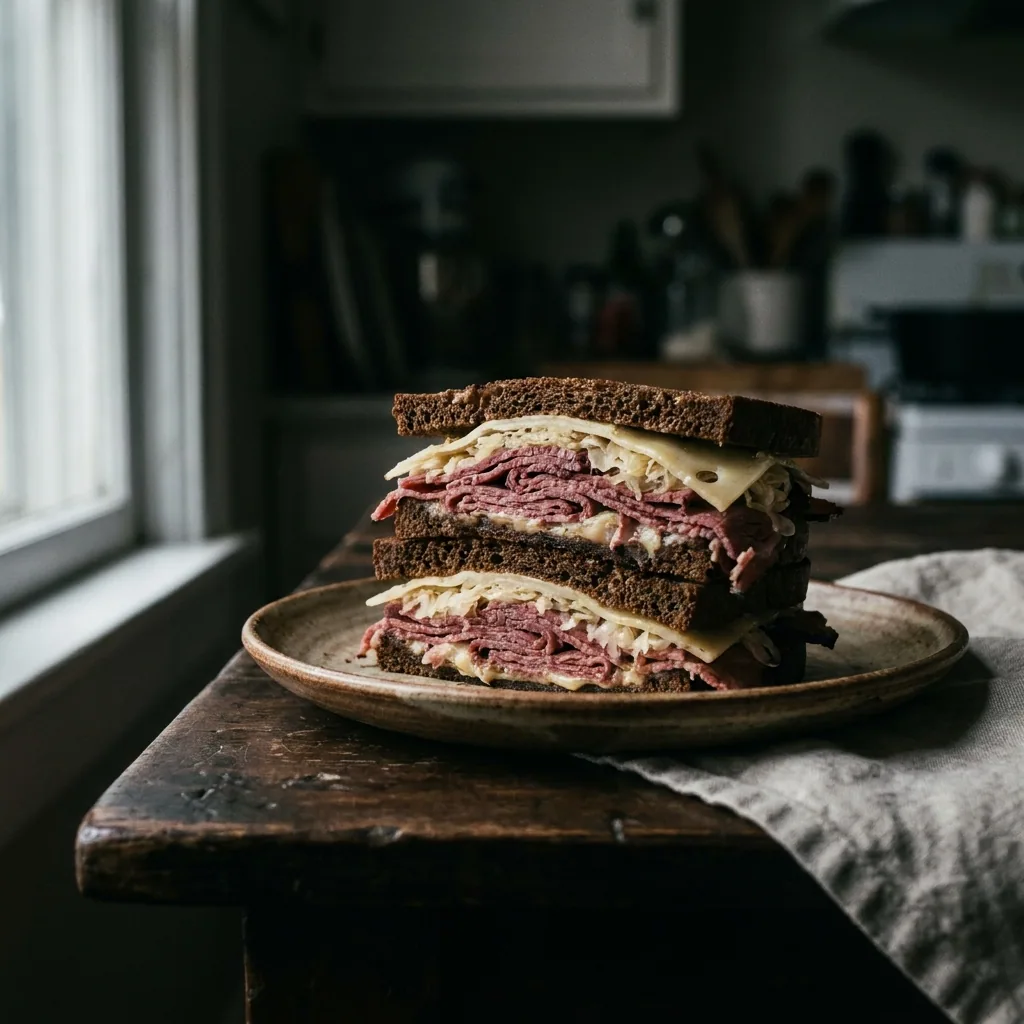

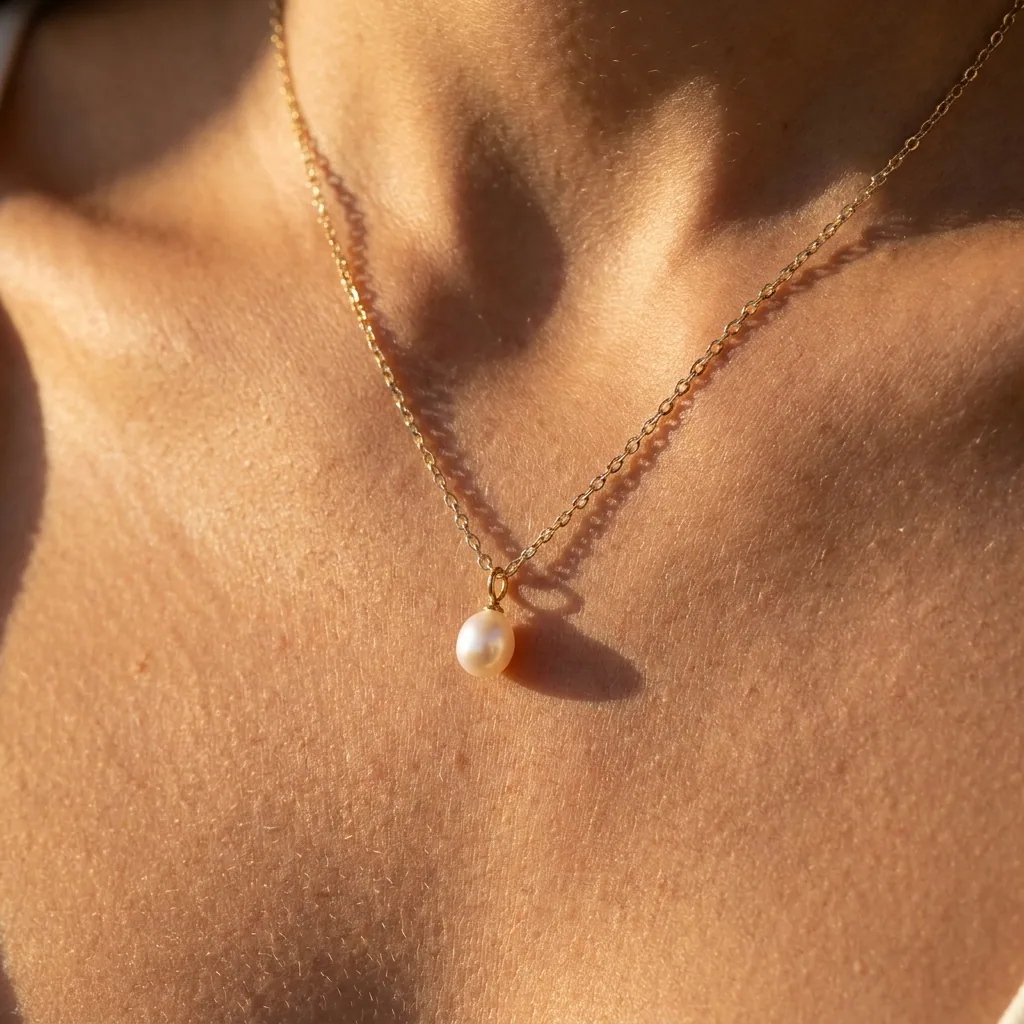
What you get
How it works
A shopper decides from the picture before they read a word. Your first image sits in the product grid, in search and in the cart. A dark phone photo can cost you the sale. This recipe starts from one phone photo of each product. It builds what a shop page needs: a clean main image, extra angles, a room scene and the right sizes. Your product stays your product, because every picture starts from your own photo.
Turn a phone photo into a clean product shot
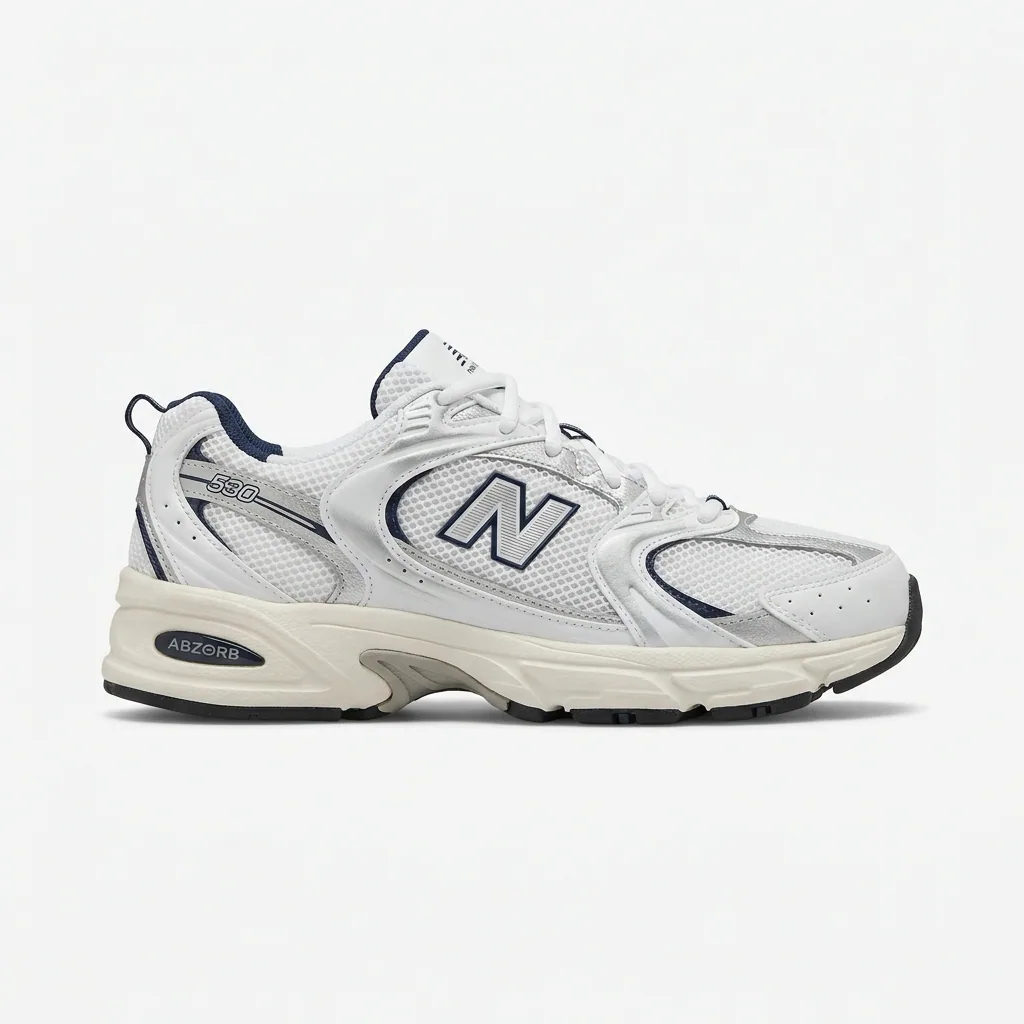
Upload the phone photo of one product. You get a clean shot with the clutter gone, the light even and the product square in the frame. The shape, the colour and the label do not change. The picture matches the item in the box. Do this for every product that has no usable picture yet.
Open Quick product shotMake the main shop image
Run the clean shot through the studio template. You get the image that sits at the top of the product page. Pick the background your shop already uses, white or a soft grey. Then all your products match. Ask for the other angles here as well, the front, the side and the back.
Open the Studio shoot templatePut the product in a room
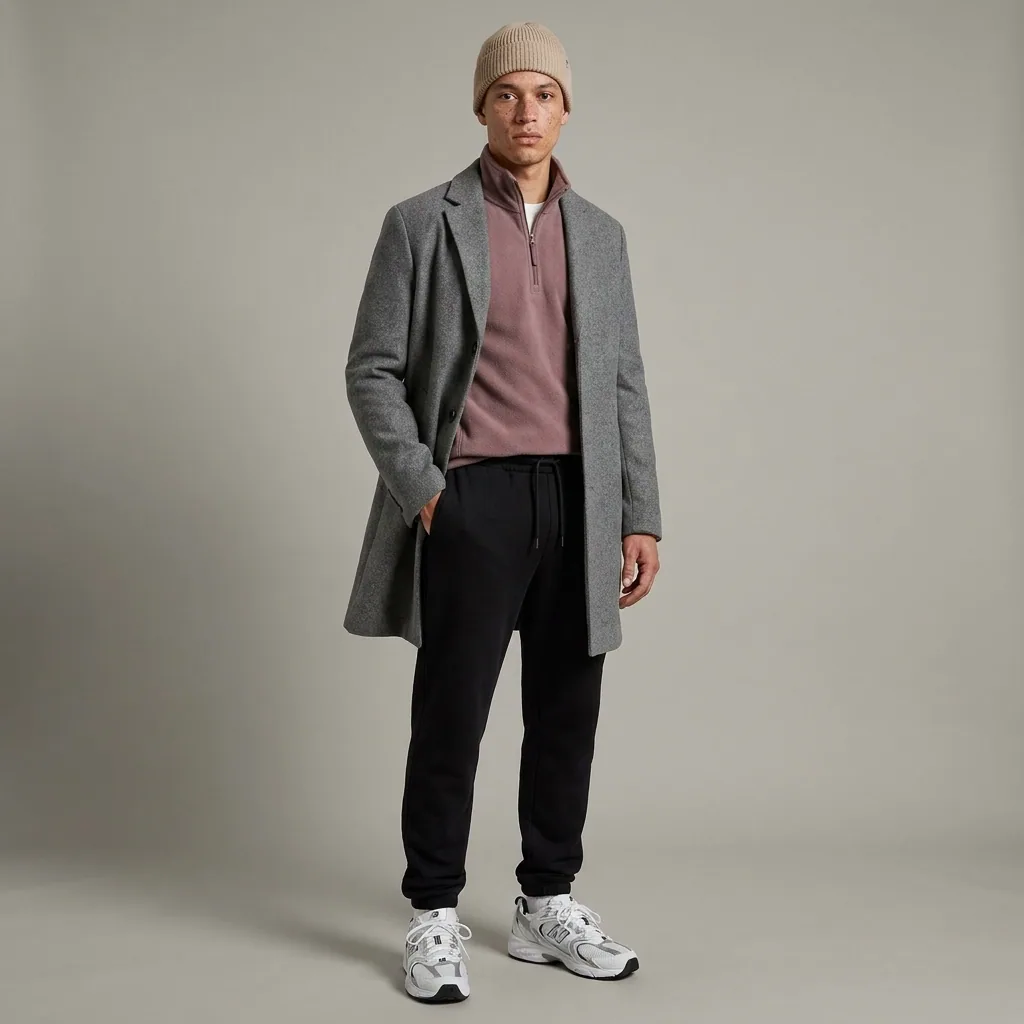
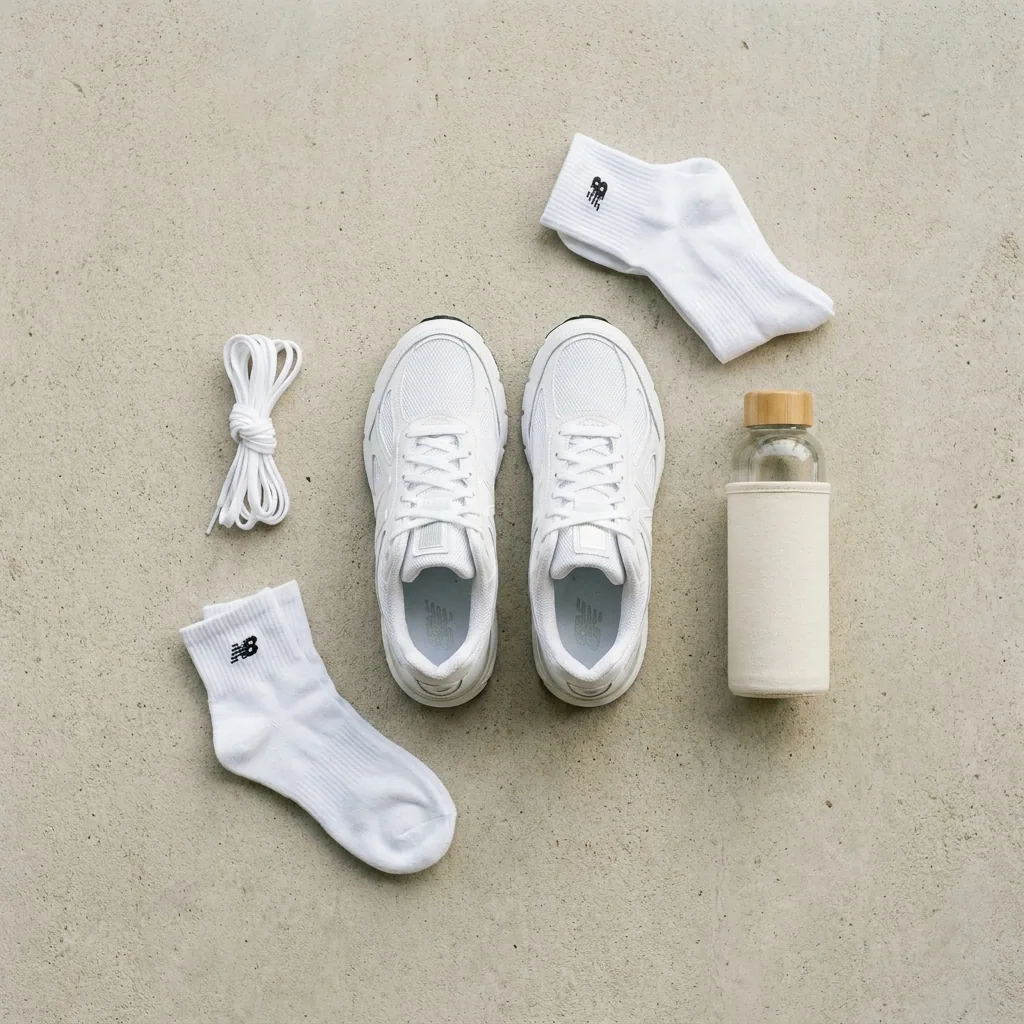
A buyer wants to see the size and the setting before they trust the price. Place the same product on a table, a shelf or a worktop that suits it. Use these pictures further down the product page, under the plain shots, and on your home page.
Open the Scene templateMake the sizes your shop and your ads need
One picture has to work in several places. The product page wants a square, the grid wants a small thumbnail, and an ad wants a tall frame. Give the resizer your finished picture and pick the sizes you need. The product stays in the middle of each crop, so nothing important is lost.
Open Ads resizer
Where the pictures go
- Download the set. Upload the main image and the angles to each product in your Shopify admin, in the media box.
- Add the room scenes to the same product page, below the plain shots. Use one of them on your home page.
- Keep the finished files in one folder per product. Whoever edits the listing next then finds the right size.
The same set for every new product
You add products all year, so this job happens every week. Save the four steps as an app your team opens. Whoever adds the next product types a few details and adds the phone photo. The background, the crop and the sizes stay the ones you approved.
See how apps workQuestions
Do I need a photographer or a light box?
No. Each picture starts from a phone photo taken near a window. The steps change the light, the background and the crop. That is the part a phone gets wrong indoors.
Will the product still look like the one I ship?
Yes, because every picture starts from your own photo of your own product. Check the colour and the label before you upload. Do it the same way you would check a proof from a photographer.
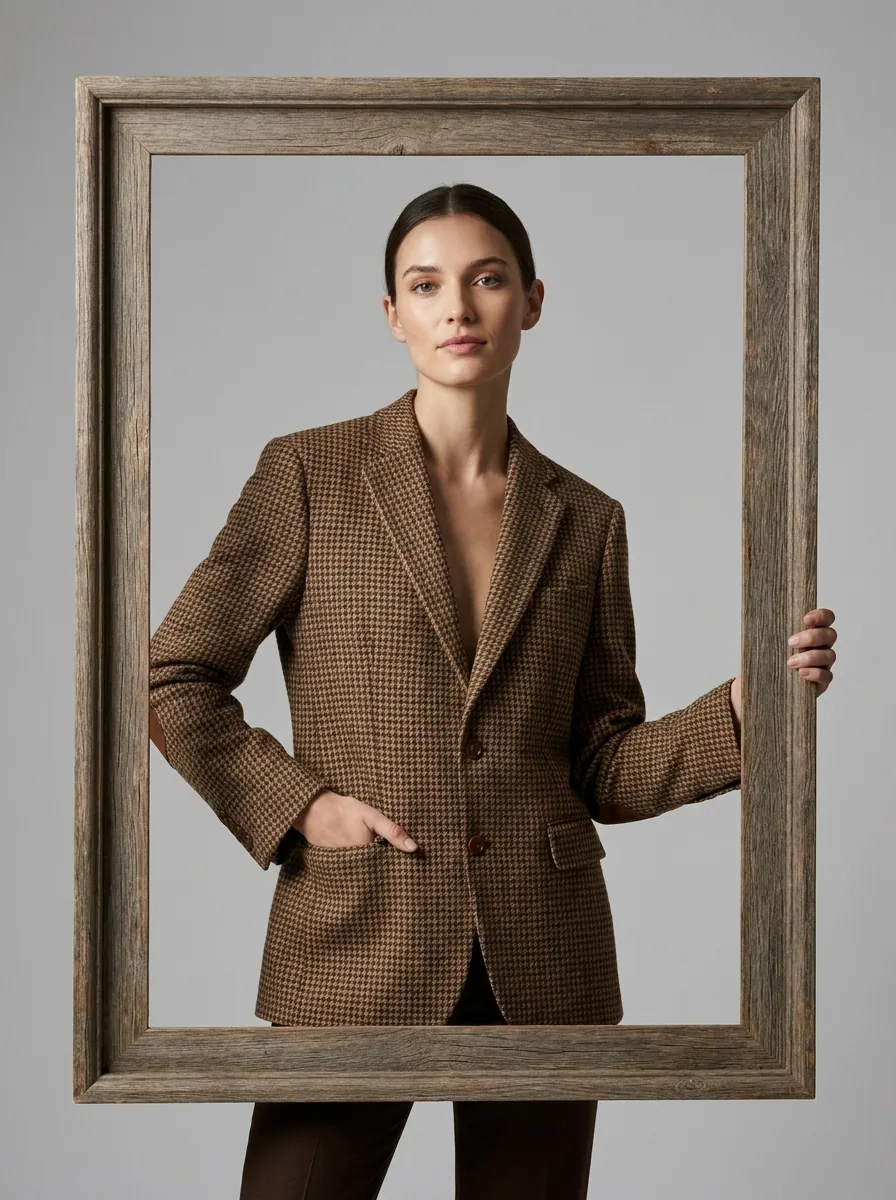
Are the people in these example pictures real?
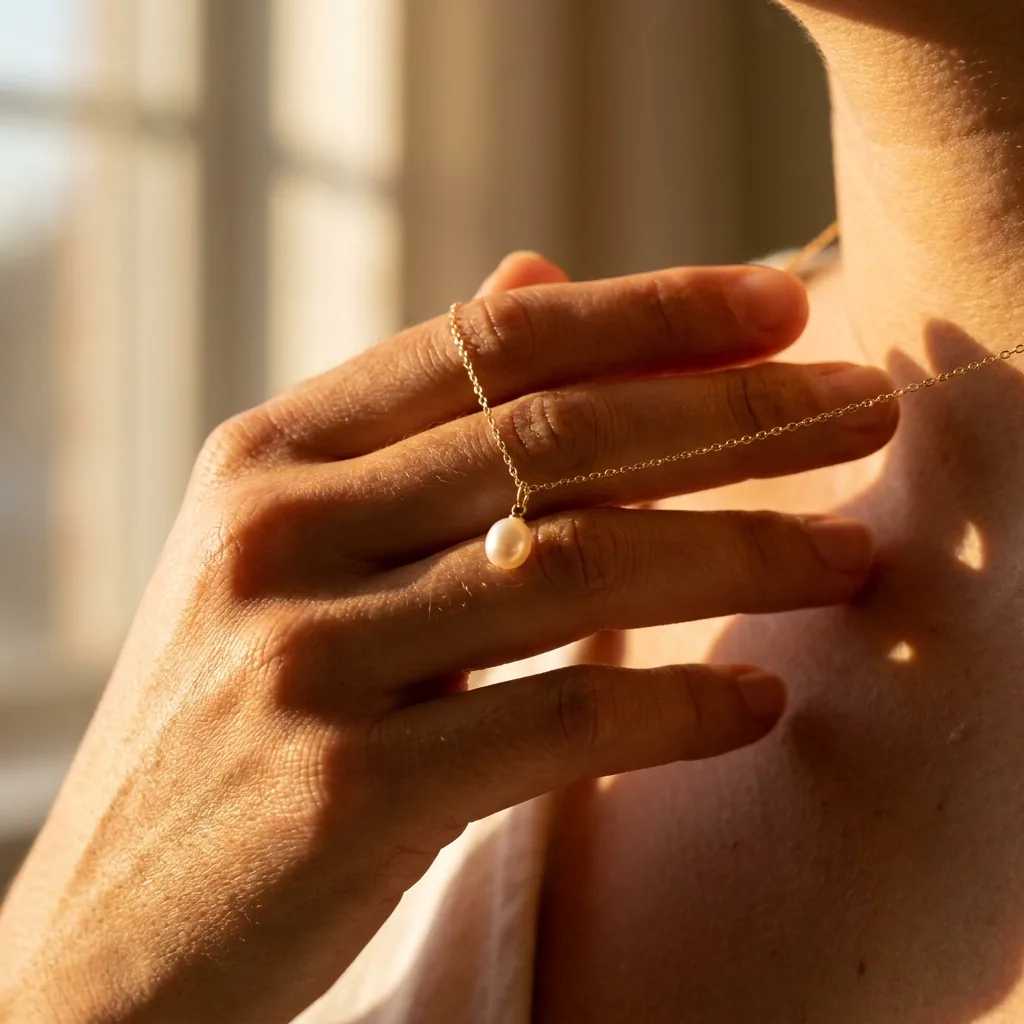
No. Every person in these pictures is generated. Your own pictures start from your own product photo, so what a buyer sees is what you sell.