Online shops5 steps
How to make the image set an Amazon listing needs
Turn one photo of your product into the picture set an Amazon listing needs. You get the main image on plain white, the other angles, the feature shots and the size shot.


What you get

How it works
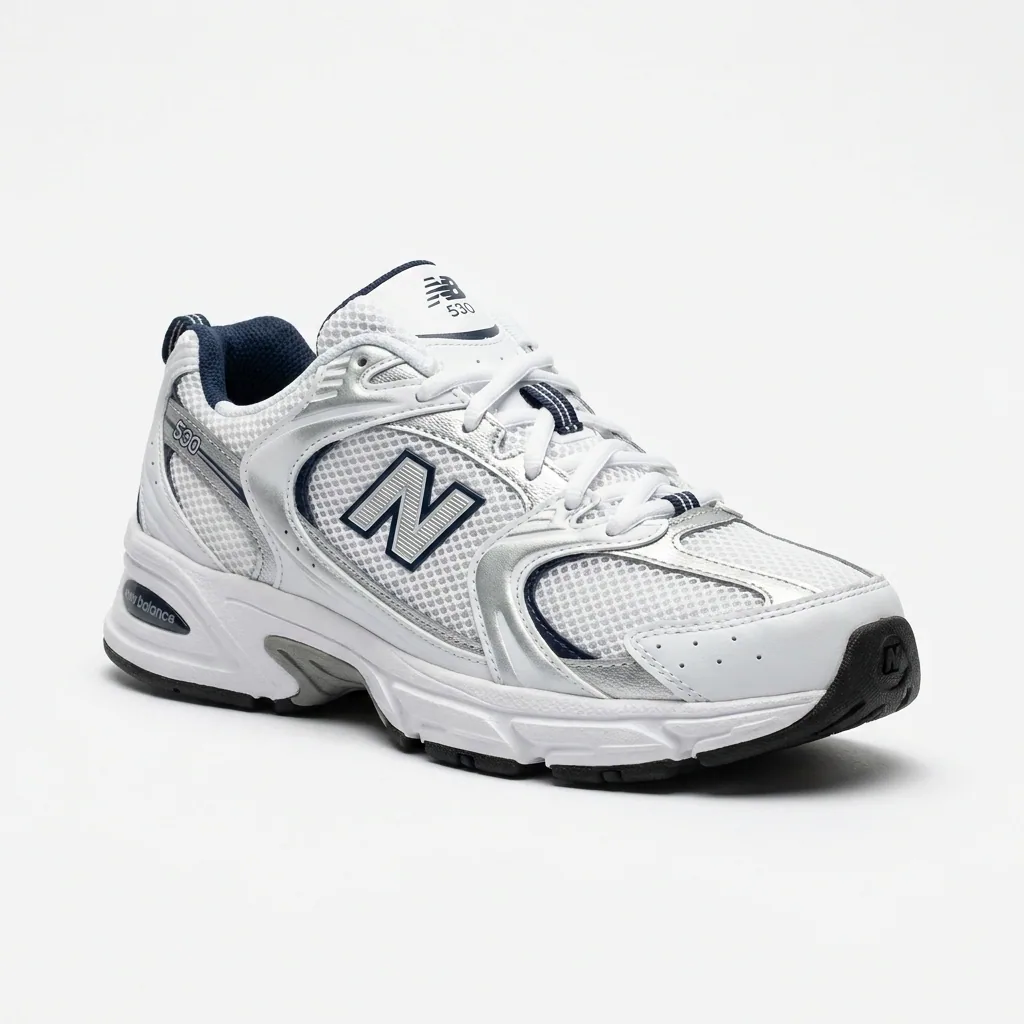
Shoppers on Amazon decide from a strip of small pictures before they read a word. Most sellers have one photo of the product on a kitchen table and nothing else. This recipe starts from that photo and builds the whole set. You get the plain white main image, the other angles, the feature shots and a shot that shows the size. Amazon changes its image rules. Read the current spec in Seller Central before you upload anything. The person wearing the shoes in the example pictures is generated, not a customer.
Start from your own product photo
Upload the photo you took and run the listing set. You get the main image on plain white, plus the other angles a listing needs. The product stays the product you ship. The buyer sees what arrives in the box. Keep the frames you want and drop the rest.
Open Listing image setPut the main image on plain white
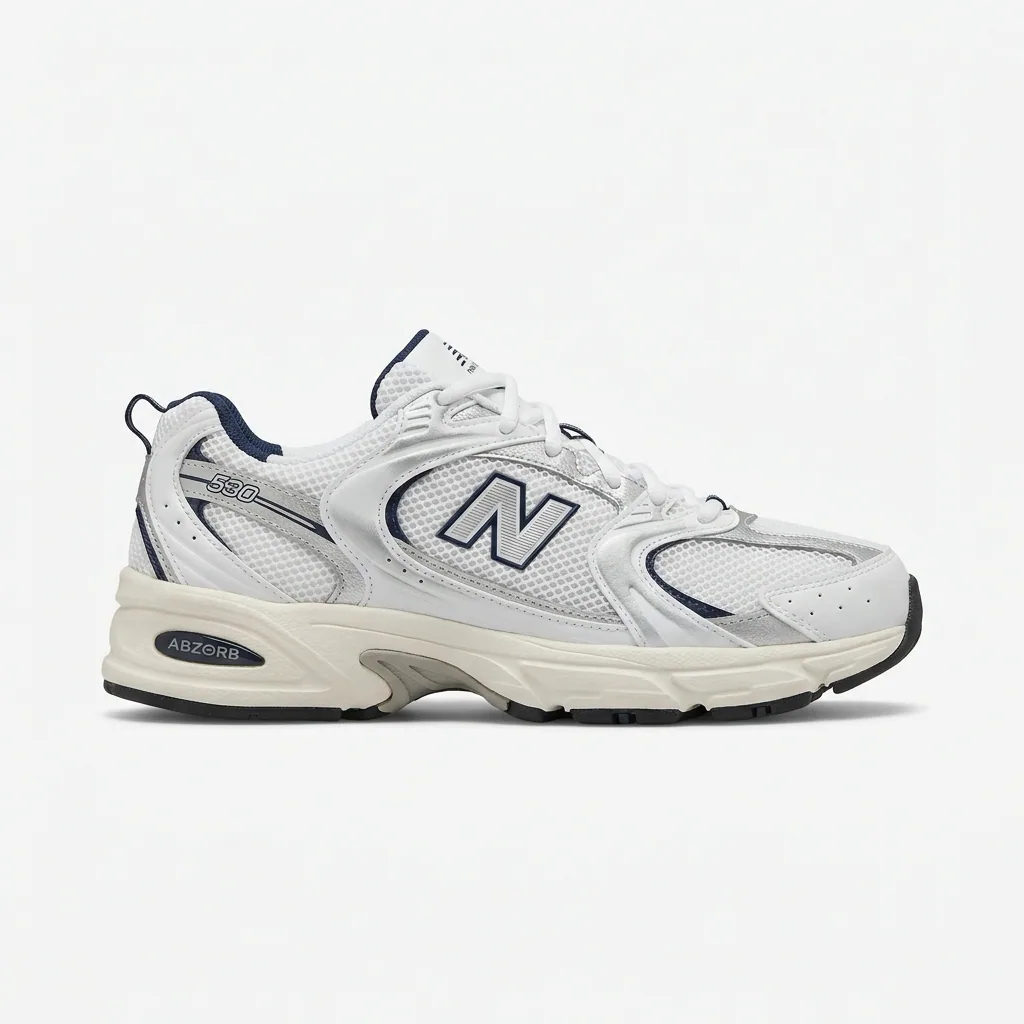
Marketplaces ask for the main image on plain white. Run this template on your strongest frame and you get that picture. Then open Seller Central and read the spec for your category. The pixel size and the other rules are not the same everywhere.
Open the White background templateAdd the feature shots and the size shot
The main image is the one a shopper sees in the search results. The pictures after it answer the questions that stop a buyer: how big is it, what is in the box, what is it made of. Run the marketplace set to get those frames. Where a frame needs words, you type the short label. The template lays it out on the picture.
Open the Marketplace set templateFill the wide blocks further down the page
A+ content is the band of wide pictures under the listing. Run the A+ modules on the same product photo. You get pictures at the shapes those blocks use. They carry your colours and your look. The lower half of the page then matches the pictures at the top.
Open A+ content modulesDo the whole catalogue in one run
One product by hand is manageable. A whole catalogue is the real job. In batch you add one row per product, point each row at its photo, and start the run. Every listing gets the same set in the same look. Your shop then reads as one brand across the search results.
See how batch works
Where the pictures go
- Download the set and sign in to Seller Central. Open Manage Images on the listing and upload the frames there.
- Set the plain white frame as the main image. Put the size shot and the feature shots next in the order.
- Use the same pictures on your own shop and on the other marketplaces you sell on. One product then looks the same everywhere.
The same set for the next product
Save these steps once as a workflow. When a new product arrives, upload its photo. Run the saved workflow instead of starting from blank. The background, the angles and the crop stay the ones you approved.
See how workflows workQuestions
Will these pictures pass the marketplace checks?
Marketplaces ask for a plain white main image. This recipe gives you that. The rest of the spec changes over time. That includes the pixel sizes and what may sit beside the product. Read the current rules in Seller Central before you upload.
Will the picture still show my real product?
Yes, because each run starts from your own photo of the item you ship. Use a photo of the product a buyer receives, not a sample or a drawing.
Can I use these pictures in paid ads?
Yes. The commercial licence starts on the Pro plan.