


Outdoor daylight scenes
Outdoor natural light product photography without a weather delay
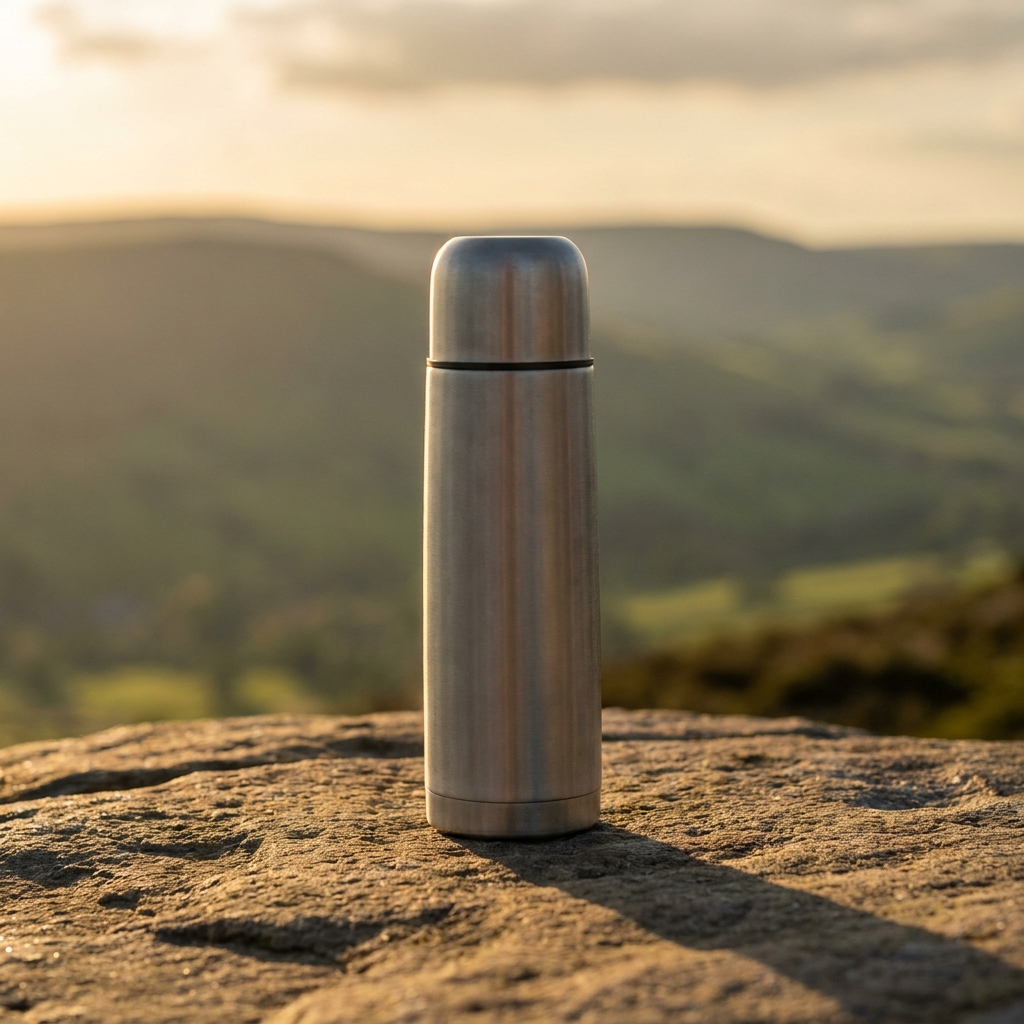
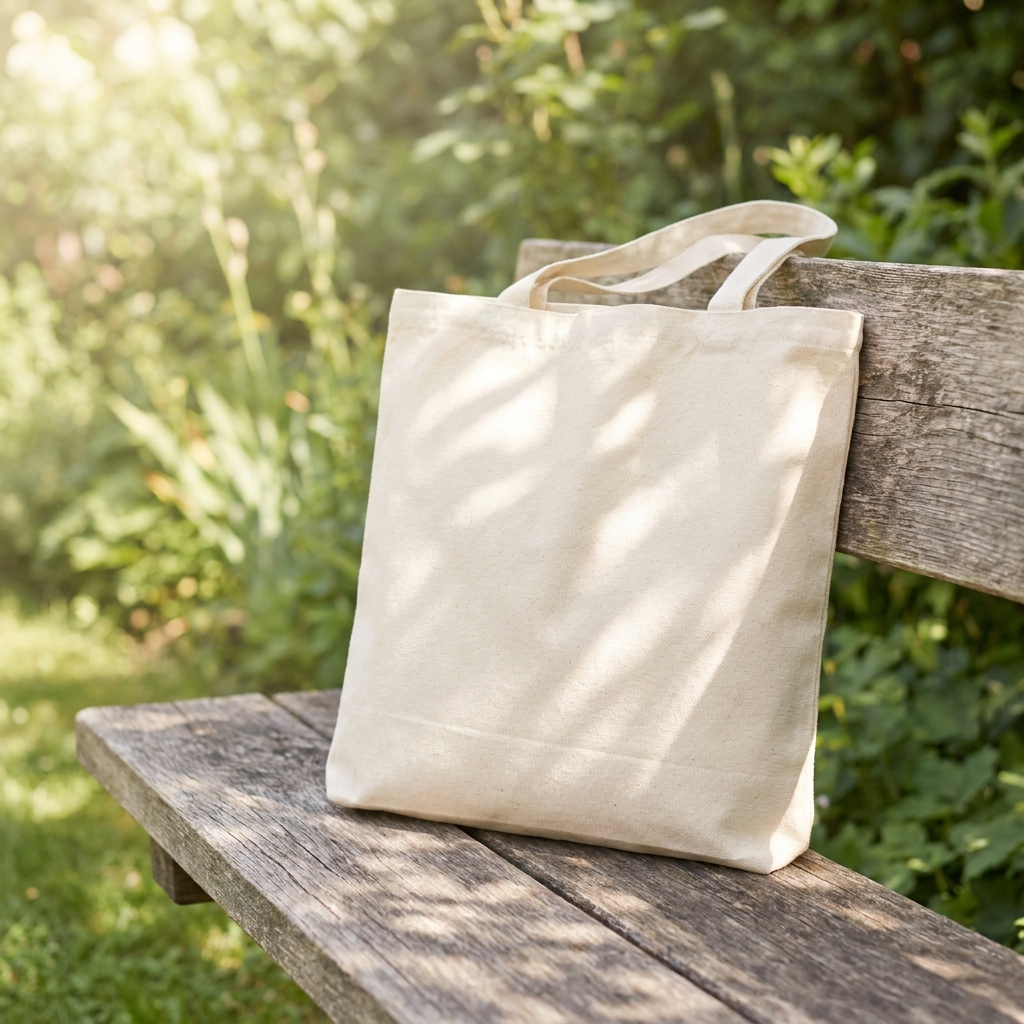
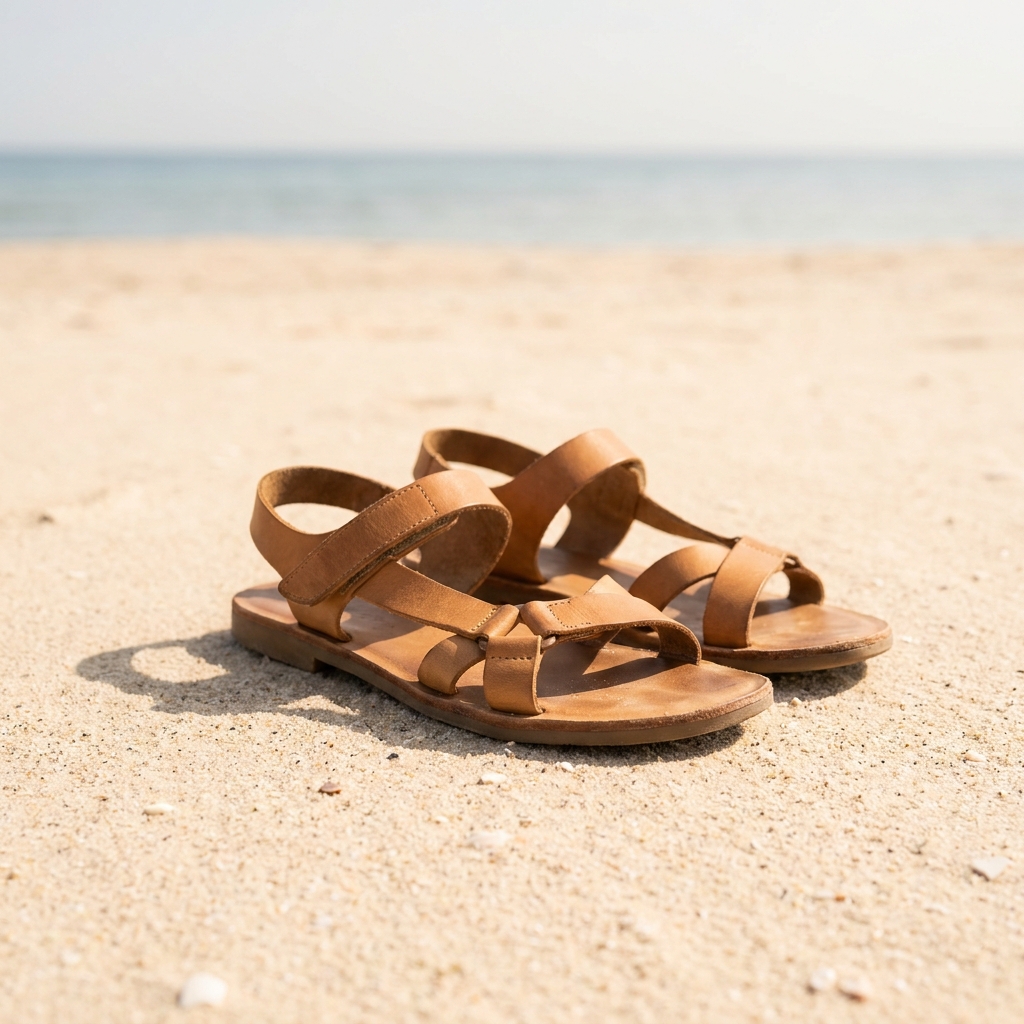
DesignerBox places your product in real daylight, on a rock, a bench or beach sand. You choose the hour, the sun direction and how far the background sits behind. The shadow and the colour follow that choice, on every product in your catalogue. Every picture keeps your brand's look, at any volume.
Who it is for
Does that sound like you?
Scaling without compromising quality.
You need more pictures every week for the shop, the ads and the socials. Anyone can make an AI picture. Making hundreds that still look like your brand is the hard part. A shoot for every product costs weeks, and every new generator returns a different look.
- A template or a workflow you build once, with your brand rules
- One run on one product, or a batch over your whole catalogue
- Every result in Assets, with the same look on the first and the last
Cut the waiting time and budget for deliverables.
You make this for clients, and every client has their own look. A shoot for each one costs weeks and most of the budget. A different generator for each one returns a different look, so somebody fixes it by hand before it is delivered.
- One workspace per client, with that client's brand rules
- A workflow you build once and run for every client
- A batch over a client's whole catalogue, delivered from Assets
Outdoor natural light product photography means a product photographed in real daylight, in a found outdoor place. The surface is a rock, a wooden bench, grass or beach sand. It suits active, travel, outdoor and lifestyle goods, because the buyer sees the item where it is meant to be used. Outdoors you do not control the light. You control three things instead: the hour, the direction you face, and the distance between the product and the scene behind it. Those three set the shadow, the colour and the blur, and nothing else does. That trade has a cost. Real daylight will not give you a plain white first listing image, an exact colour sample, or a clean close view of small jewellery detail. It gives you place, and place is what a lifestyle frame is for.
Four limits of real daylight
Sun angle, shade, background distance and weather each change the frame.
Sun angle sets the shadow
Low sun near sunrise or sunset throws a long shadow. It also measures about 3000K to 4000K, so metal and leather turn warm. Midday sun sits high, so the shadow shrinks to a hard patch under the product and the colour runs near 5500K. Pick the hour first. In the flask frame the shadow points away from the camera, which keeps the label clean.
Direct sun or open shade
Direct sun gives a hard shadow edge and a bright white highlight on gloss. Open shade under a tree or a wall gives a soft edge and even colour. Shade is cooler, often 6500K to 7500K, so white fabric can go blue. Ask for open shade when the product has a printed label. Ask for direct sun when the scene should feel hot and dry.
Distance makes the background blur
A blurred background needs real space behind the product. At f/2.8 with the hills 30 metres away, the green becomes soft shape and colour only. Place the product one metre from a hedge and every leaf stays sharp, so the leaves compete with the product. Say how far the scene sits behind. That single number changes the frame more than the aperture does.
Weather and wind waste days
Cloud can arrive between two frames, so a set shot over one afternoon rarely matches. Wind moves fabric and knocks small products flat. It also drops leaves into the frame. A photographer books a real outdoor shoot around the forecast. Generated frames carry none of that. You set the hour and the sky once, then run the same setup for every product in the catalogue.
Steps to a daylight set
Hour first, then surface, then distance, then the shadow check.
Order of work
The hour comes first because it decides two things at once. Shadow length and colour temperature both follow the sun angle, so changing the hour later changes everything else. The surface comes second, since a rock takes hard light well while a painted bench shows every bright spot. Background distance comes third, because it only matters once the light is settled. The shadow check comes last. Outdoors the shadow is the part a viewer reads first. A shadow that points the wrong way makes the whole frame look false, even when the product is perfect.
Files from a daylight set
What a finished outdoor set has to prove before you publish it.
One hero frame in low sun
The main frame has to prove the light is real. One sun direction, one shadow for each object, and a shadow edge that is sharper near the product than far from it. If two shadows point different ways, a buyer will not name the fault. The picture will still look false.
Vertical crop with the sky kept
The 9:16 version has to hold the horizon and some sky. Cutting a wide hill scene down to vertical usually removes the depth that made it outdoor. Rebuild the frame at 9:16 instead of cropping it, so the background still stays soft behind the product.
A colour-checked white balance
Open shade runs cool, near 7000K, so a white or ecru product can print blue. The delivered frame has to hold the true colour of the product while the scene stays cool around it. Compare the product against your own reference photo before the frame goes on a listing.
A background checked at full size
Zoom into the scene before you publish. A found place is full of small detail: leaves, gravel, a far window, a fence line. Generated frames get some of that detail wrong, and a bent post or a smeared sign is easy to miss at thumbnail size. A plain white surface gives you nothing to check. An outdoor scene gives you plenty.
Questions about outdoor daylight frames
Sun angle, shade colour, weather and cost, answered for outdoor frames.
What time of day is best for outdoor product photos?
How do I get a blurred background outdoors?
Can I shoot outdoor product photos on a cloudy day?
Why does my white product look blue in the shade?
How much does an outdoor product photo set cost?
My product is small. Will it get lost in an outdoor scene?
Other product photo backgrounds
These are the other backgrounds in the catalogue. Open any page to compare them before you choose.
Podium and plinth
Raises small products on plaster or stone, and leaves clean space for a headline.
Botanical background
Fresh or dried foliage around skincare, soap, candles and other natural products.
Christmas holiday set
For gift products that need to look seasonal in November and December.
Pure white sweep
The plain white main image, for listings, grids and price banners.
Gradient background
Smooth tone shift for tech, cosmetics and products with a simple shape.
Pastel paper
Soft colour paper for beauty, wellness and pale packaging that needs a calm frame.
Black background
For fragrance, watches, spirits and premium packaging that read by their edges.
Marble backgrounds
For beauty, jewellery and fragrance shots that need a premium stone surface.
Concrete background
Hard daylight and one crisp shadow, for streetwear, tech and modern skincare.
Wood background
Warm oak, walnut and ash for food, coffee, candles, soap and handmade goods.
Linen and cotton cloth
Soft, tactile cloth for skincare, candles, soap and folded clothing.
The full background catalogue
The hub lists all twelve backgrounds side by side, so you can compare outdoor daylight with studio white, concrete, marble and the rest.
Everything you need, in one place
The full workflow from the first product photo to the finished ad, in one subscription.
Scale content without limits.
Generate content for your products or services with AI, starting today, and keep your brand on every piece.
Get started free