


Plaster and stone plinths
Podium product photography from a single photo
Upload one photo of your product. DesignerBox builds the plinth around it, sets the height against the product, and keeps the contact shadow on the plinth top. You get a hero frame with clean space for a headline, plus square and 4:5 crops for ads. Every picture keeps your brand's look, at any volume.
Who it is for
Does that sound like you?
Scaling without compromising quality.
You need more pictures every week for the shop, the ads and the socials. Anyone can make an AI picture. Making hundreds that still look like your brand is the hard part. A shoot for every product costs weeks, and every new generator returns a different look.
- A template or a workflow you build once, with your brand rules
- One run on one product, or a batch over your whole catalogue
- Every result in Assets, with the same look on the first and the last
Cut the waiting time and budget for deliverables.
You make this for clients, and every client has their own look. A shoot for each one costs weeks and most of the budget. A different generator for each one returns a different look, so somebody fixes it by hand before it is delivered.
- One workspace per client, with that client's brand rules
- A workflow you build once and run for every client
- A batch over a client's whole catalogue, delivered from Assets
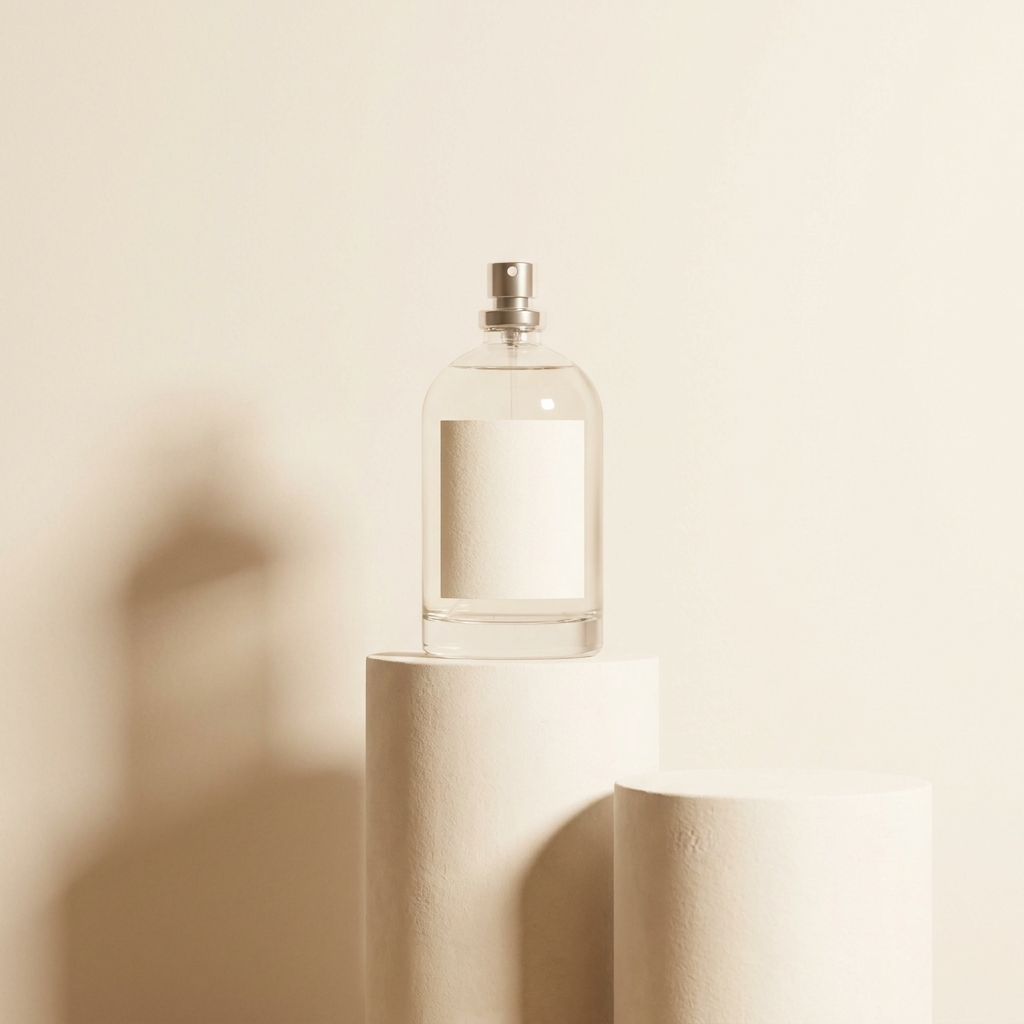
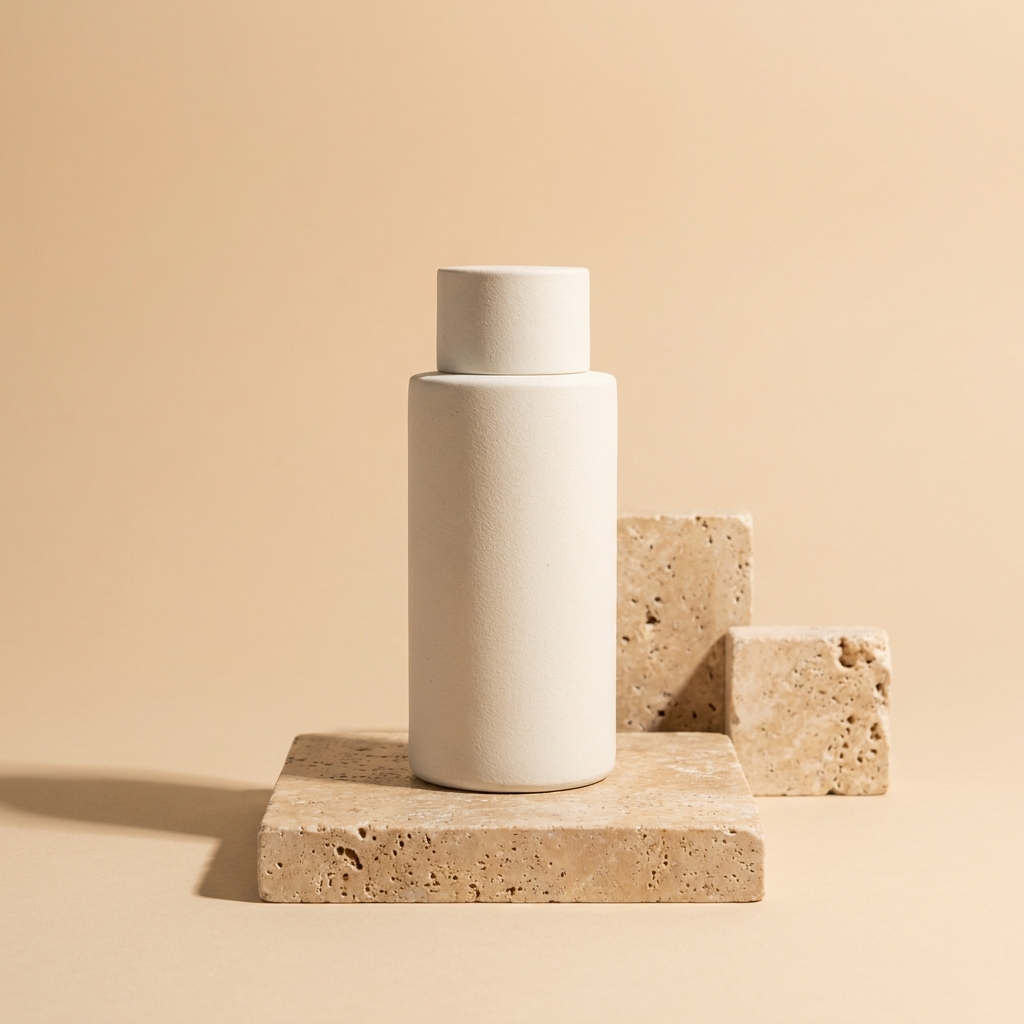
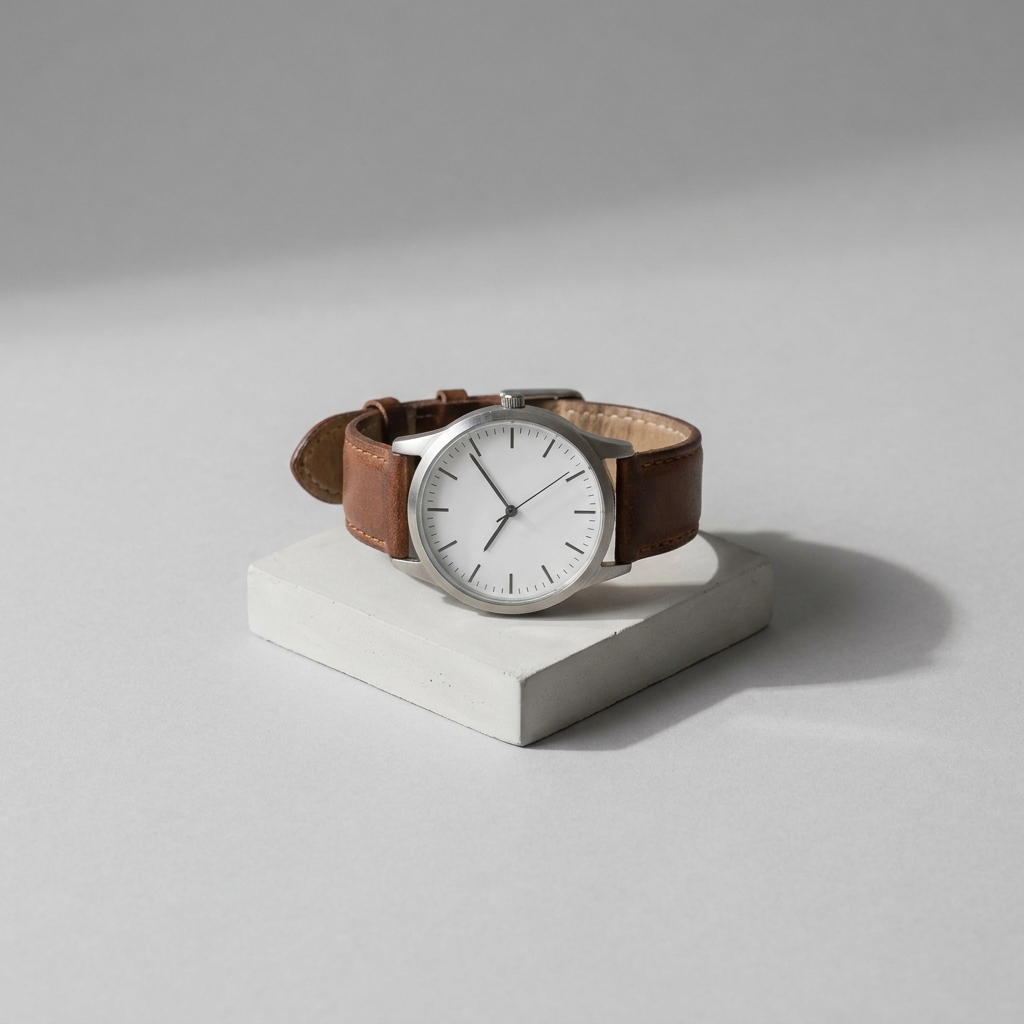
A podium background is a built plinth of plaster, stone or travertine that raises a product above the floor of the frame. It suits small sculptural goods: fragrance, jewellery, watches, skincare and small electronics. It belongs at position two or three in a listing, because most stores ask for a plain white shot in the first slot. The whole job is one ratio: plinth height against product height. A safe start is a plinth about one third to one half as tall as the product. Taller than that and the plinth becomes the subject, with the product sitting on top as decoration. The second limit is width. The plinth top has to be wider than the product base on every side, which rules out soft goods, wide boxes and anything that hangs over. A product hanging over the edge looks ready to fall, and better light does not fix it.
Podium craft problems
Height, edge, camera and shadow all change once a product leaves the floor.
Plinth height against product height
Measure the product first. A plinth around one third to one half of the product height keeps the product as the subject. A 200mm bottle sits well on a 70mm to 100mm block. Go taller and you see the plinth first. Go shorter and the raise stops working, because the product looks like it is on a coaster.
The edge a product can fall off
A plinth top has a hard edge. Leave at least 15mm of clear plaster on every side of the product base. Less than that and the product looks ready to fall. A round product on a round plinth is easy. A square base on a cylinder is harder, because the corners hang over the curve at the front. Name the plinth shape in the prompt to match the product base.
Camera height and the top ellipse
Raising the product by 100mm also raises the camera. Keep the lens near the middle of the product. If the camera stays low, the round top of the plinth closes into a thin line and the surface disappears. If the camera goes too high, you look down into the plinth and the product loses height. Ask for a shallow ellipse on the plinth top. That one detail tells the viewer the product stands on something solid.
Two shadows, not one
A product on the floor has one shadow. A product on a plinth has two. One sits tight under the product on the plinth top. The other falls from the plinth onto the floor and the backdrop. Both must run in the same direction from the same light. When they disagree, the frame looks fake, even if every other detail is right. Raising the product also makes the floor shadow longer.
Steps to a podium frame
Level photo, clean cutout, built plinth, matched light. In that order.
Order of work
The cutout comes first because a plinth shot carries two shadows, and you only want the ones the new light makes. If the old table shadow is still attached, it lands on the plaster and no light direction can explain it. The plinth is built second, because the height decision depends on the product you have isolated. Light comes third. You cannot match the shadow on the plinth top to the shadow on the floor until both surfaces exist. Upscale is last, because plaster grain and stone holes are the detail a 4K file is for.
The finished podium set
Four things a plinth shot has to deliver before it goes live.
A hero frame with headline space
One wide frame with the plinth on a third and the rest of the backdrop empty. This is the frame a banner or a hero section uses. Test it by covering the product with your thumb. If the clear side still holds two lines of large text without touching the empty blocks, the layout works.
A close frame of the contact edge
A tighter crop that shows where the product base meets the plinth top. This is the frame that proves the product rests on stone. Check that the shadow is darkest right at the base and fades within a few millimetres. A soft even grey under the whole product means it floats.
Square and 4:5 crops
Ads and feed posts need 1:1 and 4:5. A podium is tall, so a square crop is where it breaks. Keep the base of the plinth inside the frame in every crop. A plinth cropped at the bottom loses the reason it exists, because the viewer cannot see that the product is raised.
A frame that shows the real size
A raised product has nothing familiar beside it. The floor is out of reach and the plinth has no known height, so buyers guess the size wrong. Add one plain frame of the product on a flat surface at the same angle, and put the measurements in the listing text. A buyer who expects a 90mm bottle and opens a 200mm one sends it back.
Podium background questions
Height, shadows, stone choice and what to use the frame for.
How tall should a product photography podium be?
Why does my product look like it floats above the podium?
Plaster or travertine, which podium suits my product?
How many empty blocks should be in the frame?
Does the floor under the podium have to match the plinth?
Can I keep the same podium across a whole range?
Other product photo backgrounds
These are the other backgrounds in the catalogue. Open any page to compare them before you choose.
Botanical background
Fresh or dried foliage around skincare, soap, candles and other natural products.
Outdoor natural light
For active, travel and outdoor goods that need real daylight and a found place.
Christmas holiday set
For gift products that need to look seasonal in November and December.
Pure white sweep
The plain white main image, for listings, grids and price banners.
Gradient background
Smooth tone shift for tech, cosmetics and products with a simple shape.
Pastel paper
Soft colour paper for beauty, wellness and pale packaging that needs a calm frame.
Black background
For fragrance, watches, spirits and premium packaging that read by their edges.
Marble backgrounds
For beauty, jewellery and fragrance shots that need a premium stone surface.
Concrete background
Hard daylight and one crisp shadow, for streetwear, tech and modern skincare.
Wood background
Warm oak, walnut and ash for food, coffee, candles, soap and handmade goods.
Linen and cotton cloth
Soft, tactile cloth for skincare, candles, soap and folded clothing.
All twelve backgrounds
The hub lists all twelve product photo backgrounds side by side, so you can compare plaster against marble, concrete and linen before you shoot.
Everything you need, in one place
The full workflow from the first product photo to the finished ad, in one subscription.
Scale content without limits.
Generate content for your products or services with AI, starting today, and keep your brand on every piece.
Get started free