


Small leather goods
Wallet and belt product photography with AI
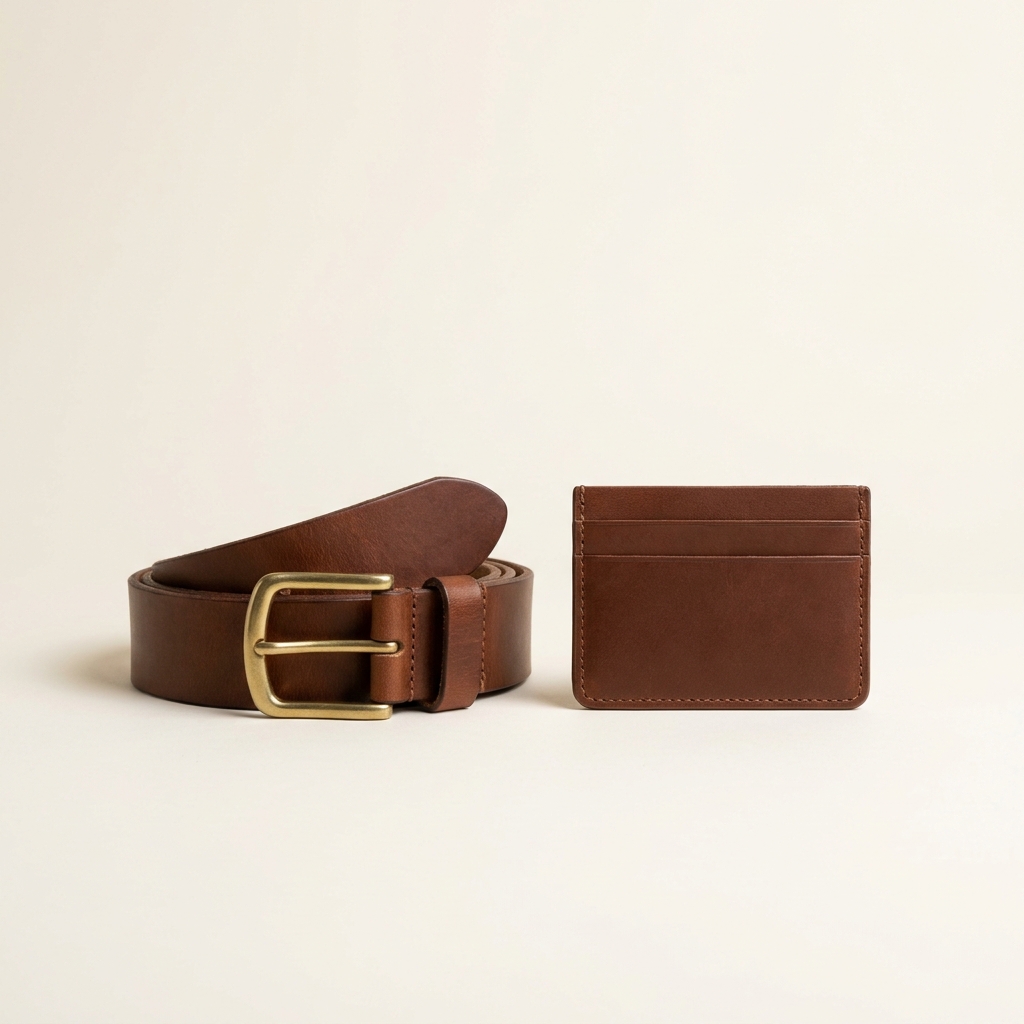
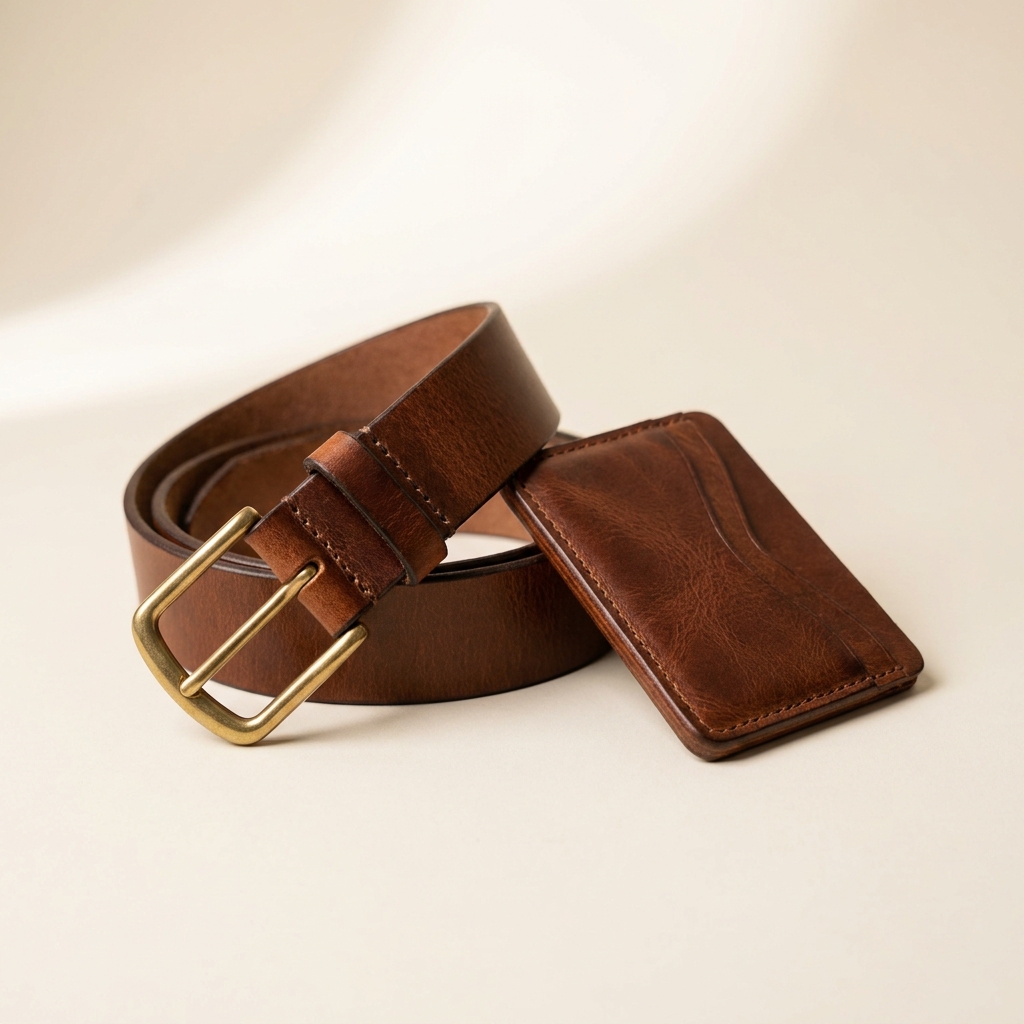
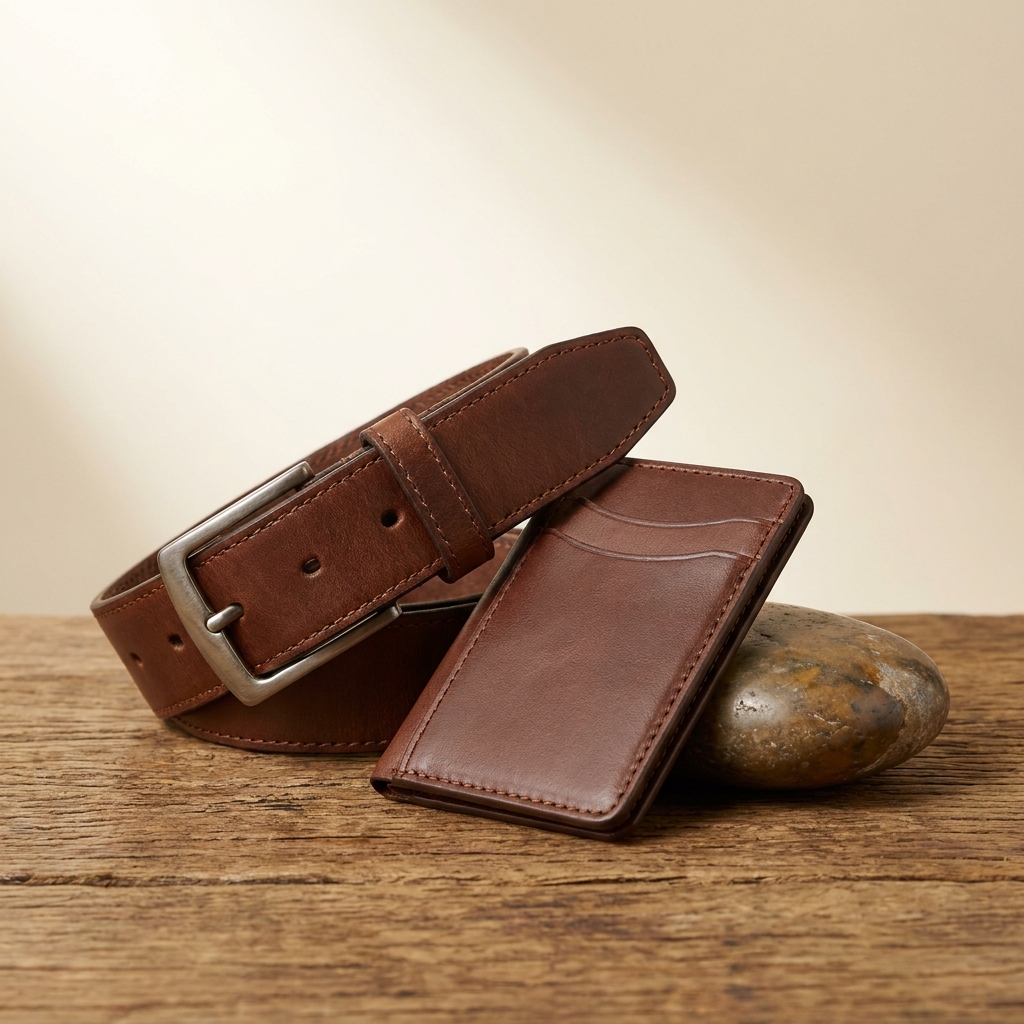
A wallet is a rectangle until you open it. Build the overhead flat lay and the open state with the slots filled. Add the edge-on thickness shot and the macro of the stamp, from photos you already have. Every picture keeps your brand's look, at any volume.
Last updated
Who it is for
Does that sound like you?
Scaling without compromising quality.
You need more pictures every week for the shop, the ads and the socials. Anyone can make an AI picture. Making hundreds that still look like your brand is the hard part. A shoot for every product costs weeks, and every new generator returns a different look.
- A template or a workflow you build once, with your brand rules
- One run on one product, or a batch over your whole catalogue
- Every result in Assets, with the same look on the first and the last
Cut the waiting time and budget for deliverables.
You make this for clients, and every client has their own look. A shoot for each one costs weeks and most of the budget. A different generator for each one returns a different look, so somebody fixes it by hand before it is delivered.
- Each client's brand rules, saved once and used on every run
- A workflow you build once and run for every client
- A batch over a client's whole catalogue, delivered from Assets
Wallets, belts and small goods
Small leather goods photography covers wallets, card holders and belts. These products are flat, so the natural framing is an overhead flat lay. The work then sits in three places. Every item needs an open state as well as a closed one. Closed, it is only a rectangle. Thickness needs its own edge-on frame, since an overhead shot hides it. And the stamped logo and the painted edge appear only under a light raked across the surface.
What small leather goods demand
Four problems that come from photographing something flat and small.
Closed is not the product
A wallet closed is a rectangle of leather. Everything a buyer pays for sits inside it. Shoot the open state with real cards in the slots and a note in the bill section. A card holder photographed with empty slots looks like nothing fits in it.
A flat lay has to be square
Overhead framing shows every edge at once, which means every misalignment shows too. Set the item parallel to the frame and keep the gaps between pieces even. Add one soft directional shadow. Without it a flat lay looks pasted onto the background rather than lying on it.
Stamps and edge paint need raking light
A blind-embossed logo has no colour of its own. It is a shape pressed into the surface, so it reads only when light crosses it at a low angle. Painted and burnished edges behave the same way. Light straight from the front and both vanish into a flat brown panel.
Scale and thickness
A slim card holder sells on being slim, and an overhead frame shows none of that. Give thickness its own edge-on shot against a plain surface. For scale, put one bank card or note in the picture. Listed dimensions help, but a familiar object settles it faster.
The shot list for a wallet or a belt
Closed, open, edge, detail. In that order.
Small leather goods are quick to shoot and easy to get wrong. Start with the closed overhead. It sets the surface, the light angle and the crop. Every other frame copies them. Open state next, loaded with cards and a note. Then the edge-on and the macro, both relit low so the stamp and the edge paint read. Cut out last. A range of wallets in six colours is where a saved workflow matters most. The whole set has to sit on one surface under one light. Otherwise the listing page looks assembled from six separate shoots.
What a small leather goods listing needs
Four files. Each answers a question the others cannot.
Overhead hero, closed
The square image a search result shows. Item parallel to the frame, one soft shadow for thickness, even margin on all four sides. The rest of the set copies its surface and its light from this file.
Open state with the slots filled
The wallet open, cards in place, note visible. For a card holder, show how many cards fit. An empty open shot raises the exact doubt it was meant to remove.
Edge-on profile
One frame from the side, at surface level, showing how thick the folded item is. Slim is a selling point and an overhead shot hides it. Put a bank card beside it and the number becomes a picture.
Macro of the stamp and the edge
A close crop of the pressed logo, the stitch density and the painted edge. On a small item those three carry the whole quality argument. Upscale this one at the end, after the light is settled.
Questions about small leather goods photography
What wallet and belt sellers ask before they shoot a range.
Do I need to show the wallet open?
How do I photograph a belt without it looking like a strip?
Why does the embossed logo disappear in my photos?
How do I show that a card holder is slim?
Can I photograph a whole colour range so it matches?
Should the set be photographed together or separately?
Other categories
The same craft, written for a different product.
Footwear photography
Three-quarter hero, profile, sole and lace detail from your shoe photos.
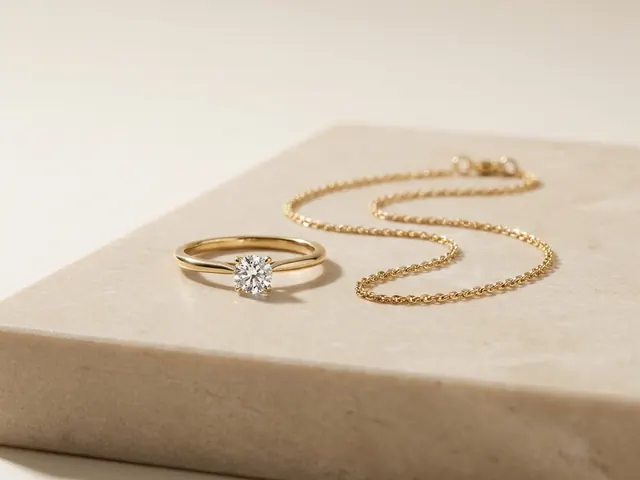
Jewellery photography
Reflection control on metal, stone brilliance, macro detail and a size cue.
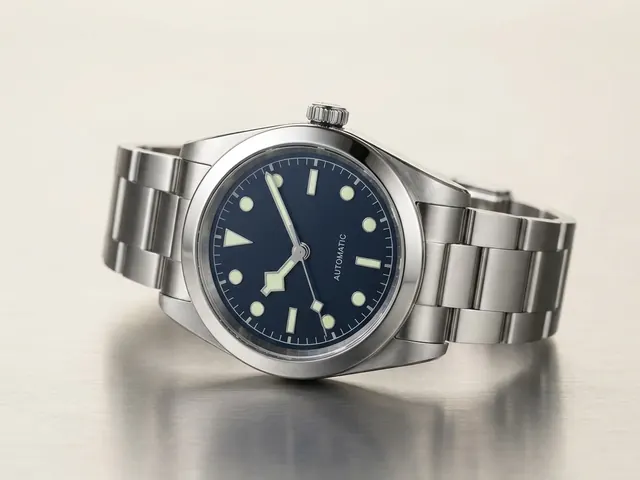
Watch photography
Crystal glare, dial legibility, bracelet finish and the ten past ten hand set.
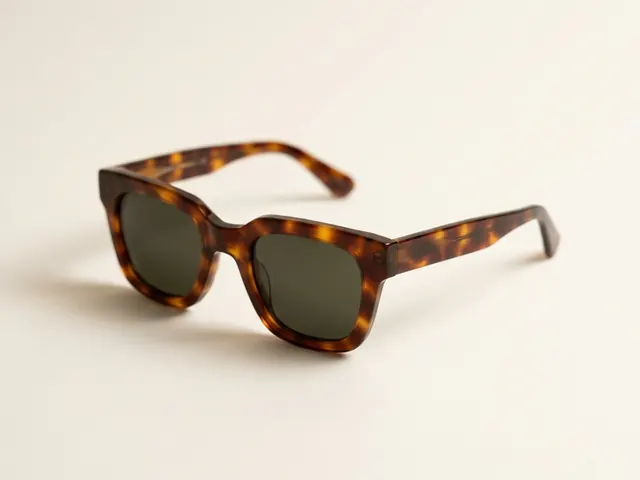
Eyewear and sunglasses
Reflection control, frame angles and on-face fit shots.
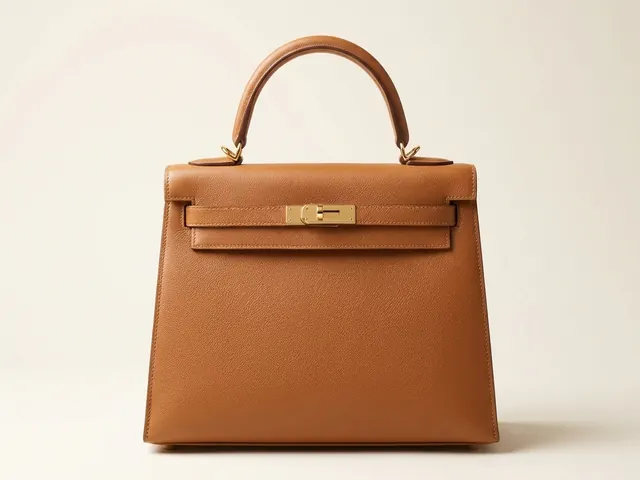
Bags and handbags
Shape, leather grain, hardware and the interior view.
Phone cases
Curved-shell prints, sharp camera cutouts and one look across a whole design range.
Everything you need, in one place
The full workflow from the first product photo to the finished ad, in one subscription.
Scale content without limits.
Generate content for your products or services with AI, starting today, and keep your brand on every piece.








