


Print on demand
Phone case product photography with AI
A phone case is one moulded shape carrying a different print every time. Shoot the blank once. Then hold the same light, angle and crop while the artwork changes, so a hundred listings read as one range. Every picture keeps your brand's look, at any volume.
Last updated
Who it is for
Does that sound like you?
Scaling without compromising quality.
You need more pictures every week for the shop, the ads and the socials. Anyone can make an AI picture. Making hundreds that still look like your brand is the hard part. A shoot for every product costs weeks, and every new generator returns a different look.
- A template or a workflow you build once, with your brand rules
- One run on one product, or a batch over your whole catalogue
- Every result in Assets, with the same look on the first and the last
Cut the waiting time and budget for deliverables.
You make this for clients, and every client has their own look. A shoot for each one costs weeks and most of the budget. A different generator for each one returns a different look, so somebody fixes it by hand before it is delivered.
- Each client's brand rules, saved once and used on every run
- A workflow you build once and run for every client
- A batch over a client's whole catalogue, delivered from Assets
Phone cases
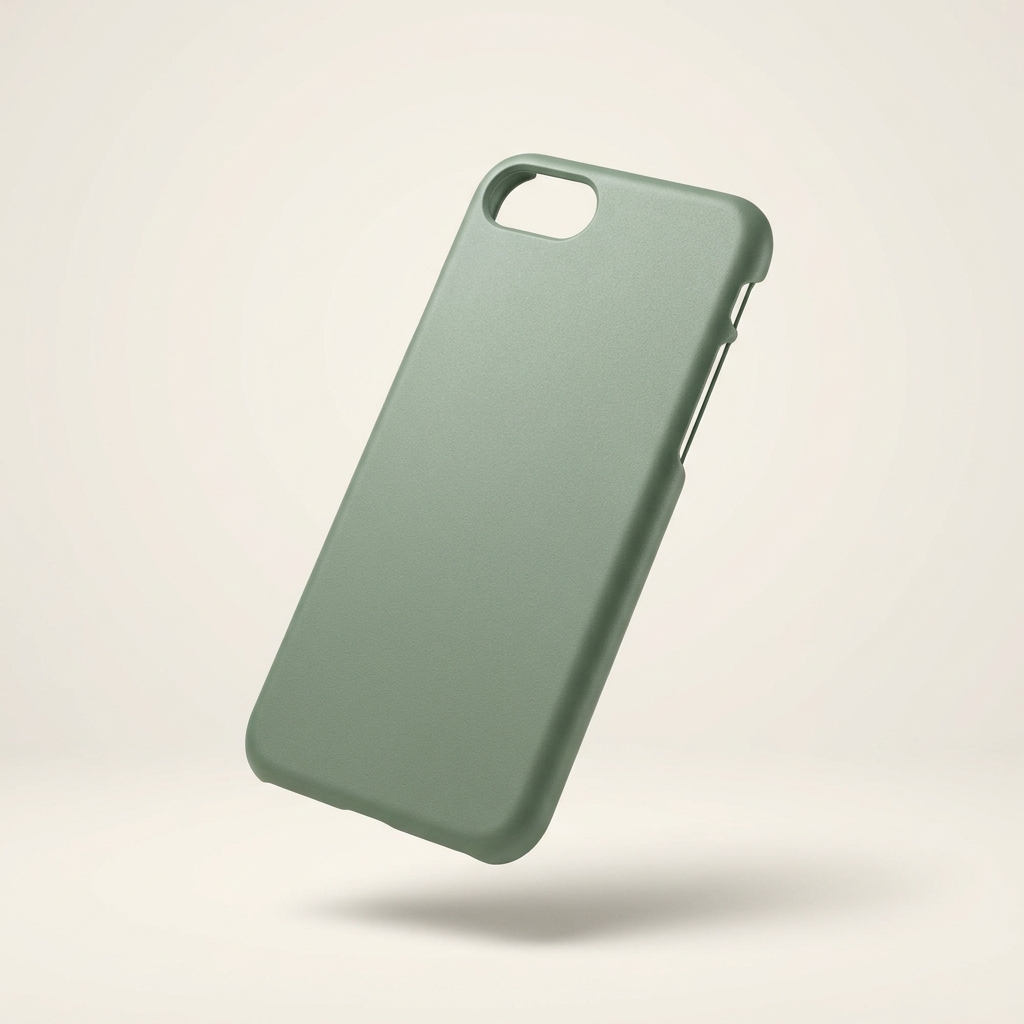
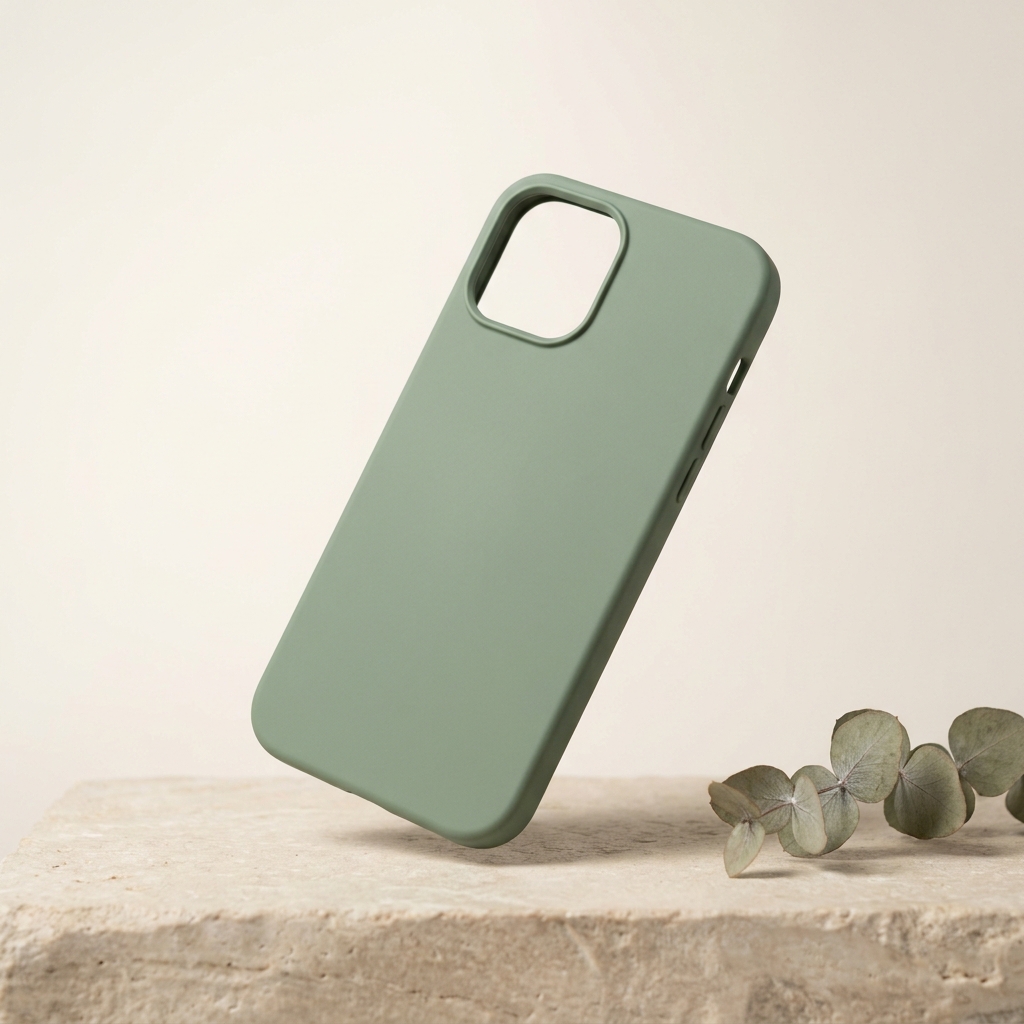
Phone case photography starts from the blank shell, not from the artwork. You photograph one case in the finish you sell, matte or glossy. Then you apply each design to that same shell. The print has to bend where the shell curves. The camera cutout has to stay sharp and correctly shaped. The side wall has to appear in at least one frame, so a buyer can read the depth.
What a phone case listing has to prove
Four problems that come with printing flat artwork on a curved shell.
Flat artwork on a curved shell
A design drawn flat has to sit on a shape that curves at every edge. Straight lines bend near the rim. A motif centred in the file reads as off-centre on the shell. Photograph the case with the print already wrapped, so the listing shows what the printer produces.
The camera cutout
The cutout is the first thing a buyer checks, because it decides whether the case fits their phone. Keep its edge sharp and its shape true to the real moulding. One frame should show the cutout from a slight angle, so the wall thickness around it is visible.
Shell finish changes the print
A glossy shell throws a highlight across the print, and that highlight can hide part of the design. A matte shell absorbs light and prints duller. Light each finish differently. Move the highlight to an empty part of the artwork rather than removing it, because a shell with no highlight reads as flat card.
One shape, hundreds of designs
The shell never changes, so nothing else in the frame should either. Fix the camera height, the light and the crop once. Every new design then runs through the same setup. A collection page reads as one range instead of a pile of unrelated photos.
The shot list for a case range
Four steps, and the first one happens once for the whole catalogue.
Do the shell work once and the artwork work many times. Photograph the real blank, settle its lighting, and save that treatment. Each new design is then a single step on a base that is already correct. That is the only way a range of hundreds stays consistent. Check the cutout and the rim on every design, because those two places are where a wrapped print fails. Leave the scale shot and the close texture crop until the flat views are approved, since both are built from the same corrected file.
What a phone case listing needs
Four files that cover a printed shell from every side.
Square hero on white
The straight-on case on plain white, with the design filling the shell and a little space at every edge. This is the image a search grid shows, so the print has to be readable at thumbnail size.
Angle set with the side wall
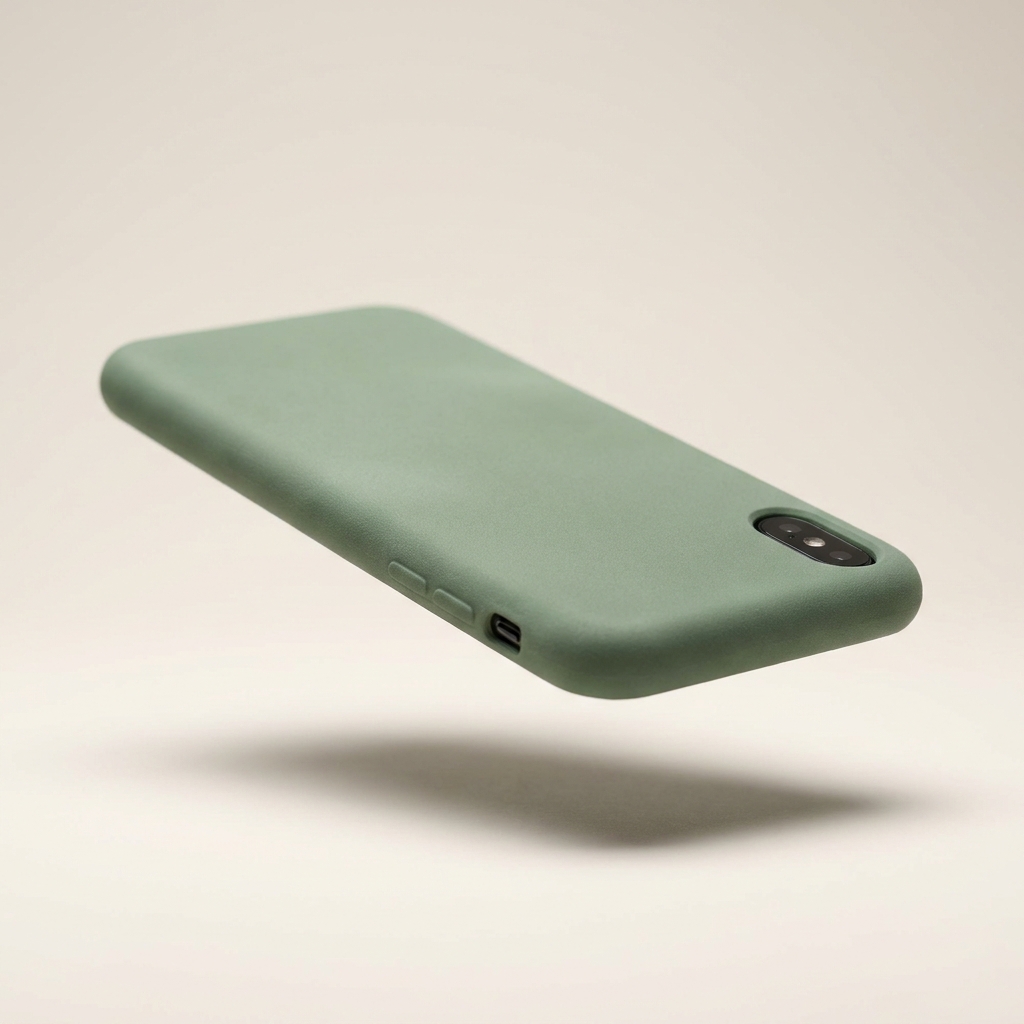
Two or three turned views. At least one has to show the side wall and the button cutouts. That is how a buyer reads whether the case is a hard shell or a flexible one.
Close crop on the print
A tight frame on one corner, showing the ink on the shell surface and the way the design curves over the edge. This is the image that answers the question about print quality.
A shot that gives scale
A case on its own is an abstract rectangle. Put it in a hand, or on a desk beside everyday objects. That frame tells a buyer how big the design will really be.
Questions about phone case photos
What sellers ask before they shoot a design range.
How do I photograph a hundred designs on the same case?
My print looks off-centre on the case. Why?
Do I need a different photo for each phone model?
Should the case be glossy or matte in the photo?
Can I upload these images to my print on demand store?
How many images does one case listing need?
Selling cases in an online shop
This page covers how a case is lit, angled and photographed. The ecommerce brands page answers a different question: how a shop makes pictures for every new product, week after week.
Other categories
The same craft, written for a different product.
Footwear photography
Three-quarter hero, profile, sole and lace detail from your shoe photos.
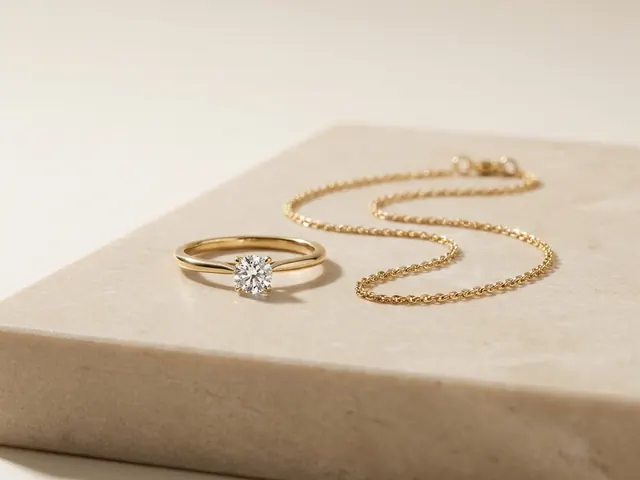
Jewellery photography
Reflection control on metal, stone brilliance, macro detail and a size cue.
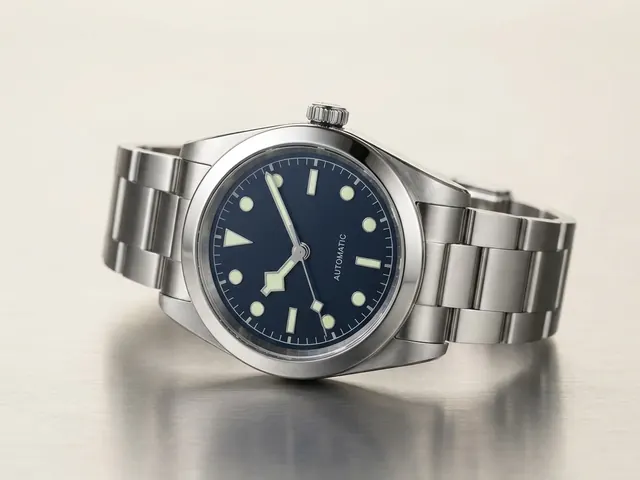
Watch photography
Crystal glare, dial legibility, bracelet finish and the ten past ten hand set.
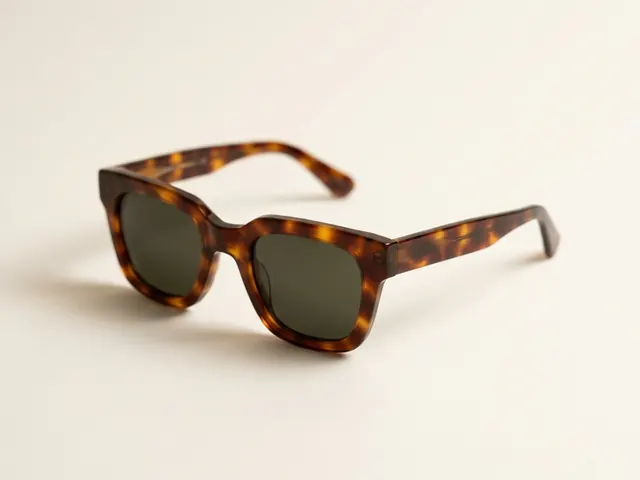
Eyewear and sunglasses
Reflection control, frame angles and on-face fit shots.
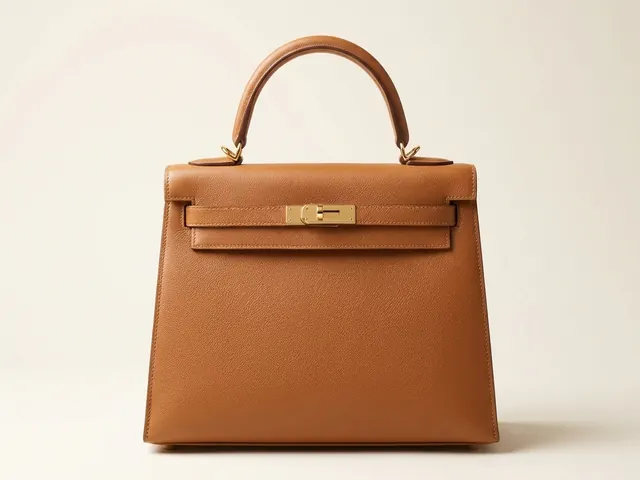
Bags and handbags
Shape, leather grain, hardware and the interior view.
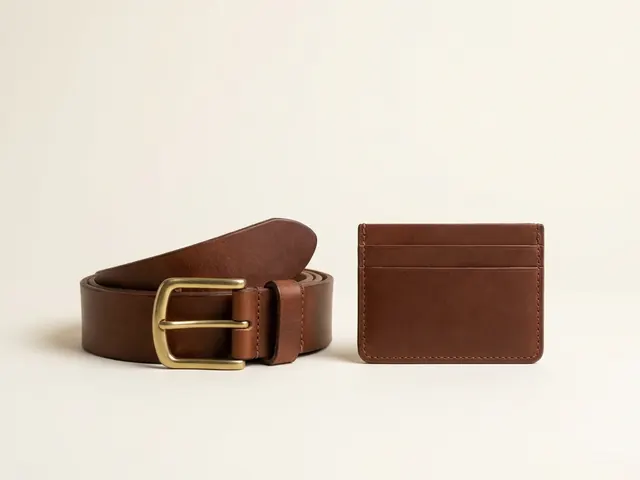
Wallets, belts and small goods
Flat lay sets, open and closed states, edge paint and thickness.
Everything you need, in one place
The full workflow from the first product photo to the finished ad, in one subscription.
Scale content without limits.
Generate content for your products or services with AI, starting today, and keep your brand on every piece.








