A skincare photoshoot works when every frame proves one thing about the product. There are five things to prove: the texture, the size and dose, the ingredient, the routine step, and the pack and label. Plan one idea for each proof and give every product in the range the same five. Photograph the frames that show the real formula or real skin. The rest can start from a packshot.
A buyer cannot touch the cream or hold the bottle, so each picture answers a question the buyer would answer in a shop. This guide gives 15 ideas in five groups, shows which ones need a camera, and ends with a shoot plan for a whole range. It is written for a brand, an agency or a one-person shop.
Key Takeaways
- Five proofs, 15 ideas. Texture, size and dose, ingredient, routine step, pack and label. Each has three ideas.
- Six ideas can start from a packshot. They change the scene and leave the product alone.
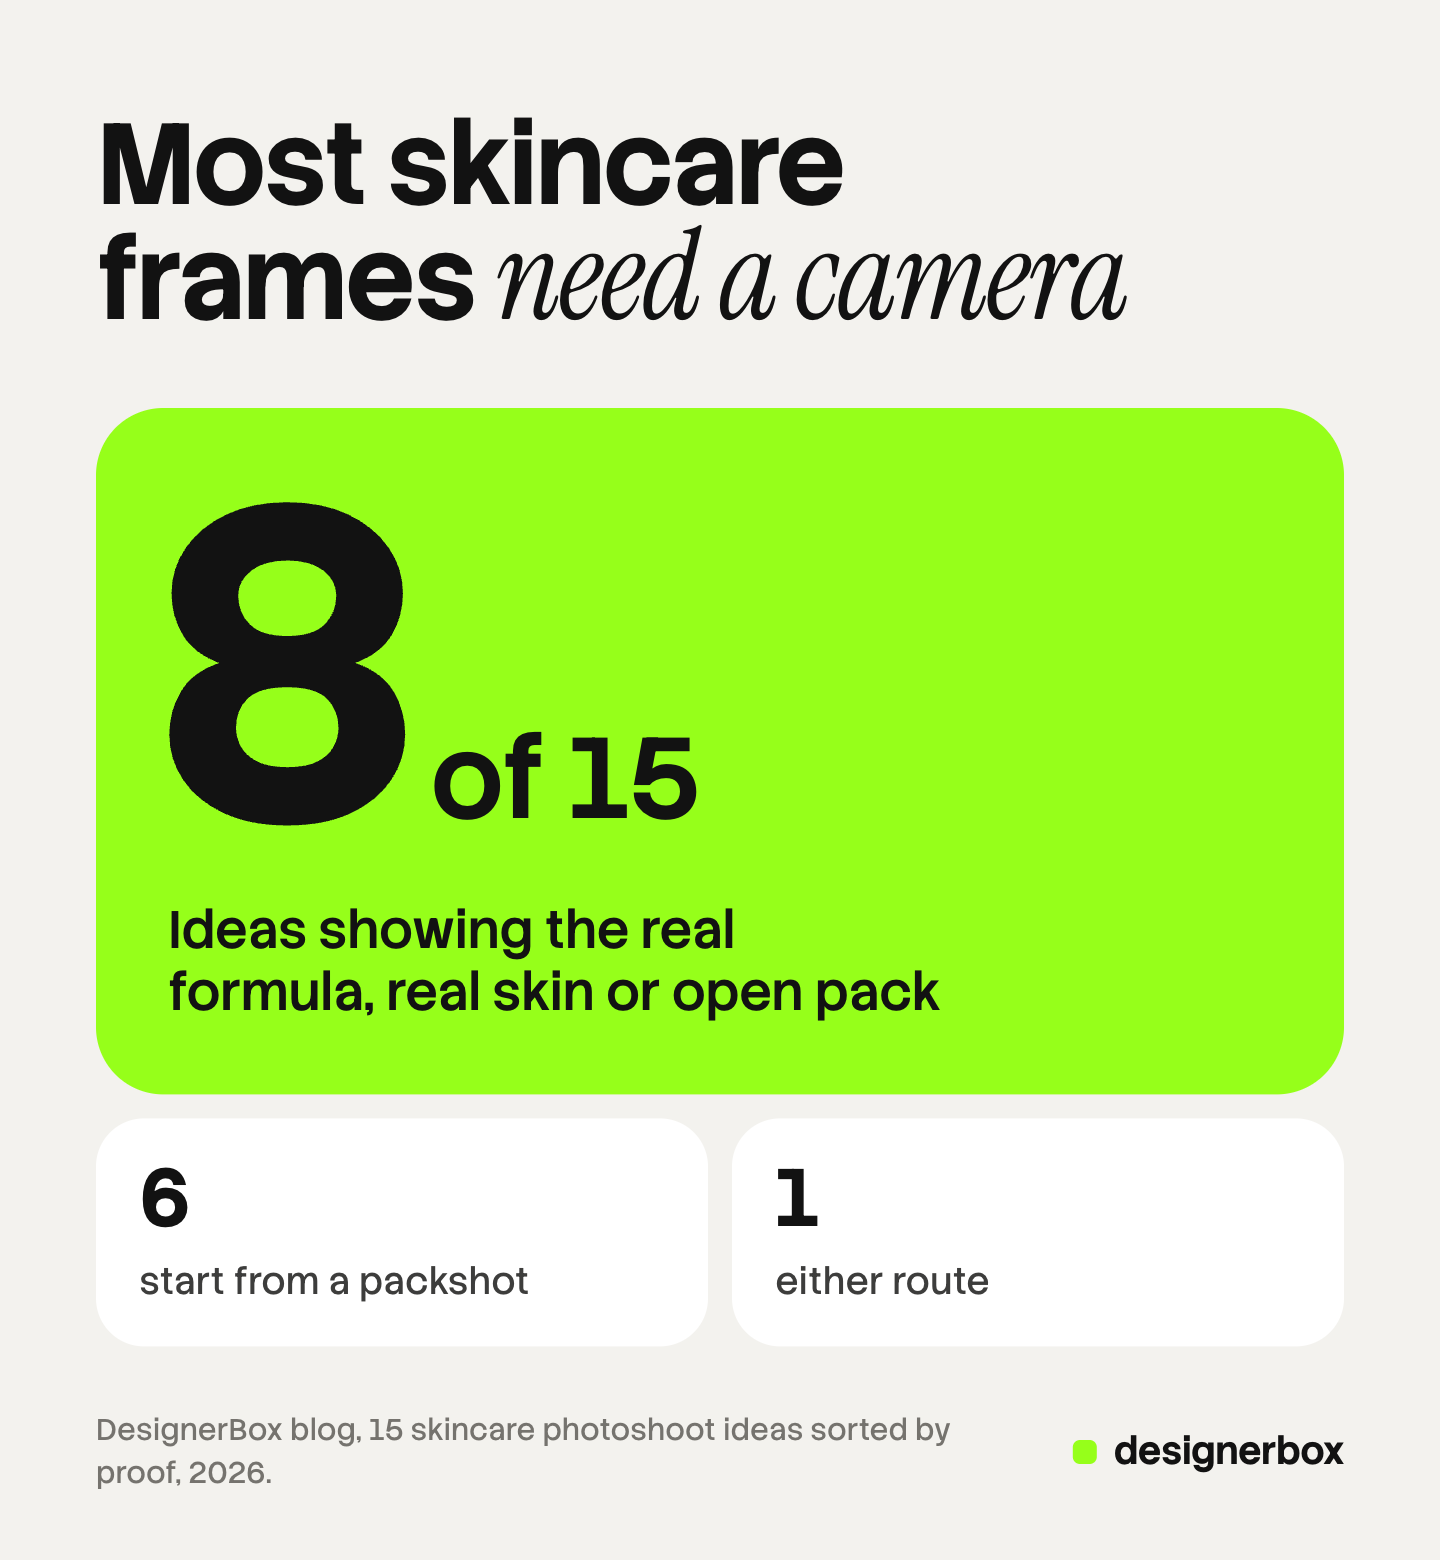
- Eight ideas need a camera. They show the real formula, real skin, or a part of the pack the packshot does not contain.
- A prop can be a claim. EU cosmetics rules cover pictures, so show only an ingredient that is in the formula.
- A result on skin is never generated. A before and after is evidence, and it is photographed.
What is a skincare photoshoot?
A skincare photoshoot is a planned session that produces the full image set for one product or one range. The set feeds the product page gallery, the ads, the emails and the social posts. If each product gets the same five ideas, the buyer learns the pattern once and compares products quickly. For the image size each sales channel asks for, see our guide to ecommerce product photography.
This guide is about which ideas to plan. The camera work for glass, the listing set and the label rules are in our guide to skincare product photography.
Five things a skincare photoshoot has to prove
Each proof replaces something the buyer would do in a shop.
| Proof | The buyer’s question | In a shop |
|---|---|---|
| Texture | Is it light or rich | A tester on the hand |
| Size and dose | How big is it, and how much do I use | Holding the pack |
| Ingredient | What is in it | Reading the box |
| Routine step | When do I use it, and with what | Asking at the counter |
| Pack and label | What will arrive, and how does it open | Looking at the shelf |
A frame that proves nothing is decoration.
Texture ideas
A sealed pack hides the texture, so all three ideas need the real formula in front of a camera.
1. The swatch on glass. Put one dose on a sheet of clear glass or acrylic. Light it from the side so the edge of the swatch throws a small shadow. That shadow shows how thick the formula is.
2. The open jar from above. Take the lid off and photograph the surface of the cream before anyone touches it. A second frame after one scoop shows whether the cream holds its shape.
3. The dose at the closure. Photograph a drop at the end of the dropper, or one pump of lotion on a fingertip, with the pack sharp behind it. This frame joins the texture to the pack.
Match the finish to the formula. A matte balm should not look glossy in the picture.
Size and dose ideas
Skincare packs are small, and a 15 ml tube and a 50 ml tube look the same in a thumbnail. Baymard Institute’s testing found that 42% of users try to judge the size of a product from the product page images (Baymard Institute, October 2026).
4. The pack in a hand. A hand holding the pack answers the size question in one frame. Keep the hand plain and use the same grip for every product.
5. One dose beside the pack. Show the amount for one use next to the pack. Use the amount from your own usage directions. It tells the buyer how long the pack will last.
6. The size lineup. Place the travel size and the full size side by side on one surface, at their true relative heights.
Ingredient ideas
An ingredient frame is the idea that most often turns into a claim. This is general information, not legal advice.
EU Regulation 1223/2009 says that pictures and figurative signs “shall not be used to imply that these products have characteristics or functions which they do not have” (Article 20, text as kept in UK law, October 2026). Regulation 655/2013 adds a rule for ingredients: “If it is claimed on the product that it contains a specific ingredient, the ingredient shall be deliberately present” (Annex, truthfulness, October 2026).
An EU technical document on cosmetic claims gives a picture as its example. It says the claim “contains moisturising aloe vera”, or prominently picturing aloe vera, should not be made if the product has no moisturizing effect (technical document, October 2026). The document says its views are not legally binding.
7. One ingredient beside the pack. Pick one ingredient that the formula contains on purpose and that the product page already names. Place it beside the pack, smaller than the pack.
8. The ingredient as the surface. Use the ingredient as the ground the pack stands on: dry oats, a clay slab, a sheet of rice paper. The surface says “this is in the product”, so it must be.
9. The ingredient panel, readable. Photograph the back of the pack flat and sharp, so the buyer can read the ingredient list at phone size.
Routine step ideas
A routine frame tells the buyer when to use the product and what comes before and after it.
10. The shelf at the sink. Place the product on a bathroom shelf or a sink edge with two or three plain objects. Keep the pack upright and the label toward the camera.
11. The lineup in order of use. Stand the range in a row in the order a person uses it: cleanser, serum, moisturizer, sunscreen. Put the product you are selling in sharp focus.
12. The application moment. Show a hand spreading the product on the back of the other hand, a forearm or a cheek. This frame shows real skin, so it is photographed.
Take extra care with sunscreen and acne products in the United States. The FDA says that whether a product is a cosmetic or a drug “is determined by a product’s intended use”, and that advertising can establish that use (FDA, October 2026). Keep routine frames for these products free of clinic props and treated-skin cues.
Pack and label ideas
The pack is the one thing the buyer is certain to receive, so show how it looks and how it opens.
13. The pack on the brand color. Put the front of the pack on a plain surface in one brand color, with a soft shadow. Use the same angle for every product, so a row of products looks like one range.
14. The closure, open. Take the cap off. Show the pump, the dropper, the airless nozzle or the inner seal of the jar. A front packshot does not show how the product leaves the pack.
15. The carton with the pack. Photograph the box and the pack together, with the box slightly behind. This frame matters for gifts, where the outer pack is part of the purchase.
Which skincare photoshoot ideas need a real camera?
If the frame shows the formula, real skin, or a part of the pack that is not in your packshot, photograph it. If the frame only changes the scene around a pack you already photographed, you can make it from that packshot.
| # | Idea | Proof | Route | Reason |
|---|---|---|---|---|
| 1 | Swatch on glass | Texture | Photograph | The swatch stands for the real formula |
| 2 | Open jar from above | Texture | Photograph | The surface and color are the product |
| 3 | Dose at the closure | Texture | Photograph | Real formula, real viscosity |
| 4 | Pack in a hand | Size | Either | A made hand must match the real pack height |
| 5 | One dose beside the pack | Dose | Photograph | Real formula and the real amount |
| 6 | Size lineup | Size | Make from packshots | Set each pack to its measured height |
| 7 | One ingredient beside the pack | Ingredient | Make from a packshot | Scene only |
| 8 | Ingredient as the surface | Ingredient | Make from a packshot | Scene only |
| 9 | Ingredient panel, readable | Ingredient | Photograph | Label text is never redrawn |
| 10 | Shelf at the sink | Routine | Make from a packshot | Scene only |
| 11 | Lineup in order of use | Routine | Make from packshots | Scene only |
| 12 | Application moment | Routine | Photograph | Real skin and real formula |
| 13 | Pack on the brand color | Pack | Make from a packshot | Scene only |
| 14 | Closure, open | Pack | Photograph | The packshot does not contain it |
| 15 | Carton with the pack | Pack | Photograph | The carton needs its own source photo |
That is six ideas to make, eight to photograph and one that can go either way. A made frame still follows the claim rules.
One frame is missing from the list on purpose. A before and after is evidence of a result, and it is never an idea to generate. The UK’s ASA says before and after images “are treated as objective claims just the same as written claims” (ASA, October 2026). Its advice on these photos says marketers should hold signed and dated proof that the photos are genuine and have not been manipulated (ASA, October 2026).
The ASA has also addressed AI directly. It says it is likely to be materially misleading to include an AI generated image showing the effect of a cosmetic product that does not accurately reflect real-world results (ASA, 29 May 2025, read October 2026).
For the frames you do make, AI product photo accuracy lists what to check against the real pack.
A shoot plan for the whole range
A small brand can plan the range in five steps, so every product gets the same set.
Step 1. Sort the range by format. Group the products as jars, tubes, pump bottles, dropper bottles and sticks. The format decides the texture idea: a jar takes idea 2, and a dropper bottle takes idea 3. Hair care ranges sort the same way, as in our guide to hair product photography.
Step 2. Choose one idea for each proof. Pick five ideas, one from each group. A brand that sells on formula might choose ideas 1, 5, 9, 11 and 14.
Step 3. Write the plan as a table. Use one row for each product and one column for each proof. Each cell holds the idea number and the route. Our shot list template has the column layout, and product photography ideas sorts wider ideas by the slot they fill.
Step 4. Shoot by setup. Group the photographed frames by setup and shoot each setup for the whole range in one pass. As an illustrative count, a range of 12 products with five frames each is 60 images. If three of your five ideas need a camera, that is 36 photographed frames in three setups. The other 24 start from packshots.
Step 5. Fix the constants. Write down the surface, the light direction, the crop and the dose size for each setup.
Before the shoot day, take one clean packshot of every product. The made frames all start from it, so our guide to the source product photo covers what it needs. If you add an overhead frame of the whole range, the flat lay photography rules cover spacing and scale.
Review each made frame beside its packshot. Check the label text, the pack shape, the color and the fill level.
One set for every product in the range
DesignerBox is AI creative production for brands and agencies. It makes images, ads and video from your brand rules, and a product photo is one of the inputs. Anyone can make an AI picture. Making hundreds that still look like your brand is the hard part.
For a skincare range, DesignerBox covers the six made ideas. You set the brand once. You build a workflow once for each made frame, such as the shelf at the sink. A batch then runs that workflow over a sheet, with one product in each row. Row one and row two hundred read the same brand rules. The cost is shown before the run.
Each run starts from that product’s own packshot, and you keep or discard each result. The full workflow from the first product photo to the finished ad, in one subscription.
The eight photographed ideas stay with your camera. No image model should make a swatch or a result on skin. You download the results, or send them with a webhook or an S3 step. Every plan below Ultra is one seat.
Uploading your own photos and the commercial license start on the Pro plan. AI video, virtual try-on, upscaling, the image editor and the video editor start on the Premium plan. Plans and credits are on the pricing page.
There is a free plan, and it runs on sample products. Get started free
FAQ
What do you need for a skincare photoshoot?
You need a plan first: one idea for each of the five proofs, written as a table. For the shoot you need the products, one plain surface, a sheet of clear glass, one soft side light and a clean hand.
Which skincare photoshoot ideas can AI make?
AI can make six of the 15 frames. They only change the scene around a real packshot: the size lineup, the two ingredient scenes, the shelf at the sink, the lineup in order of use and the pack on the brand color. The texture frames, the dose beside the pack, the application moment, the ingredient panel, the open closure and the carton are photographed. The pack in a hand can go either way.
Can I generate a before and after photo for skincare?
No. A before and after is evidence of a result, so it must be a real, unedited record. The UK’s ASA treats these images as objective claims and expects signed and dated proof that they are genuine.
Are ingredient props allowed in skincare photos?
Yes, when the ingredient is in the formula on purpose. EU rules on cosmetic claims cover pictures as well as text. Show one ingredient the product page already names, and leave out plants that only look natural.
Do sunscreen and acne products need different photos?
They need more care. In the United States, the FDA treats moisturizers marketed with sun-protection claims as both cosmetics and drugs. Keep the frames to the pack, the texture and the routine, and avoid clinic props and treated-skin cues.
Sources
- Regulation (EC) No 1223/2009 on cosmetic products, Article 20, product claims, read on legislation.gov.uk in the version kept in UK law, October 2026
- Commission Regulation (EU) No 655/2013 on cosmetic claims, Article 1 and the Annex, truthfulness and honesty, read on legislation.gov.uk in the version kept in UK law, October 2026
- Technical document on cosmetic claims, agreed by the Sub-Working Group on Claims, version of 3 July 2017, read October 2026. The document says it is not a European Commission document and that its views are not legally binding
- ASA and CAP, Cosmetics: the use of production techniques, read October 2026
- ASA and CAP, Before and after photos, read October 2026
- ASA, Disclosure of AI in advertising, 29 May 2025, read October 2026
- FDA, Is it a cosmetic, a drug, or both?, read October 2026
- 42% of users try to judge product size from product page images: Baymard Institute, the current state of product page UX, page updated 18 March 2026, read October 2026
- DesignerBox brand, batch and plan gates: DesignerBox brand page (designerbox.ai/product/brand), batch page (designerbox.ai/product/batch) and pricing page (designerbox.ai/pricing), October 2026
Cosmetic claims rules read on each regulator’s own page, October 2026. This is general information, not legal advice. Rules change, so check the source pages before you publish a campaign. The 12-product count is illustrative arithmetic. Individual results vary.