


Background catalogue
Pick from twelve product photography backgrounds
Each tile below shows one background in a real DesignerBox render. Open a tile to see the lighting, the shadow and the file sizes that background needs. The three groups sort them by how much the background asks of you. Every picture keeps your brand's look, at any volume.
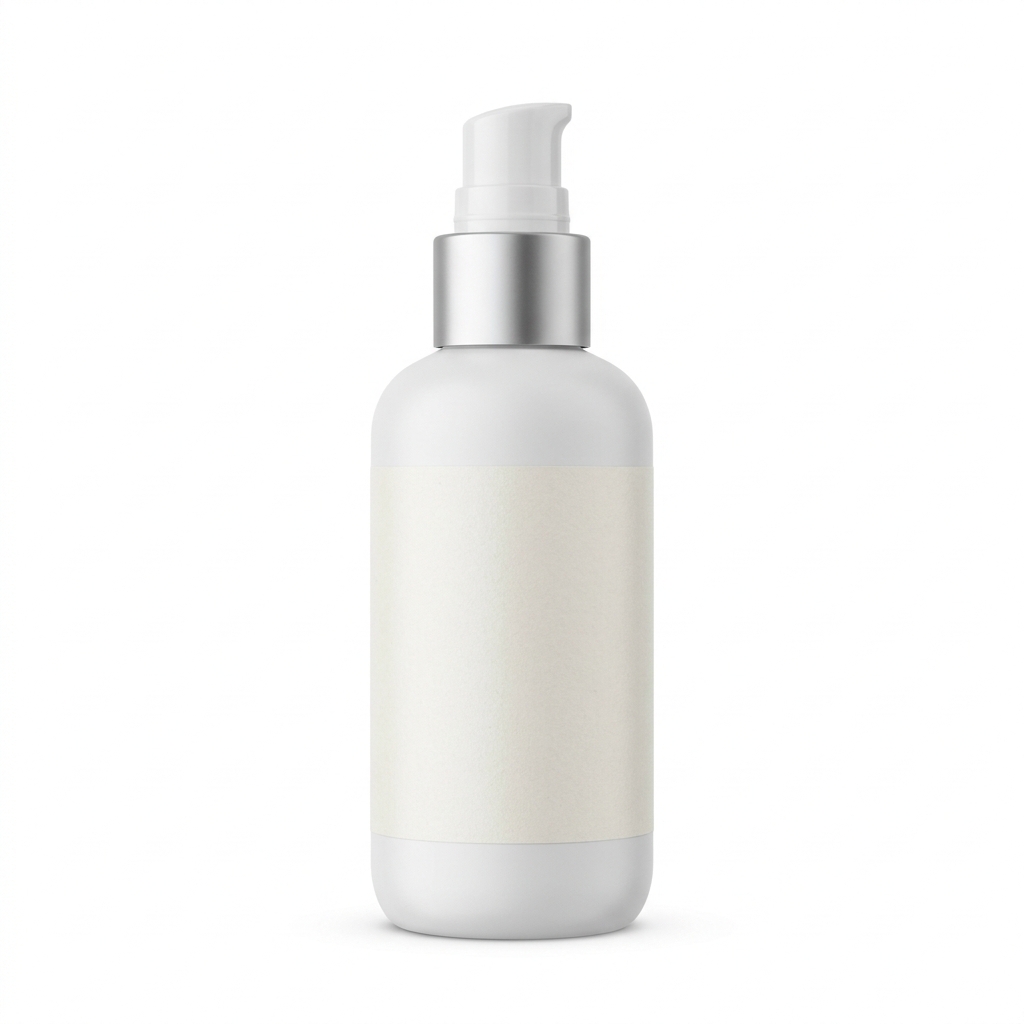
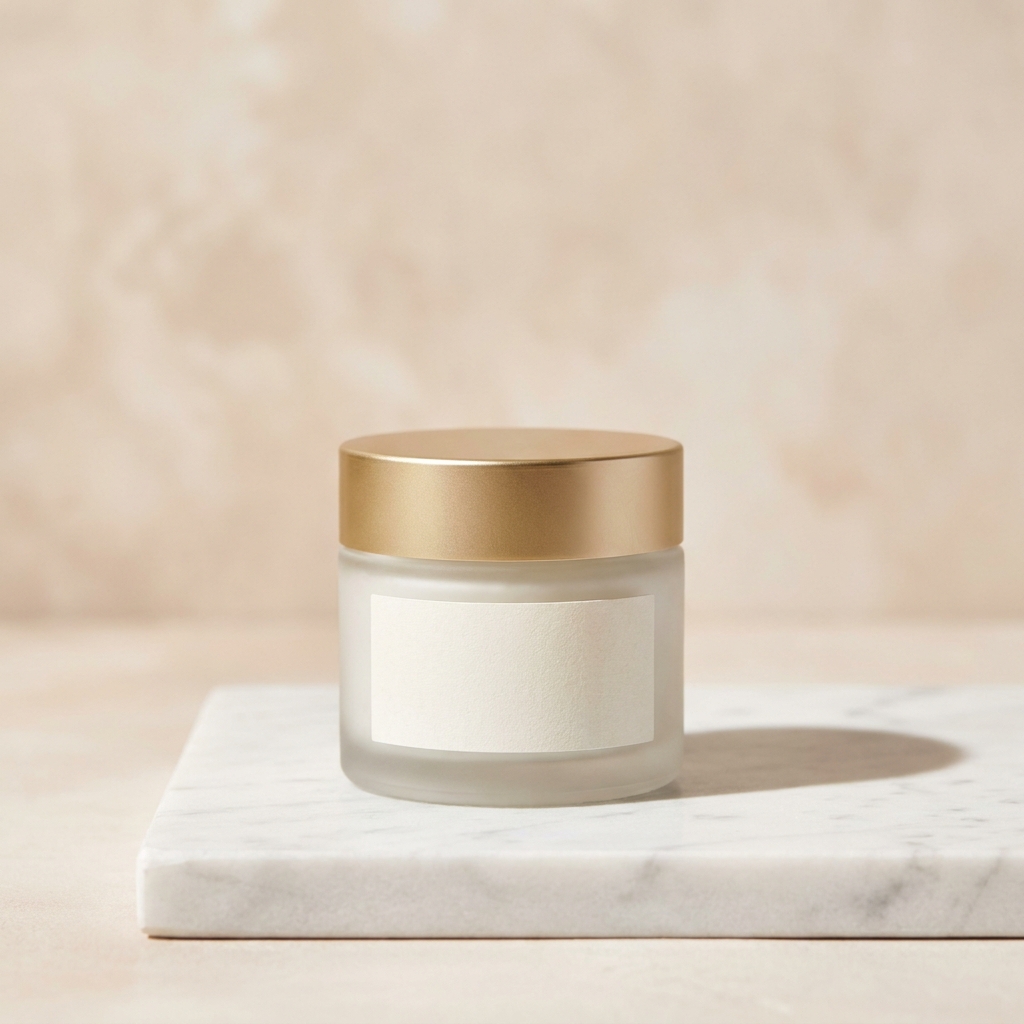

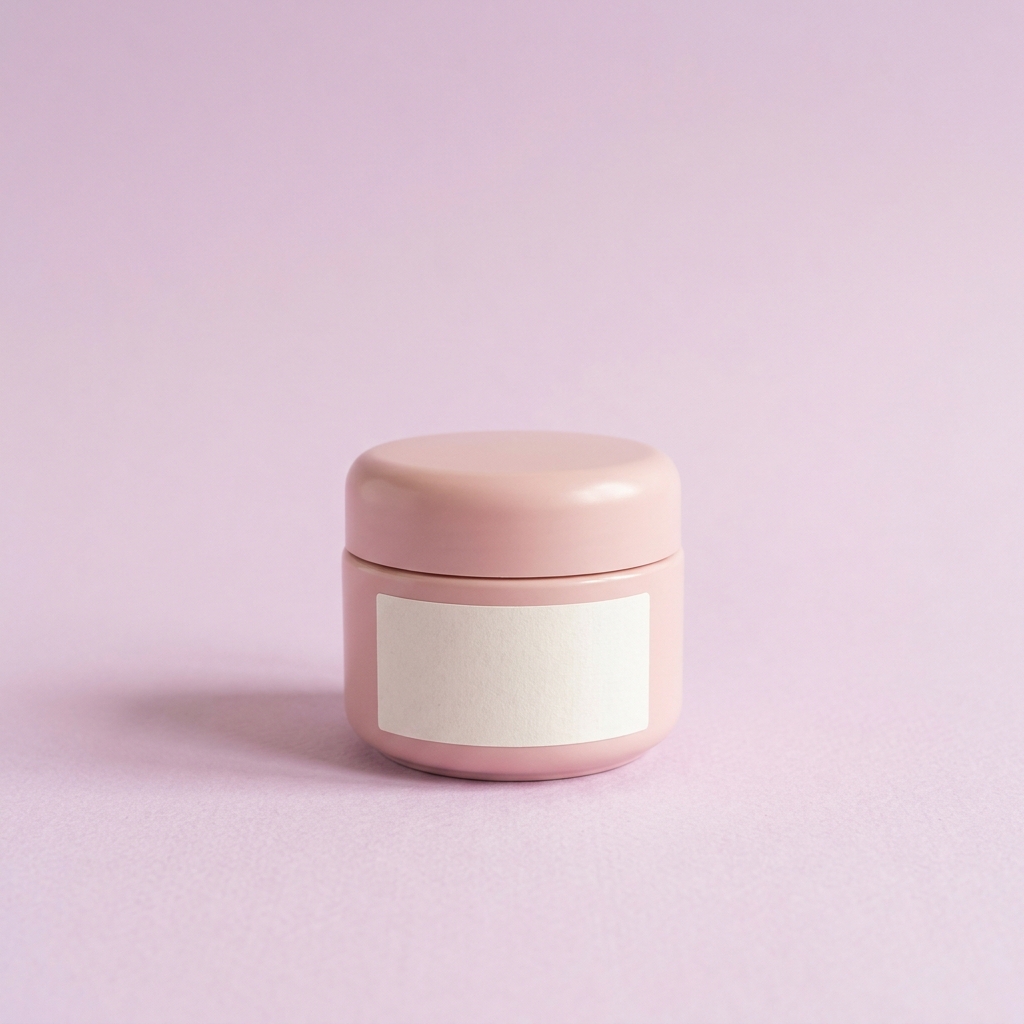
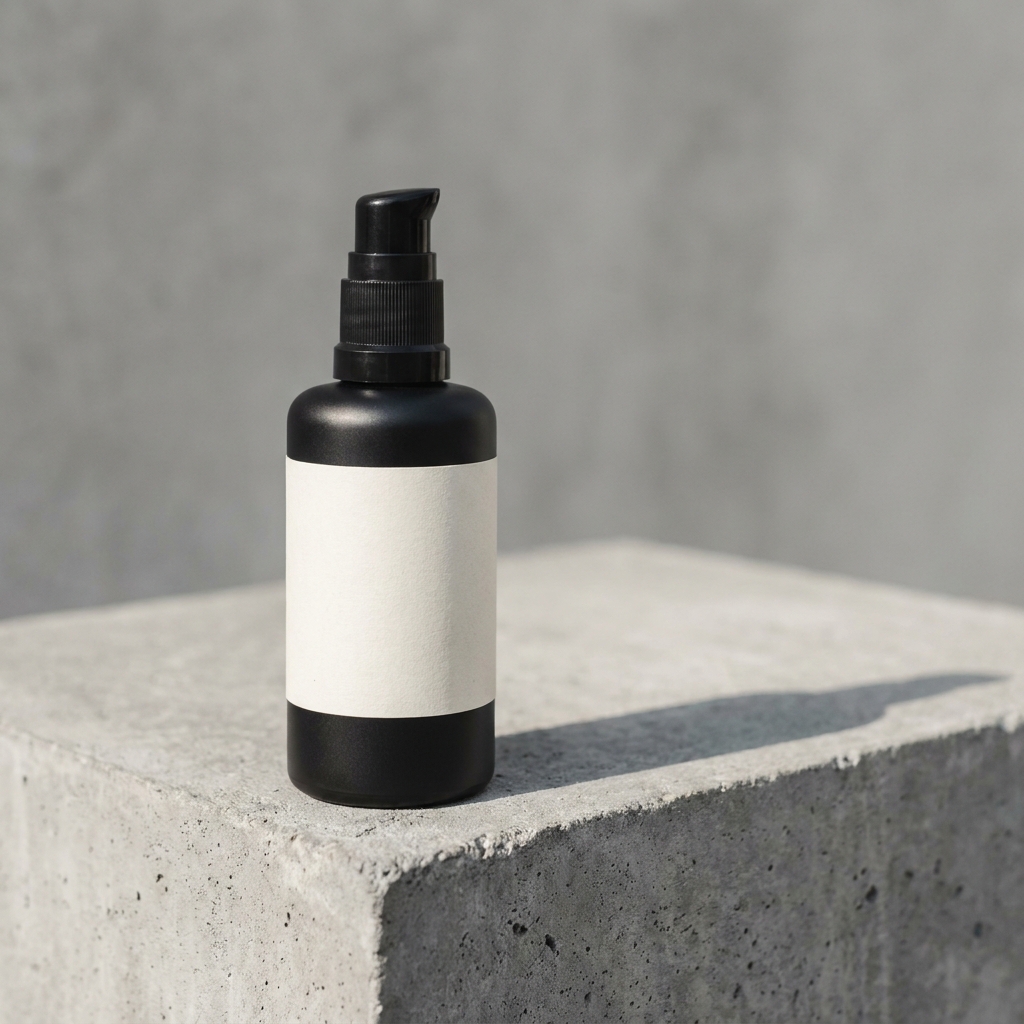
Twelve backgrounds, one example each
Every tile is a real DesignerBox render. Open one to read its page.
Studio fields
A plain, unbroken field behind the product. Pick from here when the product must cut out cleanly and sell on a grid.


Real surfaces
A material the product rests on. Pick from here when texture and weight are part of what you sell.

Built sets
A set with props, distance and daylight. Pick from here for the listing hero, seasonal pushes and social posts.



Who it is for
Does that sound like you?
Scaling without compromising quality.
You need more pictures every week for the shop, the ads and the socials. Anyone can make an AI picture. Making hundreds that still look like your brand is the hard part. A shoot for every product costs weeks, and every new generator returns a different look.
- A template or a workflow you build once, with your brand rules
- One run on one product, or a batch over your whole catalogue
- Every result in Assets, with the same look on the first and the last
Cut the waiting time and budget for deliverables.
You make this for clients, and every client has their own look. A shoot for each one costs weeks and most of the budget. A different generator for each one returns a different look, so somebody fixes it by hand before it is delivered.
- Each client's brand rules, saved once and used on every run
- A workflow you build once and run for every client
- A batch over a client's whole catalogue, delivered from Assets
Product photo backgrounds
A product photography background is the field or surface a product sits on in the frame. It does two jobs. It separates the product from the page. It also tells the buyer where the product belongs. Choose it from the product, not from your own taste. A white or gradient field suits anything that has to be cut out or sold on a catalogue grid. A real surface such as marble, concrete, wood or linen suits products with weight, texture or a material story. A built set with props and daylight suits gifts, seasonal pushes and social posts. If you are unsure, shoot white first. A white file can be reused everywhere.
Problems the background has to solve
Four things that change when you swap one background for another.
Cut-out cost differs by group
A studio field gives a clean edge, so the cut-out is quick and the transparent PNG holds up at small sizes. A surface or a styled set puts texture right against the product edge, and the mask has to be drawn by hand or redrawn by a model. If your listing needs a transparent file, pick a studio background for that shot and keep the set for a second frame.
Surfaces push colour into the product
Concrete, wood, marble and linen all bounce their own colour back up. Warm oak lifts a white label towards yellow. Grey concrete pulls a beige product towards green. A studio field does not do this, so the product colour stays close to the real item. Check the product against a reference photo after any surface shot, and correct the white balance before you publish.
Detail is lost at thumbnail size
A grid thumbnail can be 200 pixels wide. At that size a botanical or outdoor set collapses into a coloured blob and the product loses its outline. Studio and plain surface frames survive the shrink because there are only two tones in the frame. Before you commit to a styled set, view the frame at 200 pixels and check that the product still reads.
One light direction across the set
A catalogue reads as one shoot when every frame carries the same light. Studio frames use soft light from above and slightly to the left. A styled set uses daylight from a window, which arrives lower and harder. Mixing the two in one row makes the grid look bought from two places. Pick the light direction first, then pick backgrounds that can carry it.
Four steps to a background decision
Work through these before you spend credits on twelve different looks.
The white frame comes first because it is the only file the other steps reuse. A clean cut-out can be dropped onto marble, onto a podium or into an ad layout with no new upload. Work in the other order and you cut the product out of a wood surface, which is slower and leaves a rough edge. The three-way test comes before the workflow because a saved workflow repeats whatever you gave it. Save a background you have not compared and you repeat that choice across the whole catalogue.
Files every background has to produce
What to have in hand before a product goes live.
A white hero at 4K
One frame on pure white, product centred, at 4K after an upscale. This is the file that goes on the catalogue grid and into any selling channel that rejects props. It has to survive a crop to square and a shrink to 200 pixels with the product outline still readable. Image upscale is on the Premium plan.
A transparent PNG
The same product with no background at all, saved with a clean alpha edge. You reuse this file every time you try a new background, so it has to be cut once and cut well. Zoom to 400 percent on the handle, the strap or the spout and check for a white halo before you save it.
One set frame per season
A single styled frame that carries the mood: a podium, a plant, a table by a window. It runs at the top of the listing and in social posts, where a plain white frame reads as empty. One is enough. Two styled frames in the same gallery start to compete with each other.
The same crop across the row
Every frame in a gallery should place the product at the same height and the same size in the frame. A buyer scrolling a row sees the product jump when one frame is tighter than the next. Set one ratio and one product height, then hold both across all twelve backgrounds if you use more than one.
Questions about choosing a background
Answers on cost, cut-outs, channel rules and how many backgrounds one product needs.
How do I choose a product photography background?
How many backgrounds does one product need?
Can I change the background of a photo I already have?
Which background is safest for a listing main image?
Does the background change the colour of my product?
Which of the three groups on this page should I open first?
AI product photography hub
This page is about what the product sits on. The hub is about how a product is lit, angled and cut out for each category. Two different questions, two different pages.
Everything you need, in one place
The full workflow from the first product photo to the finished ad, in one subscription.
Scale content without limits.
Generate content for your products or services with AI, starting today, and keep your brand on every piece.