


Frames and lenses
Eyewear product photography with AI
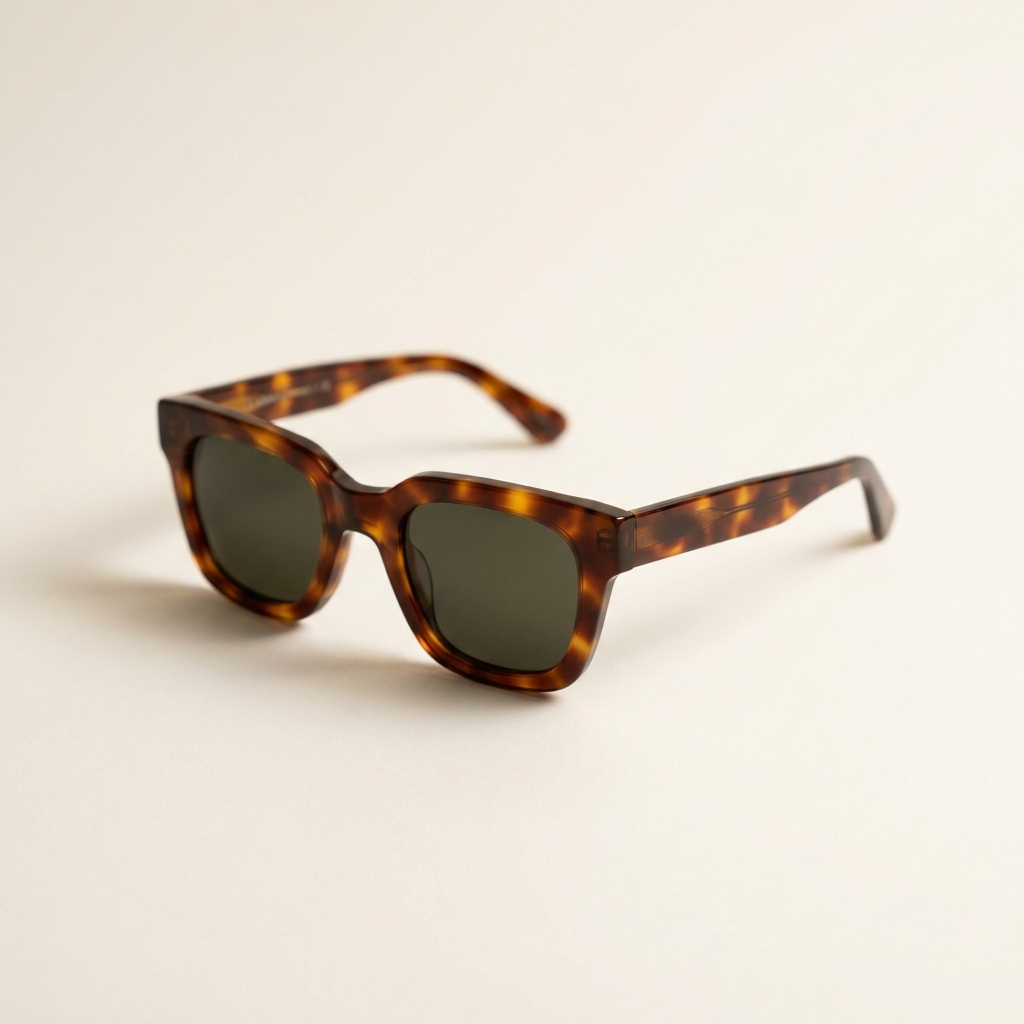
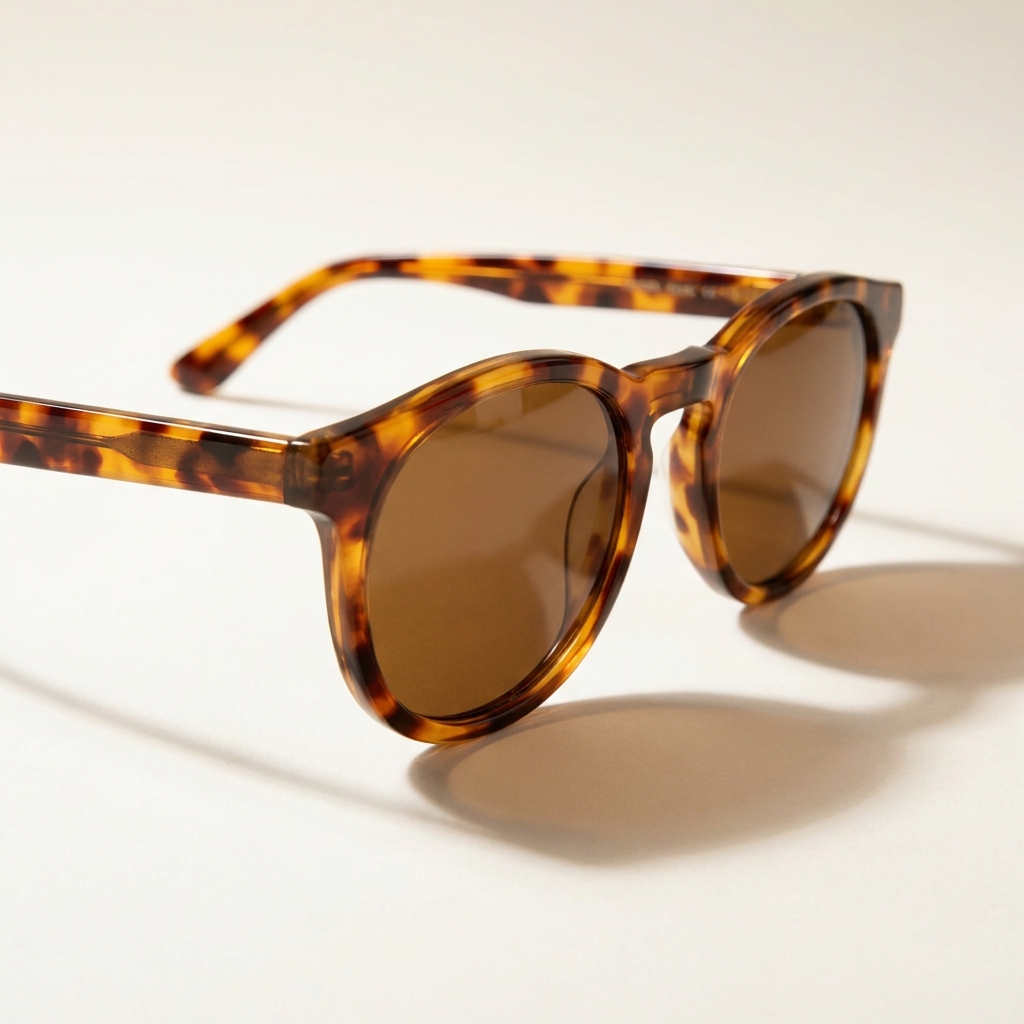
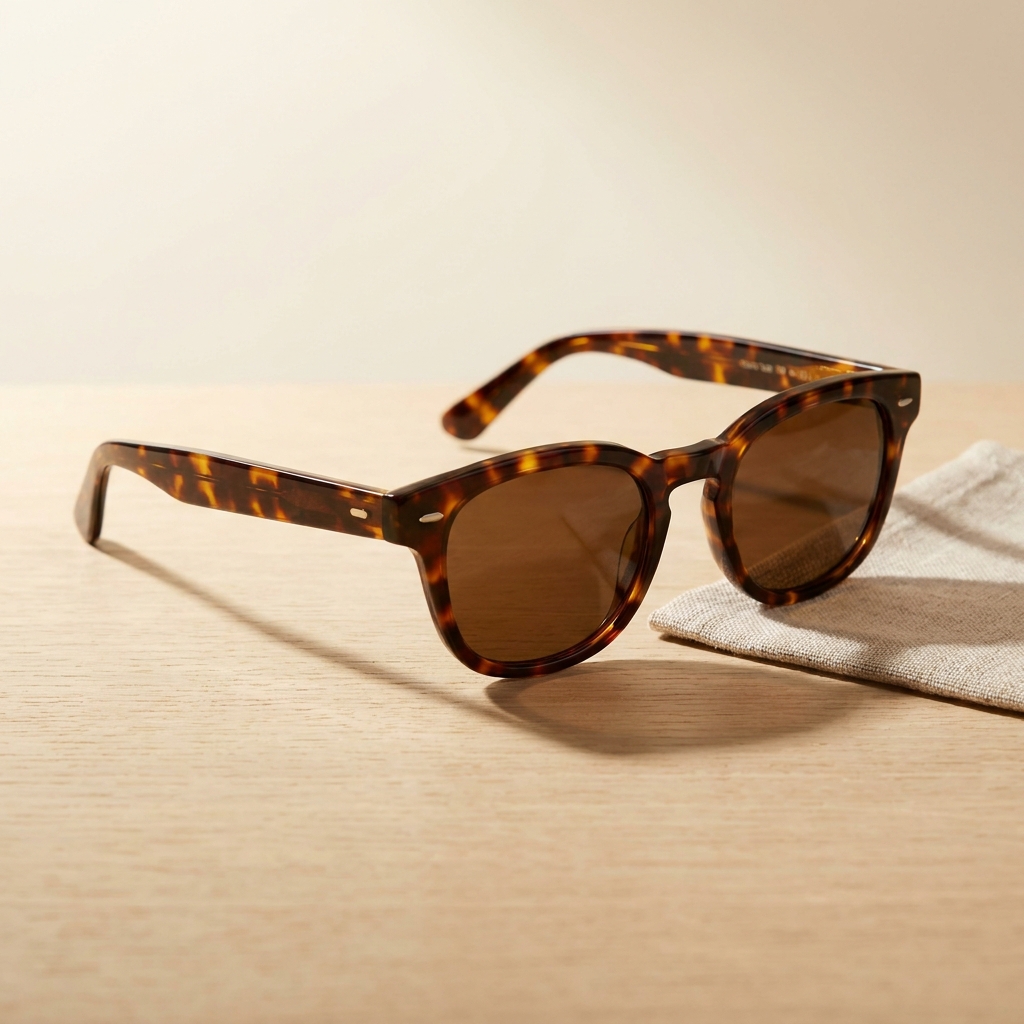
A lens copies the room. Move the highlight to the outer edge so the tint reads. Build the three-quarter and the side profile from your front photo, and shoot the folded pair. Add a worn shot so a buyer can judge width. Every picture keeps your brand's look, at any volume.
Last updated
Who it is for
Does that sound like you?
Scaling without compromising quality.
You need more pictures every week for the shop, the ads and the socials. Anyone can make an AI picture. Making hundreds that still look like your brand is the hard part. A shoot for every product costs weeks, and every new generator returns a different look.
- A template or a workflow you build once, with your brand rules
- One run on one product, or a batch over your whole catalogue
- Every result in Assets, with the same look on the first and the last
Cut the waiting time and budget for deliverables.
You make this for clients, and every client has their own look. A shoot for each one costs weeks and most of the budget. A different generator for each one returns a different look, so somebody fixes it by hand before it is delivered.
- Each client's brand rules, saved once and used on every run
- A workflow you build once and run for every client
- A batch over a client's whole catalogue, delivered from Assets
Eyewear and sunglasses
Eyewear product photography has to show frame shape, lens tint and size. A lens is a mirror. The first task is controlling what it reflects. The second is the angle set. A listing needs a square front and a three-quarter. It also needs a side view of the temple arm and a folded pair. The last task is fit. People buy frames by how wide they sit on a face, so one image has to answer that.
What eyewear photography has to solve
Four problems that only appear when the product has lenses in it.
Reflections in the lens
A polished lens copies whatever sits in front of it. The softbox, the ceiling and the camera all appear inside the frame. Good eyewear lighting places one broad, soft source high and to the side. You keep a single clean highlight and let the rest of the lens stay dark.
Tint density and gradient
A smoke, brown or green lens has a colour the buyer is choosing. Remove every reflection and the lens reads as an empty hole. Leave too much and the tint disappears. The balance is one highlight on the outer third, with the true tint visible across the rest of the glass.
Front square, then the temple views
The front view has to be dead level. A frame tilted by two degrees reads as bent. After that a buyer wants the temple arm, the hinge and the folded pair. Those views also carry the brand name printed on the inside of the temple, which is where the logo usually sits.
Size on a face
A frame on white has no size cue. Two pairs that look alike in a listing can sit differently on a head. One worn image fixes that. Pair it with the lens width, bridge width and temple length, which are the numbers printed inside the temple arm.
The eyewear shot list, in order
Square the front first. Every later view is built from it.
Reflection comes before everything on eyewear. A clean cutout cannot save a lens with the ceiling lights in it. Settle the front view and place the highlight. Every other view then inherits that light. Angles come next, because a three-quarter built from a corrected front carries the correction with it. Cut out after the views agree. The worn shot is last. It adds a face, and it is the one image relighting cannot fix. Save the sequence and the next colourway runs through the same steps.
What an eyewear listing needs
Four files, and the doubt each one settles for a frame buyer.
Square front packshot on white
The frame a search grid puts first. Frame level, both lenses matching, one soft highlight per lens. Leave a small margin on all four sides so a square crop on a phone does not clip the temple tips.
Side and folded temple views
Two files that answer what the front cannot. The side profile shows temple length and how far the arm curves at the ear. The folded pair shows the hinge, the brand name and how flat the frame packs into a case.
Macro of hinge and lens edge
One high-resolution crop of the hinge, the rivets and the lens edge. This is where buyers judge build quality on an acetate or metal frame. Upscale it after the light is settled, so you are not enlarging a shot you will replace.
Worn image with the size numbers
One shot of the frame on a face, plus the three measurements printed inside the temple. Lens width, bridge width and temple length in millimetres. Together they answer the fit question a flat packshot leaves open.
Questions about eyewear photography
What frame sellers ask before they shoot a range.
How do I stop the studio light showing in the lens?
How many images does an eyewear listing need?
Can the photo show the real lens tint?
Can I show frames on a face without booking a model?
How do I show frame size when the photo has no scale?
What about mirrored and polarised lenses?
Other categories
The same craft, written for a different product.
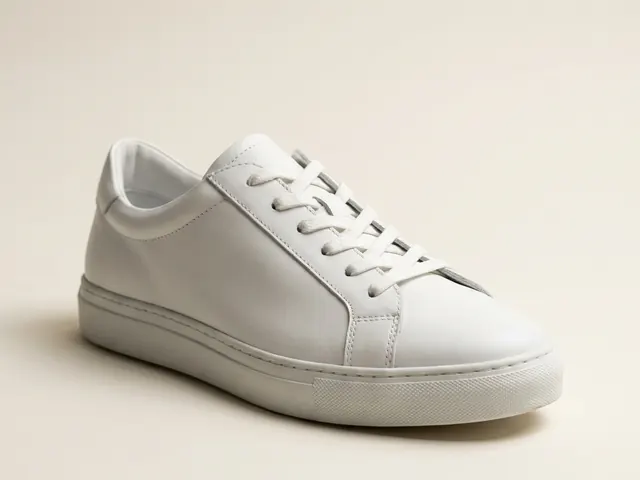
Footwear photography
Three-quarter hero, profile, sole and lace detail from your shoe photos.
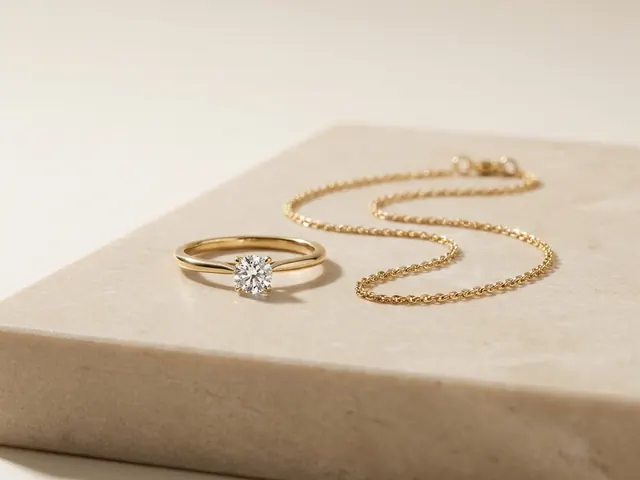
Jewellery photography
Reflection control on metal, stone brilliance, macro detail and a size cue.
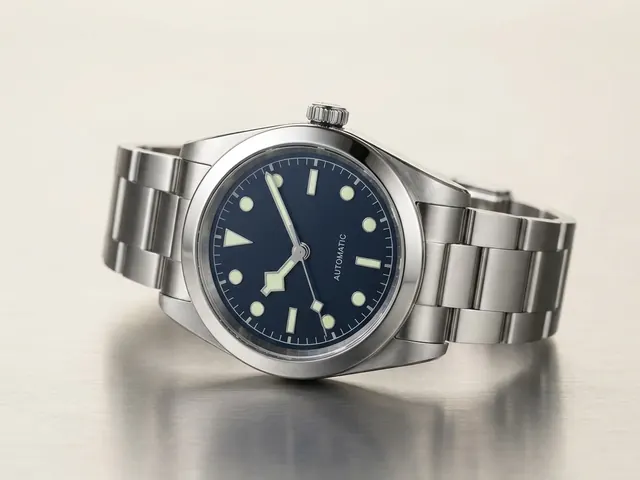
Watch photography
Crystal glare, dial legibility, bracelet finish and the ten past ten hand set.
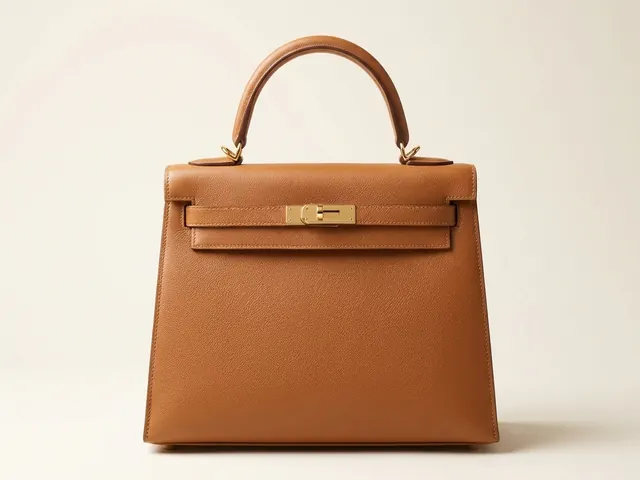
Bags and handbags
Shape, leather grain, hardware and the interior view.
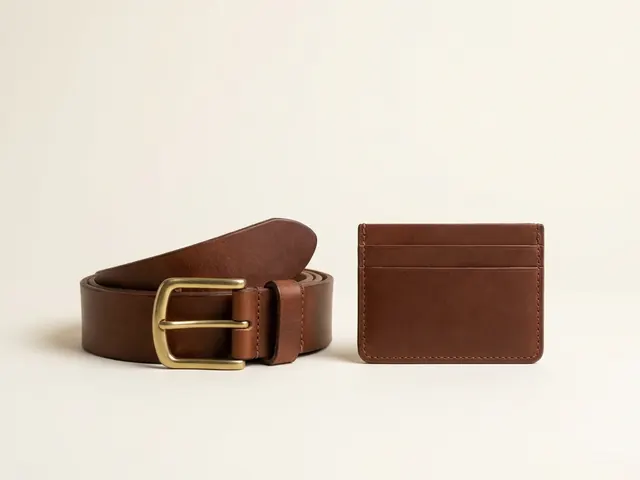
Wallets, belts and small goods
Flat lay sets, open and closed states, edge paint and thickness.
Phone cases
Curved-shell prints, sharp camera cutouts and one look across a whole design range.
Everything you need, in one place
The full workflow from the first product photo to the finished ad, in one subscription.
Scale content without limits.
Generate content for your products or services with AI, starting today, and keep your brand on every piece.








