To edit text in an image, pick one of four methods. Open the layered file and retype the line. Or clone the old words out in a classic editor and type new ones in a matching font. Or ask an AI image editor to redraw the words. Or split the flat image into layers first. The right method depends on the file you have and the size of the type.
The price on a product banner changed this morning. The ad is approved, the designer is away, and the only file anyone can find is a flat JPEG. The headline needs a German version by Friday, and the label on the product photo still shows last season’s name.
This guide covers the four methods, the job each one fits, and the five places where a text edit breaks. It ends with a check you can run on every edited image before it goes live. It is written for brand and agency teams that fix product and ad images.
Key Takeaways
- Four methods, one question first: do you still have the layered file? If you do, retype the line there. Every other method rebuilds pixels.
- Clone and retype works on flat backgrounds. The old words come out, and you set new live text in a matching font. Photoshop’s Match Font suggests similar fonts from a selected area (helpx.adobe.com, October 2026).
- AI editors redraw the words as pixels. OpenAI says its image models “can still struggle with precise text placement and clarity”. Google says its model can struggle with “accurate spelling”.
- Layer splitting is the newest route. Alibaba’s Qwen-Image-Layered turns one flat image into several RGBA layers, for example 3 or 8.
- Translated text grows. IBM guidance cited by the W3C puts English strings of up to 10 characters at 200 to 300% of their length in European languages.
- Logos and legal lines are not text edits. Place the approved logo file and the approved artwork. Do not let a model redraw them.
- Check every edit at 100% zoom, letter by letter, and compare it with the source copy.
How to edit text in an image: four methods
There are four ways to change words that already sit inside an image. They differ in what they start from. The layered file holds the words as live text. A flat file holds only pixels, so the editor has to remove the old pixels and make new ones. The table sorts the four methods by the job each one fits.
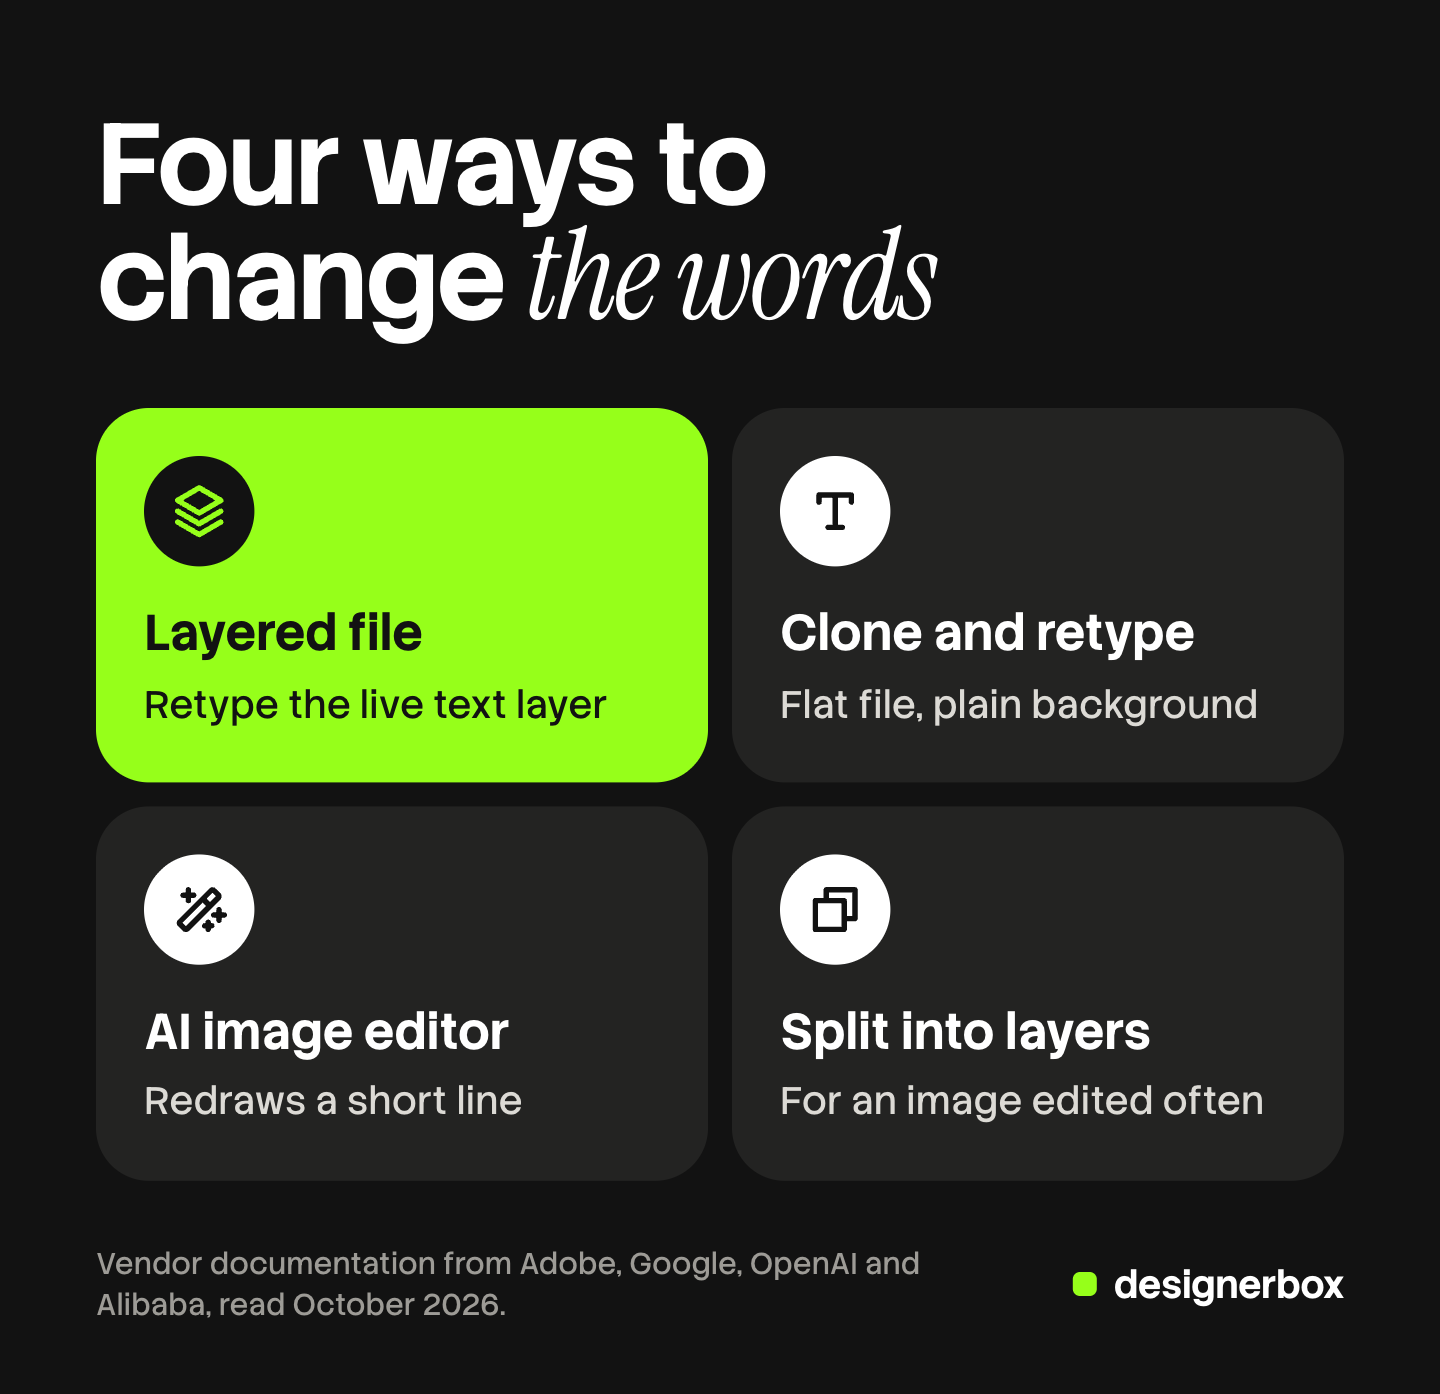
| Method | Starts from | Fits this job | Where it gets hard |
|---|---|---|---|
| 1. The original layered file | A PSD, a Figma file or a Canva design | Any change to a headline, a price or a date | You need the file and the font |
| 2. Clone and retype | A flat JPEG or PNG | Text on a plain or soft background | Busy backgrounds, curved surfaces, an unknown font |
| 3. An AI image editor | A flat JPEG or PNG | A short line on a photo, a label on a product, a sign in a scene | Small type, long copy, exact fonts, some scripts |
| 4. Split into layers | A flat JPEG or PNG | A poster or ad you will edit many times | The split is a model’s guess, so check each layer |
The order matters. Method 1 changes real text, so the letters stay sharp at any size. Methods 2, 3 and 4 all rebuild part of the picture. The more of the picture a method rebuilds, the more you have to check afterward.
For the wider set of edits a product image needs, from cutout to export, see the ecommerce image editing guide and the eight steps for editing product photos in order.
Method 1: the original layered file
The layered file is the best starting point, and it is worth one message to find it. In a layered file the headline is a text layer. You select it, type the new words, and export. The font, the size, the color and the effects stay as the designer set them. Nothing else in the picture changes.
Three checks before you start:
- Ask for the source. The agency, the freelancer or the print supplier often still has it. A packaging supplier usually holds the approved artwork as a vector file.
- Check the font. If the font is not on your computer, the editor swaps in another one. Install the brand font first.
- Check for flattened text. Some designers turn text into shapes before delivery. A shape cannot be retyped, so you rebuild that one line with the same font.
This method also carries a lesson for new work. Keep the text live until the last export. The ad localization guide explains why text that is baked into the image costs a rebuild for every language.
Method 2: clone the old text out and retype it
When only a flat file exists, the classic route has two steps. First you remove the old words. Then you set new text on top as a live text layer. The result is half rebuilt pixels and half real text, so the new letters are sharp.
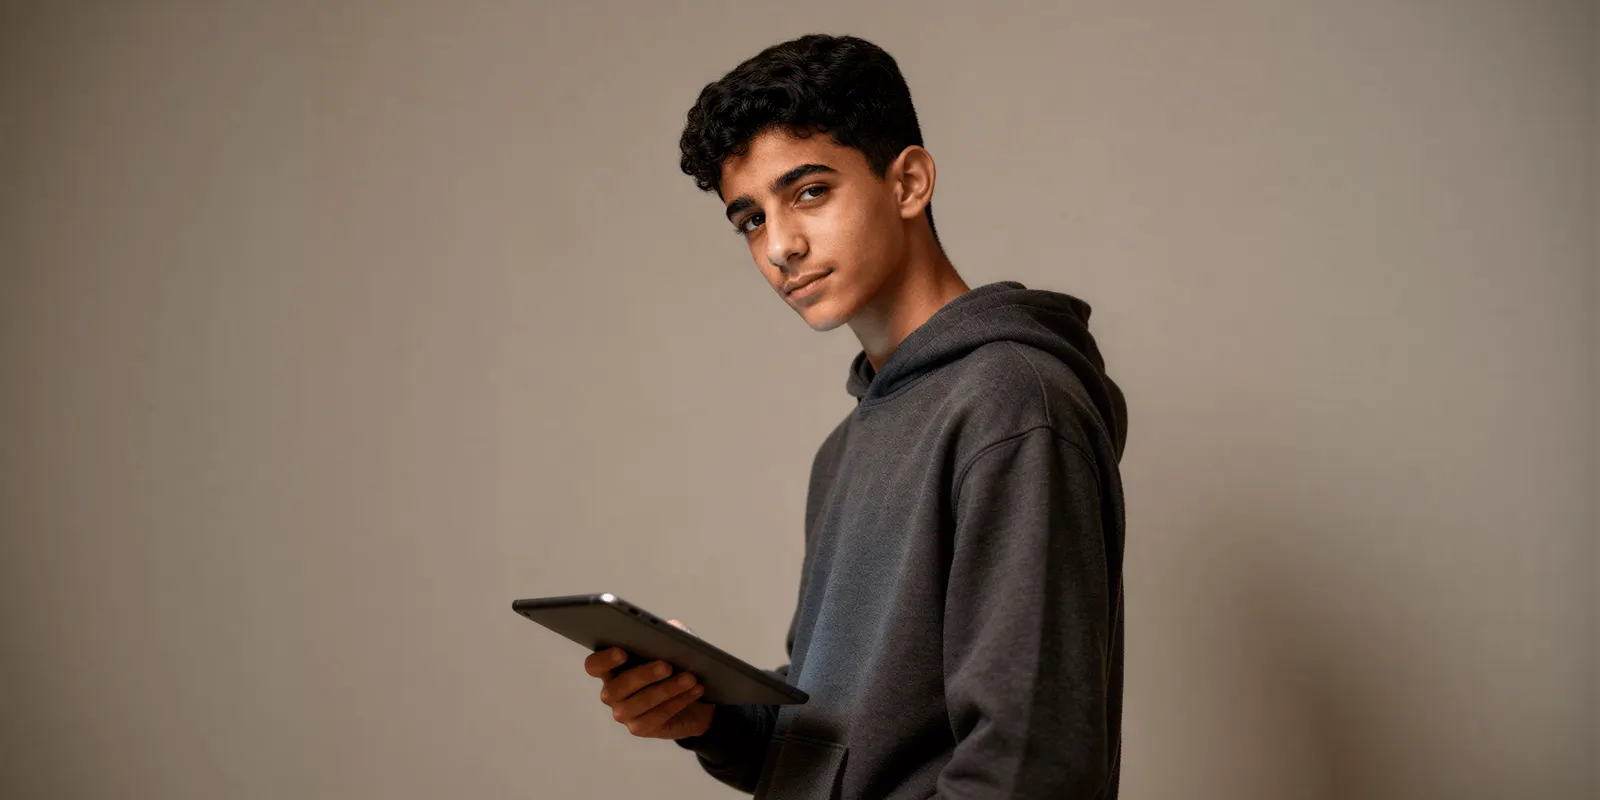
Remove the old words. In Photoshop, Content-Aware Fill fills a selected area with pixels from a sampling area that you can adjust (helpx.adobe.com, October 2026). The clone tools do the same job by hand. This works well on a plain wall, a soft gradient or an out-of-focus background. It gets slow when the words sit on wood grain, fabric or a busy photo.
Match the font. Photoshop’s Match Font reads a selected area of text and suggests a list of similar fonts (helpx.adobe.com, October 2026). If the brand font is known, use the brand font and skip the guess.
Retype and align. Set the new line in the same size, weight, color and letter spacing. Compare it with a second line of original text in the same picture, if one exists.
Canva takes a related route with Grab Text. It finds the text in a picture and puts new, editable text on top of the image (canva.com, October 2026). A useful rule for every tool in this method: flat, front-facing text is the easy case, and skewed text is the hard one.
Method 2 fits prices, dates and short headlines on simple backgrounds. Text on a curved bottle, a folded shirt or a sign at an angle needs the new text warped to the surface by hand. That is skilled work, and Method 3 often does it faster.
Method 3: an AI image editor that redraws the text
An AI image editor does both steps at once. You name the old words and the new words, and the model draws the picture again with the new words in place. The letters follow the surface, the light and the perspective of the photo. The cost is control: the new words are pixels, and the model chooses the letter shapes.
The model vendors describe both sides.
- Google lists “Advanced text rendering” for its Gemini image models, “capable of generating legible, stylized text for infographics, menus, diagrams, and marketing assets” (ai.google.dev, October 2026). Its Nano Banana Pro page also says the model “can still struggle with small faces, accurate spelling, and fine details in images” (deepmind.google, October 2026).
- OpenAI says of its GPT Image models: “Although significantly improved, the model can still struggle with precise text placement and clarity” (developers.openai.com, October 2026).
- Black Forest Labs gives a prompt rule: “To render text, put the exact words in quotation marks, then say where they go and how they look” (docs.bfl.ml, October 2026).
Some editors add a step before the redraw. Higgsfield’s Edit Text first detects every line of text in the image and lists it. You change a line, and the editor returns a new image with the new words in the original design (higgsfield.ai, October 2026). Its guide says the feature replaces text that is already in the image. Adding text where none existed is outside its scope.
A prompt that works for most AI editors has four parts:
- Quote the old words and the new words. Write: change “Summer Sale” to “Autumn Sale”.
- Say what stays. Write: keep the font, the color, the size and the position.
- Say what must not change. Write: do not change the product, the logo or the background.
- Change one line per edit. Two lines in one prompt give the model two chances to drift.
Method 3 fits a short line on a real surface: a label on a jar, a sign in a lifestyle scene, a word on a shirt. It is a weak fit for a paragraph of small print or a line that must use one exact licensed font. For a comparison of the editors themselves, see the best AI photo editor comparison.
Method 4: split a flat image into layers
The newest route turns the flat file back into something like a layered file. A model separates the picture into parts, such as the background, the product and the text. The model returns each part as its own layer with transparency. You then move, hide or replace one layer and leave the others alone.
Alibaba’s Qwen-Image-Layered is one public model that does this. Its model page describes “a model capable of decomposing an image into multiple RGBA layers”, where “each layer can be independently manipulated without affecting other content”. The number of layers is not fixed. The page shows the same image split into 3 or 8 layers, and a layer can be split again (github.com/QwenLM, October 2026). The research paper explains the reason: in a flat image “all visual content is fused into a single canvas”, while design tools keep layers apart (arxiv.org, October 2026).
Two limits follow from how it works.
- The layers are a model’s reading of the picture. The model has to invent the pixels that were hidden behind the text. Check the background layer where the words used to be.
- The text layer is still pixels. You can hide it or move it. To change the words, you set new live text in its place, as in Method 2, or redraw it, as in Method 3.
So Method 4 is a first step. It is worth the extra step when one poster or ad will be edited many times. You separate the image into layers once, and after that each change touches one layer.
What breaks when you change text on an image
Five things break most often. Each one has a check.
Font match. A model draws letters that look like the font. It does not load the font file. On a headline, a reader may not see the difference. Beside a second line in the real brand font, the difference shows. Where the brand font matters, set the line as live text (Method 1 or 2).
Perspective and surface. Text on a curved label bends, catches light and loses focus at the edge. Clone and retype needs a manual warp. An AI redraw handles the curve, and then you check that the product behind the label kept its shape.
Small type. Ingredient lists, legal lines and size charts are the hardest case for a model. Google and OpenAI both name spelling or clarity as a limit, in the pages quoted above. Do not edit small print with a generative redraw. Take it from the approved artwork.
Translation and other scripts. A translated line is often longer than its box. IBM guidance cited by the W3C says English text of up to 10 characters grows, on average, to 200 to 300% of its length in European languages. Text over 70 characters grows to about 130% (w3.org, October 2026).
Google also says its model “may struggle with grammar, spelling, cultural nuances, or idiomatic phrases” when it translates. Black Forest Labs shows a prompt that quotes Japanese text directly and says text in another script “works the same way”. Even so, a person who reads the language has to check the result. A wrong accent or a mirrored character is easy to miss if you cannot read the line.
Logos and trademarks. A logo is a drawing with exact shapes. A model that redraws the area can change it. Mask the logo out of the edit, or place the approved logo file on top afterward. Do not change another company’s name or mark in an image. The same rule holds for regulated text on a pack, such as warnings and net quantity: it comes from the approved artwork, and a text edit never rewrites it. The AI product photo accuracy guide covers how to keep labels and logos true to the real product.
How to check an edited image
A text edit is finished when someone has read it. Run these six checks on every edited image.
- Read it letter by letter at 100% zoom. Compare it with the copy document. Look at accents, apostrophes, currency signs and decimal points.
- Compare with the original. Put the two versions side by side, or switch between them. Nothing outside the edited area should move.
- Check the logo and the product. Both must match the original pixel for pixel in shape and color.
- Check the size. The edited file should have the same pixel size as the original. Some editors return a smaller picture.
- Check the smallest text at the size shoppers see. A line that reads well at full size can blur on a phone.
- Have a native reader check each language. Fit and meaning are two checks.
For a set of images, write the checks down once and use the same list on every file. The bulk image editing guide sorts the checks a script can run from the ones a person must do.
Text edits in DesignerBox
DesignerBox is AI creative production for brands and agencies. Scale your images, ads and video with AI and keep your brand on every piece. Build the workflow once with your brand rules, and run it on every product.
Anyone can make an AI picture. Making hundreds that still look like your brand is the hard part. Text is where that shows first, because a wrong font or a bent logo is easy to see. In the image editor you change one picture with a sentence or a brush. The image editor makes one edit after another, and the picture keeps its detail and resolution. The editor is also a canvas, so you can add a headline as text on top of the picture. The guide to the DesignerBox editors shows both ways of working.
Your logo, fonts and colors sit in a brand profile, and the workflow reads it on every run. For the same change on many products, batch runs one workflow over a whole sheet, and you keep or discard each row. The cost is shown before you press Run.
The full workflow from the first product photo to the finished ad, in one subscription. Templates, workflows, apps, batch, the image editor, the video editor, brand profiles and Assets sit in one place.
The limits, stated plainly (DesignerBox image editor page, October 2026):
- A redrawn line still needs a read. Check every letter, as in the six checks above. DesignerBox does not promise that redrawn text is correct.
- The editor changes one picture at a time. For a set, use a workflow and batch.
- Plan gates apply. Uploading your own photos and the commercial license start on the Pro plan. The image editor starts on the Premium plan. There is a free plan, and it runs on sample products.
Plans and credits are on the pricing page.
A free plan for your first run
Start from a template and run it on the sample products.
FAQ
How do I edit text in an image?
Start with the file you have. If you have the layered file, retype the text layer. If you have only a flat JPEG or PNG, remove the old words and set new text in a matching font. You can also ask an AI image editor to redraw the line. Then read the result at 100% zoom.
Can AI change text on an image without changing the rest?
Often, and you still have to check. An AI editor draws the edited picture again, so areas near the text can change a little. Tell the model what must stay the same, change one line per edit, and compare the result with the original. Mask the logo, or place the approved logo file on top afterward.
How do I edit text in a photo when I do not know the font?
Use a font matching feature, or ask the designer. Photoshop’s Match Font suggests similar fonts from a selected area. An AI editor copies the look of the letters without the font file. For a brand line, find the real font and set live text.
Can I separate an image into layers?
Yes, with a layer decomposition model. Alibaba’s Qwen-Image-Layered turns one flat image into several RGBA layers, for example 3 or 8. The layers are the model’s reading of the picture, so check the background where the text was. The text layer is still pixels, and you replace it with new text.
Why does AI get small text wrong?
A model draws letters as shapes in the picture. It does not type them. Small letters have few pixels, so a small error changes a letter. OpenAI and Google both name text clarity or spelling as a limit of their image models. Take small print from the approved artwork.
How do I replace text in an image with a translated version?
Plan for longer text first. Short English strings can grow to 200 to 300% of their length in European languages, per IBM guidance cited by the W3C. Set the translated line as live text where you can, and give the box room. A native reader checks the meaning and the fit.
What does a text edit cost in DesignerBox?
The cost is shown before the run, so you see it before you press Run. The image editor starts on the Premium plan, and uploading your own photos starts on the Pro plan. Plans and credits are on the DesignerBox pricing page.
Sources
- OpenAI, image generation guide, limitations: text rendering “can still struggle with precise text placement and clarity” (developers.openai.com, read 4 October 2026)
- Google, Gemini API image generation guide: “Advanced text rendering” for infographics, menus, diagrams and marketing assets (ai.google.dev, read 4 October 2026)
- Google DeepMind, Nano Banana Pro page, stated limits on spelling, fine details and translation (deepmind.google, read 4 October 2026)
- Black Forest Labs, prompting basics, text in images: exact words in quotation marks, text in another script (docs.bfl.ml, read 4 October 2026)
- Alibaba Qwen team, Qwen-Image-Layered model page: decomposition into multiple RGBA layers, 3 or 8 layers, recursive decomposition (github.com/QwenLM, read 4 October 2026)
- Yin et al., “Qwen-Image-Layered: Towards Inherent Editability via Layer Decomposition” (arxiv.org, read 4 October 2026)
- W3C, “Text size in translation”, with IBM’s expansion table: up to 10 characters 200 to 300%, over 70 characters 130% (w3.org, read 4 October 2026)
- Adobe, Photoshop help: Match fonts in images, and Remove objects with Content-Aware Fill (helpx.adobe.com, October 2026)
- Canva Help Center, Grab Text (canva.com, read through search results, October 2026)
- Higgsfield, guide to its AI photo editor: Edit Text detects each line, then redraws the changed line (higgsfield.ai, read October 2026)
- DesignerBox image editor, brand, batch and pricing pages (DesignerBox, October 2026)
Model and editor facts verified from each vendor’s own pages on 4 October 2026. No competitor price appears in this guide. Model capabilities change often, so check the vendor page before a large job. Individual results vary.