
To learn how to edit product photos, work through eight steps in a fixed order. Straighten and crop the photo. Fix exposure and white balance. Match the color to the real product. Set the background, remove dust, add a shadow, then sharpen and export. Each step depends on the one before it. Five steps follow one rule for every product. Three need a decision each time.
Suppose 60 new products arrive in one month, and each one needs five photos. That is 300 photos. If every photo takes a new set of choices, the editing never ends, and no two products look alike.
This guide covers the order for one photo. Then it sorts the steps into two groups: the ones you write down once, and the ones a person decides per product. It ends with a check against the real product.
Key Takeaways
- Eight steps, one order. Crop, exposure and white balance, color, background, cleanup, shadow, sharpen, export.
- Color comes before the background. A color cast changes every pixel, including the white.
- Save the JPEG once. Amazon’s file guide says each JPEG save reduces image quality. Edit in a working file and export at the end.
- Five steps are rules. Frame, background, shadow, sharpening and export settings are the same for every product. Write them on one page.
- Three steps are decisions. Exposure, color and cleanup depend on the product in front of you.
- Check the product last. Amazon, Google and eBay all ask for a photo that shows the item accurately.
How do you edit product photos in the right order?
Edit product photos from the largest change to the smallest. Geometry comes first, then light, then color, then the background, then small repairs, then the export. If you change the order, you repeat work.
The table shows the eight steps, why each one sits where it does, and which group it belongs to.
| Step | What you do | Why it sits here | Rule or decision |
|---|---|---|---|
| 1. Straighten and crop | Level the product and remove the extra space | Every later step works on a straight product | Rule |
| 2. Exposure and white balance | Set a neutral white and the right brightness | A cast changes every color in the photo | Decision |
| 3. Color accuracy | Match the color to the real product | It needs a neutral photo to start from | Decision |
| 4. Background | Remove or clean the background | The white must stay white after the color fix | Rule |
| 5. Cleanup | Remove dust, lint and fingerprints | No reason to clean pixels you later remove | Decision |
| 6. Shadow | Add one soft shadow under the product | It needs the final background | Rule |
| 7. Sharpen | Sharpen at the export size | A resize changes the effect | Rule |
| 8. Export | Flatten, convert and save per channel | The file is saved once | Rule |
Our guide to ecommerce image editing lists the edits each sales channel requires. This guide stays with one photo and the order of work.
The eight steps for one product photo
Start with a copy of the original file. Keep the original in a separate folder and never save over it.

1. Straighten and crop
Rotate the photo until the product stands level. Then crop the extra floor and wall, and leave some space on every side.
Do not set the final frame yet. Each channel asks for its own frame, so the exact crop belongs to the export step.
2. Exposure and white balance
Set the white balance first. Click a gray card in the frame, or an area you know is neutral. Then set the exposure, so the bright parts of the product still show detail.
You make this decision once per lighting setup. If 20 photos came from the same lights and the same camera settings, copy the correction to all 20. If the light itself was the problem, our guide to fixing product photo lighting shows what an edit can still repair.
3. Color accuracy against the real product
Put the real product beside the screen, in daylight. If the red on screen looks more orange than the real red, correct only that color.
Your screen is one of many. Amazon’s file guide says that customers use many displays that render colors differently, and that the colors on your screen are likely different from what someone else sees (Amazon technical image file requirements, October 2026). You cannot control the shopper’s screen. You can control the file, so edit and export in sRGB.
The W3C color specification says browsers must treat an image with no color profile as sRGB (W3C CSS Color Module Level 4, October 2026). Amazon also says not to rely on ICC color profiles for accurate color on its pages. A file whose pixels are already in sRGB shows the same color with or without the profile.
4. Background
Remove the background, or clean it, after the color is right. For an Amazon main image the background must be pure white, RGB 255, 255, 255 (Amazon product image guide, October 2026). eBay says white backgrounds are generally best, and that a darker background may work better for shiny or reflective items (eBay picture help, October 2026). Our guide to how to make a background white compares three routes.
View the edge of the product at 100%. A line of the old background around a strap or a glass edge shows clearly on white.
5. Dust and blemish cleanup
Remove what is not part of the product: dust, lint, fingerprints and loose threads. Product photo retouching can go too far here, so use one test. If the customer will see the mark on the product they receive, leave it in the photo. Wood grain, a seam and the natural marks in leather are part of the product.
6. Shadow
A product on pure white can look as if it floats. One soft shadow under it gives it weight. Pick one direction and one softness, and use them for the whole catalog.
A shadow changes the pixels near the product. After you add it, check that the rest of the background still reads 255, 255, 255.
7. Sharpen
Sharpen each file at the size you export. Set the channel frame and resize first. Then sharpen, and view the result at 100%. A bright line around the edges means the sharpening is too strong.
Sharpening cannot repair a photo that is out of focus, and the guide on how to sharpen an image shows which blur it can fix. Amazon asks for images that are clear and not pixelated, with no jagged edges. It also says not to artificially enlarge small images.
8. Export
Flatten the file, convert it to RGB and save it once. Amazon’s file guide says to remove all layers and to save JPEG files at the highest possible quality level. It also says to avoid saving a JPEG several times during editing, because each save reduces image quality.
Keep one master file per photo. For each channel, set the frame, resize, sharpen and save. A square of 2,048 x 2,048 px works as a master. Shopify says that size usually displays best for square product images.
| Channel | Size rule | Frame and background |
|---|---|---|
| Amazon | 500 to 10,000 px on the longest side. Zoom needs 1,000 px or more | Main image: pure white, product at 85% of the image |
| Google Merchant Center | At least 500 x 500 px, enforced from January 31, 2027 | Product at 75% to 90% of the image. No border or overlay |
| Shopify | Up to 5,000 x 5,000 px or 25 megapixels, under 20 MB | One aspect ratio for all product images |
| eBay | 500 x 500 px minimum, about 1,600 x 1,600 px recommended, up to 12 MB | No added border, text or watermark |
Sources: the Amazon product image guide, Google Merchant Center’s image requirements and size notice, Shopify’s product media page, and eBay’s picture help and picture policy, all read in October 2026.
Which steps can you standardize?
Five of the eight steps have the same answer for every product. Decide each answer once and write it down. After that, nobody decides it again.
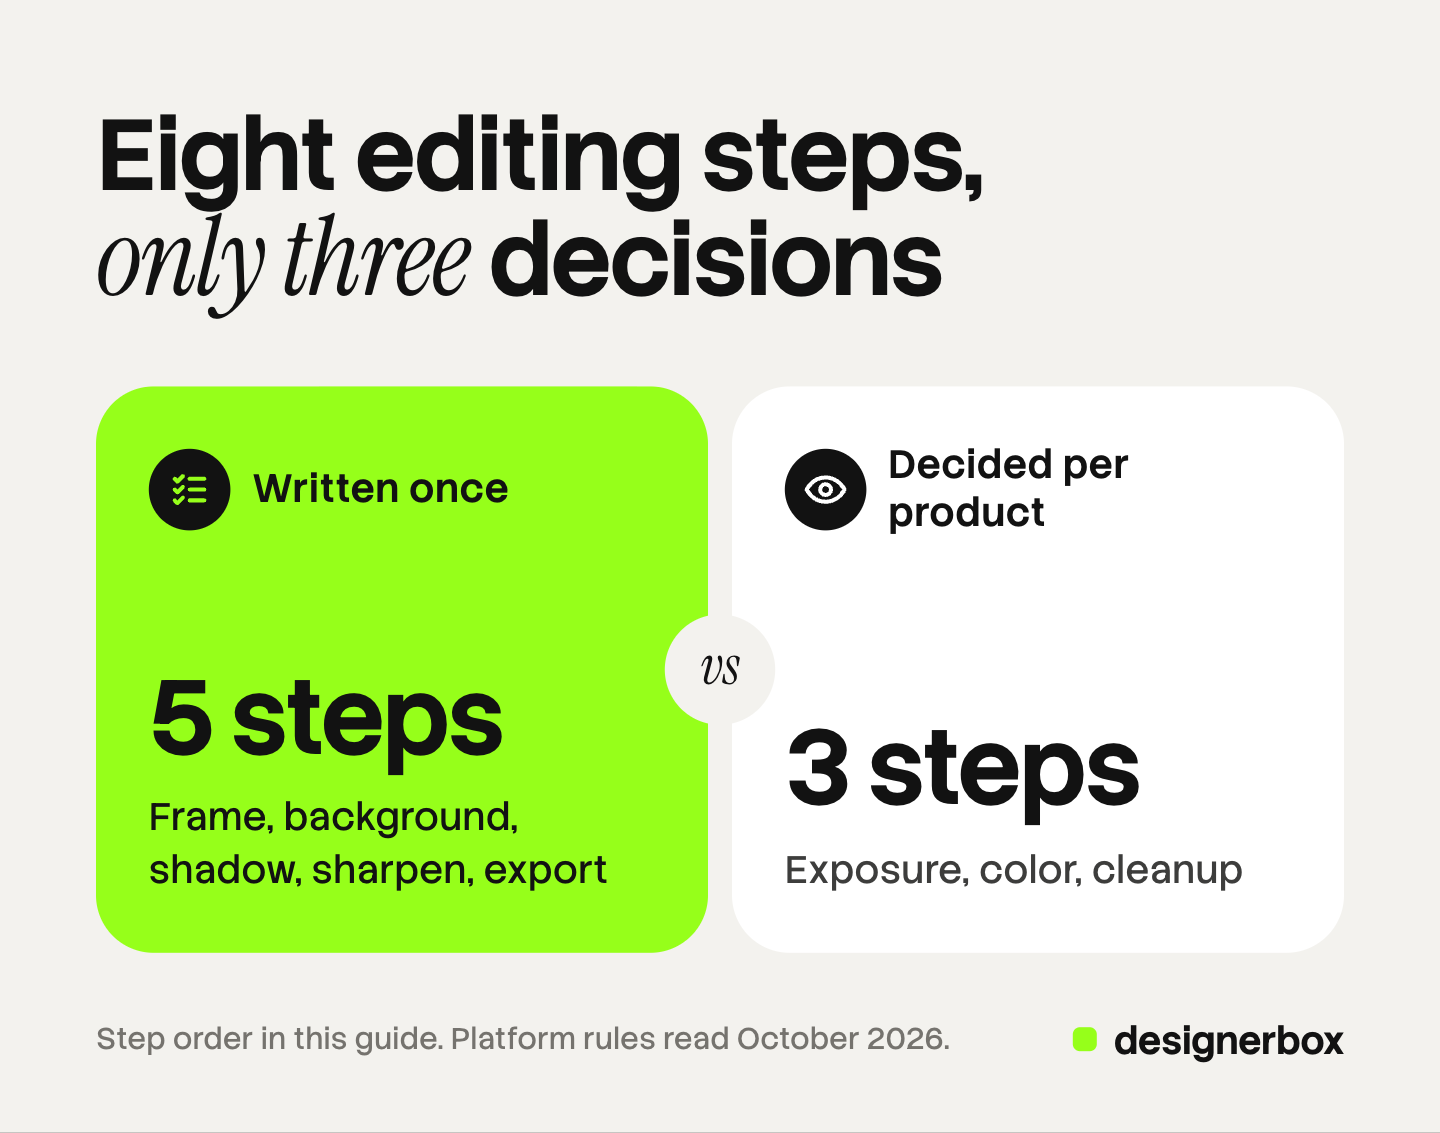
- Frame. One aspect ratio and one fill. A product at 85% of the image meets Amazon’s rule and sits inside Google’s 75% to 90%.
- Background. One value, such as pure white, for every main image.
- Shadow. One direction, one softness, one strength.
- Sharpening. One setting per export size.
- Export. One master size, one file type per channel, one naming pattern.
Put the five answers on one page. That page is your editing recipe. A new team member, a freelancer or a piece of software can follow it.
A rule still needs a look at the result. Our guide to bulk image editing sorts the edits a script can check from the edits a person must see.
Which steps need a decision per product?
Three steps depend on the product, and a recipe cannot answer them in advance.
Exposure and white balance. The decision holds for one lighting setup. A new setup, or a product that reflects light differently, needs a new correction.
Color accuracy. Only a person holding the product can say the color matches. This matters most for products sold in several colors. Google asks that the photo accurately reflects the exact color, pattern, finish and material of the option being sold.
Cleanup. Dust falls in a new place on every product. And only someone who knows the product can tell a scratch from a design detail.
The product-fidelity check before you publish
An edited photo must still show the real product. Amazon asks that the image accurately represents the real scale, quantity and color of the product. eBay does not allow photos that do not accurately represent the item.

Place the edited photo beside the original photo, and keep the product within reach. Then check six things.
- Color. The edited color matches the real product in daylight.
- Shape. The outline and proportions match the original photo. Nothing is stretched, slimmed or straightened into a new shape.
- Text and logo. Every letter on the label is still readable and still correct.
- Parts and count. The photo shows the number of items and the accessories the customer receives.
- Material. Texture, grain and finish are still visible. Cleanup did not turn leather into plastic.
- Variant. The photo shows the exact option on sale, and the file name matches its SKU.
Checks 2, 3 and 5 matter most after an AI edit. A model that redraws part of a photo can change a logo or a texture without any warning. If you publish an image made with generative AI on Google, keep its AI metadata in the file. Google’s image requirements say not to remove it.
This section is general information about platform rules, not legal advice. Read each platform’s page before a large upload.
How do you make the edit repeatable?
Edit the first product slowly and record every setting. Then test the recipe on five hard products, such as glass, fur, a white item and a black item. Change the recipe until all five pass the fidelity check.
After that, the method depends on volume. A desktop editor can copy settings from one photo to many. Our guide on how to batch edit photos covers five ways to do it. When the monthly volume is steady and the edits are hard, a product photo editing service takes the same written recipe as its brief. Our list of Pixelz alternatives sorts those services and tools by who does the work. For a comparison of editing software, see the best AI photo editors.
One saved workflow for the repeated edits
DesignerBox is AI creative production for brands and agencies. It makes images, ads and video, and a product photo is one of the inputs.
Anyone can make an AI picture. Making hundreds that still look like your brand is the hard part.
For one picture, the image editor makes one edit after another. You retouch, relight or change the background, and the picture keeps its detail and resolution (DesignerBox image editor page, October 2026).
For the repeated edits, you save the steps once as a workflow: the background, the light, the shadow and the frame. The workflow then runs the same way on the next product. For a catalog, a batch runs one workflow over a sheet with one product per row, up to 200 rows a sheet. Row one and row two hundred get the same steps. The cost is shown before the run.
The full workflow from the first product photo to the finished ad, in one subscription.
The three decision steps stay with you. Compare each result with the real product before you use it. DesignerBox does not send results to a store or a marketplace. You download the results, or send them with a webhook or an S3 step. Every plan below Ultra is one seat.
Uploading your own photos and the commercial license start on the Pro plan. AI video, virtual try-on, upscaling, the image editor and the video editor start on the Premium plan. Plans and credits are on the pricing page.
There is a free plan, and it runs on sample products.
FAQ
What is the correct order to edit product photos?
Straighten and crop first. Then fix exposure and white balance, and match the color to the real product. After that, set the background, remove dust, add a shadow and sharpen at the final size. Export last, and save the JPEG once.
Should I fix color before I remove the background?
Yes. A color cast affects the whole photo, including the background. If you make the background white first and correct the color after, the white shifts with it. Correct the color on the full photo, then set the background to pure white.
What size should I export product photos at?
Keep a 2,048 x 2,048 px square as the master. Shopify says that size usually displays best for square product images. It is above Amazon’s 1,000 px zoom line, eBay’s recommended 1,600 px, and the 500 x 500 px minimum Google enforces from January 31, 2027.
Which color profile should product photos use?
Use sRGB. The W3C color specification says browsers treat an image with no color profile as sRGB. Amazon prefers RGB files and says not to rely on ICC color profiles for accurate color. An sRGB file shows the same color in both cases.
Can I edit product photos with AI?
Yes, for the repeated steps such as the background, the shadow and the frame. Check each result against the original photo, because a model can change a logo, a texture or a shape. Google requires images made with generative AI to keep their AI metadata.
Sources
- Amazon product image guide: 500 to 10,000 px, zoom from 1,000 px, pure white main image, 85%, accurate scale, quantity and color, clear and not pixelated, no artificial enlargement (sellercentral.amazon.com, read October 2026)
- Amazon technical image file requirements: displays render colors differently, RGB, ICC profiles, JPEG saves, layers (sellercentral.amazon.com, read October 2026)
- Google Merchant Center image requirements: 75% to 90% framing, no borders or overlays, exact color, pattern, finish and material, AI metadata (support.google.com, read October 2026)
- Google Merchant Center image size notice: 500 x 500 px from January 31, 2027 (support.google.com, read October 2026)
- Shopify Help Center, product media types: 5,000 x 5,000 px or 25 megapixels, 20 MB, 2,048 x 2,048 px, one aspect ratio (help.shopify.com, read October 2026)
- eBay, adding pictures to your listings: 500 x 500 px, 1,600 x 1,600 px, 12 MB, white and darker backgrounds (ebay.com, read October 2026)
- eBay picture policy: accurate photos, no added borders, text or watermarks (ebay.com, read October 2026)
- W3C, CSS Color Module Level 4, section 3.5: untagged images are treated as sRGB (w3.org, read October 2026)
- DesignerBox image editor: one edit after another, detail and resolution kept: DesignerBox image editor page (designerbox.ai/product/image-editor), October 2026
- DesignerBox batch: one product per row, up to 200 rows a sheet, the cost shown before the run: DesignerBox batch page (designerbox.ai/product/batch), October 2026
- DesignerBox plan gates: DesignerBox pricing page (designerbox.ai/pricing), October 2026
Platform image rules verified on each platform’s own help pages in October 2026. The 60-product and 300-photo figures are example arithmetic, not measurements. Platform rules change often, so check each page before a large upload. Individual results vary.