
To sharpen an image, finish every other edit first. Resize the file to its final pixel size. Then apply a sharpening filter and check the result at 100% zoom. Sharpening raises the contrast along edges, and it adds no detail. It helps a photo that is slightly soft. It cannot repair a photo that is out of focus, shaken, too small or heavily compressed.
Key Takeaways
- Sharpening is edge contrast. The filter makes the light side of an edge lighter and the dark side darker. The file holds the same detail as before.
- Four kinds of blur exist. Soft focus, motion, low resolution and compression each need a different repair. Sharpening fits the first one.
- Three controls do the work. Amount sets the strength, radius sets the width, and threshold protects smooth areas.
- Sharpen last. Clean the noise, fix the color and resize first. Sharpen once for each export size.
- An AI unblur tool draws new detail. Check label text, logos, stitching and weave against the real product before the picture ships.
What does it mean to sharpen an image?
To sharpen an image is to raise the contrast where a light area meets a dark one. Adobe’s help page says the same thing in one line: “Sharpening enhances the definition of edges in an image” (helpx.adobe.com, October 2026).
The eye reads strong edges as sharpness. Photographers call that impression acutance. An image with higher acutance looks sharper “even though an increase in acutance does not increase real resolution” (Wikipedia, October 2026).
A sharpening filter works with the detail the file already has. A stitch recorded as a soft line becomes a clear line. A stitch recorded as a gray smear stays a smear, with more contrast.
Adobe states the limit as a rule: “Sharpening cannot correct a severely blurred image” (helpx.adobe.com, October 2026). So the first job is to find out which kind of blur you have.
The four kinds of blur in a product photo
Blur has four common causes in a catalog, and each one needs a different repair.
Soft focus. The lens focused a little in front of the product or behind it. Edges are wide and gentle across the whole subject. A slight case responds well to sharpening. A strong case does not.
Motion blur. The camera or the product moved while the shutter was open. Motion blur is “the apparent streaking of moving objects in a photograph” (Wikipedia, October 2026). Every edge smears in one direction. Sharpening turns the smear into a double edge.
Low resolution. The file has too few pixels for the size you need. Edges look like steps or soft blocks when you enlarge the picture. Sharpening makes the steps clearer. The guide to image upscaling covers the pixel math.
Compression. A heavy JPEG save threw detail away. JPEG artifacts include ringing near edges and blockiness in busy regions (Wikipedia, October 2026). Sharpening raises the contrast of those blocks along with the product.
Amount, radius and threshold
Most editors sharpen with a method named unsharp mask. The method blurs a copy of the picture and compares it with the original. Where the two differ, it pushes the original further. Wikipedia gives the arithmetic: sharpened equals original plus original minus blurred, times the amount (Wikipedia, October 2026).
Three controls set the result. Adobe’s Photoshop page, updated on February 23, 2026, lists their ranges (helpx.adobe.com, October 2026).
| Control | What it sets | Range in Photoshop | A starting point |
|---|---|---|---|
| Amount | How much edge contrast the filter adds | 1 to 500% | 50 to 150% |
| Radius | How many pixels around an edge change | 0.1 to 250 pixels | 0.5 to 2 pixels |
| Threshold | How different two pixels must be before the filter acts | 0 to 255 | 2 to 20 where smooth areas turn grainy |
The starting points come from two places. Wikipedia says a radius of 0.5 to 2 pixels and an amount of 50% to 150% is generally recommended. Adobe’s Photoshop Elements page suggests threshold values “between 2 and 20” to avoid noise. It also notes that the default value of 0 “sharpens all pixels in the image” (helpx.adobe.com, October 2026).
Radius decides what kind of detail you help. A small radius helps fine detail, such as fabric weave or the small print on a carton. A large radius widens every edge, and wide edges become halos.
Print needs more. For high-resolution print, Adobe suggests an amount of 150% to 200% with a radius of 1 to 2 pixels (helpx.adobe.com, October 2026).
The order: sharpen last, at the export size
Sharpening belongs at the end, because every earlier step changes what the filter sees. Adobe’s page gives the sequence in two sentences. Reduce noise first, “so that you don’t intensify the noise”. Then, “after you’ve color corrected and resized your image, sharpen it again” (helpx.adobe.com, October 2026). Adobe allows a first light pass to correct blur from the camera or scanner. The pass that counts for a listing is the last one.
The guide to how to edit product photos has the full sequence. For sharpening, the short version is:
- Keep the master. Work from the largest original, and never sharpen it in place.
- Clean and correct. Remove dust, reduce noise, and fix exposure and color. The product photo retouching guide covers that stage.
- Crop and resize. Make the file the exact pixel size the channel needs. The guide on how to resize an image without losing quality owns this step.
- Sharpen. One pass, with settings chosen for that pixel size.
- Compress and export. Save once.
Step 3 comes before step 4 for a simple reason. A radius of 1 pixel is a thin line on a 2,000 pixel file. Scale that file down to 500 pixels and the sharpened edge shrinks to a quarter of a pixel. The effect is gone. Scale it up and the edge becomes a visible rim.
So a catalog with three export sizes needs three sharpening settings. Write them down once, and every product gets the same finish.
Halos and noise, the two signs of too much
Too much sharpening shows in two places: along edges and in smooth areas.
Halos. A high radius can cause “a detectable faint light rim around objects” (Wikipedia, October 2026). On a product cutout the rim sits between the product and the white background, and it shows again when the cutout goes into a scene by image compositing. It is easiest to see on reflective edges: a glass bottle, a watch case, a chrome tap. Lower the radius first, then the amount.
Grain. Adobe warns that oversharpening a photo “gives it a grainy look” (helpx.adobe.com, October 2026). The filter treats sensor noise as tiny edges. Look at the flat parts of the product: a matte lid, a plain cotton panel, the shadow under a box. If they speckle, raise the threshold.
On products, fabric starts to look like wire, and small packaging text gains a bright outline.
What an AI unblur tool invents
An AI tool sold to unblur an image does a different job from a sharpening filter. A filter moves the pixels that exist. A generative model looks at the blur and draws the detail it expects to find.

The older mathematical route, deconvolution, tries to reverse a known blur. Even there, “lost” detail may be approximately recovered, “although it generally is impossible to verify that any recovered detail is accurate” (Wikipedia, October 2026).
Learned models push further, and the research names the cost. A 2018 paper on image restoration proved that “distortion and perceptual quality are at odds with each other” (arXiv, October 2026). A result tuned to look sharp moves away from the true picture.
For a portrait that may not matter. For a product it does, because the shopper buys what the picture shows. Four things can change:
- Label text. Blurred letters can return as different letters, or as shapes that only look like letters.
- Logo. A thin stroke can bend, thicken or merge with its neighbor.
- Stitching. The stitch count and spacing can change along a seam.
- Fabric weave and print. A twill can return as a plain weave. A floral print can gain a flower.
IPTC, the news metadata standards body, lists sharpening as an edit made “without changing the main content of the media” (IPTC, October 2026). A model that draws new label text has changed the content. The explainer on image-to-image AI shows how much of a picture such a model can redraw.
Sharpen, upscale or reshoot: the decision table
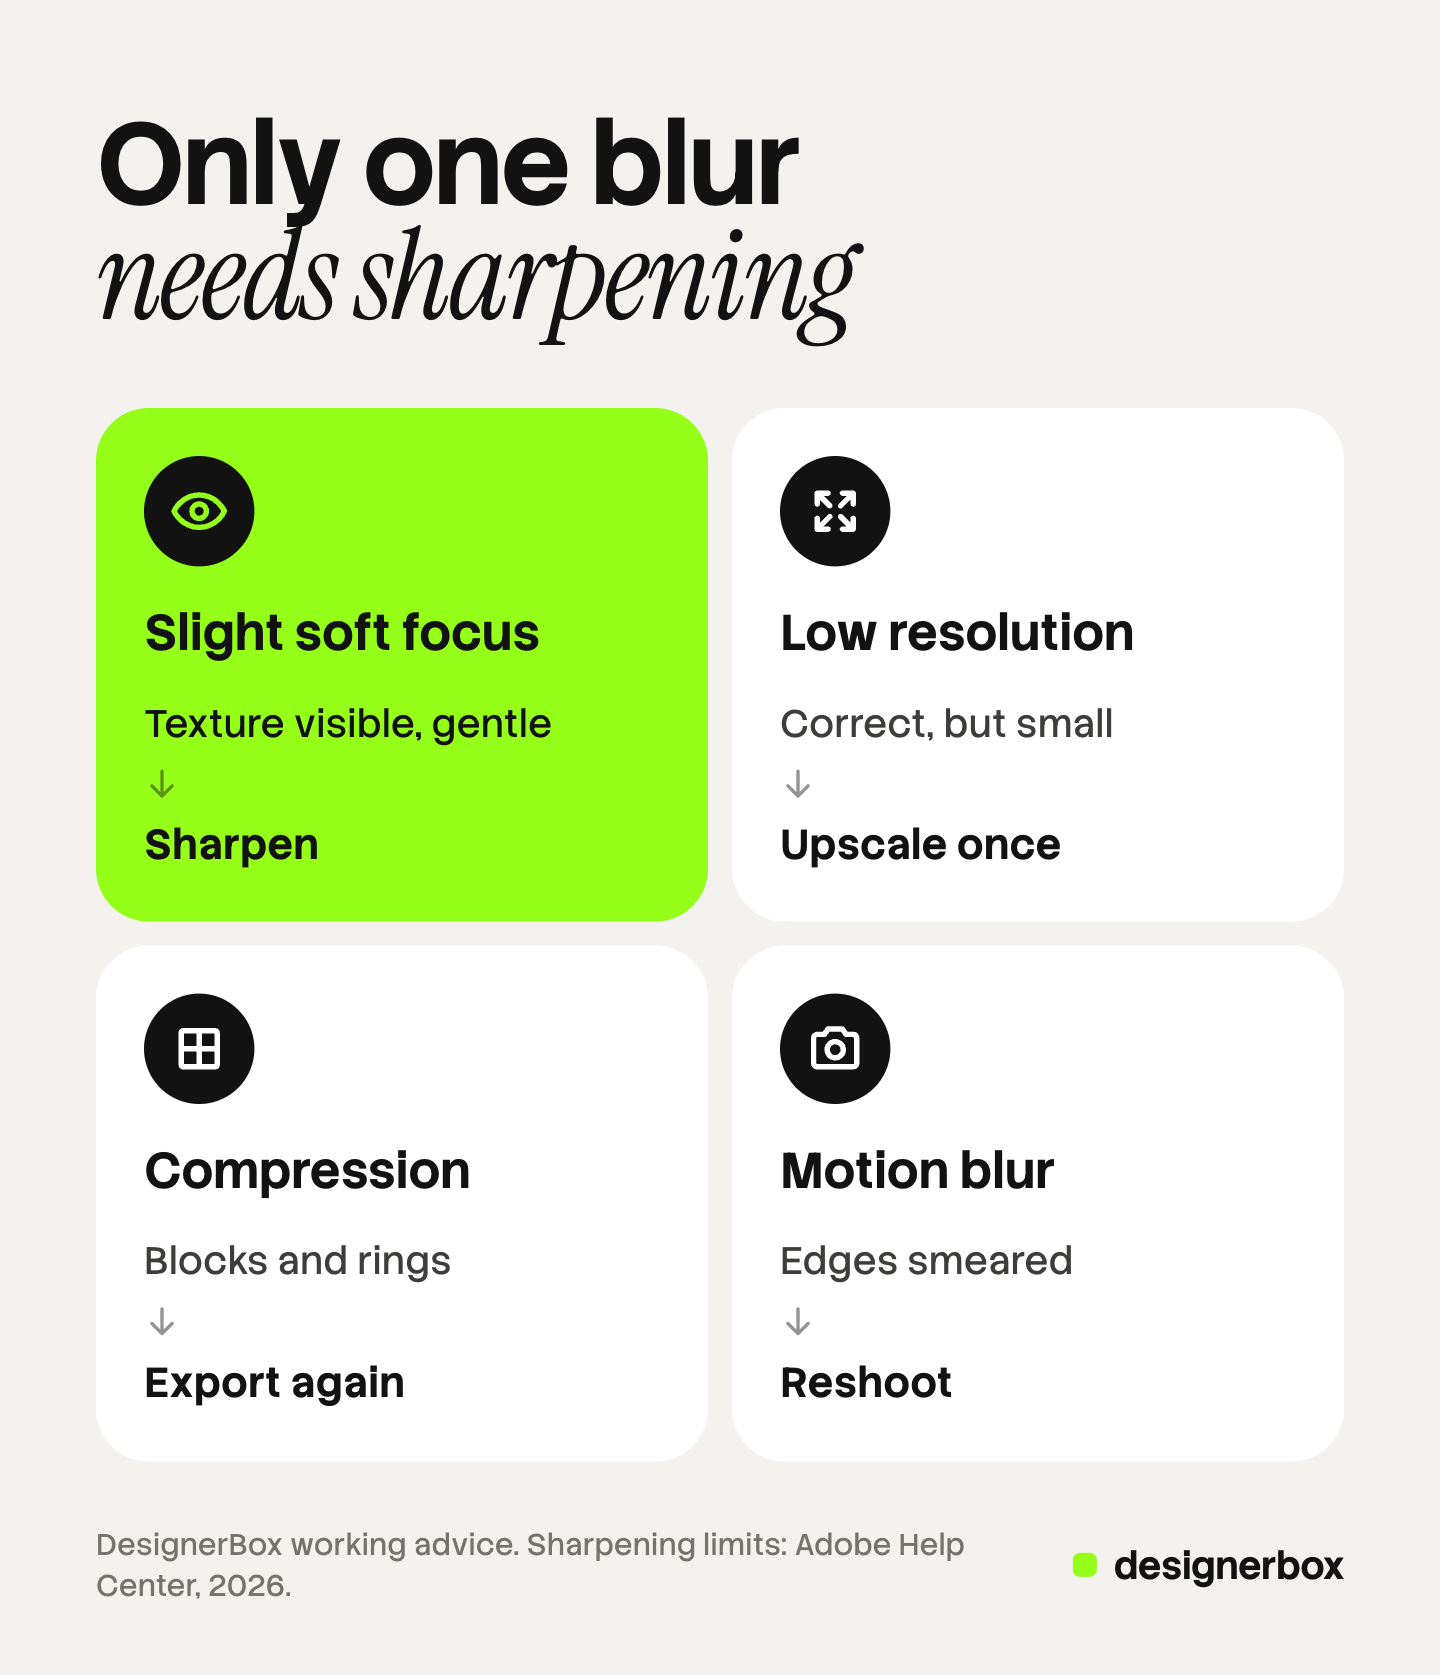
Three repairs exist. Sharpening fits detail that is there but soft. Upscaling fits a picture that is right but small. A reshoot fits detail that was never recorded.
| What you see at 100% | The cause | Do this |
|---|---|---|
| Texture is visible but gentle | Slight soft focus | Sharpen |
| Sharp and correct, but below the channel’s pixel size | Low resolution | Upscale once, then sharpen lightly |
| Square blocks and rings near edges | Compression | Find the master and export again |
| Edges smeared in one direction | Motion blur | Reshoot |
| No texture, and unreadable label text | Strong blur | Reshoot, or run the image again from a clean product photo |
Sharpen and upscale have a fixed order: upscale first, sharpen after. An upscaler enlarges every halo you gave it.
Count the files before you choose. One blurred hero photo is a short reshoot. Three hundred old supplier files are a project, and the guide to low resolution product images covers how to sort them. If you are choosing an upscaler, the Magnific AI alternatives comparison lists the options by job.
The check at 100% zoom
Judge sharpening at 100% zoom, where one image pixel fills one screen pixel. A smaller view hides halos. A larger view shows squares that no shopper will see.
Run the same five checks on every file:
- The product edge. Look for a light rim against the background.
- A flat area. Look for speckle on a matte or plain surface.
- The smallest text. Read it against the real pack, letter by letter.
- One texture. Compare the weave, grain or knit with the original file.
- A reflective edge. Check that highlights on glass or metal stay smooth.
Then look once more at the size the shopper sees. Adobe gives the same advice: “If possible, judge your sharpening by outputting your image” (helpx.adobe.com, October 2026).
Keep the original beside the sharpened file while you check. If the two differ in content and not only in contrast, the file was redrawn.
Sharpening inside a repeatable workflow
Sharpening one photo takes a minute in any editor, and you do not need DesignerBox for it. The work grows when 300 products need the same finish.
Anyone can make an AI picture. Making hundreds that still look like your brand is the hard part. In DesignerBox you save the steps once as a workflow, and your brand rules guide every run. A batch runs one workflow, app or image model over a sheet of up to 200 rows.
For one picture, the image editor page says this: “The image editor makes one edit after another. The picture keeps its detail and resolution.” The cost is shown before the run.
The honest limits matter here. Keep the final sharpening pass for each export size in the photo editor you already use. AI can change small text, logos and fine texture, so a person checks every result against the real product. Brand rules guide a run, and they do not replace that check. You download the results, or send them with a webhook or an S3 step.
Uploading your own photos and the commercial license start on the Pro plan. AI video, virtual try-on, upscaling, the image editor and the video editor start on the Premium plan. Plans and credits are on the pricing page. The free plan runs on sample products.
The full workflow from the first product photo to the finished ad, in one subscription. Get started free.
FAQ
How do you sharpen an image without losing quality?
Keep the master file and work on a copy. Finish noise reduction, color and resizing first. Then sharpen once with a radius of 0.5 to 2 pixels. Check at 100% zoom for a light rim and for grain.
Can you unblur an image?
Only in part. A sharpening filter improves a slightly soft photo. It cannot return detail the camera never recorded. An AI unblur tool draws new detail, so compare it with the real item.
Should you sharpen before or after you resize?
After. A resize changes the width of every edge. Resize to the final size, then sharpen for that size.
Should you sharpen or upscale product images?
If the picture has enough pixels and looks soft, sharpen it. If it looks correct and is too small for the channel, upscale it once, then sharpen lightly. If the label is unreadable, reshoot.
Does DesignerBox sharpen product photos?
DesignerBox makes, edits and upscales product pictures, and the final sharpening pass for each export size stays in your own photo editor. Upscaling and the image editor start on the Premium plan. The cost is shown before the run.
Sources
- Adobe Help Center, Sharpen images with the unsharp mask in Photoshop, last updated February 23, 2026: the Amount, Radius and Threshold ranges (helpx.adobe.com, read October 7, 2026)
- Adobe Help Center, Sharpen photos in Photoshop Elements: the sharpening overview, the order, the print values, the threshold advice and the grain warning (helpx.adobe.com, read October 7, 2026)
- Wikipedia, Unsharp masking: the arithmetic, the general radius and amount values, halos, and the comparison with deconvolution (en.wikipedia.org, read October 7, 2026)
- Wikipedia, Acutance: edge contrast and perceived sharpness (en.wikipedia.org, read October 7, 2026)
- Wikipedia, Motion blur (en.wikipedia.org, read October 7, 2026)
- Wikipedia, Compression artifact: ringing and blockiness in JPEG images (en.wikipedia.org, read October 7, 2026)
- The Perception-Distortion Tradeoff, CVPR 2018 (arxiv.org, read October 7, 2026)
- IPTC Digital Source Type vocabulary: algorithmically-altered media (cv.iptc.org, read October 7, 2026)
- DesignerBox image editor, batch and brand (DesignerBox image editor page, batch page and brand page, designerbox.ai, and the DesignerBox app, read October 2026)
- DesignerBox plans and license gating (DesignerBox pricing, designerbox.ai/pricing, October 2026)
The starting values for amount, radius and threshold are general guidelines from the sources above, and the right setting depends on the file and its export size. The 300 file catalog is an illustration. Editor features were read on each vendor’s own page on October 7, 2026, and they change.