
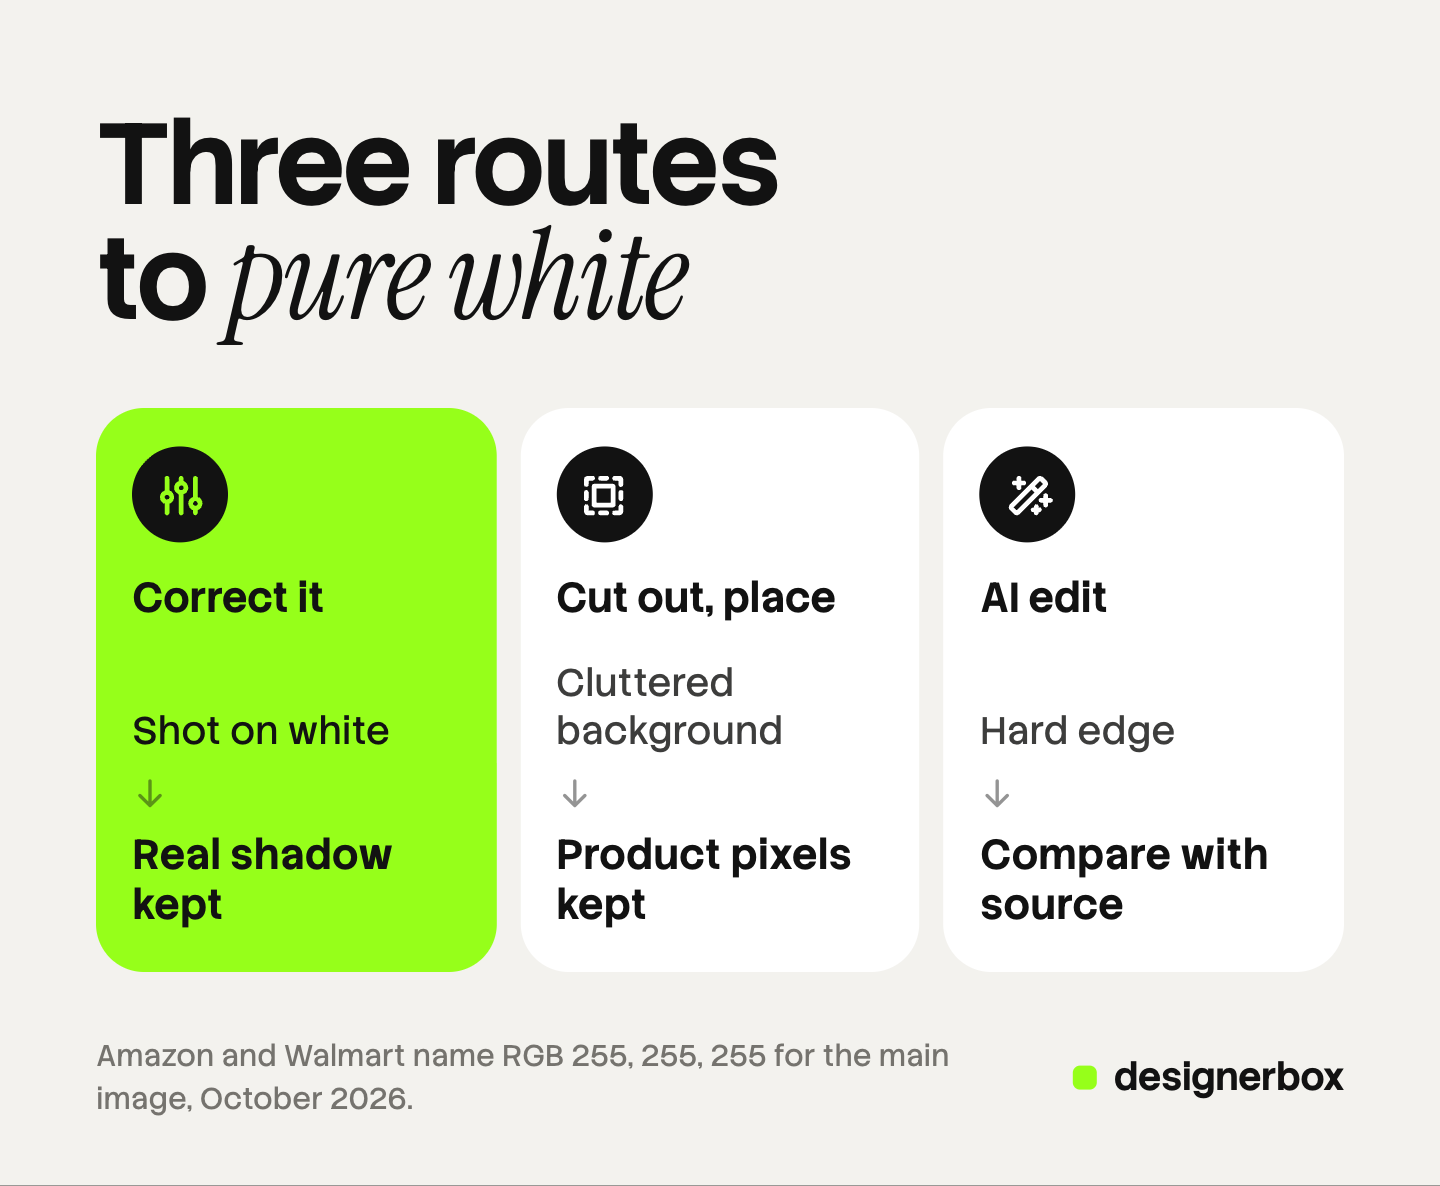
To learn how to make a background white, pick one of three routes. If the photo was shot on white but reads grey, correct it by raising the white point. If the background is cluttered, cut the product out and place it on a white layer. If the edge is hard to cut, rebuild the background with an AI edit. Then check that the white reads RGB 255, 255, 255.
This guide is about editing a photo you already have. It compares the three routes, then covers the checks that follow.
Key Takeaways
- Three routes. Correct a grey white, cut the product out, or rebuild the background with an AI edit.
- Pure white is a number. Amazon and Walmart both name RGB 255, 255, 255 for the main image. Google, eBay and Etsy name no background color.
- Read the value. A background at 243 looks white in an editor and shows as a grey box on a white page.
- A product with no shadow looks pasted. Keep the real contact shadow, or rebuild a small, soft one.
- White and transparent are two files. Export a JPEG on white for marketplaces. Keep a transparent PNG as the source.
Three ways to make a background white
The three routes change different pixels. The background you start with decides the route.
| Route 1: correct it | Route 2: cut out and place | Route 3: AI edit | |
|---|---|---|---|
| Fits when | The photo was shot on white and reads grey or cream | The background is cluttered, colored or uneven | The edge is hard to cut, or the shadow must be rebuilt |
| What changes | Brightness and color of the whole frame or a masked area | The background only | The background, and possibly pixels near the edge |
| Product pixels | Kept | Kept | Can change, so compare with the source |
| Shadow | The real shadow stays | Removed, unless you keep or rebuild it | Redrawn by the model |
| Main risk | White parts of the product lose detail | Halos and jagged edges | A changed label, color or shape |
Start with route 1 when you can. It keeps the real shadow and the real edge. Use route 3 for the photos that fail a cut-out.
Route 1: correct a white background that reads grey
A photo shot on white paper often comes out grey, because the camera darkens a frame that is mostly white. Our guide to packshot photography covers how to prevent this at the shoot.

The fix in editing is the white point. In Adobe Photoshop, a Levels adjustment has a white point slider. Adobe’s help page gives an example: move the slider to level 243, and Photoshop maps all pixels at level 243 and higher to level 255 (helpx.adobe.com, October 2026). The grey paper becomes pure white.
Follow this order.
- Fix the color first. A cream or blue background has a color cast. Correct the white balance before you touch the brightness.
- Raise the white point. Move the white point slider left until the background reads 255. Photoshop also has a Set White Point eyedropper that you click on the background (helpx.adobe.com, October 2026).
- Watch the product. Adobe notes that clipped highlights become white with no detail. A white shirt or a white bottle can lose its edge against the background.
- Mask the product when it is light. Apply the adjustment to the background only, so the product keeps its own tones.
Route 1 stops working when the grey is uneven. A dark corner or a visible table line needs route 2.
Route 2: cut the product out and place it on white
Route 2 separates the product from the background, then puts a white layer under it. The product pixels do not change. There are three ways to make the mask.
- An automatic cut-out. In Photoshop, the Remove Background quick action isolates the subject and creates a transparent background or a masked layer. Adobe says to use high-contrast images for the best results, and to refine the mask with the Brush tool when it is not perfect (helpx.adobe.com, October 2026).
- A selection you refine. Photoshop’s Select Subject selects the main subject, and the Select and Mask workspace fine-tunes the edge (helpx.adobe.com, October 2026).
- A path drawn by hand. A clipping path gives the cleanest edge on hard products such as boxes and bottles. Our guide to the clipping path explains which product edges need a path and which need a mask.
Then add a layer filled with RGB 255, 255, 255 under the product.
Some photos break an automatic cut-out. Our guide to AI background removal lists those images and what to do with each one.
Route 3: rebuild the background with an AI edit
Route 3 uses an image model. You give it the photo and an instruction to replace the background with plain white. The model draws a new image.
This route helps in two cases. The first is an edge that a mask handles badly, such as a mesh bag or a glass with liquid. The second is a missing shadow, which a model can draw to match the light.
A model that redraws the frame can also redraw the product. A logo can lose a letter. A color can move. So route 3 always ends with a comparison. Put the result next to the source and check the label, the color and the shape.
A model does not always return a white of exactly 255. Read the value, and correct it with route 1 if it is short.
How to check that the white is pure
Pure white means red, green and blue are all at 255. A background at 243 looks white on its own. Use three checks.
- Read the number. Move the pointer over the background in an editor and read the color value. In Photoshop, the Info panel shows the color values under the pointer (helpx.adobe.com, October 2026). Read the four corners and the area next to the product.
- Place the file on a white page. Open the image on a white web page or a white document. A background below 255 shows as a faint grey box.
- Check after export. Read the value again in the exported file.
Where a pure white background is required
Two marketplaces publish a number. All five rows were read on the platform’s own page in October 2026.
| Channel | Background rule for the main image | Source |
|---|---|---|
| Amazon | Pure white, RGB 255, 255, 255 | Amazon product image guide |
| Walmart | Seamless white, 255/255/255 RGB | Walmart image guidelines |
| Google Merchant Center | No color named. Solid white or transparent is recommended for clothing and accessories | Google clothing and accessories guide |
| eBay | No color required. Its photo tips say white backgrounds are generally best | eBay photo tips |
| Etsy | No color named | Etsy image requirements |
Amazon enforces its rule. If a product has no compliant main image, Amazon may temporarily remove the listing from search until one is provided. Our guide to Amazon image requirements covers the full main image rule and how to fix a suppressed listing.
eBay offers the edit inside its listing form. Its background icon replaces the background with a solid white color. On your own store, white is a choice. Our guide to the product photography backdrop covers that decision.
How to keep a natural shadow
A product with no shadow looks pasted onto the page. Route 2 removes the shadow with the background, unless you plan for it. There are three options.
- Keep the real shadow. Use route 1, or mask the product and its shadow together. The shadow then matches the real light.
- Rebuild a contact shadow. Paint a small, soft, dark shape where the product touches the surface.
- Ask the model for it. In route 3, name the shadow in the instruction, and say where the light comes from.
The shadow must fall on the side away from the light. The background beyond it must still read 255.
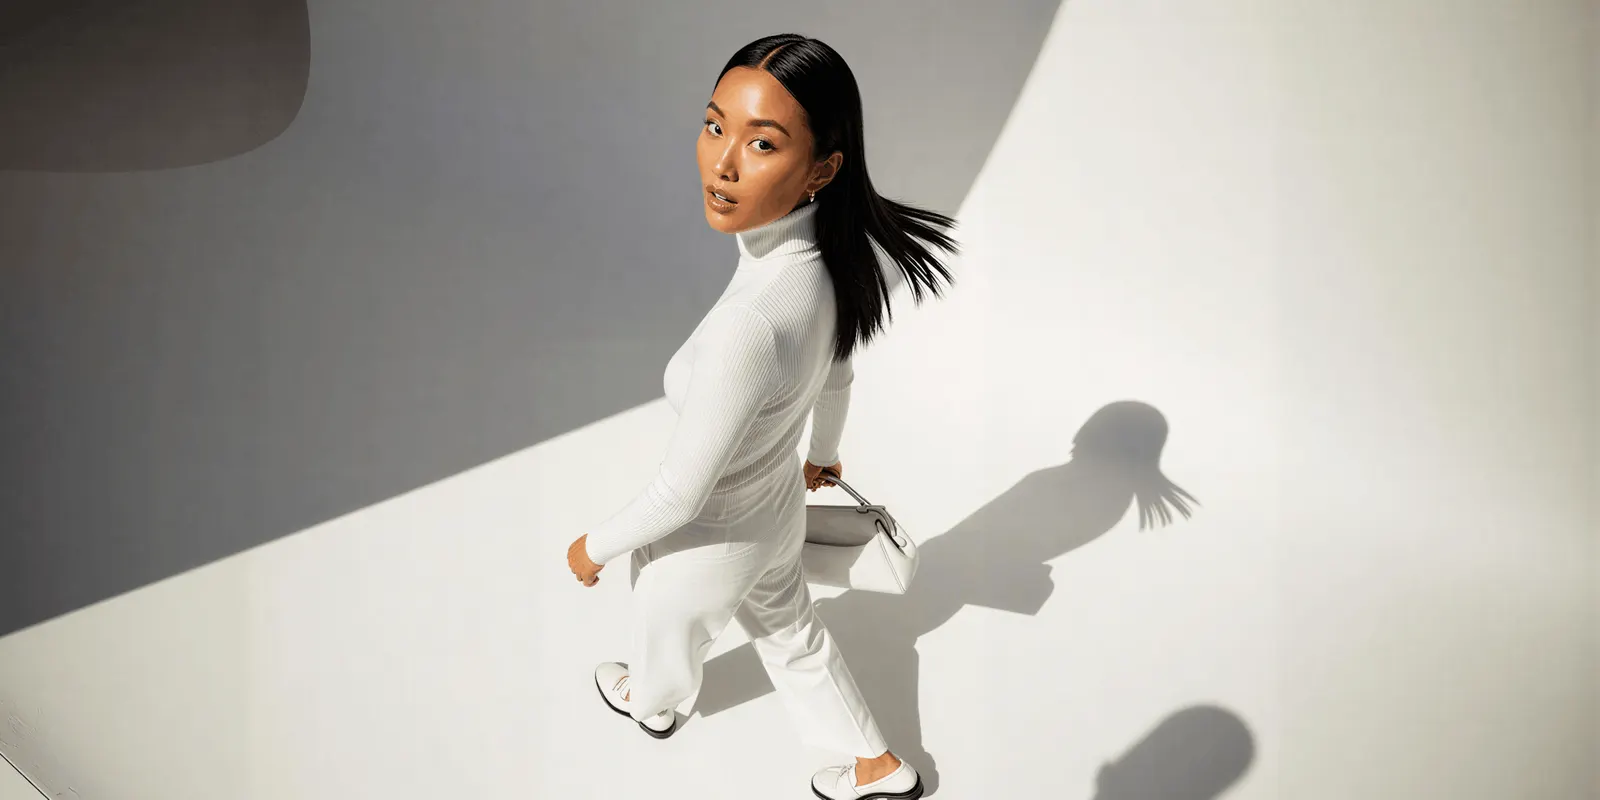
Amazon’s and Walmart’s pages name the background value. Neither page says whether a shadow is allowed, so check the style guide for your category before a bulk upload.
Edge faults to check
Four faults appear on the edge. View each file at full size, once on white and once on a dark color.
| Fault | What you see | The fix |
|---|---|---|
| Halo | A thin light or colored line around the product, from the old background | Move the mask edge in by a pixel or two, or remove the color from the edge |
| Lost glass edge | A clear bottle or glass fades into the white | Mask by hand, and keep the grey tones inside the glass |
| Hair and fur | A hard, cut line where soft strands were | Use a soft mask on that area, never a hard path |
| Fine straps and holes | A thin strap is missing, or the old background shows inside a handle | Add the strap back to the mask and cut the inner holes |
Amazon’s image guide asks for clear images with no jagged edges. Cut out again from the largest sharp file you have.
White or transparent: which file to export
A white background and a transparent background are two different files. Export both.
The white file is a JPEG. JPEG has no transparency, so the white is part of the image. Amazon recommends JPEG, and says to save it at the highest quality level and to avoid saving it several times (Amazon technical image file requirements, October 2026).
The transparent file is a PNG. PNG keeps the transparent area, so the product can sit on any color later. Keep this file as your source.
Etsy says transparent PNG files are not supported, and the transparent parts appear black (Etsy image requirements, October 2026). Flatten the product onto white first.
A white background checklist
Run this list on every file before upload.
- The background reads 255, 255, 255 in all four corners and next to the product.
- The image shows no grey box on a white page.
- The color, the label and the printed text match the source photo.
- The edge shows no halo on white or on a dark color.
- Glass, hair, straps and inner holes are intact.
- The shadow is small, soft and on the correct side.
- The white file is a JPEG. The transparent source is a PNG.
Our guide on how to edit product photos puts the background step in order with the other edits.
White backgrounds across a catalog in DesignerBox
DesignerBox is AI creative production for brands and agencies. One photo on white is a short edit. Two hundred photos on the same white is a different job. Anyone can make an AI picture. Making hundreds that still look like your brand is the hard part.
The background step works in three places, as the live pages describe them in October 2026.
- Background Remover. The product photography backgrounds page says to upload one photo to Background Remover, and it returns a clean white file and a transparent file. It advises you to keep both.
- The image editor. The image editor changes one picture from a description or a brush mark. Its page lists the background as one edit: put the product on a plain ground or in a new scene. Each edit keeps the resolution of the edit before it.
- Batch. A batch runs one workflow over a sheet, one product per row, with up to 200 rows in a sheet. Row one and row two hundred read the same brand rules. The cost is shown before the run. You keep, discard or re-run each result.
The same cut-out later becomes a scene, an ad or a short video. DesignerBox keeps those steps together: the full workflow from the first product photo to the finished ad, in one subscription.
The limits are worth stating. The checks in this guide stay with you. DesignerBox does not send finished work to a store or a marketplace. You download the results, or send them with a webhook or an S3 step. Every plan below Ultra is one seat. The free plan runs on sample products.
Uploading your own photos and the commercial license start on the Pro plan. AI video, virtual try-on, upscaling, the image editor and the video editor start on the Premium plan. Plans and credits are on the pricing page.
Start with a sample product and run the checklist on the result. Get started free
FAQ
How do I make the background of a photo white?
Raise the white point when the photo was shot on white and reads grey. Cut the product out and place it on a white layer when the background is cluttered. Use an AI edit when the edge is hard to cut. Then confirm the background reads 255, 255, 255.
What is the RGB value of a pure white background?
Pure white is RGB 255, 255, 255. Amazon and Walmart both name that value for the main product image.
Should I keep the shadow on a white background?
A small, soft contact shadow makes the product look like it rests on a surface. The background around it must still read 255. Amazon’s and Walmart’s pages do not say whether a shadow is allowed, so check your category’s style guide.
Should I save a white background image as JPEG or PNG?
Save the white file as a JPEG at high quality for marketplace upload. Keep a transparent PNG as your source for other backgrounds. Etsy shows the transparent parts of a PNG as black, so flatten the product onto white before you upload there.
Does Google Shopping require a white background?
No. Google’s image link page names no background color. Its clothing and accessories guide recommends a solid white or transparent background. Google asks you to frame the product at 75% to 90% of the full image (Google image link specification, October 2026).
Sources
- Amazon main image background (pure white, RGB 255, 255, 255), no jagged edges, JPEG recommended, removal from search: Amazon Seller Central, product image guide, accessed October 2026
- Amazon JPEG quality and repeated saves: Amazon Seller Central, technical image file requirements, accessed October 2026
- Walmart main image background (seamless white, 255/255/255 RGB): Walmart Marketplace Learn, image guidelines and requirements, accessed October 2026
- Google framing at 75% to 90% and no named background color: Google Merchant Center Help, image link, accessed October 2026
- Google background recommendation for clothing and accessories: Google Merchant Center Help, clothing and accessories, accessed October 2026
- eBay photo tips and the background icon in the listing form: eBay, adding pictures to your listings, accessed October 2026
- eBay picture rules, which name no background color: eBay, picture policy, accessed October 2026
- Etsy file types and transparent PNG files: Etsy Help, requirements and best practices for images, accessed October 2026
- Photoshop Levels white point, the Set White Point eyedropper, the Info panel, the Remove Background quick action, Select Subject: Adobe Photoshop help pages (helpx.adobe.com), October 2026
- DesignerBox Background Remover: DesignerBox product photography backgrounds page (designerbox.ai/ai-product-photography/backgrounds), October 2026
- DesignerBox image editor: DesignerBox image editor page (designerbox.ai/product/image-editor), October 2026
- DesignerBox batch: DesignerBox batch page (designerbox.ai/product/batch), October 2026
- DesignerBox plan gates: DesignerBox pricing page (designerbox.ai/pricing), October 2026
Amazon, Walmart, Google, eBay and Etsy rules verified on each platform’s own page, October 2026. Photoshop features verified on Adobe’s help pages, October 2026. DesignerBox features verified on designerbox.ai, October 2026. Marketplace rules change, so check each page before a bulk upload.