
Knolling photography shows a group of objects from directly above, with every object set parallel or at 90 degrees to the others and an even gap between them. Nothing overlaps and nothing sits at a loose angle. For a brand, it is the clearest way to show every part of a set, kit, bundle or box in one frame, so the buyer can count the parts.
This guide covers the layout rules, the marketplace limits and the errors AI makes with a grid. It is written for a brand with 20 to 500 products, and for the agency that makes its images.
Key Takeaways
- Knolling is a flat lay on a grid. Every object sits at a right angle to the others, with even gaps and no overlap.
- The word dates from 1987. The common account credits Andrew Kromelow, at Frank Gehry’s furniture shop.
- Five rules make the layout. Right angles, even gaps, groups, one hero item and a prop test.
- Amazon limits what the main image shows. One unit of the product, plus only the accessories that are included.
- AI often gets the count wrong. It can add, drop or copy a part, so a person counts every part against the packing list.
What is knolling photography?
Knolling photography is an overhead photo of objects arranged in a strict grid. Each object lies flat, turned so its edges run parallel or at 90 degrees to the edges of the other objects and of the frame. The gaps between objects are equal.
It is one kind of flat lay. A flat lay can be loose, with a scarf folded at an angle. A knolled layout allows none of that. Our guide to flat lay photography covers the parent format: the camera position, the light and the marketplace image sizes. This guide covers only the grid.
A loose flat lay sets a mood. A knolling layout works like a parts diagram, and a buyer reads it like a list.
Where the word knolling comes from
The word comes from a furniture workshop. According to the commonly cited account, Andrew Kromelow first used it in 1987. He was a janitor at Frank Gehry’s furniture fabrication shop. At that time Gehry was designing chairs for Knoll, a company known for angular furniture. Kromelow set any displaced tools at right angles on every surface and called the routine knolling (Wikipedia, Tom Sachs, section Knolling, read October 2026).

The artist Tom Sachs worked in that shop for two years as a fabricator and took the word with him. He made “Always be Knolling” a rule of his own workshop and wrote it into his 2009 manual, 10 Bullets. The design magazine Core77 tells the same story, and it introduces it with the words “as the story goes” (read October 2026).
The manual gives four steps, quoted on the same Wikipedia page:
- Scan your environment for materials, tools and books which are not in use.
- Put away everything not in use.
- Group all like objects.
- Align or square all objects to the surface they rest on.
So knolling began as a way to tidy a bench. The photo came later.
Five knolling layout rules
A knolled frame follows five rules. They are our working advice for photos. Right angles, groups and the prop test follow the workshop steps above.
- Right angles only. Every object sits parallel or at 90 degrees to the frame edge. A cable is coiled or laid straight. Scissors are closed.
- Even gaps. Choose one gap and use it everywhere. A strip of card cut to that width works as a spacer.
- Groups. Put like objects together: all cables in one block, all screws in another. Order each group by size.
- One hero item. The main product is the largest object or sits in the center.
- The prop test. Ask of each object: does it help the buyer count the parts or understand the product? If the answer is no, remove it.
The prop test has a second half. An object that is not in the box can look like part of the offer. A ruler beside a tool kit shows scale, but a buyer may expect the ruler.
Keep the same order of objects for every kit in a range, so a buyer can compare two kits side by side.
Products that suit a knolling layout
Knolling suits a product with several separate, rigid parts. It suits a single soft object badly, because one object needs no grid.
| Product | Suits knolling? | Reason |
|---|---|---|
| Tool kit, repair kit, craft kit | Yes | Many rigid parts, and the buyer wants the count |
| Box contents of a device | Yes | Device, cable, charger and manual each sit flat |
| Gift set or subscription box | Yes | The value is the full list of items |
| Variant range, such as six colors | Yes | A grid makes comparison easy |
| One garment | No | A single object. Use a normal flat lay |
| A product with tiny label text | With care | The text becomes unreadable from above. Add a close shot |
| Liquids, glass and tall bottles | Rarely | They roll or reflect the light when laid flat |
The box contents photo, also called the “what’s in the box” photo, is the best use. The buyer counts the parts before the order, so the image and the packing list must agree.
When one part needs a closer view, add a detail shot, which our guide to macro product photography covers.
How to shoot a knolled frame
The camera and light setup is the same as for any flat lay: camera directly overhead and parallel to the surface, one soft light from one side. The flat lay guide linked above covers both. Knolling adds four steps.
- Write the packing list first. List every part and its quantity. This list is the brief for the layout and the check for the result.
- Draw the grid. Sketch the layout on paper, with the hero item placed first. Add the layout to your shot list template, so every kit uses the same one.
- Build from the center. Place the hero item, then work outward. Use the spacer for each gap and a set square for each angle.
- Check on a screen. View the frame on a monitor before you shoot. A part that sits a few degrees off is easier to see in a photo than on the table.
Keep the surface plain and matte. A strong wood grain adds lines that compete with the grid.

Where a knolled image may appear
A knolled image may appear in most image slots, on one condition: it shows only what the buyer receives. Every rule below was read on the platform’s own page in October 2026.
| Slot | What the rule says | What it means for knolling |
|---|---|---|
| Amazon, main image | ”Show only one unit of the product and any accessories that are included with the product.” Pure white background, product at 85% of the image | A knolled set on pure white can qualify. A wood surface cannot. Amazon also bars props that are not included and “could confuse the customer” |
| Amazon, multipack main image | The image must show the total quantity delivered, and the product in the packaging | A grid of loose items is for an additional slot |
| Amazon, additional images | Variant slots cover “accessories, or product details”. Every image must represent the product accurately and match the title | The natural place for a box contents photo |
| Google, main image | ”Don’t include any product that’s not sold together with the main product.” | The same rule as the prop test |
| Google, custom bundle | Submit an image that takes “into account the entire bundle” | A knolled frame of the full bundle fits |
The Amazon rules are on the product image guide and the multipack imaging standards page. Our guide to Amazon image requirements covers the other slots, and ecommerce product photography compares five channels.
The Google rules are on the image link and bundle pages of Merchant Center Help.
On both platforms the image must agree with the title and with the parcel. This section is general information about platform rules. It is not legal advice.
The part-count check for AI knolling
An image model draws a knolled frame from patterns it has seen. It does not hold a list of your parts. That produces four errors, and a tidy grid hides them well.
- Wrong item count. The kit has eight screws and the image shows nine.
- Copied or invented parts. The model repeats the cable to fill a gap, or adds a small part that does not exist.
- Drifting angles. Most objects sit square, and one sits a few degrees off.
- Garbled small text. A logo on a charger turns into shapes that look like letters.
The first two errors are the serious ones. A buyer who counts nine screws and receives eight was shown the wrong product. A person runs this check on the full-size file.
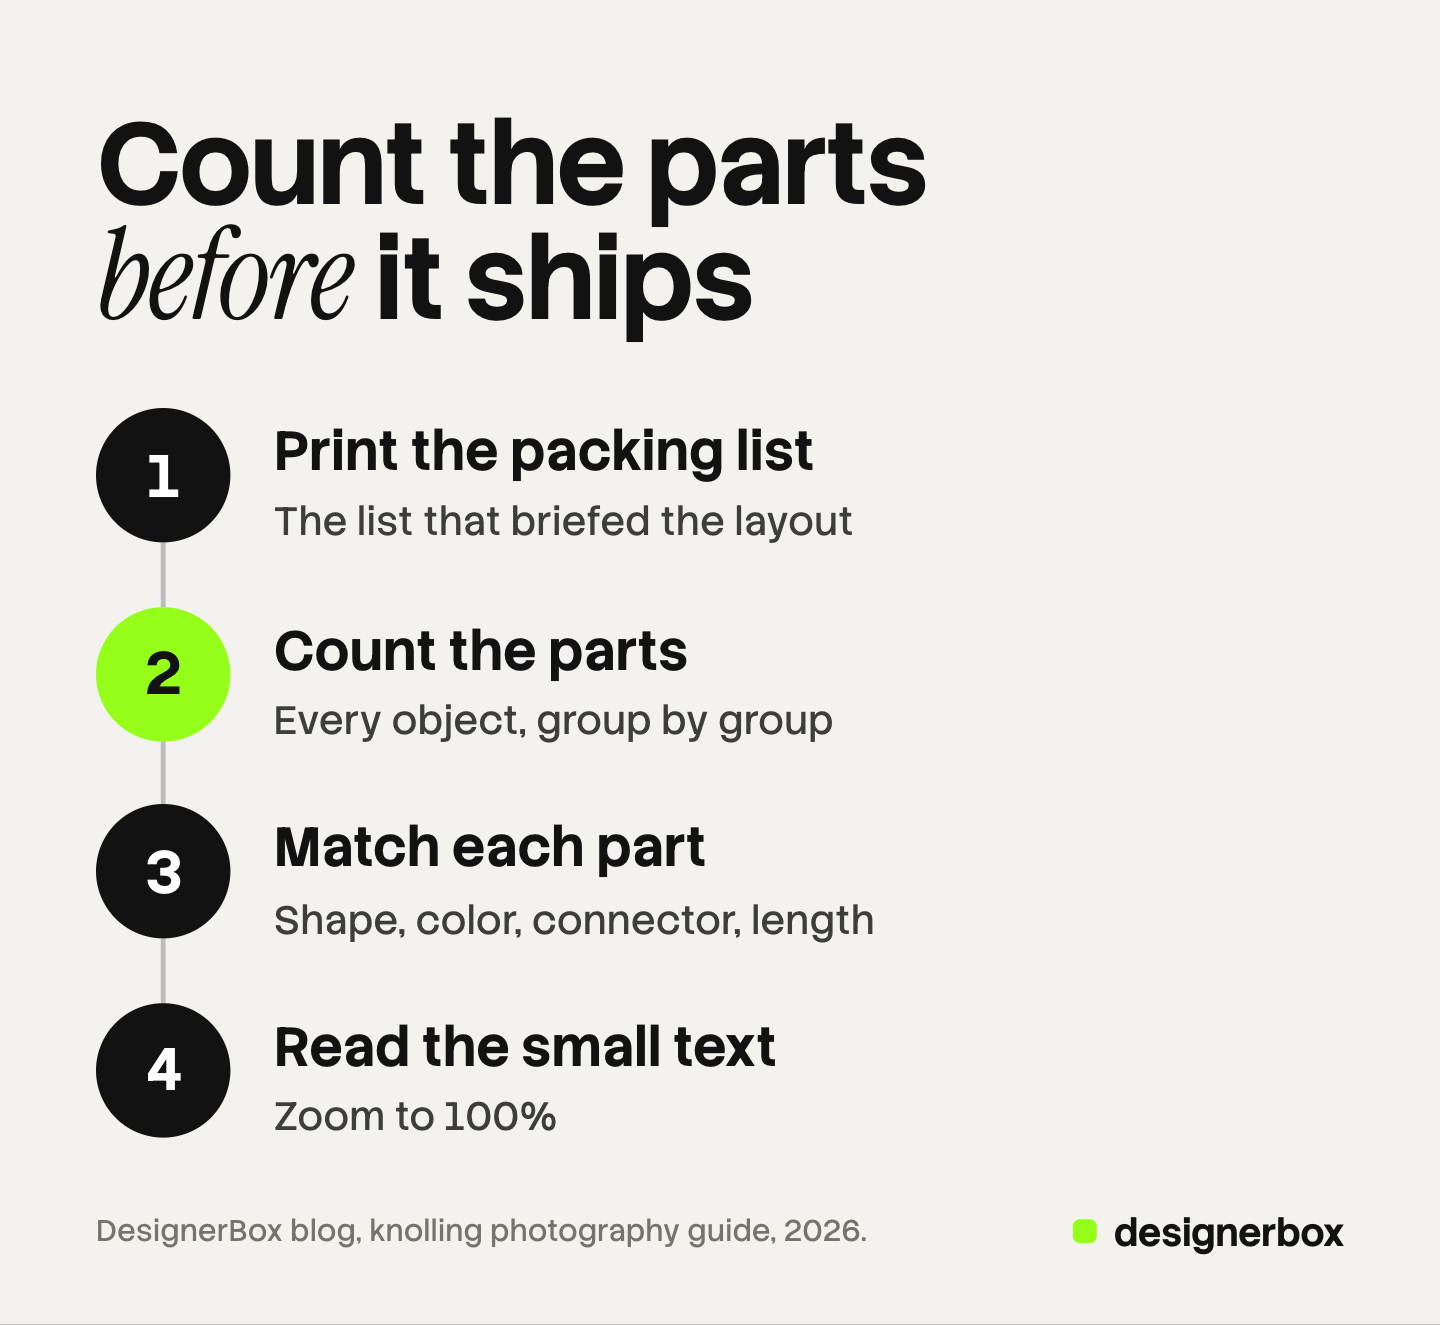
- Print the packing list. Use the same list that briefed the layout.
- Count the parts. Count every object in the image, group by group, and write each number beside its line.
- Match each part. Compare every object with the real part: shape, color, connector, length.
- Read the small text. Zoom to 100% and read each logo and label. Replace the image if a word is wrong.
A large kit has a safer route. Shoot each part once, cut it out, and place the real cutouts on a grid in an image editor. The files then fix the count. Our guide to AI product photo accuracy covers the wider set of checks.
Knolled layouts for many kits in DesignerBox
DesignerBox is AI creative production for brands and agencies. It makes images, ads and video. For the product side, see AI product photography.
Anyone can make an AI picture. Making hundreds that still look like your brand is the hard part. A range of 40 kits needs the same surface, light and gap in every frame. In DesignerBox you set the brand rules once, and every run reads them. One rule can say “Objects at right angles, even gaps, no props.”
Flat Lay Studio is one of the apps. An app is a workflow with a form: you complete the form and press Run. Flat Lay Studio makes a top-down composition from a product photo. A batch runs a workflow, an app or one image model over a sheet of up to 200 rows, one kit in each row. The cost is shown before the run. Our DesignerBox Batch guide explains the sheet.
The limits matter for this job. AI can change the item count, small text, logos and fine texture. Brand rules guide a run, and the app says so itself: “Nothing checks the result.” You judge each picture and keep the good ones, so the part-count check stays with a person. Nothing publishes to a store. You download the results.
Uploading your own photos and the commercial license start on the Pro plan. AI video, virtual try-on, upscaling, the image editor and the video editor start on the Premium plan. Plans and credits are on the pricing page. The free plan runs on sample products.
The full workflow from the first product photo to the finished ad, in one subscription. Get started free
FAQ
What does knolling mean in photography?
Knolling means arranging objects flat, at right angles to each other, with even gaps, and photographing them from directly above. Each object is fully visible and nothing overlaps.
What is the difference between knolling and a flat lay?
Both are shot from overhead. A flat lay can be loose, with objects at any angle. Knolling is the strict version, with right angles and equal gaps.
Who invented knolling?
The common account credits Andrew Kromelow, a janitor at Frank Gehry’s furniture shop, in 1987. The name comes from Knoll, the furniture company. The artist Tom Sachs later made the word known.
Can a knolled photo be the main image on Amazon?
It can, if it follows the main image rules. Amazon asks for a pure white background, one unit of the product and only the accessories that are included. A multipack main image must show the product in its packaging.
Can AI make a knolling photo of my product kit?
It can draw one, and the result needs a strict check. AI often adds, drops or repeats a part. Count every part against the packing list before the image goes live. In DesignerBox the cost is shown before the run, and uploading your own photos starts on the Pro plan.
Sources
- The 1987 origin, Andrew Kromelow, Knoll, Tom Sachs and the four steps of “Always be Knolling”: Wikipedia, Tom Sachs, section Knolling, accessed October 2026
- The same account of the janitor at Frank Gehry’s furniture shop and Tom Sachs: Core77, Knoll Thy Enemy, accessed October 2026
- Amazon main image rules, included accessories, props, the 85% and pure white rules, variant slots and rules for all images: Amazon Seller Central, product image guide, accessed October 2026
- Amazon multipack main image rules: Amazon Seller Central, multipack imaging standards, accessed October 2026
- Google main image rule on products not sold together: Google Merchant Center Help, image link, accessed October 2026
- Google rule for custom bundle images: Google Merchant Center Help, bundle, accessed October 2026
- DesignerBox apps, batch and the 200 rows a sheet: DesignerBox batch page (designerbox.ai/product/batch) and the DesignerBox app, read October 2026
- DesignerBox plan gates: DesignerBox pricing page (designerbox.ai/pricing), October 2026
Amazon, Google, Wikipedia and Core77 facts verified on each publisher’s own page in October 2026. The origin of the word is the commonly cited account and rests on secondary sources. The five layout rules, the prop test and the part-count check are our working advice, not platform rules. Platform rules change often, so check each page before a large upload. Individual results vary.