
To import product images into WooCommerce, pick one of four routes by image count. Add them on the product screen. Upload them to the Media Library and name the files in a CSV. Import a CSV with image URLs in the Images column, where the first image is the featured image. Or use WP-CLI, the REST API or an import extension.
Your first 20 products do not need a system. You open each product, set the product image, add four gallery images and save. Then a supplier sends 150 new products with six photos each. That is 900 files, and each one has to land on the right product, in the right order.
This guide is for a brand or a one-person shop with 20 to 500 products on WooCommerce. It covers the four routes, the rule on each one, how variation images work, and the six errors that lose images during an import. Every rule was read on WooCommerce’s and WordPress’s own documentation on October 2, 2026.
Key Takeaways
- Four routes, one question. Count the images first. One product takes the product screen. A few dozen files take the Media Library. Hundreds of products take a CSV. Thousands take WP-CLI, the REST API or an import extension.
- One column carries every image. The CSV has a single Images column. You separate the images with commas, and the first one is the featured image.
- The CSV takes a URL or a file name. A URL has to be directly accessible. A file name works when the image is already in the Media Library.
- The CSV does not carry alt text. WooCommerce says the core importer cannot add, edit or update alt text for product images.
- SKUs match the rows. An update import matches products by ID or SKU and skips rows that match nothing.
- Variations can hold several images. Since WooCommerce 11.1, each variation can have its own gallery.
How do you import product images into WooCommerce?
A WooCommerce import of product images goes through one of four routes. Each one matches a file to a product in a different way.
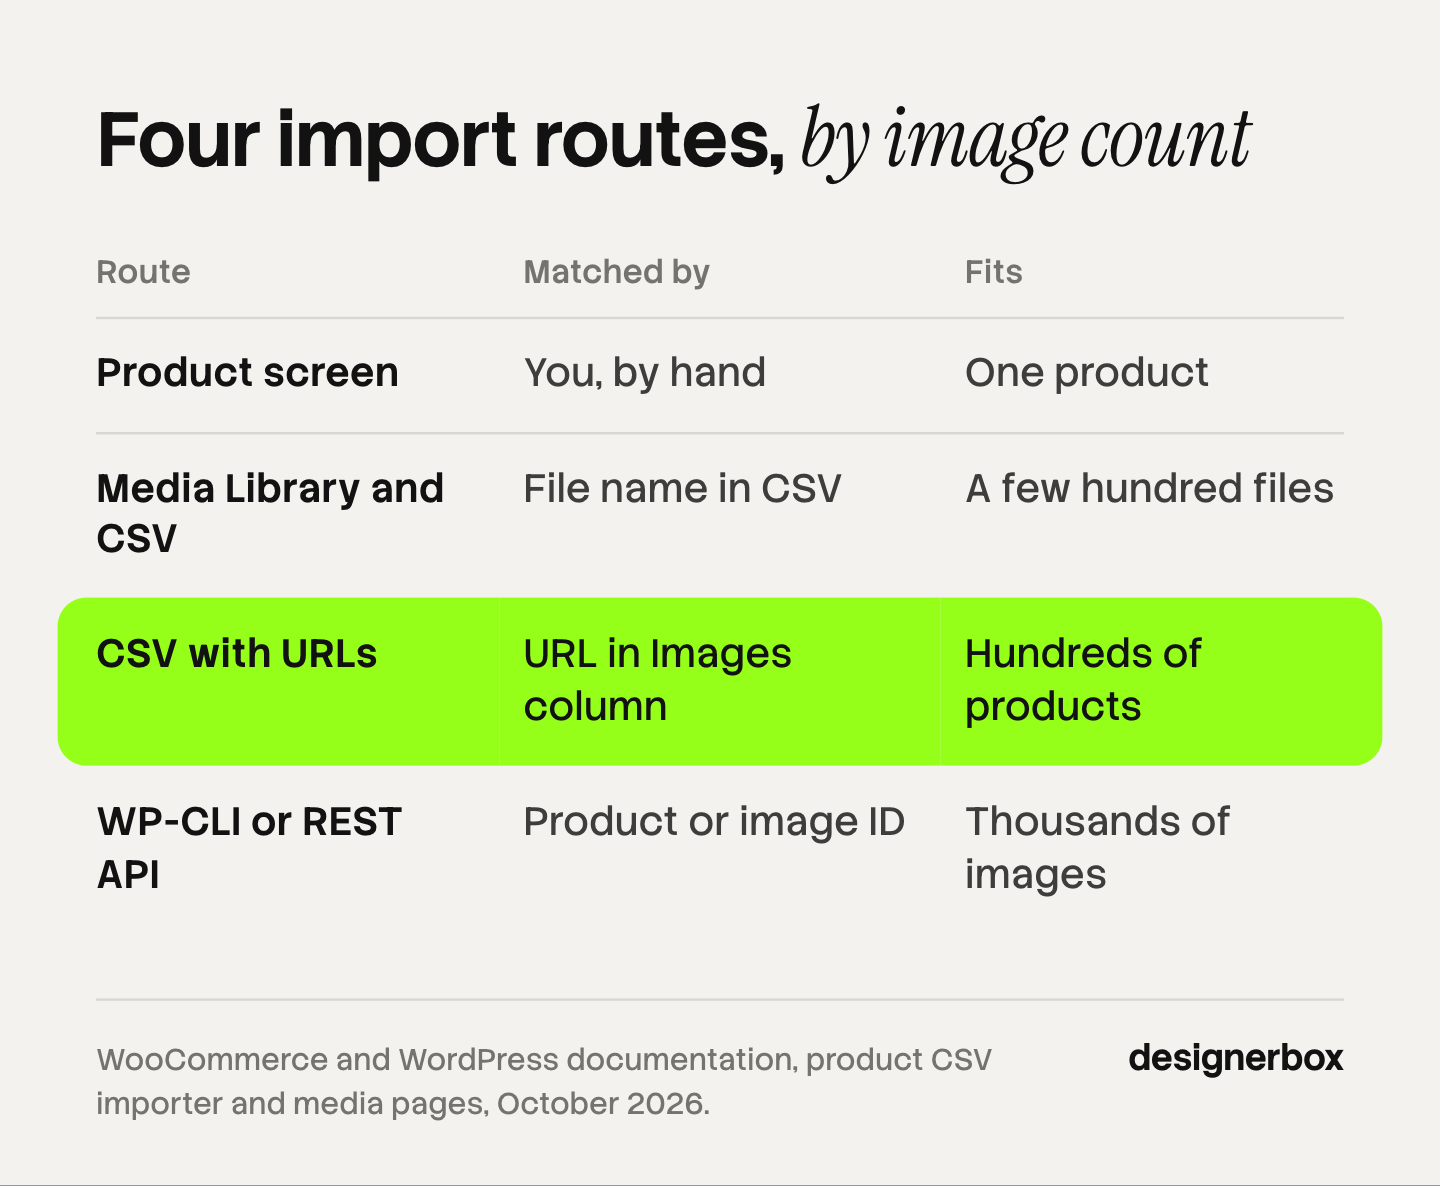
| Route | Where | How an image reaches a product | Fits |
|---|---|---|---|
| Product screen | Products, then edit a product | You set the product image and the product gallery | One product |
| Media Library, then CSV | Media, then Products, then Import | A file name in the Images column | A few hundred files you can upload yourself |
| CSV with URLs | Products, then Import | A URL in the Images column | Hundreds of products |
| WP-CLI, REST API or extension | The server, or your own code | A product ID, or an image ID or URL | Thousands of images |
Sources: WooCommerce documentation on the product CSV importer and product images and galleries, read October 2026.
The first route needs no preparation, and a person places every image. The other three take preparation once. After that, the product count does not change the work.
Route 1: the product screen
Open a product. The Product image box sets the main image. The Product gallery box holds the others: select Add product gallery images, choose files from the Media Library or upload new ones, then select Add to gallery.
Three rules from WooCommerce’s documentation apply here and on every other route:
- The product image is always the first item in the gallery on the product page. You do not add it to the gallery again.
- You reorder gallery images by dragging them.
- Removing an image from a gallery keeps the file in the Media Library.
WooCommerce recommends uploading images that are at least 800 x 800 pixels, and it generates the display sizes for you. Our guide to WooCommerce product image size covers the three sizes it makes from each upload.
Route 2: the Media Library, then a CSV
This route splits the job in two. First you upload the files to the Media Library. Then a CSV tells WooCommerce which file belongs to which product.
WooCommerce’s CSV page puts it in one sentence: you can define the filename if the image already exists in the Media Library. So the Images column holds file names, and nothing has to be hosted elsewhere.
The file name is the only link between the image and the product, so name the files before you upload them. Use the SKU, then the position: linen-shirt-white-01.jpg, linen-shirt-white-02.jpg. Our guide to an image file naming convention gives the four parts and the characters to avoid.
One WordPress rule matters here. Since WordPress 5.3, an upload with a height or a width above 2,560 pixels is scaled down to that size, and the scaled file is used as the largest size (Make WordPress Core, read October 2026). Readers of that post report a “-scaled” ending on the new file name. Export at 2,560 pixels or less on the long side and the name you chose stays the name in the library.
Route 3: a CSV with image URLs
A CSV with URLs is the route for hundreds of products. WooCommerce has a built-in importer under Products, then All Products, then Import. It needs no plugin.

WooCommerce states these rules for images in a CSV:
| Rule | What WooCommerce states |
|---|---|
| Column | One column, named Images |
| Several images | Separate them with commas |
| Order | The first image is the featured image |
| URLs | External URLs work when the image is directly accessible |
| Where the files go | WooCommerce imports them into the Media Library |
| Not supported | URLs behind redirect scripts, such as some cloud-storage links |
| Alt text | The core importer cannot add, edit or update it |
| Encoding | UTF-8 |
Source: WooCommerce product CSV importer documentation, read October 2026.
How do you add several images to one product in a WooCommerce CSV?
Put every image in the same cell. One product is one row, and the Images cell holds a list:
- Export your products, or download the sample CSV that WooCommerce links from its documentation.
- In the Images column, paste the first URL. This is the featured image.
- Add a comma, then the next URL. Repeat for each gallery image, in the order you want.
- Keep the SKU column filled. It is how the importer matches the row later.
- Save the file as a UTF-8 CSV.
- Go to Products, then All Products, then Import. Choose the file and check the Column mapping screen.
- Select Run the importer, and keep the page open until it finishes.
WooCommerce recommends Google Sheets, LibreOffice Calc, OpenOffice Calc or Numbers for editing the file.
How do you add images to products that already exist?
Use the same importer with one box ticked. Select Update existing products on the upload screen. WooCommerce then matches each row by ID or SKU and updates the product. Rows that match no product are skipped.
Include only the columns you want to change. On the Column mapping screen you can set any other column to Do not import.
Route 4: WP-CLI, the REST API or an extension
At thousands of images, a spreadsheet becomes the slow step. Three routes remove it.
WP-CLI. The wp media import command creates attachments from local files or from URLs. It takes a post ID to attach the file to, an alt text, and a flag that sets the file as the featured image of that post (WordPress developer documentation, read October 2026). A developer can loop it over a folder named by SKU.
The REST API. A product in the WooCommerce REST API has an images list. Each image has an ID from the Media Library, a URL, a name and an alt text. The batch endpoint for products creates, updates or deletes up to 100 objects in one request by default (WooCommerce REST API documentation, read October 2026). Both routes carry alt text, which the core CSV importer does not.
An import extension. WooCommerce’s own CSV page points extensive imports and custom product data to its Product CSV Import Suite extension. Other import plugins are listed on WordPress.org. Read the listing for how it matches a file to a product before you install one.
How do WooCommerce variation images work?
A variable product is a parent with variations, such as a shirt in three colors. WooCommerce’s documentation says each variation can have its own primary image. Since WooCommerce 11.1, you can also add several images to each variation: open the variation, select Manage next to Variation gallery, and drag the images into order. The first one becomes the variation’s primary image (WooCommerce variable product documentation, read October 2026).
When a shopper selects a variation, WooCommerce changes the product gallery to that variation’s images. When the shopper clears the selection, the parent gallery returns.
In a CSV, a variation is its own row. Its Type is variation, its Parent column holds the parent SKU, and its Images cell holds the image for that variation. The documentation tells you to test one parent and a few variations first, then confirm that the variations, attributes, prices, stock and images are correct. WooCommerce also advises a test on a staging site if your store already uses another variation gallery extension.
Color variations need their own images. Size variations usually share the parent’s. Count the colors before you count the photos.
Which six errors lose images in a WooCommerce import?
Each of these is in WooCommerce’s own documentation. Each one is easy to miss on a first import.
- The URL goes through a redirect. WooCommerce says URLs behind redirect scripts, such as some cloud-storage links, are not supported. A share link to a folder is not an image URL. The URL has to open the image file itself.
- You expected alt text from the CSV. The core importer cannot add, edit or update alt text. Write it in the Media Library, or use WP-CLI or the REST API.
- The SKU already exists. When a product with the same SKU or ID exists and Update existing products is not selected, the row is skipped. The reverse also applies: with the box ticked, a row that matches no product is skipped.
- You left the page. WooCommerce says not to refresh or leave the page while the import is in progress.
- The file is too large for the server. Large imports depend on the server’s memory, upload limits and processing time. WooCommerce says to split the CSV into smaller batches and import each one.
- You put a video in the CSV. Since WooCommerce 11.1 a product gallery can hold videos. While that feature is in beta, WooCommerce says videos are not included in product CSV import and export, in the REST API or in variation galleries.
When an import finishes with products missing, WooCommerce says to check the import log first.
What should you prepare before an import?
Four things decide whether the import works the first time.

Back up the store. WooCommerce says to create a backup and test a small import on a staging site before you import a large catalog.
Name the files by SKU. The name survives into the Media Library, and it is how you find an image a year later.
Plan the alt text. The CSV will not carry it. Decide now whether a person writes it in the Media Library or a developer sends it through WP-CLI or the REST API. Describe what the image shows and name the product.
Test five products. Import five, open each one on the storefront, and check the featured image, the gallery order and the variation images. Run the full file only after the five pass.
Where the images come from
The import is the last step. The slower step is making 900 images that all look like one brand.
Anyone can make an AI picture. Making hundreds that still look like your brand is the hard part.
In DesignerBox you build the image set once as a workflow: the white-background hero, the angles, the detail shot, the lifestyle scene. A batch then runs that workflow over a sheet with one product per row, up to 200 rows in one sheet. Every row reads the same brand rules, so row one and row two hundred have the same light and framing (DesignerBox batch page, October 2026).
You review in the sheet. You keep or discard each result and re-run one row without touching the rest. The cost of the whole sheet is shown before the run.
Then you download the results, name them by SKU and position, and use one of the four routes above. Our guide to bulk product images covers how to plan that sheet, and the page for ecommerce brands shows the image set per product.
The full workflow from the first product photo to the finished ad, in one subscription.
Batch, templates, apps and brand rules are on every plan. There is a free plan, and it runs on sample products. Uploading your own photos and the commercial license start on the Pro plan. Plans and credits are on the pricing page.
When another tool fits better
- You want images written to WooCommerce automatically. DesignerBox does not publish to a store. You download the results, or send them with a webhook or an S3 step. An import extension that reads a folder fits that need.
- You only need to move files. If the photos already exist and are final, the built-in importer does the whole job. No image tool is needed.
- Your team needs several seats. Every DesignerBox plan below Ultra is one seat.
A free plan for your first run
Start from a template and run it on a sample product. Look at the set it returns before you plan a whole sheet.
FAQ
How do I import product images into WooCommerce?
Use one of four routes. Set the product image and gallery on the product screen. Upload files to the Media Library and name them in a CSV. Import a CSV with image URLs in the Images column. Or use WP-CLI, the REST API or an import extension.
How do I add multiple images to a product in a WooCommerce CSV?
Put all of them in the Images cell of that product’s row and separate them with commas. WooCommerce treats the first image as the featured image. The others go to the product gallery in the order you list them.
Can WooCommerce import images from a URL?
Yes. WooCommerce says external image URLs work when the image is directly accessible, and it imports those images into the Media Library. URLs behind redirect scripts, such as some cloud-storage links, are not supported.
Can I import images from my computer with a WooCommerce CSV?
A CSV holds text only. Upload the files to the Media Library first. Then put each file name in the Images column, because WooCommerce accepts a file name when the image already exists in the Media Library.
Does the WooCommerce CSV importer set image alt text?
No. WooCommerce’s documentation says the core CSV importer cannot add, edit or update alt text for product images. Write the alt text in the Media Library, or send it through WP-CLI or the REST API, which both have an alt text field.
Why are my images missing after a WooCommerce import?
The common causes in WooCommerce’s documentation are a URL behind a redirect, a row skipped because its SKU already exists, and a CSV too large for the server. Check the import log first, then test a batch of five products.
Can a WooCommerce variation have more than one image?
Yes, since WooCommerce 11.1. Each variation has a primary image and can have a variation gallery. When a shopper selects the variation, the product gallery changes to that variation’s images.
Sources
- WooCommerce: Product CSV Importer and Exporter, read October 2, 2026
- WooCommerce: Adding Product Images and Galleries, read October 2, 2026
- WooCommerce: Variable Products, read October 2, 2026
- WooCommerce: Product CSV Import Schema, read October 2, 2026
- WooCommerce REST API documentation, read October 2, 2026
- WordPress: wp media import, read October 2, 2026
- Make WordPress Core: handling of big images in WordPress 5.3, read October 2, 2026
- DesignerBox batch page and DesignerBox pricing, October 2026
WooCommerce and WordPress rules verified from their own documentation as of October 2026. This is general information. Test an import on a staging site before you run it on a live store.