
Cursor MCP is how Cursor connects its agent to outside tools through the Model Context Protocol. You add a server from the Customize page, or you write it into a file named mcp.json in your project or your home folder. Cursor then lists the server’s tools, and the run mode you pick decides when the agent asks for your approval before it calls one.
Your developer builds the store in Cursor. Then the page needs a product photo with no background, a hero picture and an ad for the launch. Someone leaves the editor, opens another tab, uploads the photo again and describes the brand again. An MCP server removes that step.
This guide covers the config files, the JSON for local and remote servers, OAuth, the three run modes and the security notes Cursor gives. Every Cursor fact comes from Cursor’s own documentation, read in October 2026. It then shows a server that makes pictures and video, with DesignerBox MCP as the worked example. It is written for brands and agencies whose developers and designers build in Cursor.
Key Takeaways
- Two files hold your servers. The project file is .cursor/mcp.json, and the global file is ~/.cursor/mcp.json. Cursor merges both, and the project file wins on a shared name.
- A remote server needs one field. You give Cursor the server’s URL. A local server needs a command instead.
- Three run modes decide when Cursor asks. They are Auto-review, Allowlist and Run Everything. Auto-review is the default from Cursor 3.6.
- Use Allowlist mode for a server that spends money. Only the tools you list run without a question.
- Cursor’s agent already makes images. A production server adds your real product photos, your brand record and your saved workflows.
- DesignerBox has 74 MCP tools at one URL. Reading your workspace charges no credits, and every finished run reports what it charged.
What is Cursor MCP?
Cursor MCP is Cursor working as a Model Context Protocol client. A server exposes tools, and Cursor’s agent calls them during a chat. In Cursor’s words, MCP “enables Cursor to connect to external tools and data sources” (Cursor MCP docs, October 2026). The server does the work and sends the result back into the chat.
MCP itself is “an open-source standard for connecting AI applications to external systems” (modelcontextprotocol.io, October 2026). One remote server can serve many clients, so a URL that works in Cursor also works in Claude, ChatGPT and Codex.
Cursor supports three transports, which are the ways a client and a server talk:
| Transport | Where the server runs | What you give Cursor | Sign-in |
|---|---|---|---|
| stdio | On your computer, started by Cursor | A shell command | Manual |
| SSE | Local or remote | The URL of an SSE endpoint | OAuth |
| Streamable HTTP | Local or remote | The URL of an HTTP endpoint | OAuth |
A server is one way to give a coding agent new abilities, and a written skill is another. What MCP adds that a skill does not covers the split.
Where does Cursor keep its MCP servers?
Cursor reads servers from two JSON files and from the Customize page.
| Location | Scope | Use it for |
|---|---|---|
| .cursor/mcp.json in the project folder | One project, shared with the team | Tools the whole repo needs. Cursor says to commit it so teammates get the same tools |
| ~/.cursor/mcp.json in your home folder | You, in every project | Personal tools you want everywhere |
| The Customize page in the sidebar | You, your workspace or your team | One-click installs from the Cursor Marketplace, and the on and off toggle |
Both files are merged. If one server name appears in both, the project file takes priority (Cursor MCP help, October 2026).
What does a server entry in mcp.json contain?
Every entry sits under one key, mcpServers. The name you choose for the server is the key of its entry.
A local server starts from a command. Cursor’s reference lists five fields for a stdio server: type, command, args, env and envFile.
{
  "mcpServers": {
    "server-name": {
      "command": "npx",
      "args": ["-y", "mcp-server"],
      "env": {
        "API_KEY": "${env:API_KEY}"
      }
    }
  }
}
A remote server needs a url field. An optional headers field carries a sign-in header for servers that ask for one.
{
  "mcpServers": {
    "server-name": {
      "url": "https://mcp.example.com/mcp"
    }
  }
}
Cursor supports OAuth for servers that require it, and most OAuth servers need no extra field. Some providers give you a fixed client ID. For those, Cursor accepts an auth object with CLIENT_ID, an optional CLIENT_SECRET and optional scopes. Cursor’s docs tell you to keep secrets in environment variables and out of the file.
Cursor’s MCP reference states no limit on the number of tools a server may expose (read October 2026). You can turn a single tool off from the tools list at the top of the chat panel.
How to add an MCP server to Cursor
Cursor’s help page gives two routes: one click from the Customize page, or the manual file. The manual route works for any server.
- Create the file. For one project, create .cursor/mcp.json in the project folder. For every project, create ~/.cursor/mcp.json in your home folder.
- Add the server entry. Put the server under mcpServers, with a url for a remote server or a command for a local one.
- Save the file and restart Cursor.
- Sign in and check the server. For an OAuth server, approve the sign-in when Cursor asks. Then open Customize in the sidebar, click MCPs and check that the server’s toggle is on.
For the one-click route, open Customize, click MCPs, find the server and click Add to Cursor.

How does Cursor approve an MCP tool call?
The agent asks for your approval before it uses an MCP tool, unless your run mode lets the call through. Click the arrow next to the tool name to see the arguments first. Every MCP connection needs your approval too (Cursor agent security, October 2026).
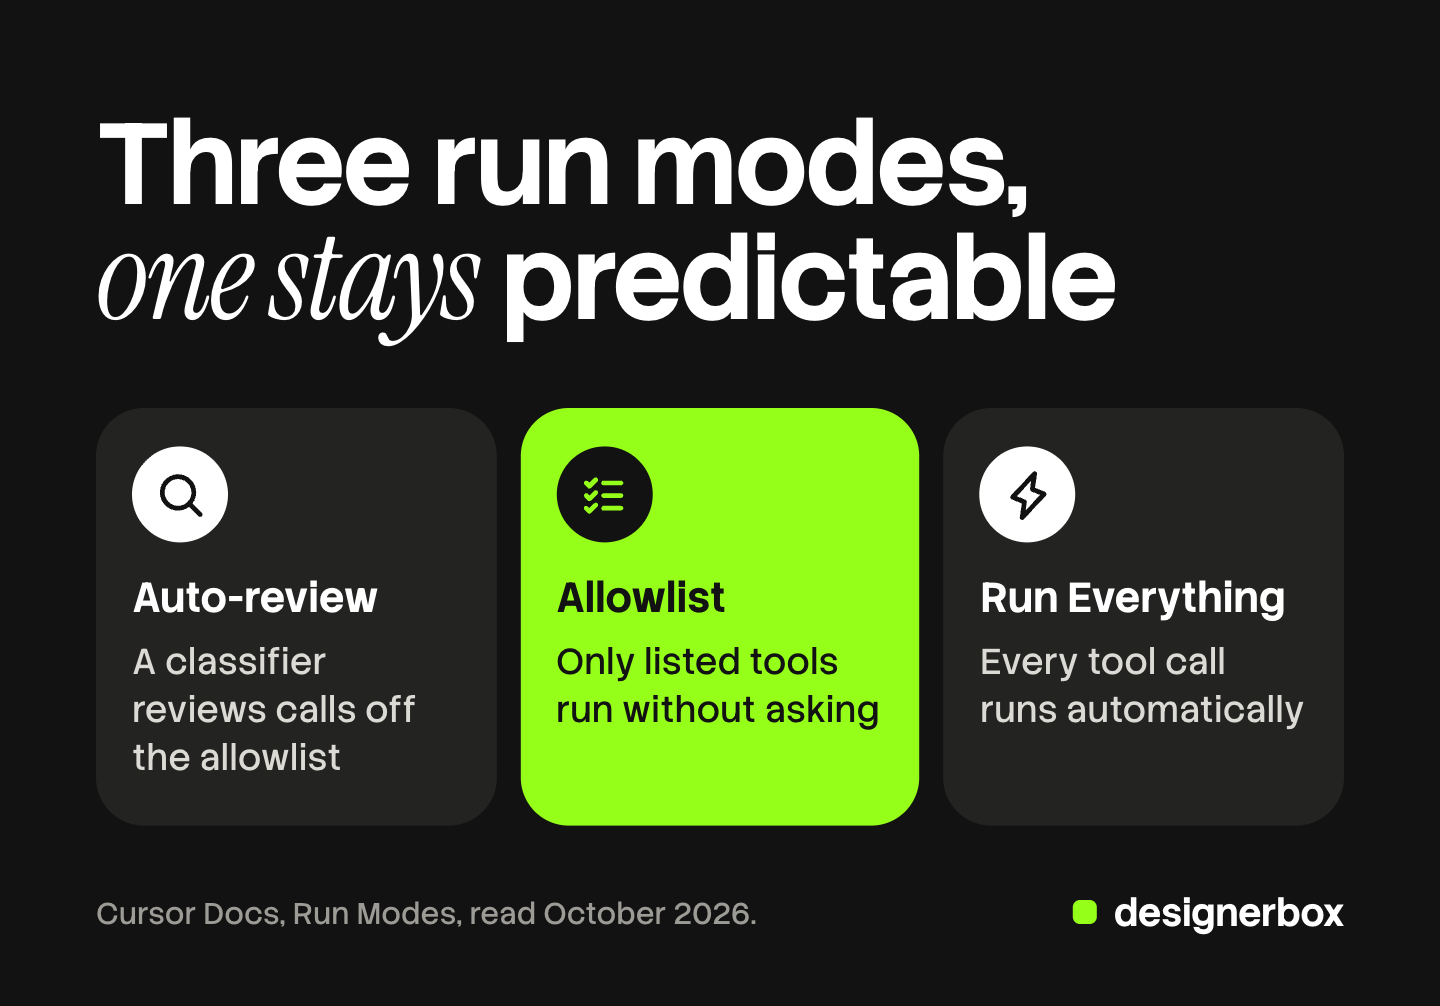
MCP follows the same run modes as terminal commands. You choose the mode under Settings, Agents, then Approvals and Execution (Cursor Run Modes, October 2026).
| Run mode | What runs without a question |
|---|---|
| Auto-review | Tools on your allowlist run at once. A classifier reviews every other MCP call |
| Allowlist | Only the actions on your allowlist |
| Run Everything | Every tool call |
In Cursor 3.6 and above, Auto-review is the default. Cursor states the limit plainly: “Auto-review is not a security boundary.” The classifier can allow a call that you would have blocked.
The allowlist can live in a file named permissions.json, in ~/.cursor for you or in the project’s .cursor folder for the repo. Each entry is a server name, a colon and a tool name, and a star matches any value (permissions.json reference, October 2026).
{
  "mcpAllowlist": ["designerbox:list_*", "designerbox:get_*"]
}
This example lets the list and get tools of a server named designerbox run without a question. Every other tool on that server still waits for you.
What security notes does Cursor give?
Cursor’s MCP page lists four practices for installing a server:
- Verify the source. Install servers only from developers and repositories you trust.
- Review permissions. Check which data and services the server will reach.
- Limit keys. Use restricted keys with the minimum permissions the job needs.
- Audit code. For a critical integration, read the server’s source code.
The same page warns that MCP servers “can access external services and execute code on your behalf.” Cursor’s agent security page names prompt injection and hallucinations as reasons an agent can behave in ways you do not expect. So keep paid and destructive tools off the allowlist.
Does Cursor make images on its own?
Yes. Cursor’s agent has its own image tool. It makes “images from text descriptions or reference images,” and the docs name UI mockups and product assets as uses. Cursor saves the images to the project’s assets folder by default (Cursor agent overview, October 2026).
Cursor also has a mode for designers. In Design Mode, you click an element in the running product, draw on the page or describe a change by voice, and the agent edits the code (Cursor Design Mode, October 2026).
For a mockup or a placeholder, the built-in tool is enough. The work changes when the picture has to repeat. Forty products need the same crop, the same light and the real label on every one.
| The job needs | Cursor on its own | Cursor with a production server |
|---|---|---|
| Your real product photo | A reference image you add to the chat | Every asset in your workspace, readable by name |
| Your brand rules | A rule you write for the project | A brand record the workflow reads before every run |
| The same steps on product 41 | You repeat the prompt | A saved workflow runs the same way on the next product |
DesignerBox in Cursor
Anyone can make an AI picture. Making hundreds that still look like your brand is the hard part.
DesignerBox is AI creative production for brands and agencies. The DesignerBox server has 74 MCP tools behind one URL. It runs over HTTP with OAuth sign-in, and there is nothing to install (DesignerBox MCP page, October 2026).
https://mcp.designerbox.ai/apiUse the four steps above with this entry. It is the remote form from Cursor’s docs: one url field and no other key.
{
  "mcpServers": {
    "designerbox": {
      "url": "https://mcp.designerbox.ai/api"
    }
  }
}
Save the file, restart Cursor and approve the DesignerBox sign-in when the editor asks. Cursor then holds a scoped token for 30 days, and you can revoke it in your account. The file holds only the URL, so you can commit it to the repo.
Cursor can then run four kinds of job. One job is one picture, one edit or one clip. A workflow holds your brand, your products and your steps in order, and each step returns its own result. An app is a workflow behind a short form. A list of products runs row by row. The full workflow from the first product photo to the finished ad, in one subscription.
Your active brand profile loads when the chat opens. Your logos, fonts and palette are readable from Assets, and a workflow reads the brand record before every run.
Pictures and clips for a site or a store build
Each line is a prompt you can paste into Cursor’s chat.
| The build needs | You write | The tool Cursor calls |
|---|---|---|
| A cutout for a product card | ”Using DesignerBox, remove the background from this product photo and give me a transparent PNG.” | remove_background |
| A hero picture for the home page | ”Using DesignerBox, make a wide hero picture of this product on warm linen, with room for a headline.” | generate_image |
| An ad for the launch | ”Using DesignerBox, make a product ad from this photo for paid social, portrait, with room for a headline.” | product_ad |
| A short clip for the product page | ”Using DesignerBox, animate this product photo into an eight second clip, a slow push in, 16:9.” | generate_video |
| The whole set in your saved steps | ”Using DesignerBox, list my workflows, then run my product set workflow on this photo and show me each step.” | list_pipelines, then run_pipeline |
A photo on your computer goes in through upload_asset, which opens a file picker in the chat. The photo lands in Assets, ready for the next call. If Cursor picks the wrong tool, name the tool in your message.

Every result lands in Assets in your DesignerBox workspace. You download the file and place it in the project. The tool reference lists every tool with its arguments, and the DesignerBox MCP launch post groups them by job.
The same server works in other clients. See the Codex MCP setup, Claude connectors and ChatGPT MCP. For the wider picture, read what a coding agent needs to make ads, images and video and what Claude Code can and cannot do for marketing. For servers sorted by job, see MCP servers for marketing, by job.
Cost before the run
The DesignerBox MCP page lists what a connected chat can and cannot spend (DesignerBox MCP page, October 2026):
- Reading is free. Reading your designs, brand profiles, models and plan charges no credits.
- The price comes first. Cursor can read what each model costs and how many credits you have left before a run starts.
- Every run reports its charge. The finished run states the credits it used, in the same answer as the result.
- One charge per retry. A repeated call within five minutes returns the first result instead of charging twice.
- Cancel and refund. Stop an avatar or a video job while it runs, and the credits are refunded.
An avatar run returns nine fixed poses for 25 credits. An 8-second clip costs 40 to 560 credits, depending on the model.
The run mode matters here. For a server that spends credits, choose Allowlist mode and list only the reading tools, as in the permissions.json example above. Every run then waits for your approval. In Auto-review, the classifier may run a call without asking you.
Uploading your own photos and the commercial license start on the Pro plan. AI video, virtual try-on, upscaling, the image editor and the video editor start on the Premium plan. Team features, shared brand kits and white label are on the Ultra plan, and every plan below Ultra is one seat. Plans and credits are on the pricing page.
Limits of a run from Cursor
- A chat works one row at a time. For a spreadsheet of products, batch runs one workflow over a whole sheet inside DesignerBox, with 200 rows a sheet.
- Video is asynchronous. A picture returns in the same call. For video, Cursor sends the job, checks it, then returns the file. A video timeline takes one to five minutes.
- Results stay in Assets. Nothing goes to a store or a channel on its own.
- Connecting and reading work on every plan. A run needs credits. Making pictures and video from Cursor needs a paid plan, and the plan gates above apply.
There is a free plan, and it runs on sample products. Add the server to Cursor and read your workspace before you run anything. Get started free.
FAQ
How do I add an MCP server to Cursor?
Create .cursor/mcp.json in your project, or ~/.cursor/mcp.json in your home folder. Add the server under mcpServers, with a url for a remote server or a command for a local one. Save the file and restart Cursor. You can also open Customize, click MCPs and click Add to Cursor on a listed server.
Where is the Cursor MCP config file?
There are two. The project file is .cursor/mcp.json in the project folder. The global file is ~/.cursor/mcp.json in your home folder. Cursor merges them, and the project file takes priority when one server name appears in both.
Does Cursor ask before it runs an MCP tool?
Yes, unless the run mode lets the call through. In Auto-review, the default from Cursor 3.6, tools on your allowlist run at once and a classifier reviews the other calls. In Allowlist mode, only listed tools run without a question. Run Everything runs every call.
Can Cursor make images?
Yes. Cursor’s agent makes images from a text description or a reference image and saves them to the project’s assets folder by default. A production server such as DesignerBox adds your real product photos, your brand record and your saved workflows.
Does reading my DesignerBox workspace from Cursor cost credits?
No. Reading charges no credits. A run charges credits. The cost is shown before the run, and the finished run reports what it charged. DesignerBox does not have a public API. It has 74 tools over MCP.
Sources
- Cursor MCP reference: transports, mcp.json for stdio and remote servers, static OAuth, tool approval, the MCP allowlist and the security practices: cursor.com/docs/mcp, read October 2026
- Cursor MCP help page: the two file locations, the merge rule, the manual and one-click steps, the tools list and Auto-review as the default from Cursor 3.6: cursor.com/help/customization/mcp, read October 2026
- Cursor Run Modes: the three modes, the settings path and the classifier limit: cursor.com/docs/agent/security/run-modes, read October 2026
- The permissions.json reference: file locations and the mcpAllowlist format: cursor.com/docs/reference/permissions, read October 2026
- Cursor agent security: approval of MCP connections, prompt injection: cursor.com/docs/agent/security, read October 2026
- Cursor’s image tool: cursor.com/docs/agent/overview, read October 2026. Design Mode: cursor.com/docs/agent/design-mode, read October 2026
- MCP definition: modelcontextprotocol.io, read October 2026
- DesignerBox MCP server, tool count, client setup, jobs, cost and control rules: DesignerBox MCP page and tool reference, October 2026. Plan gates: DesignerBox pricing, October 2026
Cursor file names, config fields, run modes and menu names verified against Cursor’s documentation on 7 October 2026. Cursor changes these pages often, so check your own settings. DesignerBox tool and cost facts verified against the DesignerBox MCP page on 7 October 2026.