Backpack product photography is the image set that sells a pack on a listing: front, three-quarter, side, back and top views, an interior shot, strap and hardware detail, and at least one frame showing the bag worn. Capacity is the spec buyers shop on, and no single photo states it. The gallery has to prove a volume the number alone cannot.
Every backpack guide ranking today hands you a scene list. Coffee run, airport, stone surface, hard-shadow hero. Scene choice is the cheap part. You can move a pack to a new city in one line of a prompt and the listing will still lose the sale, because the buyer is not asking where the bag is. They are asking how much it holds and whether their laptop fits.
This guide is for a bag, outdoor or EDC brand shooting a drop. It covers why the liter figure and the photograph describe different bags, the frames that answer capacity, the marketplace rules that decide your main image, what a shoot costs, and which parts of a pack generative models still get wrong.
Key Takeaways
Capacity is the buying spec, and the standard that defines it excludes pockets. ASTM F2153 measures enclosed volume only, leaving out mesh pockets, water bottle holders and compression pockets.
The main image cannot carry scale. Amazon’s main image rule allows the product alone on pure white, so the frame with the most traffic is the frame least able to answer the size question.
42% of shoppers judge size from images, and 28% of sites give them nothing to judge with. Baymard’s research names backpacks directly as a category that needs a worn frame.
Four frames do the capacity work: interior open, packed with known objects, worn on a body, and a laptop or sleeve fit shot. Everything else describes the bag.
Budget the reshoot, not the shoot. Listing shots run $25 to $75 per image and a studio day runs $1,000 to $5,000, and colorways multiply both.
Straps and webbing are where generated packs break. Buckle geometry, strap symmetry and load-bearing tension fail before fabric texture does.
What is backpack product photography?
Backpack product photography is the full image set a pack needs to sell across a product page, a marketplace listing and ad creative. It covers the standard angle set, an interior view, close detail on straps, zips and hardware, and worn frames that put the bag on a body.
It splits from other bag photography on one thing. A handbag is judged on how it looks. A backpack is judged on how much it holds and how it rides. That shifts the work from styling toward proof.
The rest of the bag category sits next door. A handbag listing runs on a different rule set, covered in the handbag shot list and specs, and campaign frames follow their own logic in editorial bag photography.
The liter figure does not measure the whole bag
Backpack capacity is published in liters, and that number is not a marketing estimate. It comes from a test method. ASTM F2153, “Standard Test Method for Measurement of Backpack Capacity”, is the active standard, last updated in May 2018 (astm.org, accessed August 2026).
The standard is direct about why it exists. Section 4.1 states that “many consumers use the capacity measurement as a key specification to determine the backpack size suitable for their requirements.” Section 1.1 covers backpacks and related bags, including lumbar packs, soft rucksacks, internal and external frame packs, duffel bags and travel packs, and it defines both an unextended and an extended capacity.
Here is the part that matters for your photography. Section 1.3 states the method “does not take into consideration areas of the backpack that are not completely enclosed by fabric such as mesh pockets, water bottle holders, and compressor pockets.”
Read that against your shot list. The side water bottle pocket, the front stash pocket, the stretch panel: those are some of the most photogenic parts of a pack, and none of them are in the liter figure. The spec understates the bag while the photograph oversells it. Your image set is where the two get reconciled.
The measurement is physical, not calculated. Osprey publishes its method: 20mm plastic balls fill the pack, all components are filled to their extended capacity, and the balls are then poured into a volume measurement cylinder (osprey.com, accessed August 2026). The company explains it uses this rather than width times length times height because packs “tend to be more cylindrical in shape with rounded corners.”
One practical limit worth knowing: section 1.4 notes the method cannot be used for capacities under 4 liters. Small sling and pouch products fall outside it, so a stated volume there is a brand’s own estimate.
Why the main image cannot answer the size question
Amazon’s main image standard allows only the product being sold, on a pure white background at RGB 255, 255, 255, filling 85% or more of the frame, with no text, logos, watermarks, borders or props (sellercentral.amazon.com, accessed August 2026).
A prop is exactly what a scale reference is. No hand, no laptop, no person, nothing in the frame to size the bag against. So the single most-viewed image on the listing is structurally unable to answer the buyer’s first question.
The research says buyers ask it anyway. Baymard Institute found that 42% of users will attempt to gauge the overall scale and size of a product from its images, and that 56% of test subjects’ first action on arriving at a product page was to begin exploring the images. Across 60 major ecommerce sites, 28% provide no in-scale image at all (baymard.com, accessed August 2026).
Backpacks are not a hypothetical in that research. Baymard’s own test sessions record a subject looking at a North Face pack and saying “Let’s see a picture here, if anyone is wearing it. There’s no photo of anyone wearing it,” against a Patagonia pack drawing “I like that they show it on a person, gives a nice sense of scale.”
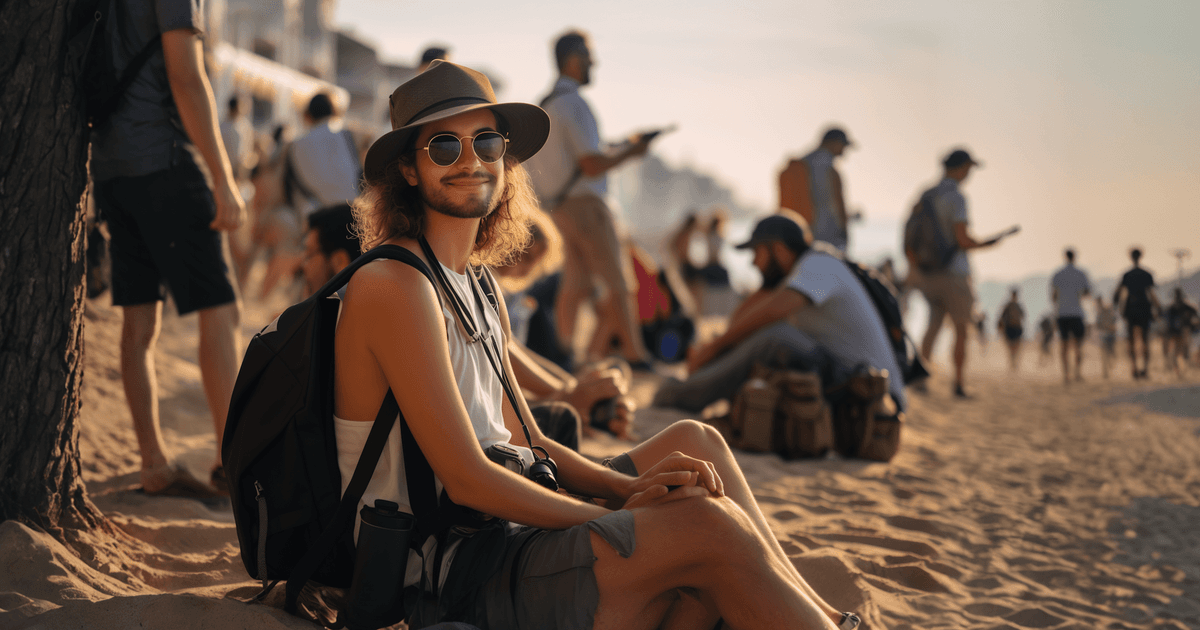
That worn frame is the one doing the sizing work, and it is the one the main image slot cannot hold. Put it in position two.
The backpack shot list
Ten frames cover a pack properly. Six describe it, four prove it.
The six frames that describe the bag
| Frame | What it answers | Where it goes |
|---|---|---|
| Front, straight on | Silhouette, panel layout, branding | Main image |
| Three-quarter | Depth and profile together | Gallery position 3 |
| Side | Gusset depth, bottle pocket, compression | Gallery |
| Back panel | Harness, padding, ventilation, strap width | Gallery |
| Top down | Opening shape, lid, grab handle | Gallery |
| Hardware and strap detail | Buckle, zip pull, webbing, stitching | Gallery, zoomed |
The back panel is the frame most often skipped and the one enthusiast buyers open first. Harness design is the difference between a pack that carries and one that hangs. For the full angle logic across product types, the complete angle shot list covers how the six map to other categories.
The four frames that prove capacity
These are the frames that separate a backpack listing from a bag listing.
Interior, open and empty. Shot from above with the main compartment spread. Buyers cannot read sleeve depth or divider layout from any exterior view.
Packed with recognizable objects. A packed pack is a measuring instrument. Fill it with things whose size everyone already knows, then let the viewer do the arithmetic. This is the only frame that turns an abstract liter figure into a quantity.
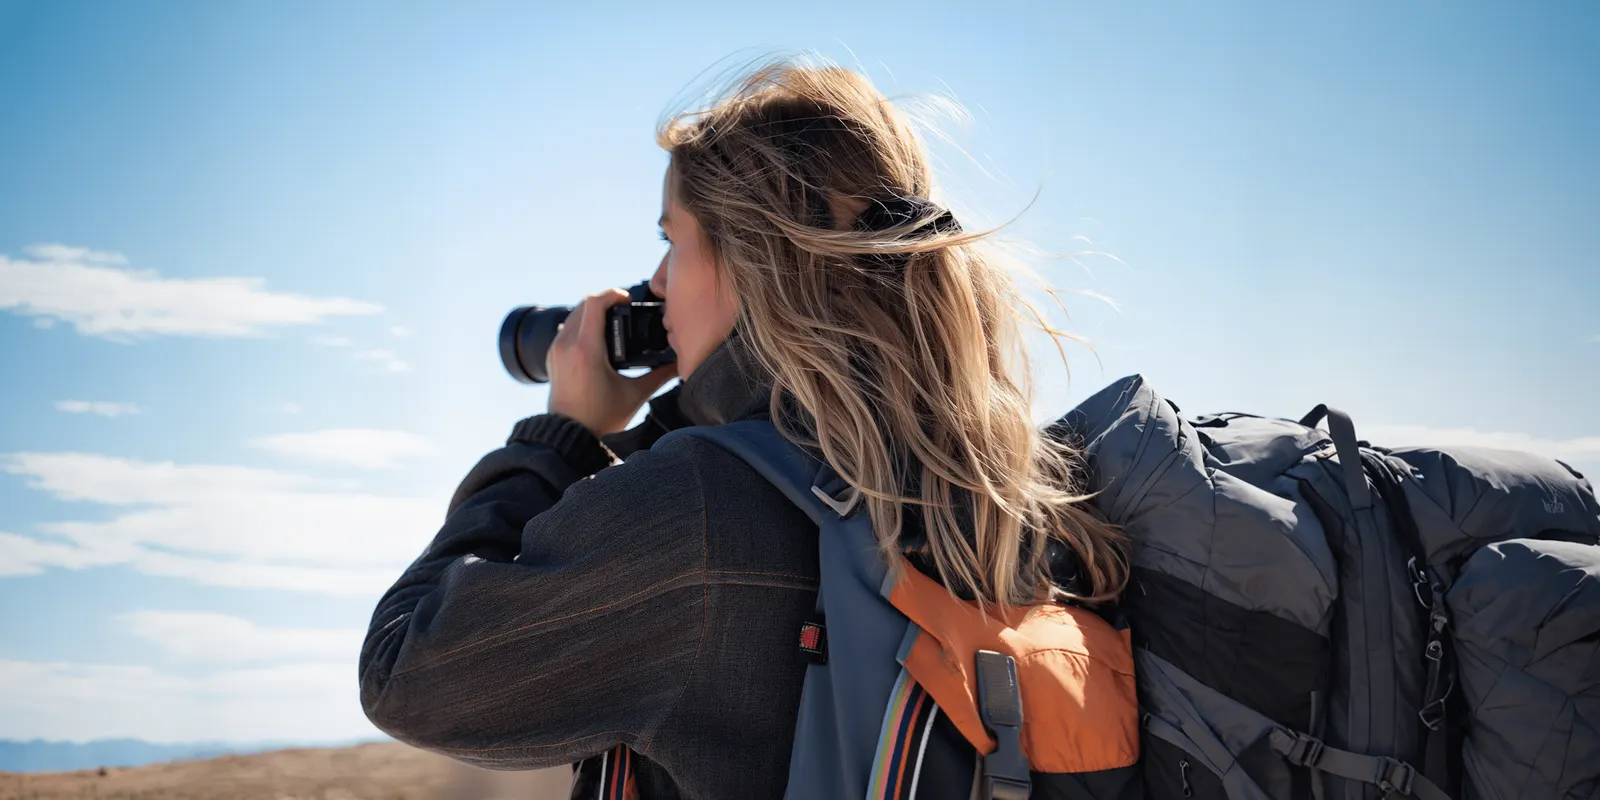
Worn on a body. Proves how the pack sits, where it ends on the back, and how the straps run loaded. Baymard’s category guidance for worn items is that the item should be shown on a human model.
Device fit. A laptop half-inserted in the sleeve, or the sleeve shown against a stated screen size. For any pack sold on commute or travel use, this frame answers the single most common pre-purchase question.
Skip these four and the listing describes a bag without ever sizing it. That is the gap PDP image sets and conversion works through in more detail.
Marketplace image specs for backpacks
| Requirement | Amazon |
|---|---|
| Main image background | Pure white, RGB 255, 255, 255 |
| Frame fill | Product fills 85% or more |
| Main image contents | Product only, no text, logos, watermarks, borders or props |
| Longest side for zoom | 1,600 pixels or larger recommended |
| Color mode | RGB. Convert CMYK before upload. Grayscale only for genuinely grey or silver metal products |
| Rejected formats | EPS, BMP, PDF, PSD, AI, CDR and other application-native files |
| File prep | Minimal or no compression, highest JPEG quality, all layers flattened |
Source: Amazon’s product image guide and technical image file requirements (sellercentral.amazon.com, accessed August 2026).
Two of these bite on bag photography specifically. Flattening matters because pack shots often come out of a retoucher with masks and adjustment layers intact. And grayscale is not a stylistic option for a black pack, since the allowance covers grey and silver metal products, not dark fabric.
What a backpack shoot costs
Listing shots run roughly $25 to $75 per image for clean white-background work, styled lifestyle frames run $100 to $500, and a full studio day lands between $1,000 and $5,000. Those bands are broken down by source in what a product photoshoot costs.
Backpacks push the total up for a reason that has nothing to do with the shot itself. Ten frames per pack is already above the category average, the worn frames need a model, and colorways multiply the whole set. A three-colorway drop at ten frames is thirty finished images before a single ad variant exists.
The reshoot is the line most brands underbudget. A pack that photographs collapsed needs restuffing and a return to set, and stuffing is judgment work that rarely survives the first pass.
Where AI holds up on backpacks and where it breaks
Generated packs hold up well on fabric, weave, ripstop texture, colorways and background. They break on structure, and they break in a specific order.
Straps fail first. Symmetry between left and right, where webbing enters a buckle, and how the tail of an adjuster hangs. Buckle geometry is a mechanism, and models approximate mechanisms.
Load reads wrong next. An empty pack and a loaded pack sit differently on a body. A generated worn frame often shows a full-looking pack with no compression anywhere it should appear.
Interior depth is unreliable. Sleeve depth and divider position are exactly the details the interior shot exists to prove, so an approximated interior defeats the frame’s purpose.
The practical split: generate the descriptive frames and the scene work, verify the proof frames against the real sample. The accuracy checks worth running covers what to compare before anything ships.
Colorways are the clearest win. Rather than reshooting a pack per finish, material and finish swaps change the fabric on an image you already have, with the silhouette held.
How to shoot a backpack drop with DesignerBox
Start from a real photo of the sample. Everything generated derives from your actual pack, so the silhouette, panel layout and branding stay yours.
- Upload one clean front shot of the pack, stuffed to its intended shape.
- Generate the angle set. Photo Angles produces six or more views from the single upload with lighting held consistent, at 5 credits per image.
- Shoot the four proof frames against the sample. Interior, packed, worn and device fit. Verify these rather than accepting them.
- Swap colorways on the finished frames instead of regenerating each pack from scratch.
- Export for the listing, checking the main image against the 85% fill and pure white rules before upload.
The whole set runs inside Photo Studio, and you can test the output on one pack with the free product photo generator before committing a drop. An image costs 5 credits, the free plan includes 112 credits a month, and the commercial license starts on Pro. Current plan detail sits on pricing.
FAQ
How many photos does a backpack listing need?
Ten covers a pack properly: front, three-quarter, side, back panel, top down, hardware detail, interior open, packed, worn and device fit. Six describe the bag and four prove capacity. Marketplaces accept fewer, but a listing missing the interior and worn frames leaves the two most common pre-purchase questions unanswered.
Can a backpack main image show a model wearing it?
Not on Amazon. The main image standard allows only the product being sold on a pure white background with no props, and a person in frame falls outside that. Put the worn frame in the second gallery slot instead, where it does the scale work the main image cannot.
How do you show backpack capacity in a photo?
Pack it with objects whose size the viewer already knows, and shoot the interior open from above. A liter figure is abstract, and a packed frame converts it into a quantity people can read. Add a device fit shot if the pack is sold for commute or travel use.
Why does the stated liter capacity feel smaller than the bag looks?
Because the standard measuring it excludes open areas. ASTM F2153 does not count mesh pockets, water bottle holders or compression pockets, since they are not completely enclosed by fabric. The exterior pockets you can see in the photo are real storage that the published number leaves out.
Should a backpack be stuffed for photography?
Yes, for every exterior frame. An unstuffed pack collapses and reads as flimsy, and it misrepresents the silhouette the buyer receives. Stuff it to its intended loaded shape rather than to bursting, because an overfilled pack distorts panel lines and strap angles.
Can you use AI-generated backpack photos on Amazon?
Amazon’s image rules govern what the image shows, not how it was made. A generated image that meets the pure white background, 85% frame fill and no-props rules is compliant on those grounds. Accuracy is the real constraint, since an image that misrepresents the product creates a returns and listing problem regardless of origin.
What is the hardest part of a backpack to generate accurately?
Straps and buckles. Webbing routing, adjuster tails and left-right symmetry are mechanical relationships, and generative models approximate them. Fabric texture and colorways hold up far better, which is why the descriptive frames generate well and the proof frames need checking against the sample.
Sources
- ASTM F2153-07(2018), Standard Test Method for Measurement of Backpack Capacity, scope sections 1.1, 1.3, 1.4 and significance section 4.1 (astm.org, accessed August 2026)
- Osprey, Volume and Packing, pack volume measurement method (osprey.com, accessed August 2026)
- Baymard Institute, Provide at Least One In Scale Image, 42% scale-gauging, 56% image-first, 28% of 60 sites with no in-scale image (baymard.com, accessed August 2026)
- Amazon Seller Central, Product image guide (sellercentral.amazon.com, accessed August 2026)
- Amazon Seller Central, Technical image file requirements (sellercentral.amazon.com, accessed August 2026)
- Photoshoot cost bands carried from Squareshot, VSCO and Shopify pricing guides as verified July 2026, broken down in what a product photoshoot costs
Backpack capacity standards, marketplace image rules and product-page research verified from ASTM, Osprey, Amazon Seller Central and Baymard Institute as of August 2026. Individual results vary.