Good AI prompts for clothing product photos have three parts: the garment facts, the scene, and a keep line. The keep line names what must not change. Google, OpenAI, Black Forest Labs and ByteDance give the same advice for edits in their own guides. Say exactly what changes. Then list the details to keep. A model cannot protect a print you never described.
The failure is nearly always the same. The background looks right and the garment is wrong. A crew neck becomes a V-neck. The chest print moves two centimeters to the left. Navy drifts toward black under warm light. On one product you catch it. On product 140 of a 200-product drop, the wrong color reaches the listing.
Below are 20 prompts for packshots, on-model shots, conversions, background swaps and detail shots. All 20 use the same three-part structure, so you change the garment and keep the rest. You also get the listing slot each prompt fits. For the full listing set behind these prompts, see AI product photography.
Key Takeaways
- Three parts, every time. Garment facts, then the scene, then a keep line in positive words.
- The model makers agree. Google, OpenAI, Black Forest Labs and ByteDance each say: name what changes, then name what stays the same.
- Describe what you want. Google recommends positive wording over “no” lists, and calls this a semantic negative prompt.
- No model maker promises pixel-identical results. OpenAI’s advice: when a region must stay pixel-identical, composite the approved edit into the original.
- The slot decides the prompt. Amazon’s main image for adult clothing shows a standing model on pure white.
- AI people need a tag on Amazon. A photorealistic AI-generated person needs the keyword contains-synthetic-performer before upload.
How to write AI prompts for clothing product photos
Write the prompt in three blocks. The first block describes the garment in facts: type, fit, color name, fabric, print and construction. The second block describes the scene: background, light, framing and, for on-model shots, the pose. The third block is the keep line. It repeats the garment facts that must stay the same. Only the scene block changes between shots, so one garment spec feeds a full listing set.
| Part | What it says | Example |
|---|---|---|
| Garment facts | Type, fit, color, fabric, print, construction | Relaxed-fit crew-neck tee in washed black cotton jersey, small white chest logo that reads “NORTH” |
| Scene | Background, light, framing, pose | Light gray seamless backdrop, soft light from the front left, full length, standing model |
| Keep line | The facts that must not change, in positive words | Keep the crew neck, the washed black color and the logo text, size and position exactly as in the photo |
Put the keep line last, as its own sentence. Inside the scene description, it gets lost.
The garment spec
Write the garment facts once per product, then paste them into every prompt for that product. A short spec covers eight fields:
- Type and fit: “relaxed-fit crew-neck tee”, never “the shirt”.
- Color: a plain name, such as “dusty sage green”. Add a hex or Pantone reference if your team keeps one.
- Fabric and finish: “brushed cotton fleece”, “matte satin”, “chunky rib knit”.
- Print or logo: what it shows, where it sits and how big it is. Put any text in quotes.
- Neckline and collar: crew, V, mock neck, spread collar.
- Sleeves and cuffs: length, and ribbed or plain cuffs.
- Hem and length: cropped, hip length, split hem.
- Closures and hardware: buttons, zips and snaps, with their color and count.
Google gives the same advice for faces and logos. To keep them during an edit, “describe them in great detail along with your edit request” (Google AI for Developers, September 2026). A garment works the same way. The more of it you name, the less the model invents.
Add more than one photo when you have them. A back view and a close-up of the label help most. Gemini 3 image models mix up to 14 reference images in one request (Google AI for Developers, September 2026). OpenAI’s API takes up to 16 images for its GPT image models (OpenAI API reference, September 2026).
What the model makers say about keeping a garment unchanged
Four model makers publish editing guides, and their advice matches. Name the one thing that changes. Then name the details that must stay the same, in plain positive words. None of the four promises that a garment stays pixel-identical after an edit. A keep line lowers the risk of drift. It does not remove it, so every result still needs a check against the original photo.
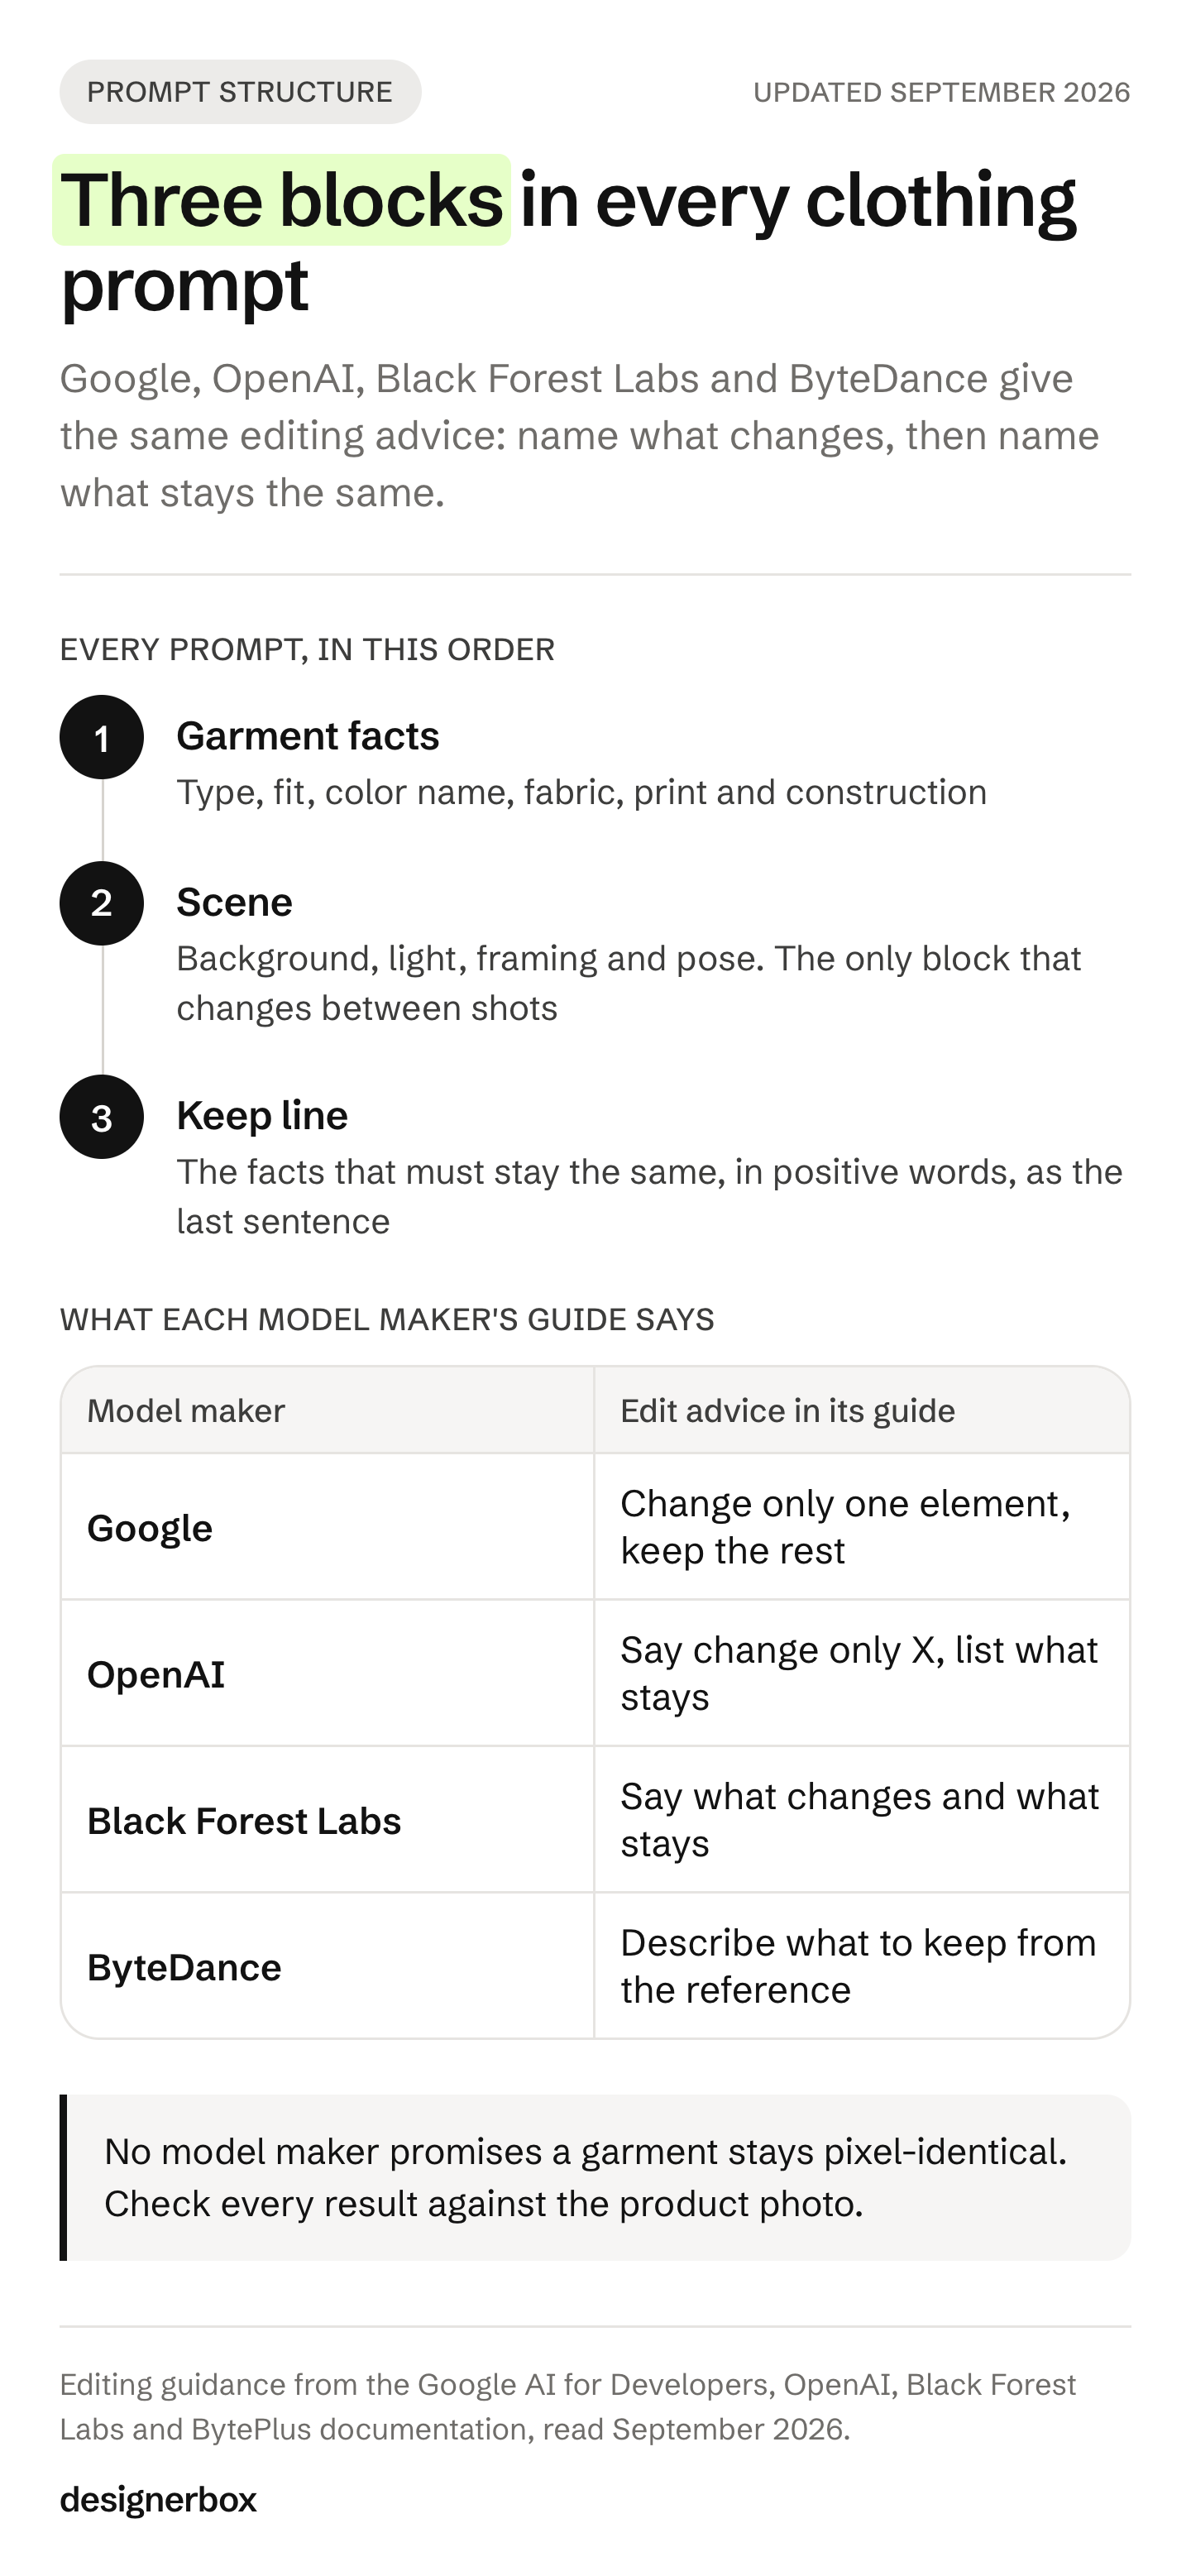
| Model maker | What its own guide says |
|---|---|
| Google (Gemini image models, also sold as Nano Banana) | “change only the [specific element] to [new element/description]. Keep everything else in the image exactly the same, preserving the original style, lighting, and composition.” |
| OpenAI (GPT Image models) | “For edits, say ‘change only X’ and list the details to preserve, such as identity, geometry, layout, lighting, or labels.” |
| Black Forest Labs (FLUX models) | “Be specific about what changes and explicit about what should stay the same.” |
| ByteDance (Seedream models) | “Clearly describe the elements to be extracted and retained from the reference image.” |
Sources, all read in September 2026: Google’s image generation guide, OpenAI’s image prompting guide, Black Forest Labs’ editing guide and ByteDance’s Seedream prompt guide. ByteDance wrote its guide for Seedream 4.0 to 4.5.
Three details from these guides matter most for clothing.
Describe what you want. Google calls this a semantic negative prompt. Instead of “no cars”, you write “an empty, deserted street with no signs of traffic”. Black Forest Labs says “most FLUX models do not support negative prompts” (Black Forest Labs, September 2026). “A plain front with four tan buttons” tells the model what to draw. “No extra buttons” does not.
Restate the keep line on every edit. OpenAI warns that “repeated edits can still change details you intended to preserve”. Its guide says to restate those constraints and inspect each result. A relight after a background swap needs the full keep line again.
Composite when the pixels must match. The same OpenAI guide says: “If a region must remain pixel-identical, composite the approved edit into the original image instead of relying on prompting alone.” For a logo that must match the physical product, keep the original logo pixels. Change only the scene around them.
For sheer or shiny fabric, Black Forest Labs’ own garment example is a ready keep line: “Preserve the original fabric texture, transparency, patterns, highlights, and natural folds.”
Prompts for studio packshots
These four cover the shots without a person: white, gray, hanger and ghost mannequin. Replace every part in square brackets with your garment spec.
1. White background packshot
Studio product photo of [garment facts] on a pure white background. Soft, even light from a large softbox at the front left. The garment is centered, front view, with a soft shadow under it. Keep the [color], the [print or logo] and its position, the neckline and the hem exactly as in the reference photo.
Use it for your own store, Shopify and Etsy. On Amazon US, adult clothing needs a model in the main image, so use prompt 5 there.
2. Gray seamless catalog shot
Catalog photo of [garment facts] on a light gray seamless paper backdrop. 50mm lens, soft directional light from the left, gentle falloff toward the right. True-to-life color. Keep every stitch line, button and label position exactly as in the reference photo.
Gray is the safer backdrop for white and cream garments, which can disappear into white.
3. Hanger shot
[garment facts] on a plain wooden hanger against a warm off-white wall. Soft window light from the left. Small natural wrinkles in the fabric, the way it hangs in a shop. Keep the garment’s [color], length and sleeve shape exactly as in the reference photo.
Drape shows the buyer the weight of the fabric, so this shot suits shirts and knitwear. For knits, the shot list that keeps the stitch visible covers the close-ups too.
4. Mannequin removal (ghost mannequin)
Remove the mannequin from this photo of [garment facts]. Show the garment as if an invisible body wears it, with the inside of the back neck visible. Pure white background, even studio light. Keep the fabric color, the texture and every seam exactly as in the reference photo.
On Amazon US, this shot belongs in the extra image slots. The method and the channel rules are in ghost mannequin photography.
Prompts for on-model shots
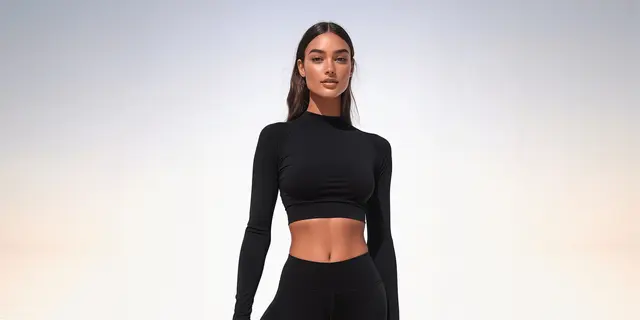
On-model prompts need two things that packshots do not: a described person and a named pose. Without them, the model picks an average face and a stiff stance. Describe natural skin texture, say where the eyes look, and state the light. Then add the keep line. A body changes how a garment folds, and that is where prints and hems drift.
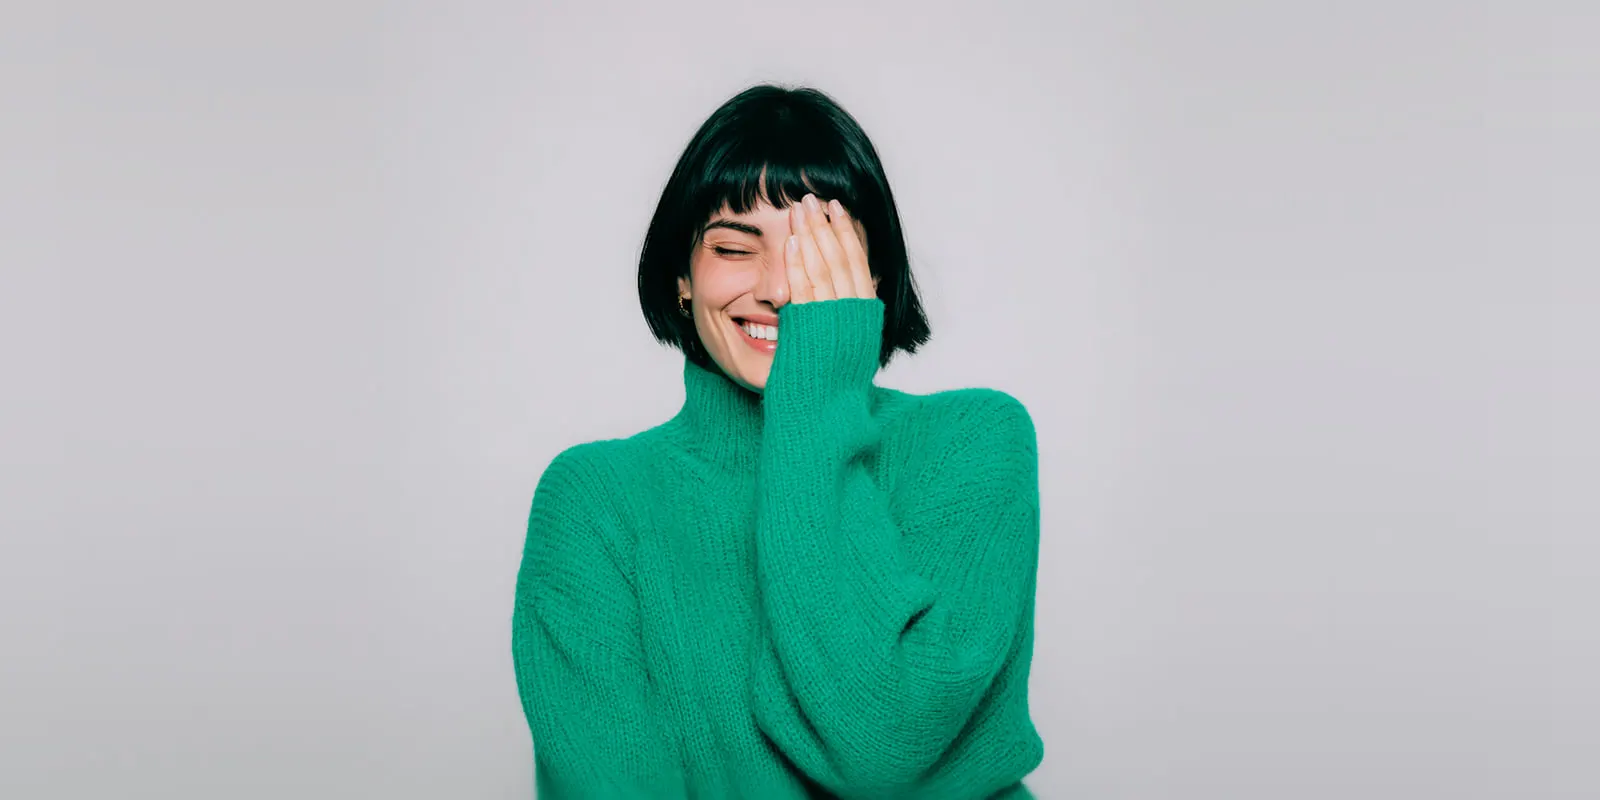
5. Amazon main image: standing model on white
Full-length photo of a standing model in [model description] wearing [garment facts], facing the camera, arms relaxed at the sides, looking at the lens with a relaxed expression. Pure white background, RGB 255, 255, 255. Even studio light with no color cast. The garment fills most of the frame. Natural skin texture. Keep the garment’s [color], [print or logo], neckline and length exactly as in the reference photo.
Amazon’s product image guide asks for adult clothing on a standing model in the main image. The background is pure white, and the product fills 85% of the image (Amazon product image guide, September 2026). For a photorealistic AI person, the same guide asks you to add the keyword contains-synthetic-performer to the image’s XMP dc:subject field before upload.
6. Three views with one model
Studio photos of the same model in [model description] wearing [garment facts], on a light gray backdrop, soft front light. Make three images: front view, three-quarter view turned 45 degrees to the left, and back view. The same face, hair and light in all three. Keep the garment’s [color], [print] position and hem length the same across the three views.
The back view is where models invent seams and pockets. Add a photo of the garment’s back as a second reference.
7. Daylight street shot
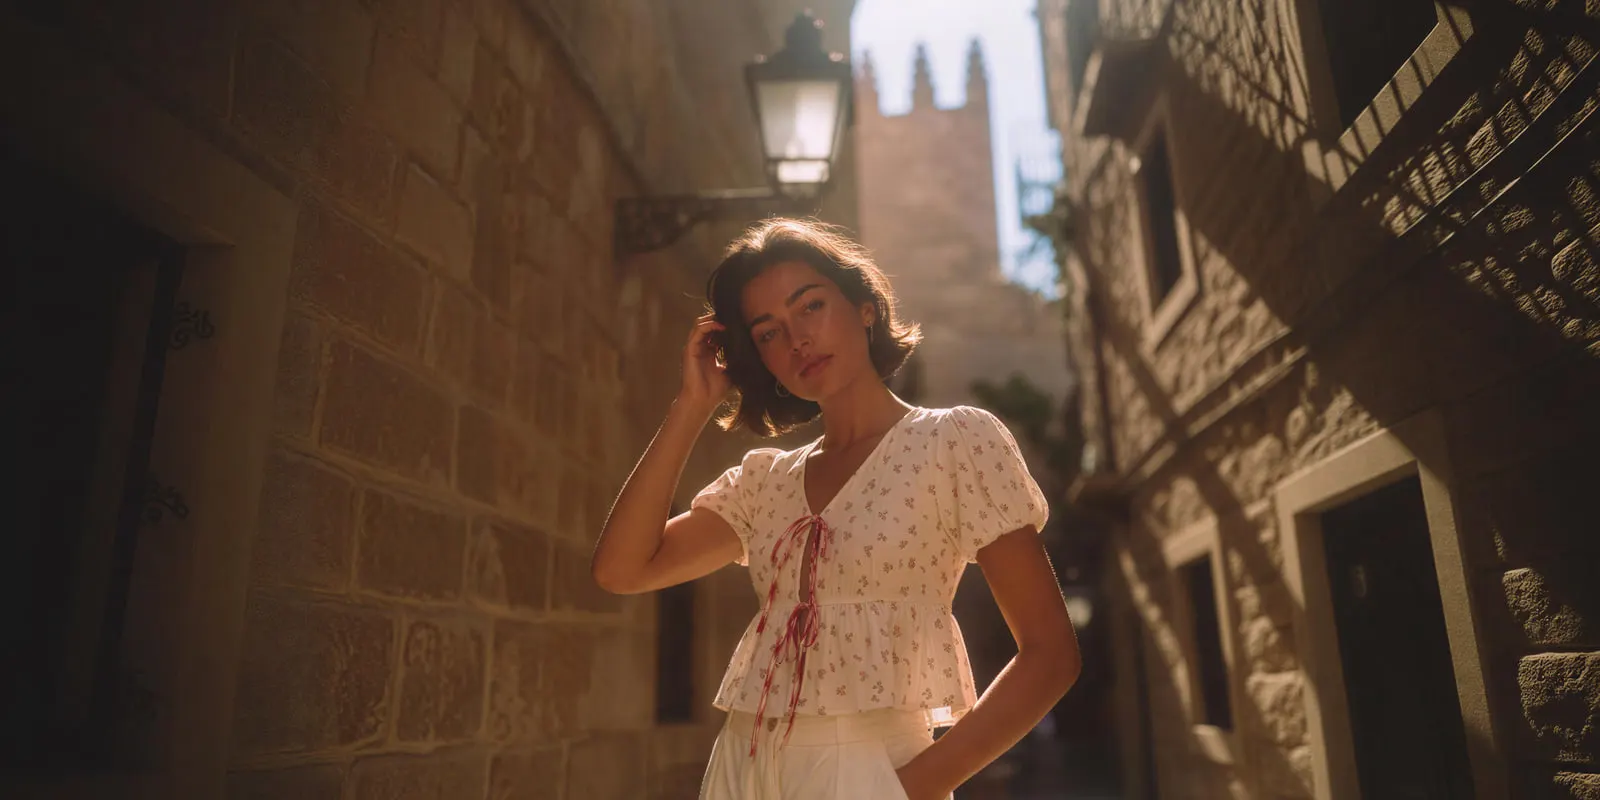
A model in [model description] wearing [garment facts], walking on a quiet city street in soft overcast daylight. 35mm lens, mid-stride, looking toward the camera with a relaxed smile. Natural skin texture. Neutral white balance. Keep the garment’s [color] true under the daylight, and keep the [print or logo] in the same place and size as in the reference photo.
Overcast daylight is the easiest outdoor light for color. Low sun is warm, and it pushes white fabric toward cream.
8. Seated indoor shot
A model in [model description] wearing [garment facts], seated on a linen sofa in a bright living room, with soft daylight from a window on the left. Natural folds where the fabric bends at the waist and the elbows. Keep the garment’s [color], fit and length exactly as in the reference photo.
9. The next product, same model
Use the attached image from this set as the reference for the model, the backdrop, the light and the framing. Keep all four exactly the same. Replace only the garment with [garment facts] from the new product photo. Keep the new garment’s [color], [print] and length exactly as in its product photo.
This is the prompt for product 2 to product 200. One face and one light across a range make a collection page look like one brand. Holding that face across a catalog is covered in consistent on-model images for every SKU.
Prompts for flat lay, ghost mannequin and background changes
Conversion prompts change a photo you already have into the photo you need. The input photo carries the garment facts. The prompt describes the target shot, then locks what the input shows. The input matters more than the wording. A square, evenly lit flat lay gives the model true proportions. A tilted one gives it a leaning garment.
10. Flat lay to on-model
Use this flat lay photo of [garment facts]. Show the same garment worn by a standing model in [model description], against a light gray studio backdrop, with soft even light. The garment fits the body naturally, with realistic drape. Keep the [color], the [print or logo] position and size, the neckline and the hem exactly as in the flat lay.
This is the most common conversion. The step-by-step method is in how to put clothes on a model with AI, and DesignerBox has a guide to on-model photos without booking a model.
11. Flat lay to ghost mannequin
Change this flat photo of [garment facts] into a ghost mannequin image. The garment looks as if an invisible body wears it, with the inside of the back neck visible. Pure white background, even light. Keep all colors, the print and the seam lines exactly as in the source photo.
A flat photo does not show the inside of the neck, so the model draws it. Add a photo of the inside of the back neck as a second image. AI ghost mannequin explains why the label area fails most often.
12. Styled flat lay from a plain product photo
Top-down flat lay of [garment facts], neatly folded on a pale linen surface, with one small prop in the top right corner. Soft overhead daylight, camera parallel to the surface. Keep the garment’s [color] and [print] exactly as in the reference photo.
“Camera parallel to the surface” is the first of the two rules a flat lay needs. Without it, the garment leans.
13. Any photo to a studio background
Replace only the background of this photo with a plain light gray studio backdrop. Keep the model, the pose and [garment facts] exactly the same. Match the light on the new background to the light already on the model, and add a soft shadow at the feet.
14. A new season, no extra layers
Change only the setting of this photo to a park in late autumn, with fallen leaves and soft overcast light. Keep the model and [garment facts] exactly the same. The model wears only the garments in the original photo.
Ask for autumn and a model can add a scarf that you do not sell. The last sentence stops that in positive words, as a semantic negative prompt.
15. Marketplace white background
Replace only the background of this photo with pure white, RGB 255, 255, 255. Keep the model and [garment facts] exactly as they are. Clean edges around the hair and the fabric. The garment keeps its own color at the edges, with no background color on the fabric.
Prompts for fabric, print and color detail
Detail prompts protect the facts a buyer checks before buying: the weave, the print and the color. Use them as close-up shots, or copy their keep lines into any prompt above. Color needs the most care. A change of light or setting can shift the garment’s color. So name the color in words, and say that it must hold under the new light.
16. Fabric close-up
Macro close-up of [fabric] on [garment facts], showing the weave, the stitching and one [button or zip]. Low side light that shows the texture. Sharp focus, shallow depth of field. Keep the fabric color exactly as in the reference photo.
17. Detail on the body
Close crop of a model wearing [garment facts], framed from the chin to the waist, with the focus on the [collar, buttons or print]. Soft side light that shows the fabric texture. Keep the [detail] exactly as in the reference photo, including the stitch color and the button count.
18. Print and logo lock
The [garment] carries a print of [describe the artwork] with the text “[exact text]” in [color], centered on the chest, about [size] wide. Reproduce this print exactly: the same artwork, the same colors, the same position and the same scale. The text reads “[exact text]”, letter for letter.
Text on a garment is a known weak spot. OpenAI’s own guide says its models “can still struggle with precise text placement and clarity” (OpenAI, September 2026). For a logo that must match the product, composite the original logo back in.
19. Color lock
The garment color is [color name], [hex or Pantone reference]. Show this color as it looks under neutral daylight, with no shift in hue, no extra saturation and no darkening in the shadows. Color accuracy comes before style.
20. New light, same color
Change only the lighting of this photo to warm late-afternoon sun from behind and to the left, with a soft rim light on the shoulders. Keep the model, the pose and [garment facts] the same. The [color] garment stays [color] under the warm light.
For one garment in six colors, AI clothes color changer tools compares the ways to make colorways. When the light itself is the problem, see how to fix product photo lighting.
Which prompt fits which listing slot
The listing slot decides the prompt, because each marketplace sets its own rules for the first image. Amazon has the strictest rule for adult clothing: a standing model on pure white. Google recommends clothing worn by people, as a best practice. Your own store follows your own brand rules. Pick the slot first, then the prompt.
| Slot | Prompts | Rule to check |
|---|---|---|
| Amazon main image, adult clothing | 5, then 15 | Standing model, pure white (RGB 255), product fills 85%, no part of a mannequin |
| Amazon main image, children’s tight-fitting items | 1, with the garment laid flat | Children’s and baby underwear, leotards and swimwear lie flat, with no model |
| Amazon extra images | 4, 6, 16, 17 | Amazon recommends a main image plus at least six more images and one video |
| Google Shopping | 5, 6, 7 | Clothing worn by people is recommended. Keep the AI metadata in the file |
| Your own store and social posts | Any | Your own brand rules |
The Amazon rules come from Amazon’s product image guide, read in September 2026. Amazon’s clothing image guide adds one line: “Only photos are allowed.” It does not say whether a photorealistic AI image counts as a photo. Check it before a generated on-model image goes into a clothing listing on Amazon.
Google Merchant Center accepts product images made with AI. Each one must keep the metadata that says AI made it. Google’s example is the IPTC DigitalSourceType value TrainedAlgorithmicMedia, and you must not remove it (Google Merchant Center image requirements, September 2026).
Rules change often, so read each page on the day you upload. The rules across more marketplaces are in marketplace rules for AI product photos. The disclosure question is in labeling AI-generated fashion images. This is general information about platform rules, not legal advice.
Prompt mistakes that change the garment
Each of these mistakes passes a quick look at one image. They appear when you compare the result with the product photo.
- Describing only the change. “Put this hoodie on a model at the beach” says nothing about the hoodie, so the model treats it as a suggestion.
- Vague garment words. “The shirt” invites a new shirt. “The relaxed-fit washed black cotton tee with a small white chest logo” does not.
- Stacked styles. “Editorial, minimal, bright, luxury” pulls the model in four directions. Pick one look for each prompt.
- A light change with no color line. Warm light shifts whites and creams first. Prompts 19 and 20 exist for this.
- Asking for perfect. “Flawless skin, perfect fabric” gives smooth, plastic surfaces. Ask for natural texture and real folds. More fixes are in AI images that do not look AI-generated.
- Checking the result against the prompt. Check it against the product photo: the print where it crosses a seam, the logo text, the collar ribbing, the sleeve length and the button count.
To run that check once for a whole range, see AI product photo accuracy.
One prompt set for a whole catalog
Twenty prompts cover one garment. A drop of 40 garments with five shots each is 200 results. Nobody types 200 prompts the same way, and each small change in the wording is a new chance for drift.
Anyone can make an AI picture. Making hundreds that still look like your brand is the hard part.
DesignerBox is AI creative production for brands and agencies. Scale your images, ads and video with AI and keep your brand on every piece: build the workflow once with your brand rules, run it on every product, see the cost before each run, and keep everything from the first product photo to the finished ad in one place.
In DesignerBox, the prompt becomes a step in a workflow. You save the scene, the model and the keep line once. For the next garment, you change only the product photo and the garment facts. Prompt help sits inside the workflow. You write a rough brief, such as “gray backdrop, standing model, three views”, and the workflow turns it into an art-directed prompt.
Your brand profile holds your logos, fonts, palette and rules, and the workflow reads it on every run. Clothing catalog turns one garment into four shots: front, three-quarter, back and a fabric close-up.
A workflow can be published as an app. A colleague adds a garment photo to a form and presses Run. The Dress my model app works this way for on-model shots. Batch runs one workflow over a whole sheet of products. You keep or discard per row, and you re-run one row alone. Three critic steps score the results, and best-of-N keeps the best one. You still check each result against the product photo, and you see the cost of a run before the run.
The full workflow from the first product photo to the finished ad, in one subscription. Templates, workflows, apps, batch, the image editor, the video editor, brand and Assets sit in one place. The rest of the listing set is on the AI product photography page.
An agency that does this for 20 client brands builds one workflow per brand, each with its own brand rules. Team features, shared brand kits, white label and the API are on the Ultra plan, and every plan below Ultra is one seat. The commercial license starts on the Pro plan. AI video and virtual try-on start on the Premium plan. Plans and credits are on the pricing page.
There is a free plan. Add one garment photo, write its garment spec, and run prompt 1 on it. Get started free.
FAQ
What is the best AI prompt for clothing product photos?
No single prompt fits every shot, but one structure does: garment facts, then the scene, then a keep line. Prompt 1 is the safest start for a store listing. Prompt 5 fits the Amazon main image for adult clothing. Prompt 10 puts a flat lay on a model.
How do I stop AI from changing the print or color of my garment?
Name the print and the color in words, with any logo text in quotes. Put the keep line last and restate it on every new edit. For a logo that must match the product exactly, composite the original logo back into the result.
Do negative prompts work for clothing photos?
Many models have no field for them. Black Forest Labs says most FLUX models do not support negative prompts. Google recommends semantic negative prompts instead, which describe the result you want in positive words.
Can I use AI clothing photos on Amazon?
Amazon asks for adult clothing on a standing model on pure white in the main image. Its clothing guide says only photos are allowed and does not say whether a photorealistic AI image counts. A photorealistic AI person needs the contains-synthetic-performer keyword. Check both guides before you upload. This is general information, not legal advice.
Which AI model keeps clothing details best?
No model maker promises a pixel-identical garment, and results change as models update. Run the same prompt on three test garments: one dark, one printed and one white. The model that holds all three is the one to save in your workflow.
How do I turn a flat lay into an on-model photo with AI?
Start from a square, evenly lit flat lay that shows the whole garment. Use prompt 10, and add a photo of the garment’s back as a second reference if you have one.
How long should an AI prompt for a clothing photo be?
The prompts in this list run from about 40 to 80 words. Google’s guide says: “The more specific you are, the more control you have over the results.” Spend the words on the garment facts and the keep line, not on style words.
Sources
Editing guidance read in September 2026 from Google’s Gemini image generation guide, OpenAI’s image prompting guide, image generation guide and images API reference, Black Forest Labs’ single-reference editing guide and technical prompting guide, and ByteDance’s Seedream prompt guide on BytePlus. Marketplace rules from Amazon’s product image guide and clothing image guide, and Google’s Merchant Center image requirements, read in September 2026. DesignerBox plans and plan gates: DesignerBox pricing page (designerbox.ai/pricing), September 2026.
Prompt guidance and marketplace rules verified from the model makers’ and marketplaces’ own documentation as of September 2026. Individual results vary.