Generative fill is an AI edit that redraws one part of a picture. You select an area, and a model paints new pixels there to match the rest. The name covers two older operations. Inpainting repaints inside a selection. Outpainting extends the picture past its frame. A text prompt says what to draw. An empty prompt asks the model to continue the surroundings.
Adobe gave the edit its name in 2023. This guide covers the four jobs generative fill does in product and ad work, the steps in any tool, the places where it fails, and one rule for a product photo. Every platform and vendor fact was read on its own page on October 7, 2026.
Key Takeaways
- One name, two operations. Inpainting repaints inside a selection. Outpainting extends the canvas, and Adobe calls that Generative Expand.
- The selection decides more than the prompt. The model can change the pixels you select. It reads the pixels around them to match light and texture.
- Four jobs in product and ad work. Remove an object, add or swap a prop or a background area, extend the canvas for a new ad format, and repair a flaw.
- One rule for a product photo. Keep the selection off the product. A fill invents pixels, and a listing photo has to show the real item.
- A vertical ad from a 4:5 photo is about 30% new picture. Extending 1080 x 1350 px to 1080 x 1920 px adds 570 rows that the camera never recorded.
What is generative fill?
Generative fill is the name Adobe gave to a feature in Photoshop. Adobe announced it on May 23, 2023, in the Photoshop beta app. The announcement described adding, extending or removing content with a text prompt, without changing the original pixels (news.adobe.com, press release of May 2023, read October 2026).
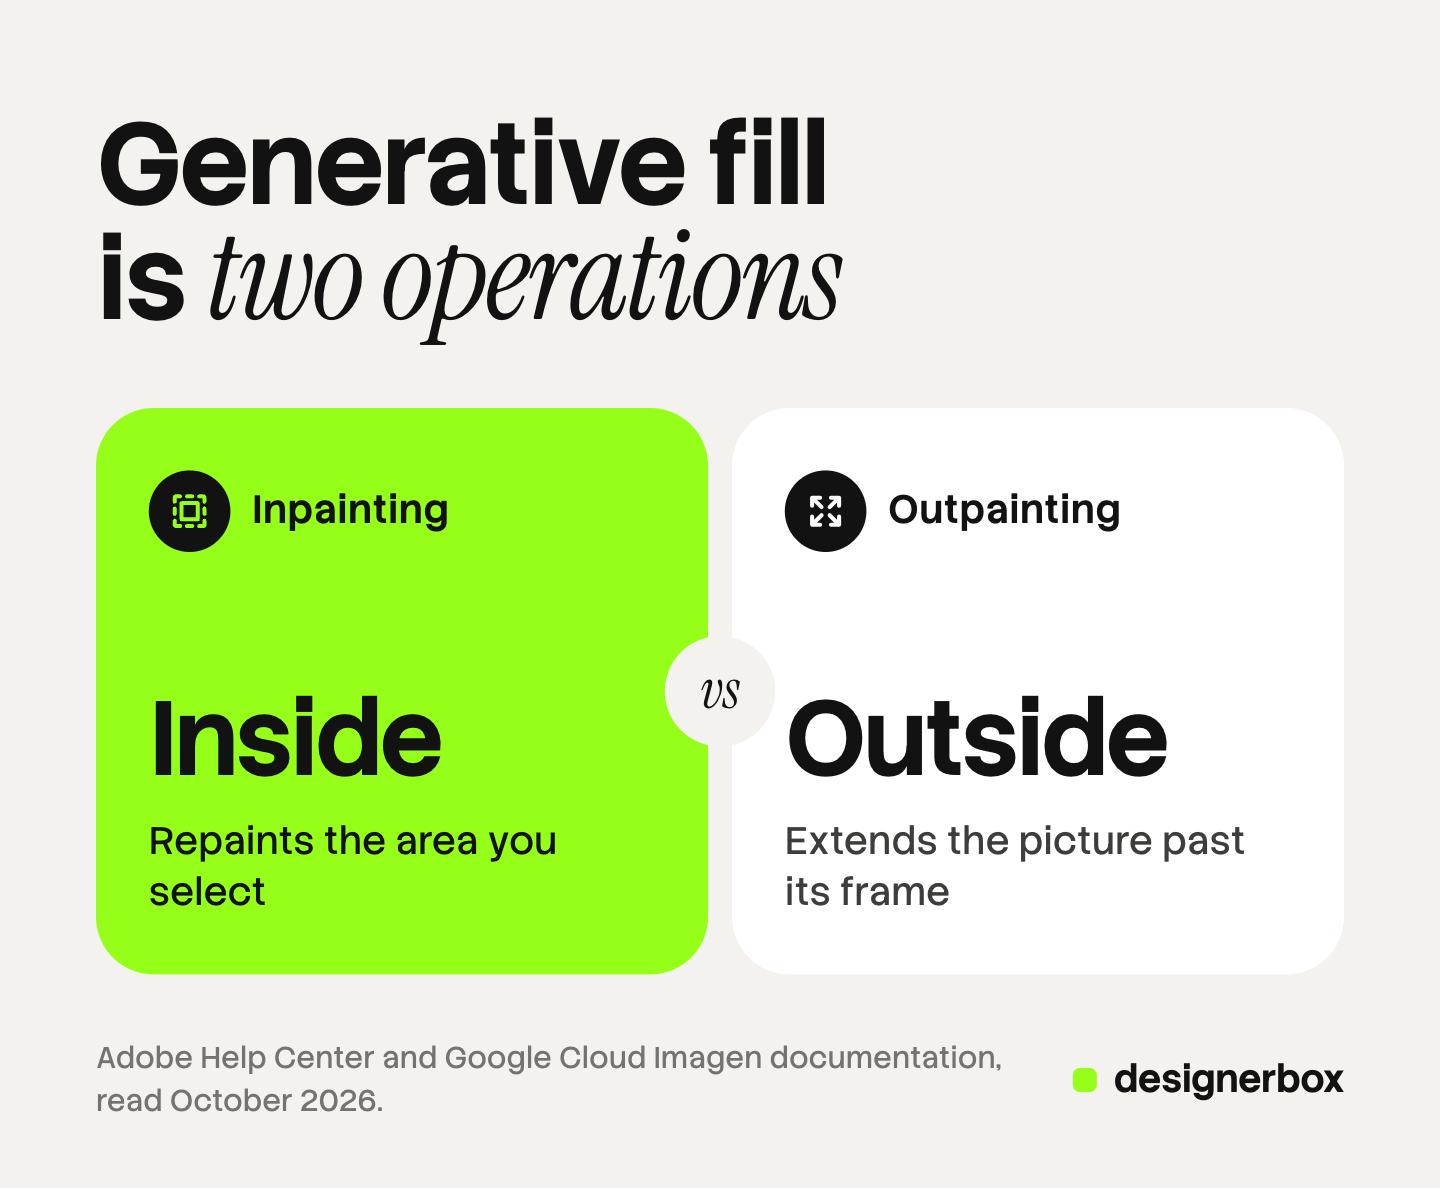
The technique is older than the name. Google’s documentation for Imagen calls its two parts inpainting and outpainting. It describes inpainting as a base image, an image mask and a text prompt that together add content to a picture (Google Cloud documentation, October 2026). It describes outpainting as an edit that expands a base image to fit a larger canvas (Google Cloud documentation, October 2026). The mask in those documents is the selection.
What each source calls it
| Source | Repaint inside a selection | Extend past the frame |
|---|---|---|
| Adobe Photoshop | Generative Fill | Generative Expand |
| Google Imagen documentation | Inpainting | Outpainting |
| Shopify admin | Generate, with a text prompt | Extend, which Shopify calls outpainting |
| IPTC photo metadata standard | Inpainting | Outpainting |
Sources: helpx.adobe.com, October 2026. Shopify Help Center, October 2026. The Google and IPTC pages are linked in this guide.
Photoshop does this job with a lot of control. Each fill lands on its own generative layer, so you can reverse it later and the original image stays as it was. Photoshop also returns variations of each fill, and you choose one (helpx.adobe.com, October 2026).
How do the selection and the prompt decide the result?
The selection sets the limit. The model changes the selected pixels and no others. It reads the pixels around the selection to match the light, the grain and the perspective. A selection that covers half the frame asks for half a new picture.
The edge of the selection matters. A selection that stops exactly at the edge of an object often leaves a thin outline of it. Select a little past the edge. Google’s Imagen documentation has a setting that grows the mask by a share of the image width. Google recommends a value of 0.01, which is 1%, for imprecise masks.
The prompt names what appears. Write the thing you want to see, as a noun with a few details: “a folded linen napkin, soft daylight”. Describe the new content, and leave out words like “add” or “please remove”.
An empty prompt means “continue the surroundings”. Adobe’s help page says you can leave the prompt blank, and Photoshop then fills the selection from the surrounding pixels (helpx.adobe.com, October 2026). Object removal uses this empty prompt.
What does generative fill do in product and ad work?
It does four jobs, and each one has its own selection, prompt and check.
| Job | Select what | Prompt, or leave it empty | What to check |
|---|---|---|---|
| Remove an object | The object and its shadow, a little past the edge | Empty | No outline left behind. The surface continues at the same angle |
| Add or swap a prop or a background area | The empty area where the new thing goes | A noun with details, such as “a ceramic vase with dried grass” | The scale against the product. The direction of the new shadow |
| Extend the canvas | The new empty area around the picture | Empty first. Name the scene if the result drifts | The seam at the old edge. Lines that continue straight |
| Repair a flaw | The flaw only: a crease in the backdrop, a dust mark, a cable | Empty, or the name of the surface | The texture matches. Nothing nearby moved |
For a whole new background, a cutout is usually the cleaner route, and our guide to AI background removal covers what to put behind the product.
How to use generative fill, step by step
These steps work in any editor that has the feature. A fill is one step in a longer edit, and our guide to how to edit product photos puts the steps in order.
- Save a copy of the original. Some editors write over the file. Photoshop keeps each fill on its own layer, so the original stays underneath.
- Make the selection. Use a brush, a lasso or a subject selection. Go a little past the edge of the thing you want to change. Keep the selection off the product.
- Write the prompt, or leave it empty. Leave it empty to remove or to extend. Write a noun with details to add something.
- Run the fill and compare the results. Many editors return more than one result. Look at each one at 100% zoom before you choose.
- Check the result against the table. Look at the shadow, the seam, the scale and the surface. Then compare the product with the original photo.
- Stop after two or three fills on one picture. Each fill reads the result of the fill before it. Small errors add to each other.
Generative expand: a new shape from one photo
Generative Expand is Adobe’s name for outpainting. In Photoshop you drag the crop handles outward and choose Generative Expand. Adobe’s page says to leave the prompt blank and let Photoshop extend the image (helpx.adobe.com, October 2026). Other tools call the same edit an AI image extender.

The job exists because ad formats have different shapes. A crop removes part of the picture, and a stretch distorts it. An extension keeps the whole product and adds space around it. Our guide on how to resize an image without losing quality covers the crop and the scale, and an extension starts where those two stop.
The arithmetic shows how much of the result is new. A 4:5 feed image at 1080 x 1350 px, extended to a 9:16 story at 1080 x 1920 px, gains 570 rows of pixels. That is about 30% of the final picture. The camera recorded none of those rows.
Three things make an extension work:
- A plain edge. A seamless backdrop, a wall, a sky or a table extends cleanly. A busy shelf or a crowd does not.
- No product at the edge. If the frame cuts the product, the model has to invent the missing part. Reshoot instead.
- Space for the text. An ad needs room for a headline and a button. Extend toward the side where the text goes.
An extended picture can need more pixels afterward. Adobe’s FAQ says its Firefly model returns 1024 x 1024 px to Photoshop, so a large filled area can hold less detail than the photo around it (helpx.adobe.com, October 2026). Shopify says its generated images default to 1 megapixel. Our guide to image upscaling explains what an upscale can and cannot recover.
One concept usually needs many shapes. The plan for one ad in every platform size shows which parts of a master image have to stay flexible.
The one rule for a product photo
Keep the selection off the product.
A fill invents pixels. That is fine for a backdrop. On the product it is a problem, because the shopper buys exactly what the picture shows. A filled stitch line, a redrawn label or a smoothed dent is a picture of an item that does not exist.
The marketplaces state this as an accuracy rule. Amazon says the main image must “accurately represent the product as a realistic, professional-quality image”, including its real scale, quantity and color (Amazon product image guide, October 2026). Google says the primary image “must clearly display the exact item being sold” (Google Merchant Center Help, October 2026).
Two consequences follow:
- A flaw on the product needs a reshoot or a classic retouch. Dust removal and color correction change nothing about the item. A fill on the product can change its shape. Our guide to ecommerce image editing marks where an edit starts to change the product.
- Text on the product is the highest risk. A model redraws letters as shapes. The guide on how to edit text in an image covers the safer methods.
What do marketplaces say about a filled photo?
Props. A fill can add a prop in seconds, and the first image of a listing has little room for one. Amazon’s main image must have a pure white background. Amazon also says not to show accessories or props that are not included with the product and could confuse the customer. Google says not to include any product that is not sold together with the main product. Added props belong in the secondary images and in ads.
Metadata. Google Merchant Center says all images created using generative AI must contain metadata that says so. Its example is the IPTC DigitalSourceType value TrainedAlgorithmicMedia. Google also says not to remove embedded metadata tags from images made with generative AI tools.
The IPTC standard has a value for an edited photo. It is compositeWithTrainedAlgorithmicMedia, named “Edited using Generative AI”. IPTC defines it as an augmentation, correction or enhancement with a generative model, “such as with inpainting or outpainting operations” (IPTC Digital Source Type, October 2026).
Keep whatever tag your editor writes, and check the final file, because export presets can strip metadata. Disclosure to shoppers is a separate question, and our guide to AI product photos and marketplace rules covers it.
Where does generative fill fail?
- Text and logos. A model draws letters as texture. A label inside or next to the selection can come back misspelled or bent.
- Hands. A selection that crosses a hand can return a hand with the wrong number of fingers. Keep hands outside the selection.
- Shadows and reflections. Remove an object and its shadow can stay. Add an object and its shadow can point the wrong way. A glossy table reflects the old scene until you select the reflection too.
- Straight lines and patterns. Floor tiles, wood grain and shelf edges have to continue at the same angle. A fill often bends them at the seam.
- Repeated fills. Each fill is a little softer than the photo around it. After several fills on one area, the texture drifts away from the original.
The same edit on every product
A fill on one picture is a small job. The same edit on every product in a catalog is a different job, because every result has to match and no product may change.
DesignerBox is AI creative production for brands and agencies. It makes images, ads and video, and a product photo is one of the inputs.
Anyone can make an AI picture. Making hundreds that still look like your brand is the hard part.
The DesignerBox image editor page does not use the words generative fill. It describes the edit in its own terms. You describe the change in a sentence, or you mark the part with a brush. The editor changes that part and leaves the rest of the picture alone. The page lists the background, an object in the frame and the light. You can remove what should not be there, or add a prop. Each edit keeps the detail and the resolution of the edit before it (DesignerBox image editor page, October 2026).
Two limits follow from the page. The editor changes one picture at a time. The page lists a crop to the shape a channel needs, and it does not describe extending the canvas. Our guide to how the DesignerBox image editor and video editor work covers both editors in more detail.
For the same change on every product, the page points to a batch. You save the steps once as a workflow, with your brand rules. A batch then runs it over a sheet with one product per row. Row one and row two hundred read the same rules. You review each result and keep or discard it. The cost is shown before the run.
The same product photo also feeds the ad and the video. The full workflow from the first product photo to the finished ad, in one subscription.
Uploading your own photos and the commercial license start on the Pro plan. AI video, virtual try-on, upscaling, the image editor and the video editor start on the Premium plan. Plans and credits are on the pricing page.
When another tool fits better
- You need layers and manual control on one picture. Photoshop keeps each fill on its own layer and lets you pick the model.
- You want results sent to a store for you. DesignerBox does not send finished work to a store. You download the results, or send them with a webhook or an S3 step.
- Your team needs several seats. Every DesignerBox plan below Ultra is one seat.
A free plan for your first run
There is a free plan, and it runs on sample products. Start from a template and look at the set it returns before you plan a sheet of your own.
FAQ
What is generative fill?
Generative fill is an AI edit that redraws a selected part of a picture so it matches the rest. Adobe introduced the name in Photoshop in 2023. The same technique is called inpainting when it works inside a selection and outpainting when it extends the frame.
What is the difference between inpainting and outpainting?
Inpainting repaints an area inside the picture, such as an object you want to remove. Outpainting adds new picture past the original edge, for example to turn a square photo into a vertical one. Adobe calls the first Generative Fill and the second Generative Expand.
How do you use generative fill to remove an object?
Select the object and its shadow, a little past the edge. Leave the prompt empty and run the fill. The model continues the surrounding surface into the selection. Check that no outline remains and that lines in the background continue straight.
What is generative expand?
Generative Expand is Adobe’s name for outpainting in Photoshop. You drag the crop handles outward, choose Generative Expand and leave the prompt blank. Photoshop then extends the image into the new area. Other editors call the same edit extend or an AI image extender.
Can you use generative fill on product photos?
Yes, on the area around the product. Keep the selection off the product itself, because a fill invents pixels and a listing has to show the real item. Amazon and Google both require the main image to represent the product accurately. This is general information and not legal advice.
Does DesignerBox have generative fill?
The DesignerBox image editor page does not use that name. It says you describe a change or mark a part with a brush, and the editor changes that part and leaves the rest alone. In DesignerBox you see the cost before each run.
Sources
- Adobe Help Center, edit images with Generative Fill: the selection, the model picker, the blank prompt, variations in the Properties panel (helpx.adobe.com, read October 7, 2026)
- Adobe Help Center, explore beyond the canvas with Generative Expand: the crop handles and the blank prompt (helpx.adobe.com, read October 7, 2026)
- Adobe Help Center, generative AI features in Photoshop FAQ: the generative layer and the 1024 x 1024 px return size (helpx.adobe.com, read October 7, 2026)
- Adobe press release, May 23, 2023: Generative Fill in the Photoshop beta app (news.adobe.com, read October 7, 2026)
- Google Cloud, Imagen on Vertex AI, insert objects using inpaint: base image, mask and prompt, and the mask dilation value of 0.01 (docs.cloud.google.com, read October 7, 2026)
- Google Cloud, Imagen on Vertex AI, expand an image using outpaint (docs.cloud.google.com, read October 7, 2026)
- Shopify Help Center, media generation in the file editor: generate, extend and outpainting, the 1 megapixel default (help.shopify.com, read October 7, 2026)
- Amazon Seller Central, product image guide: accurate representation, pure white main image, props not included with the product (sellercentral.amazon.com, read October 7, 2026)
- Google Merchant Center Help, image link: the exact item being sold, products not sold together, AI image metadata (support.google.com, read October 7, 2026)
- IPTC, Digital Source Type vocabulary: compositeWithTrainedAlgorithmicMedia, “Edited using Generative AI” (cv.iptc.org, read October 7, 2026)
- DesignerBox image editor, workflows and batch: describe the change or use a brush, one picture at a time, one product per row, review of each result, cost shown before the run: DesignerBox image editor and batch pages (designerbox.ai), October 2026
Adobe, Google, Shopify, Amazon and IPTC facts were read on each organization’s own pages on October 7, 2026. The 570-row and 30% figures are arithmetic from the pixel sizes named, not a measurement. Editors change their AI features often, so check each page before you plan around it. This guide is general information, not legal advice. Individual results vary.