
To take product photos without a studio, split the job in two. First, take one clean, true photo of the product with a phone: window light from the side, a plain white background, a straight angle, sharp focus and true color. Second, use that photo as the input for the rest of the set. The backgrounds, the extra angles and the scenes can be made from it with AI.
A full shoot at home means a new setup for the hero image, each angle and each lifestyle scene. This guide teaches one photo instead. Each step has a check you can pass or fail before the product leaves the table. Then it shows what AI can change in that photo afterwards, and what it cannot.
Key Takeaways
- The job has two parts. You take one true photo. The rest of the set is made from that photo.
- A phone is enough. Amazon’s own guide suggests a phone with a camera of 12 megapixels or more. That is about 4,000 pixels on the long side.
- Lock the focus and the exposure. On an iPhone, touch and hold the screen until AE/AF Lock appears. On a Pixel, tap the subject, then tap Lock.
- Check the photo at full size. The smallest text on the label has to be readable.
- AI changes the world around the product. It cannot recover a blurred label or a wrong color, because the photo never recorded them.
How to take product photos when there is no studio
A studio shoot makes every picture with the camera. Without a studio, one photo carries the truth about the product, and the other pictures are built from it.
The phone photo records the real shape, the real color and the real text on the product. It does not have to look like an advert. Our guide to the source product photo explains what that one frame has to carry and how large the file should be.
| Part of the job | Who does it | What it has to get right |
|---|---|---|
| The one true photo | You, with a phone | Focus, color, shape, label text |
| Backgrounds and scenes | AI, from that photo | The setting around the product |
| Extra angles | AI, with your extra frames | The sides the camera saw |
| The final check | You | Each result against the real product |
The split sets the order of work. Spend your time on the photo. A studio charges for each image, and product photoshoot cost shows the published rates.
What you need for product photography at home
Home product photography needs five things.
- A phone. Amazon’s guide to product photos says: “Aim to use a newer model with a 12-megapixel camera or more” (sell.amazon.com, October 2026).
- A window. The same guide says natural light that comes through a window “can be sufficient”.
- A table that stands beside the window.
- White paper or board. One large sheet goes under the product and curves up behind it. A second piece reflects light into the shadow side.
- Something that holds the phone still. A small tripod with a phone clamp works. A stack of books also works.
The source photo guide above lists where each piece stands. If you want lamps instead of a window, read the setup section of product photography lighting.
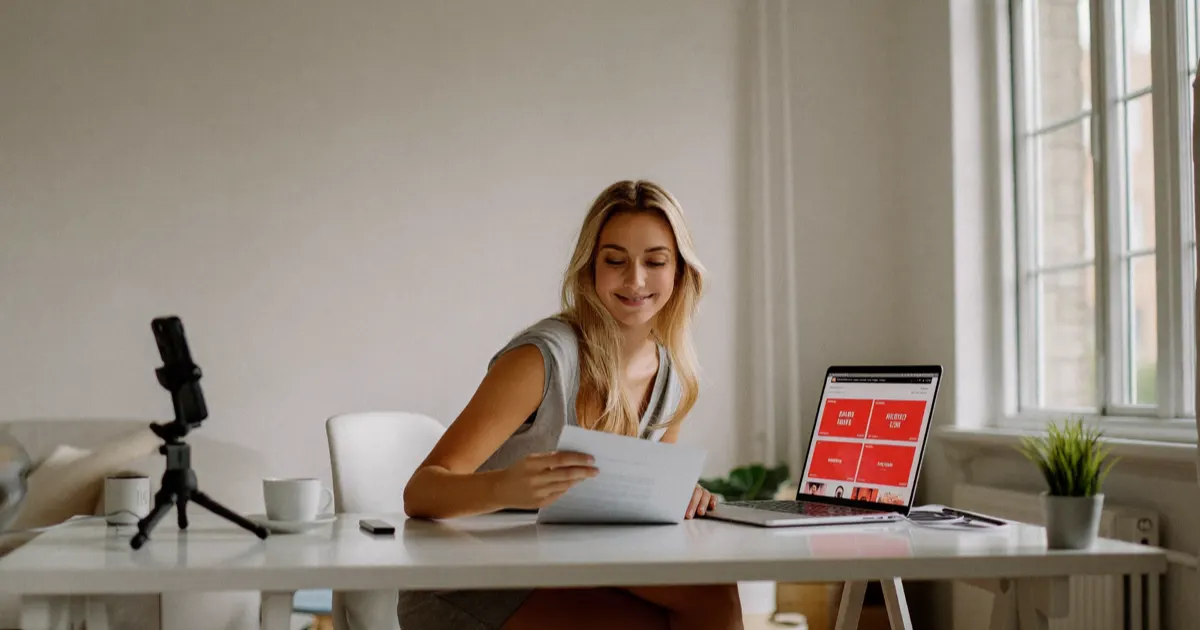
How to take product photos with a phone, in 8 steps
Each step ends with a check. If the check fails, repeat the step.
- Clean the product and the lens. Google’s Pixel help says that if photos “seem blurry or hazy, or the camera won’t focus, clean the camera lens” (support.google.com, October 2026). Check: you see no dust on the product at full size.
- Put the table beside the window. Turn the room lights off, because a lamp and daylight have different colors. If the sun is direct, Amazon’s guide says to “diffuse with a sheet or paper draped over the window”. Check: the shadow of the product has a soft edge.
- Place the white background. The paper lies under the product and curves up behind it. Stand the second white piece on the side away from the window. Check: the frame holds the product and white paper, and nothing else.
- Fix the phone and use the rear camera. Use the main rear lens at 1x on the tripod, with no zoom. Shopify’s guide says zoom “greatly reduces image quality” and that it is better to crop later (shopify.com, October 2026). Check: two photos in a row have the same framing.
- Make the angle straight. Set the lens at the middle height of the product, and point it level. Turn on the grid and the level on the phone. Check: the vertical edges of the product follow the grid lines.
- Lock the focus and the exposure. Tap the label, then lock. Lower the exposure until the brightest part of the product still shows detail. Turn the flash off. Check: the smallest text on the label is readable at full size.
- Record the true color. Take one photo with a sheet of plain white paper beside the product. Then hold the product next to the screen in the same window light. Check: the paper looks white on the screen, and the product color matches.
- Fill the frame and keep the original. The product should take most of the frame, with a small margin on every side. Use the timer, so your finger does not move the phone. On an iPhone it counts 3, 5 or 10 seconds. Keep the original file. Check: no part of the product is cut by the edge of the frame.
Then photograph the parts that a single frame hides. A printed back, a clasp, a base and a fabric close-up each need one photo. The seven views a listing needs are in product photography angles.
Product photography with iPhone and Pixel: the settings to use
Both phone makers document the controls in the steps above. Every row was read on the maker’s own help page in October 2026.
| Control | iPhone | Pixel |
|---|---|---|
| Focus | Tap the screen where you want the focus area | Tap on the subject |
| Lock | Touch and hold until AE/AF Lock appears | Tap Lock |
| Exposure | Drag the exposure control beside the focus area | Locked together with the focus when you tap Lock |
| Straight frame | Settings, Camera, turn on Grid and Level | Framing hints: two lines meet when the phone is straight |
| Small products | Macro, as close as 2 centimeters on supported models | Macro Focus on Pixel 7 Pro, Pixel 8 and later models |
| Larger files | 48 MP with Resolution Control on supported models | 50 MP on Pro models |
For product photography with iPhone, Apple describes the lock this way: “touch and hold the focus area until you see AE/AF Lock; tap the screen to unlock settings” (support.apple.com, October 2026). Without the lock, the camera sets focus and exposure again for each photo.
Apple’s macro mode works “as close as 2 centimeters” from the subject (support.apple.com, October 2026). Use it for a clasp or a fabric weave, and the main camera for the whole product.
The larger files are optional. Apple documents 48 MP (support.apple.com, October 2026) and Google documents 50 MP on Pro phones (support.google.com, October 2026). A larger file gives more room to crop a detail later.
Five checks before you keep the photo
Open the photo at full size before you put the product away. These five checks are the product photography tips that matter most, because no later step repairs a failed one.
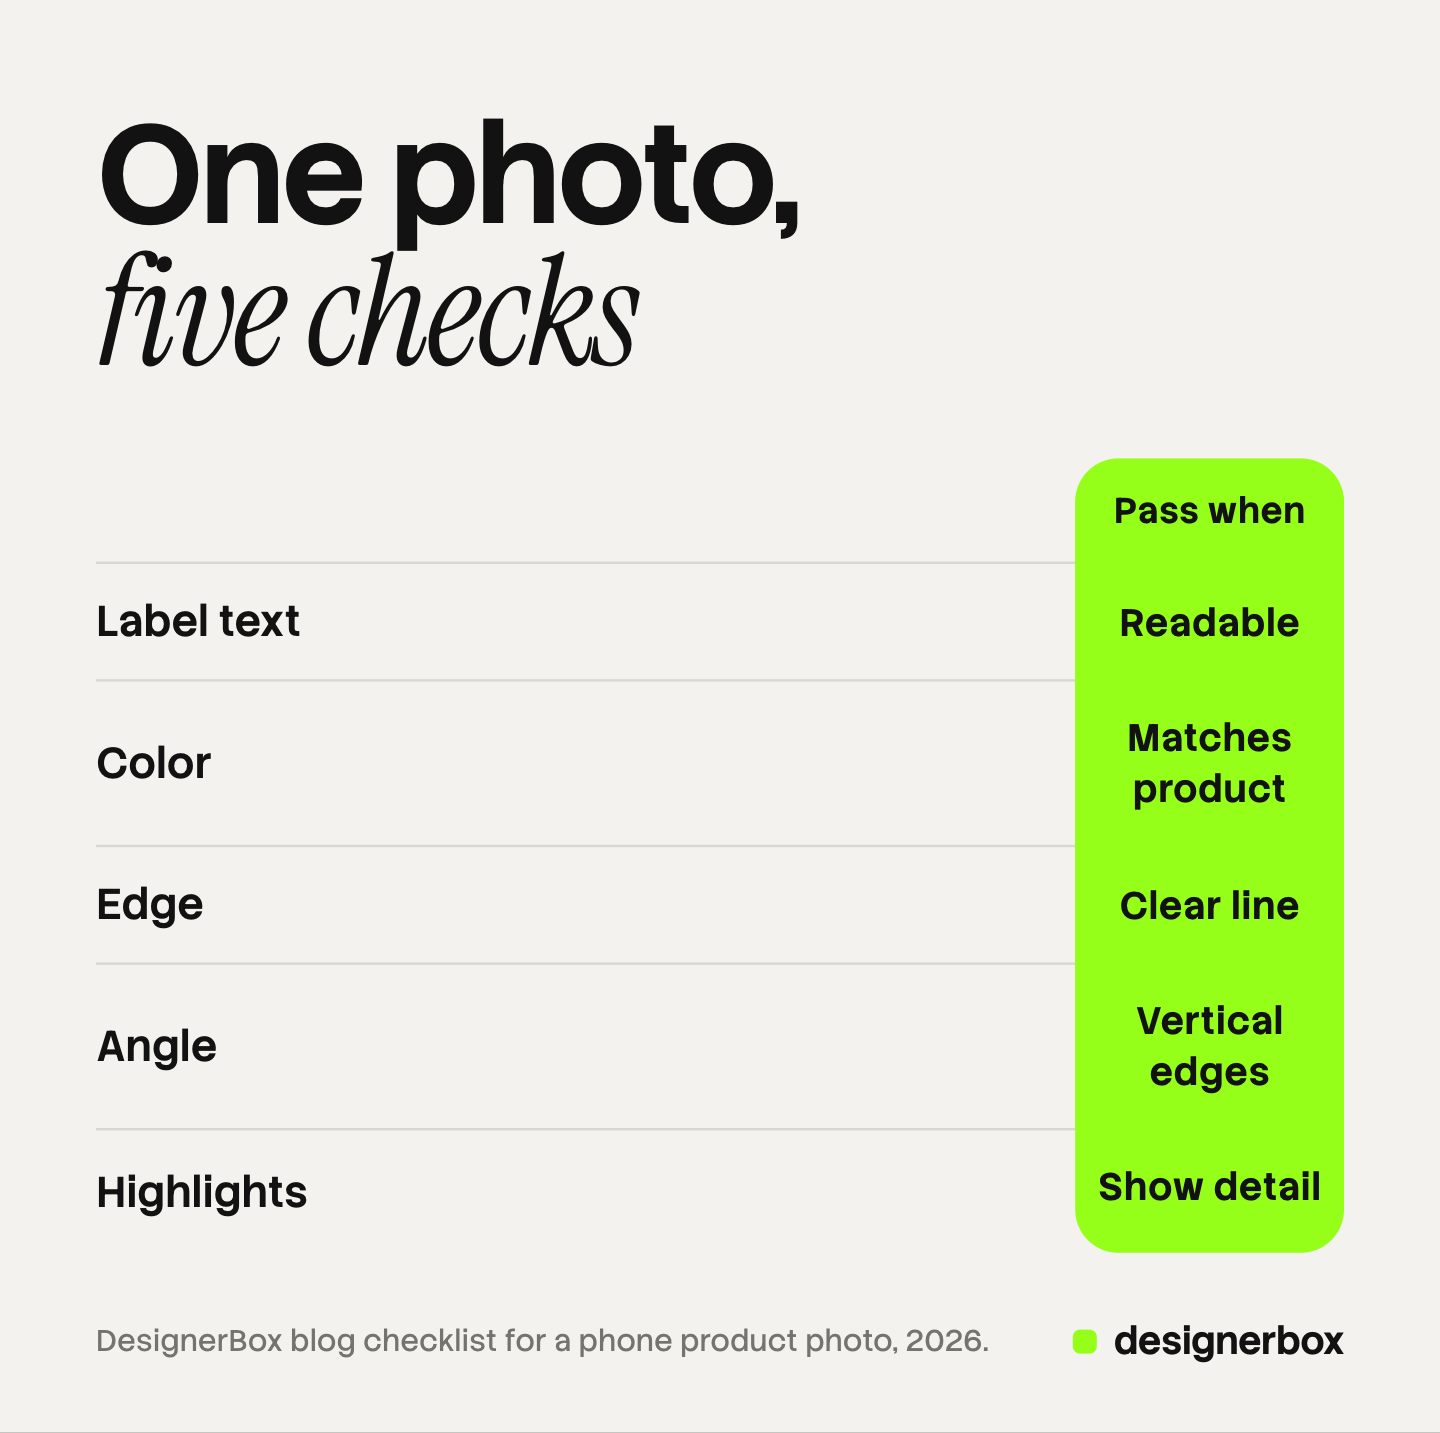
| Check | How to test it | Pass |
|---|---|---|
| Label text | View at full size on the smallest text | You can read every word |
| Color | Compare the product with the screen in window light | The two match, and the white paper is white |
| Edge | Look where the product meets the background | You see a clear line all the way around |
| Angle | Compare the product edges with the grid | Vertical edges are vertical |
| Highlights | Look at the brightest area of the product | It shows surface detail and is not pure white |
If one check fails, take the photo again while the product is on the table.
What the sales channels ask of the photo
The channel sets the minimum size and, for some images, the background.
| Channel | What its own page says | Source, October 2026 |
|---|---|---|
| Amazon | Images of 500 to 10,000 pixels on the longest side. Larger than 1,000 pixels on each side is preferred, for zoom. The product should fill 85% or more of the frame | sell.amazon.com |
| Shopify | 2048 x 2048 px usually displays best for square images. Up to 5000 x 5000 px and under 20 MB | help.shopify.com |
| Etsy | Sellers use original photos of the actual product buyers will receive | etsy.com, September 2026 copy |
Amazon’s guide adds that product shots “should be taken against a white background (RGB color values: 255, 255, 255)” and that it recommends at least six images per product (sell.amazon.com, October 2026). A phone photo on white paper is rarely pure white from edge to edge, so the background is the part you replace afterwards.

Shopify’s numbers come from its help center (help.shopify.com, October 2026).
Etsy’s rule matters for the second part of the job. Its policy says sellers must use “original photos of the actual product buyers will receive, not renderings or stock photos”, with listed exceptions (etsy.com, read in an archive copy of 22 September 2026). Read that policy before you add a generated scene to an Etsy listing. This is general information, not legal advice.
What AI can change afterwards, and what it cannot
AI works on the world around the product. It can place your photo on a new background or in a new scene. It can change the crop for each channel. An AI photoshoot makes the listing set this way, and types of product photography lists which pictures a set contains.
AI cannot add facts that the photo did not record. A model does not know your product. It knows your photo.
| In the photo | Can AI change or repair it? | Why |
|---|---|---|
| Background | Yes | The product edge is clear, so the background can be replaced |
| Scene and props | Yes | The scene is new. The product stays as photographed |
| A side the camera saw | Yes, with your extra photo | The model has a reference |
| A side the camera did not see | A guess | The model invents the back of the product |
| Blurred label text | No | A model can draw sharp letters, but they may be the wrong letters |
| Wrong color | No | Nothing in the file says what the true color was |
| A pure white highlight | No | The surface detail under it was never recorded |
A blurred label and a wrong color both look acceptable on a small screen. The buyer then receives a product that differs from the picture. Compare every result with the real product before it goes live.
One photo as the start of a workflow
DesignerBox is AI creative production for brands and agencies. It suits a brand with 20 to 500 products, or an agency with several clients. Anyone can make an AI picture. Making hundreds that still look like your brand is the hard part.
A workflow in DesignerBox starts from your product photo. You build the workflow once with your brand, your products and your rules. The workflow reads the brand profile on every run, so each product gets the same light and framing. Batch runs one workflow over a sheet of products, from row one to row two hundred. The AI product photography page shows the kinds of result, and the backgrounds page shows the settings a product can be placed in.
For one picture, the image editor makes one edit after another, and the picture keeps its detail and resolution. The full workflow from the first product photo to the finished ad, in one subscription.
You see the cost of a run before you press Run.
Here are the limits. DesignerBox does not repair a blurred or wrongly colored photo, for the reasons in the table above. It does not send results to a store. You download the results, or send them with a webhook or an S3 step. Uploading your own photos and the commercial license start on the Pro plan. AI video, virtual try-on, upscaling, the image editor and the video editor start on the Premium plan. Plans and credits are on the pricing page.
A free plan for a first look
There is a free plan, and it runs on sample products. Start from a template and see how one photo becomes a set. Get started free
FAQ
How do I take product photos at home?
Put a table beside a window and turn the room lights off. Place white paper under and behind the product. Fix the phone on a tripod, lock the focus and the exposure, and take the photo with the rear camera. Then check the label text and the color at full size.
Can I take product photos with a phone?
Yes. Amazon’s guide suggests a phone with a camera of 12 megapixels or more and the rear camera (sell.amazon.com, October 2026). A photo of that size is about 4,000 pixels on the long side, which is larger than the 2048 px Shopify suggests for square images.
What iPhone settings should I use for product photography?
Turn on Grid and Level in Settings, Camera. Tap the product to focus, then touch and hold until AE/AF Lock appears. Drag the exposure control until the brightest part shows detail. Turn the flash off and use the timer (support.apple.com, October 2026).
What is the best light for DIY product photography?
Daylight from one window, with no direct sun on the product. Hang a thin sheet or paper over the window if the sun is direct. Do not mix daylight with lamps.
Can AI fix a blurry product photo?
Not in a way you can trust. A model can make a soft image look sharp, but it may draw label text that the product does not have. Take the photo again. The same is true for a wrong color.
What does the DesignerBox free plan run on?
The free plan runs on sample products. Uploading your own photos starts on the Pro plan. The cost of a run is shown before the run.
Sources
- Amazon, “6 tips for taking product photos”: phone camera size, window light, 85% of the frame, white background values, pixel limits and file formats: sell.amazon.com, October 2026
- Apple, iPhone User Guide, camera tools: focus, exposure, AE/AF Lock, timer, grid and level: support.apple.com, October 2026
- Apple, iPhone User Guide, advanced camera settings: 24 MP and 48 MP: support.apple.com, October 2026
- Apple, iPhone User Guide, macro photos: support.apple.com, October 2026
- Google, Pixel Camera Help, high quality photos: focus, Lock, Framing hints, 50 MP and Macro Focus: support.google.com, October 2026
- Google, Pixel Camera Help, fix your Camera app: clean the lens: support.google.com, October 2026
- Shopify Help Center, product media types: 2048 x 2048 px, 5000 x 5000 px and 20 MB: help.shopify.com, October 2026
- Shopify, “Phone Product Photography: How to Take Product Photos”: zoom and image quality: shopify.com, October 2026
- Etsy, Listing Image Requirements: original photos of the actual product: etsy.com, archive copy of 22 September 2026
- DesignerBox plans and feature gating: DesignerBox pricing page (designerbox.ai/pricing), October 2026
Phone and channel facts checked against each company’s own pages as of October 2026. Channel rules change, so read the current page before a large upload. This is general information, not legal advice. Individual results vary.