

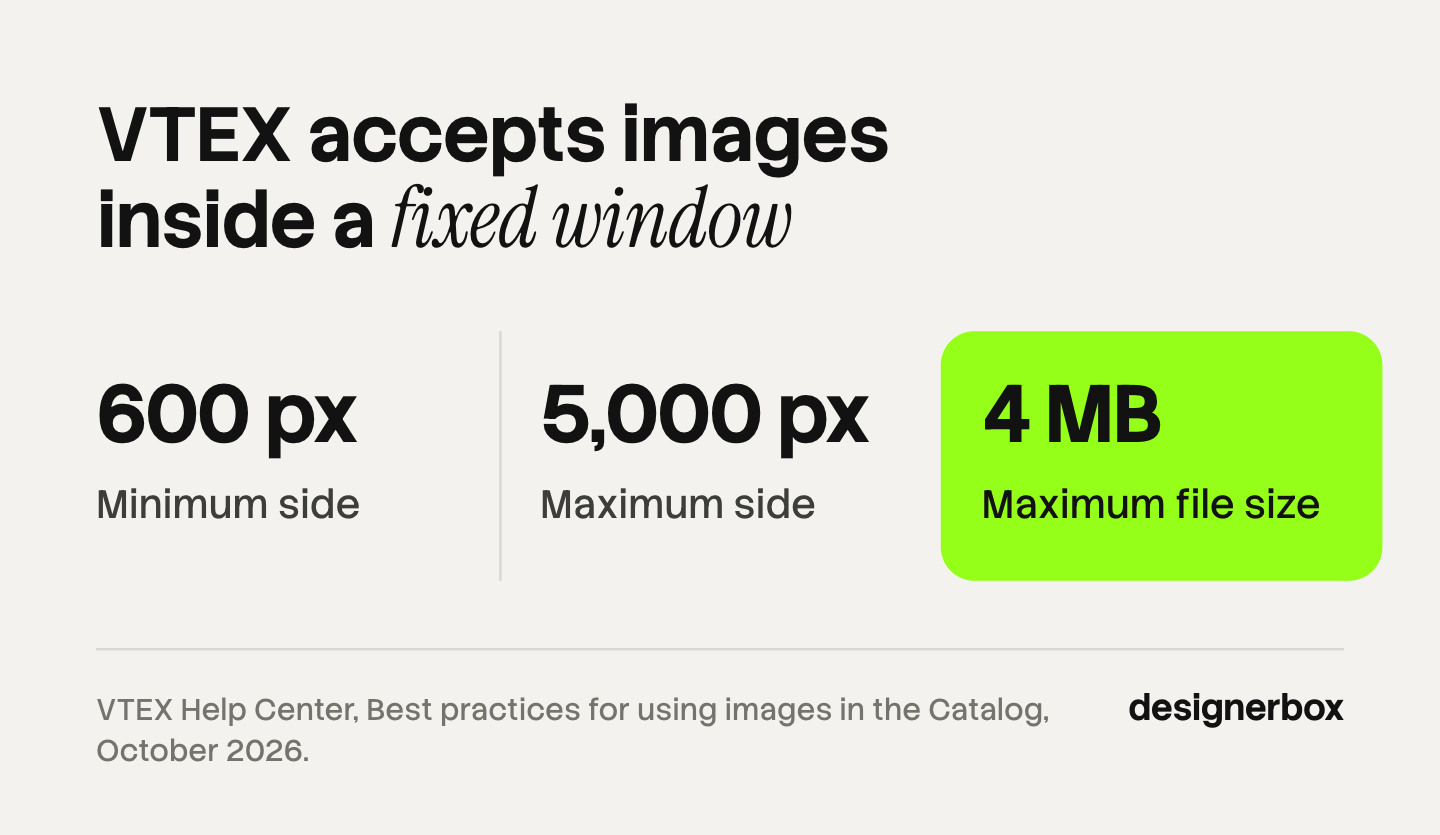
VTEX product images belong to the SKU, and each one has to fit a fixed window. VTEX accepts images from 600 by 600 pixels up to 5,000 by 5,000 pixels, and from 300 KB up to 4 MB, in JPG, PNG, GIF, ICO, SVG or WEBP (help.vtex.com, accessed October 2026). For a store built now, shoot a square JPG master with a white background, 1,500 to 2,000 pixels per side.
The window has a floor as well as a ceiling. A heavy PNG at 2,000 pixels can pass 4 MB. A small, tightly compressed JPG can fall under 300 KB. Both sit outside the limits VTEX lists, so a set that looks fine on your screen can still stop at the import.
This guide covers the limits, the master size, how VTEX resizes what you upload, and how to load images for a whole catalog. It is written for the team that fills a VTEX catalog, whether that team sits at the brand or at its agency.
Key Takeaways
-
The limits are a window. 600 to 5,000 pixels per side, and 300 KB to 4 MB per file.
-
Images belong to the SKU. A SKU needs at least one image before you can activate it, so a missing image is a product that is not for sale.
-
Square and white are VTEX’s own recommendations. VTEX fills the empty space of a non-square image with a white background when a square is requested.
-
Zoom needs pixels. VTEX recommends at least 1,000 pixels for zoom, and 1,500 to 2,000 for a better result.
-
Bulk import reads URLs. The image spreadsheet and the API both take a link to a hosted file. They do not take a folder of files.
-
You upload one master. VTEX delivers smaller sizes from it on request, so the quality gate is at upload.
-
One shape across the catalog. Pick square, apply it to every SKU, and the white bars never appear.
What are the VTEX image limits?
VTEX lists five limits for a catalog image: a minimum of 600 by 600 pixels, a maximum of 5,000 by 5,000 pixels, a minimum file size of 300 KB, a maximum file size of 4 MB, and six allowed file types. The same table appears on the SKU page and on the best practices page (help.vtex.com, accessed October 2026).
| Limit | Value |
|---|---|
| Minimum size | 600 x 600 pixels |
| Maximum size | 5,000 x 5,000 pixels |
| Minimum file size | 300 KB |
| Maximum file size | 4 MB |
| Allowed file types | JPG, PNG, GIF, ICO, SVG, WEBP |
VTEX adds recommendations on top of the limits. File names take no spaces and no special characters, and hyphens are fine. The recommended extension is .JPG, written that way and not as .JPEG. VTEX recommends a white background and a square format, and it advises against stretching an image because that lowers quality.
The 300 KB floor is the limit that surprises people. Most platforms only set a ceiling, so teams compress hard before upload. On VTEX, export the JPG at a quality that keeps the file above 300 KB and under 4 MB, and check both ends before you build the import sheet.
What size should a VTEX product image be?
A VTEX product image should be a square JPG between 1,500 and 2,000 pixels per side, on a white background. That target comes from VTEX’s own advice: zoom works correctly from 1,000 pixels, and VTEX says you can get a better zoom result with images from 1,500 to 2,000 pixels (help.vtex.com, accessed October 2026).
A 600 pixel image is accepted and then fails at zoom. A 5,000 pixel image is accepted and is hard to keep under 4 MB. The 1,500 to 2,000 range sits between the two problems. A JPG at that size usually lands inside the file size window without special work, which is one reason VTEX’s JPG recommendation is practical.
The theme decides how the image appears on the product page. In Store Framework, the product images block has an aspect ratio setting that defaults to automatic, and a default image size of 1,200 pixels (developers.vtex.com, accessed October 2026). A square master of 1,500 pixels or more covers that default with room to spare. Check the setting in your own theme before you fix a ratio for the whole catalog.
If your source files are under 600 pixels, no setting recovers them. Low resolution product images covers what upscaling can and cannot do.
How does VTEX resize product images?
VTEX resizes product images on request, from the one file you upload. A service called VTEX Img delivers catalog images to the storefront, and the storefront asks for a width and a height in the image URL. VTEX’s example is a 50 by 50 pixel thumbnail requested from a full-size upload (help.vtex.com, accessed October 2026).
Two behaviors matter for photography.
Proportions are kept. When VTEX Img resizes a rectangular image, it keeps the proportions. VTEX gives the example of a clothing store with portrait images at 300 by 400 that needs a square. VTEX Img fills the empty space with a white background, so the image is not distorted.
The white fill is visible on anything except white. A portrait photo on a gray background, placed in a square slot, gets white bars at the sides. A portrait photo on a white background gets the same fill, and nobody sees it. That is the practical reason behind VTEX’s white background recommendation.
VTEX also converts images to WebP when the browser supports it. It announced the feature in 2017, and said then that files stay stored in their original format and that GIF is not converted (help.vtex.com, accessed October 2026). So you do not need to upload WebP to serve WebP.
The result is the same as on other platforms that work from one master. A soft upload gives a soft image at every size. PrestaShop product images work the same way, and Shopify product image size covers a platform with different limits.
How do images attach to a VTEX SKU?
In VTEX, images attach to the SKU and not to the product. A product is the item, and a SKU is one variation of it, such as a color or a size. Each SKU holds its own images, added from files on your computer or from links.
Three rules from the SKU page shape the workload (help.vtex.com, accessed October 2026):
- A SKU must have at least one image to be activated. No image means the SKU cannot go on sale.
- A product can hold up to 50 SKUs, and VTEX support can extend that limit on request.
- You can copy images from one SKU to other SKUs of the same product. A copy icon in the Images section does it.
The third rule saves the most time when you use it correctly. Sizes of the same color can share one image set, so copy it. Colors cannot share a set, because the buyer picks a color from the photo. A shirt in four colors and five sizes is 20 SKUs and four image sets, not 20.
A SKU can also carry up to six videos, added as YouTube or Vimeo links. VTEX does not host the video file on the SKU.
How do you import VTEX images in bulk?
You import VTEX images in bulk with a spreadsheet of links or with the Catalog API. Both read a URL for each image, so every file has to be hosted somewhere before the import starts.

The spreadsheet. In the VTEX Admin, go to Catalog, then Products and SKUs, then Import, then Images. Download the template, complete it, and upload it as .xls or .xlsx. To add a new image, only two fields are required: the SKU ID and the image import URL (help.vtex.com, accessed October 2026).
Four details in that template cause most failed imports:
- Do not change the template. VTEX states that a modified template produces a processing error.
- The URL must end in an allowed extension. That means jpg, png, gif, ico, svg or webp.
- Position starts at 0. Position 0 is the first image on the product page, position 1 is the second.
- Leave the import URL blank when you update an existing image. If you complete it again, VTEX creates the image a second time and you get a duplicate.
The image name field takes no spaces, no special characters and no accented letters. Name the files that way from the start and the sheet becomes a copy and paste job.
The API. VTEX’s developer guide says an image must be hosted on an external server with read permission before you register it to a SKU, and the request can mark the image as the main one (developers.vtex.com, accessed October 2026). The API suits a team with a developer and a catalog that changes every week.
If you run a VTEX marketplace, there is a second gate. The Offer Quality page lets a marketplace set requirements for the offers sellers send, and the available fields include the number of images and the image size (help.vtex.com, accessed October 2026). A seller who feeds a VTEX marketplace should ask for those requirements before the shoot.
What should a VTEX product page show?
A VTEX product page needs the same five kinds of image as any store: a packshot, alternate angles, a detail shot, a scale reference and a context shot. Position 0 takes the packshot, because it becomes the tile on category and search pages.
A working set for a physical product:
- A packshot on white, square, centered, with margin around the product.
- Two or three alternate angles that show what a buyer would turn over in their hands.
- A detail shot of texture, finish, stitching or closure.
- A scale reference, so nobody has to picture the size from a table.
- A context shot, where the setting is part of the decision to buy.
Keep the packshot on white even if the context shot is not. The white fill only hides on white, and the packshot is the image VTEX resizes most often. Product photography angles covers which angles earn a slot by product type, and ecommerce product photography covers the shoot.
A full VTEX catalog without a full shoot
VTEX stores tend to carry large catalogs, and the SKU model multiplies the work. Five images for each color of 300 products is not a shoot most teams can book every season.

Anyone can make an AI picture. Making hundreds that still look like your brand is the hard part. The approach that holds at this size is one real photograph for each color, then the rest of the set made from it. In DesignerBox, a multi-angle template makes more views from one photo, and a product scene template makes the context shot.
Build that set once and save it as a workflow. You set the brand once, and the workflow reads it on every run. Batch runs the workflow over a sheet of products, up to 200 rows a sheet, and you keep or discard each row in one review pass. Critic steps score the results, and best-of-N keeps the best one. The cost is shown before the run.
Delivery matches the way VTEX imports. DesignerBox does not publish into VTEX. You download the results, or send them with a webhook or an S3 step. If your storage serves those files by URL, the links go into the image import URL column of the VTEX sheet. The image editor, the video editor, your brand rules and your Assets sit in the same place as the workflow. The full workflow from the first product photo to the finished ad, in one subscription.
Two checks belong to VTEX and not to the tool. Export at 1,500 to 2,000 pixels square, and confirm every file is between 300 KB and 4 MB before it goes into the sheet.
Two limits to hold. Anything that carries a factual claim, such as color, finish, material or dimensions, has to come from a real photograph of the real product. And if you sell in the EU, a realistic AI image of a person can count as a deep fake. Article 50(4) of the EU AI Act requires whoever publishes a deep fake to disclose it, and Article 50 has applied since 2 August 2026 (European Commission FAQ, accessed October 2026). This is general information, not legal advice. Labeling AI-generated fashion images covers the details.
Batch, templates, apps and brand rules are on every plan. Uploading your own photos and the commercial license start on the Pro plan. AI video, virtual try-on, upscaling, the image editor and the video editor start on the Premium plan. Every plan below Ultra is one seat, so an agency team needs Ultra. There is a free plan, and it runs on sample products. Plans and credits are on the pricing page.
If you also sell through another storefront, the specs do not transfer. WooCommerce product photography covers that platform’s sizes, and bulk product images covers the catalog job in general.
Start from a template, add your brand and your products, and run it. See the templates.
FAQ
What size should VTEX product images be?
VTEX accepts images from 600 by 600 pixels to 5,000 by 5,000 pixels. For zoom, VTEX recommends at least 1,000 pixels and says 1,500 to 2,000 pixels gives a better result (help.vtex.com, accessed October 2026). A square master between 1,500 and 2,000 pixels per side is a safe target.
What is the maximum file size for a VTEX image?
The maximum is 4 MB per image. VTEX also lists a minimum of 300 KB, so a file can be too small as well as too large. Check both ends before a bulk import.
Which image formats does VTEX accept?
VTEX accepts JPG, PNG, GIF, ICO, SVG and WEBP. Its recommended extension is .JPG. VTEX converts images to WebP for browsers that support it, so a JPG upload can still be served as WebP.
Why do my VTEX images have white bars?
The image is not the same shape as the slot. When a storefront asks for a square and the upload is portrait or landscape, VTEX keeps the proportions and fills the empty space with a white background. Shoot square, or shoot on white so the fill does not show.
Can I upload VTEX product images in bulk?
Yes. The Admin has an image import by spreadsheet, and the Catalog API registers images to a SKU. Both take a URL to a hosted file. For a new image, the spreadsheet requires only the SKU ID and the image import URL.
How many images does a VTEX SKU need?
At least one, because a SKU with no image cannot be activated. Five covers most physical products: a packshot, two or three angles, a detail shot, a scale reference and a context shot.
Can I use AI-generated product images on VTEX?
We found no rule about AI images in the VTEX catalog pages cited here, as of October 2026. The limits come from consumer law in your market and from any marketplace or ad channel you feed. The image must not misrepresent what the buyer receives. In DesignerBox, the cost is shown before the run.
Sources
- VTEX Help Center, Best practices for using images in the Catalog: https://help.vtex.com/docs/tutorials/best-practices-for-using-images-in-the-catalog
- VTEX Help Center, Adding or editing SKUs: https://help.vtex.com/en/docs/tutorials/adding-or-editing-skus
- VTEX Help Center, Improving the performance of product images: https://help.vtex.com/docs/tutorials/improving-the-performance-of-product-images
- VTEX Help Center, Importing and exporting product and SKU images using a spreadsheet: https://help.vtex.com/docs/tutorials/importing-and-exporting-product-and-sku-images-using-a-spreadsheet
- VTEX Help Center, Offer Quality Filters: https://help.vtex.com/docs/tutorials/offer-quality-filters
- VTEX Help Center, VTEX stores now have automatic image conversion to WebP (2017): https://help.vtex.com/en/announcements/2017-10-25-vtex-stores-now-have-automatic-image-compiling-to-webp
- VTEX Developer Portal, Images: https://developers.vtex.com/docs/guides/images
- VTEX Developer Portal, Product Images block: https://developers.vtex.com/docs/apps/vtex.store-components/productimages
- European Commission, Transparency obligations under Article 50 of the AI Act (FAQ): https://digital-strategy.ec.europa.eu/en/faqs/transparency-obligations-under-article-50-ai-act
VTEX image limits, recommendations, resizing behavior, SKU rules and import fields verified from VTEX’s own Help Center and Developer Portal as of October 2026. Theme settings differ by store, so confirm them in your own installation. DesignerBox plans and credits are on the DesignerBox pricing page (designerbox.ai/pricing), October 2026.