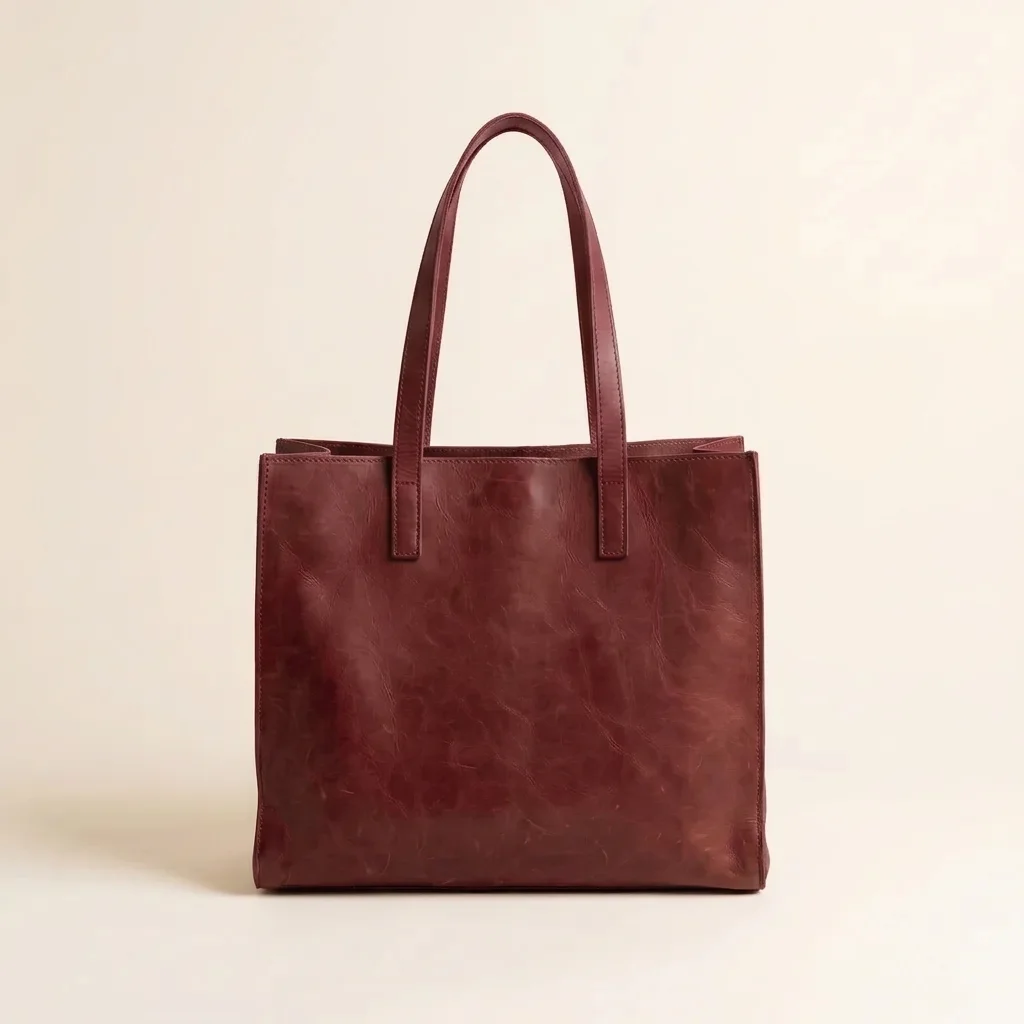
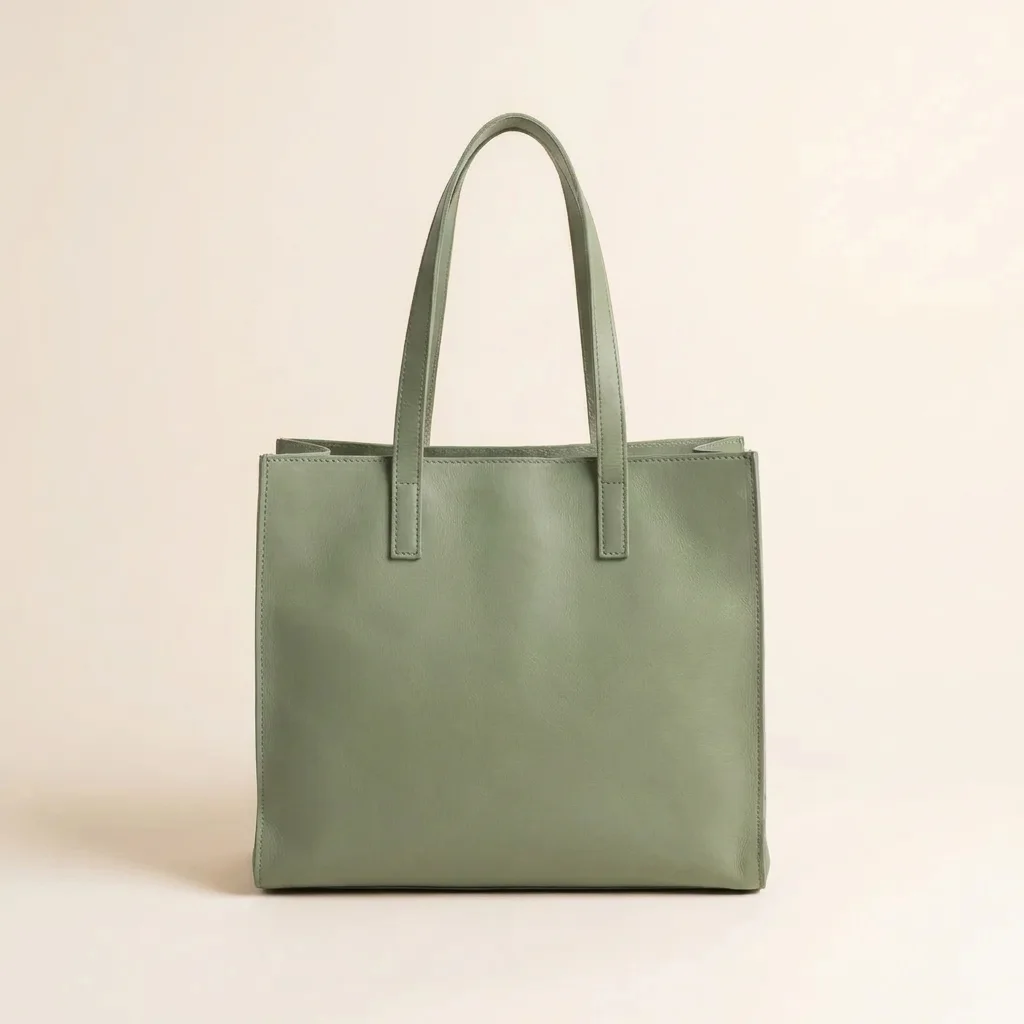
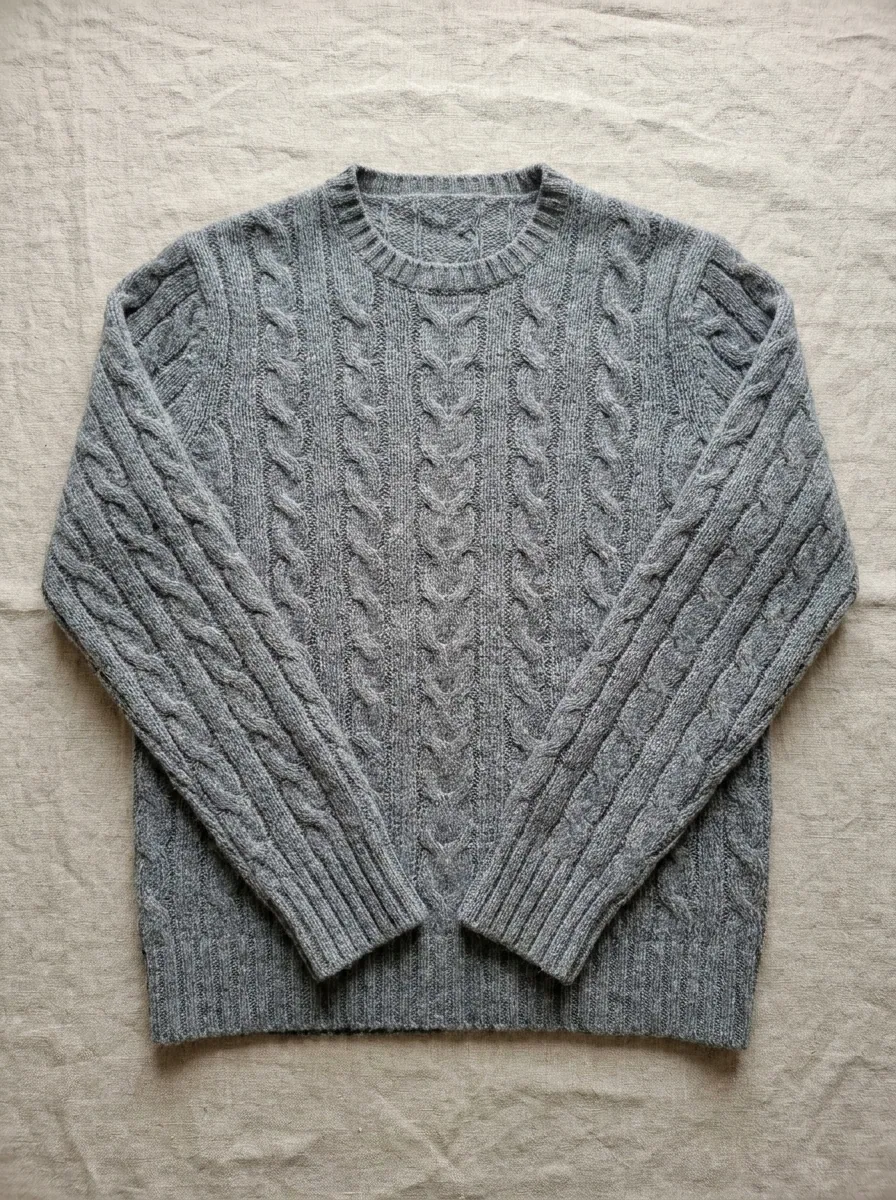
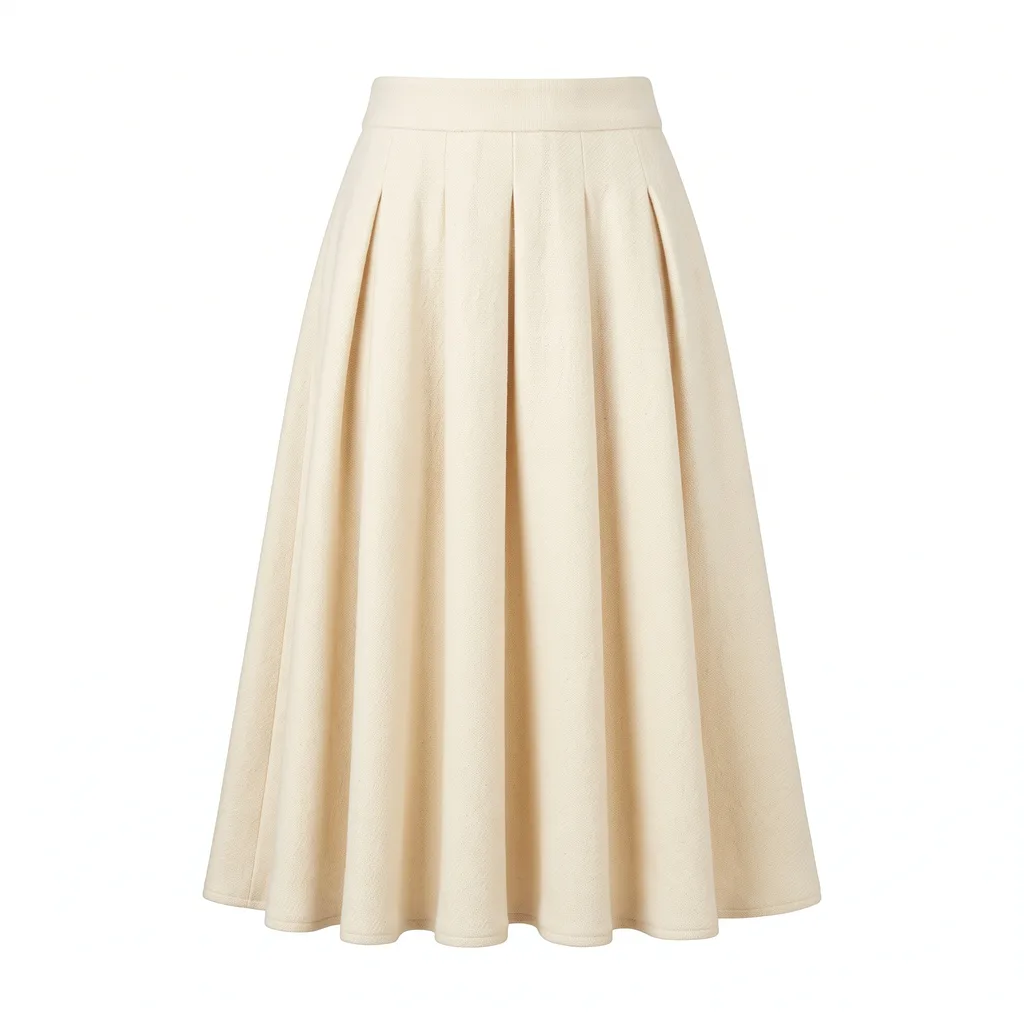
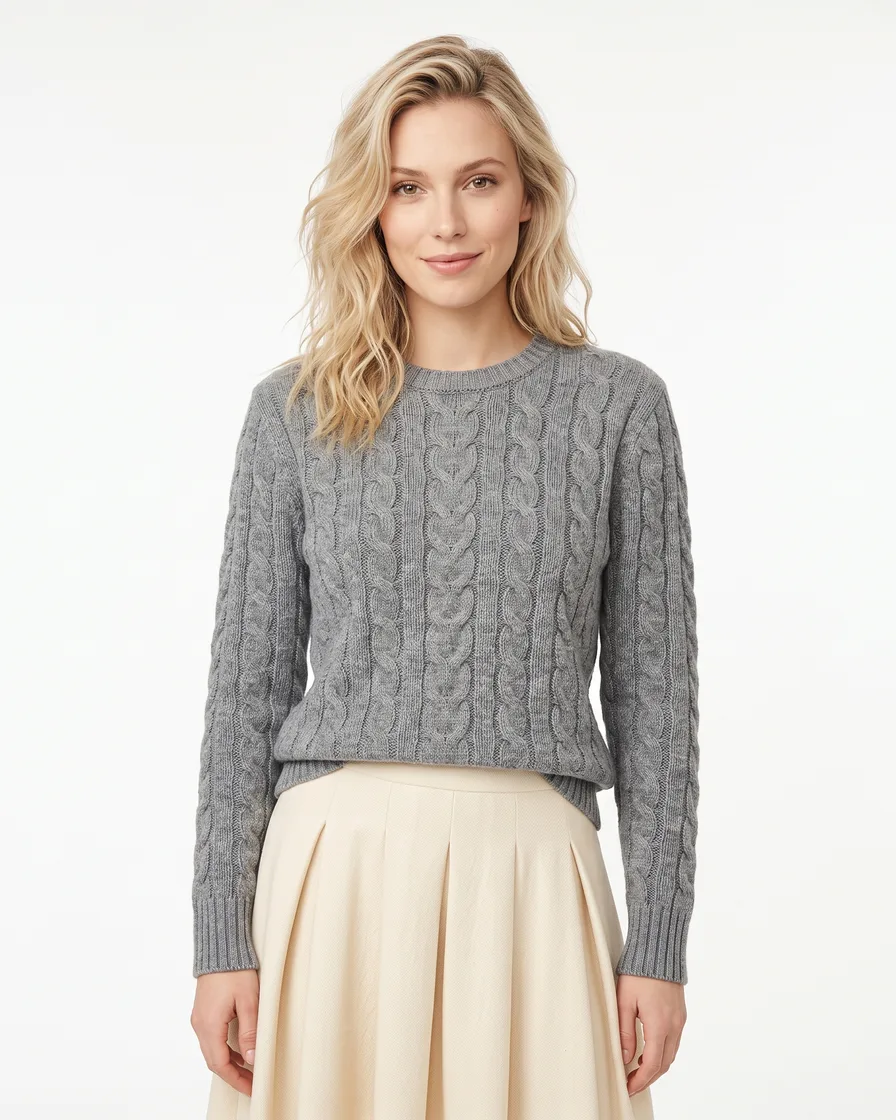
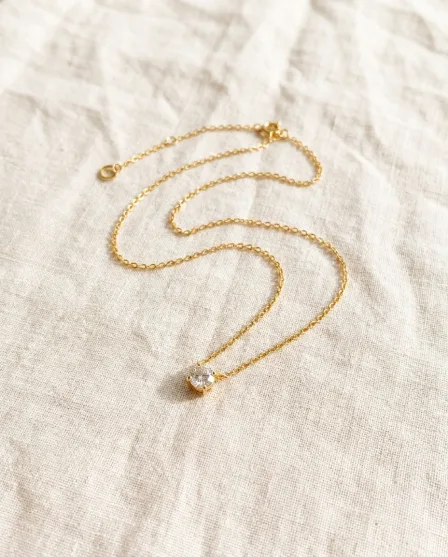
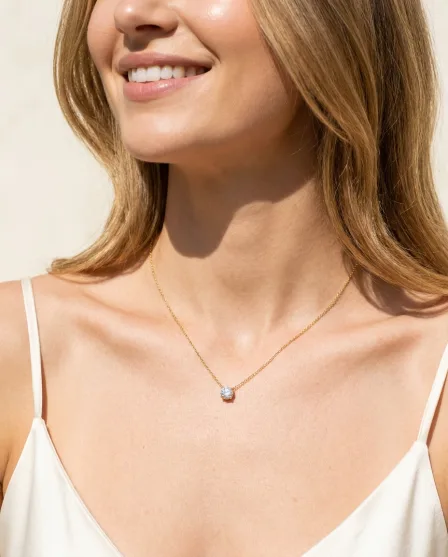
Etsy shops

Etsy listing photos from one photo of your work

Build the flat lay, the styled scene, the close detail and the scale shot from a single photo. One look across the shop, without a studio.

Start free

DesignerBox is an independent tool and is not affiliated with, endorsed by, or sponsored by Etsy. Etsy sets its own image and handmade policies and can change them. Check the current rules for your shop before you upload, and make sure every photo shows the item a buyer will actually receive.

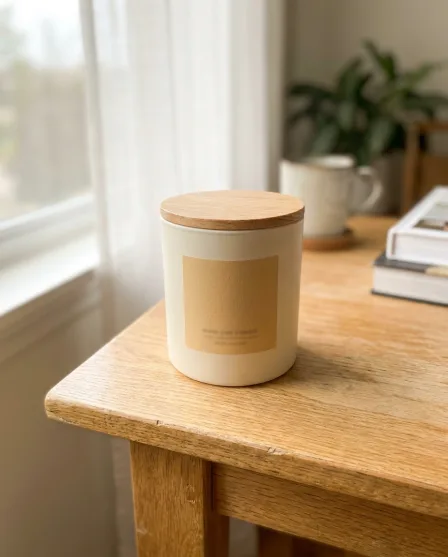
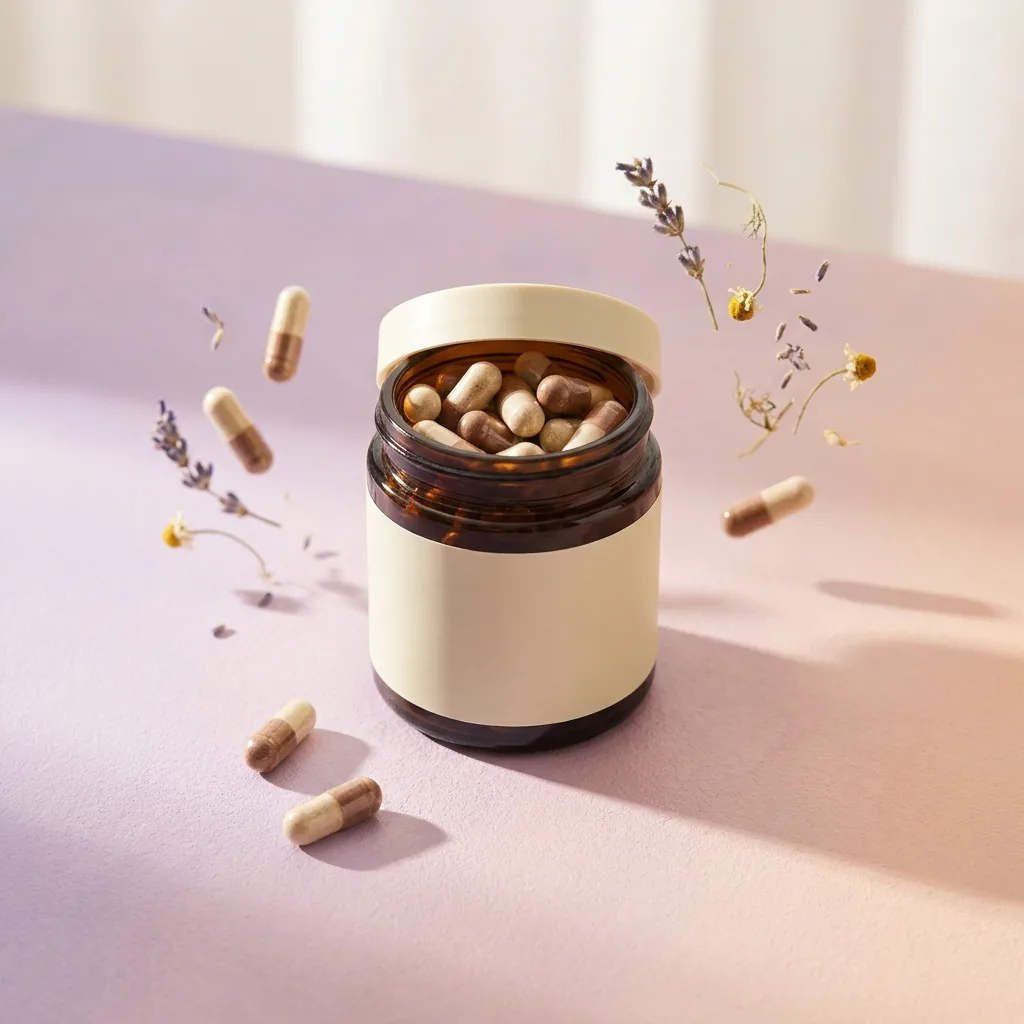
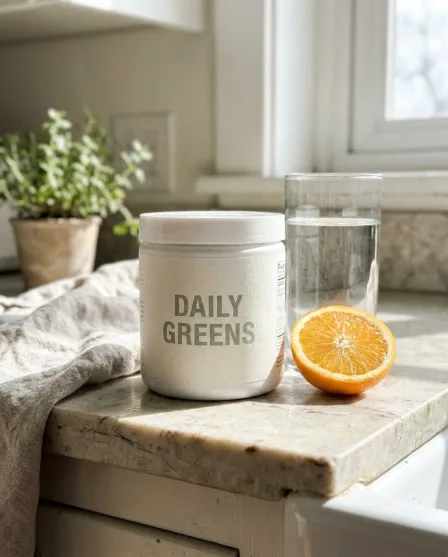
Handmade-goods lifestyle scene made with DesignerBoxStyled scene
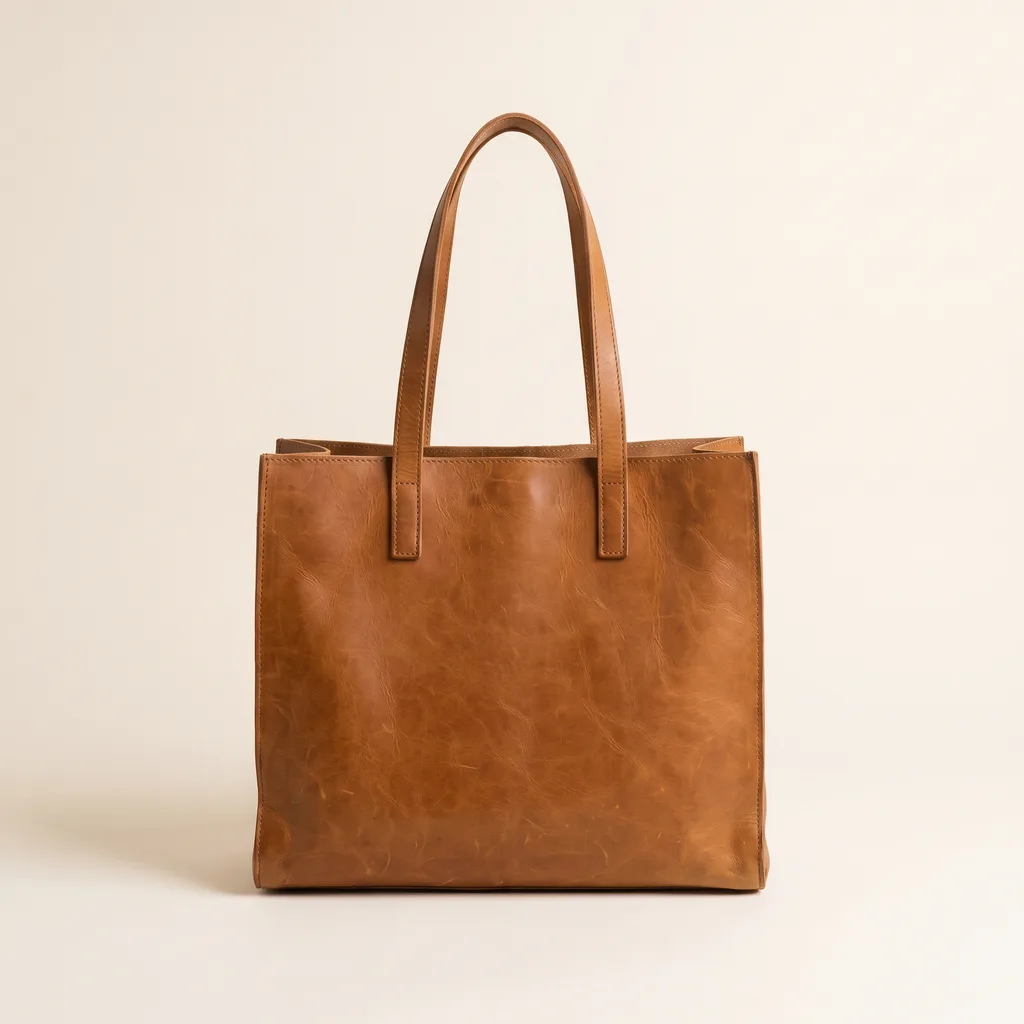
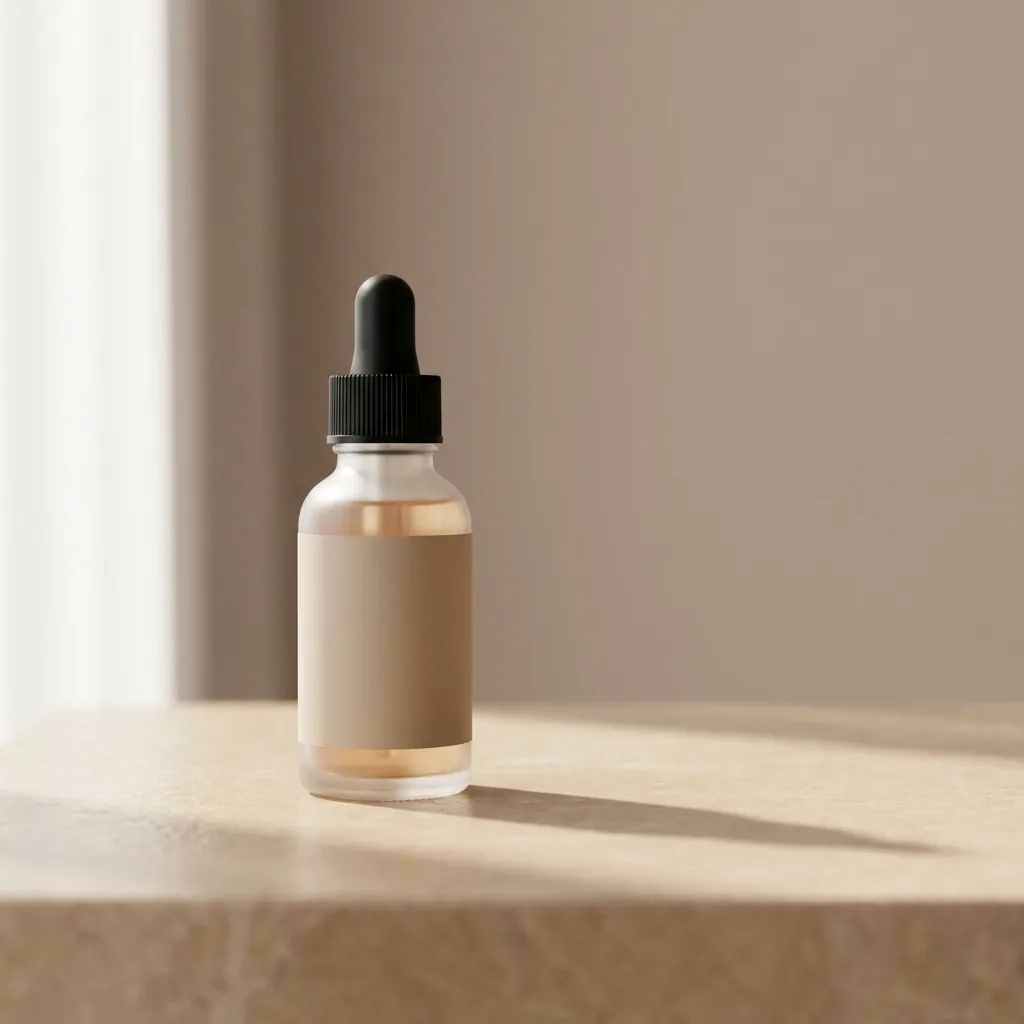
Craft product image generated with FLUX 2 FlexFLUX 2 Flex
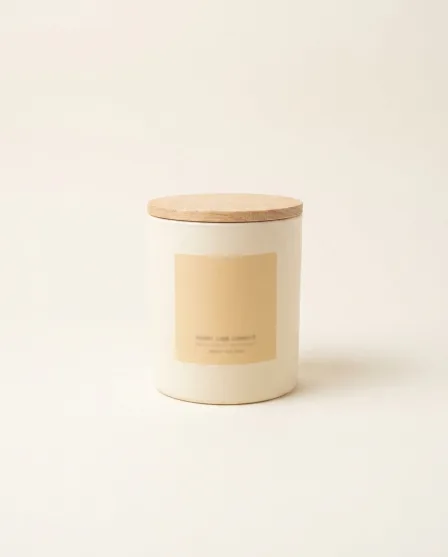
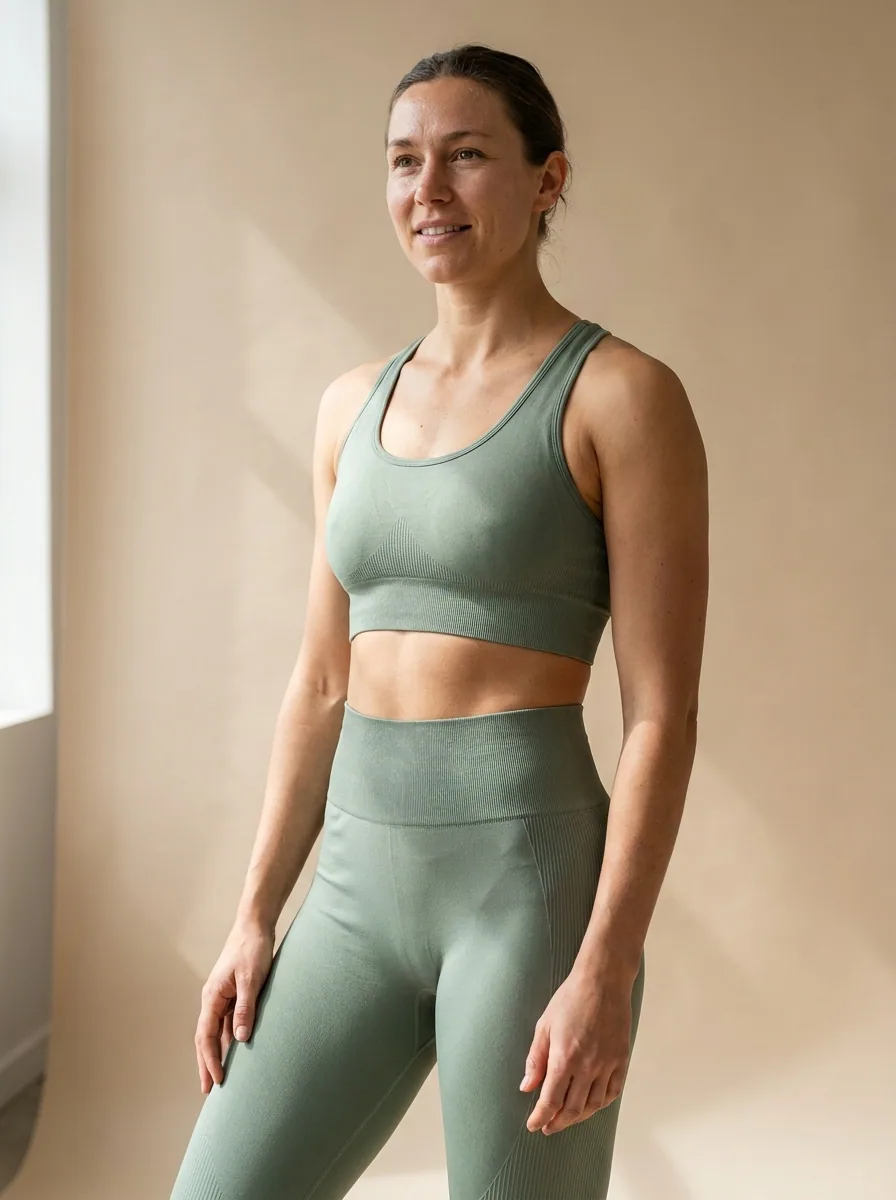
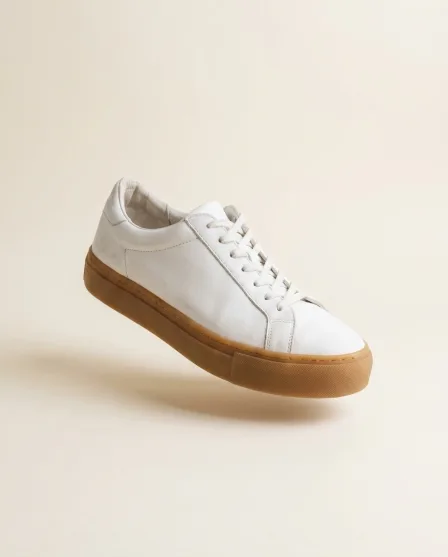
Small-batch product scene made with DesignerBoxProduct scene
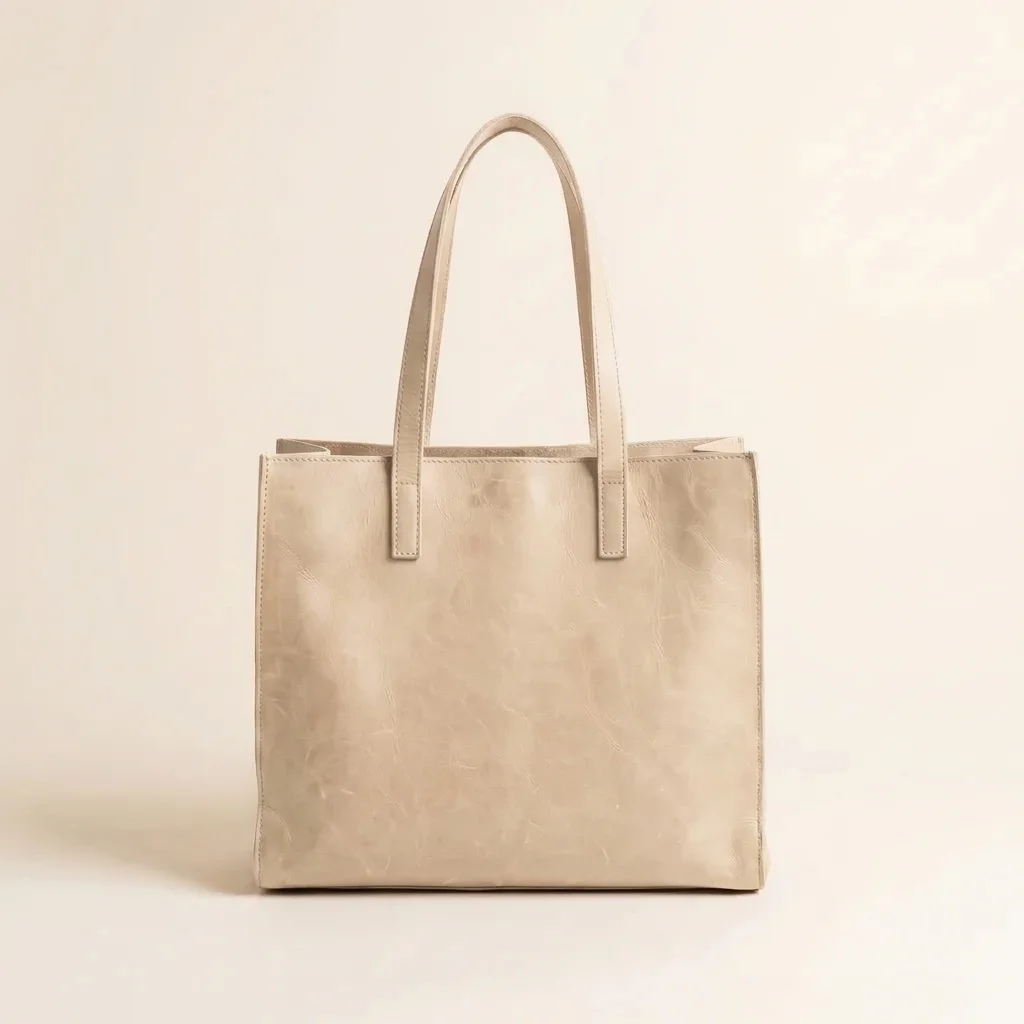
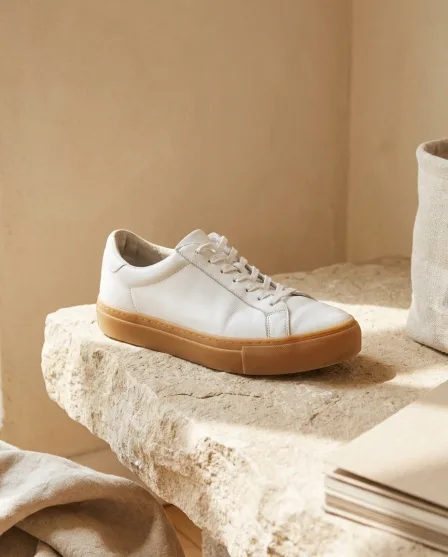
Detail shot generated with Nano Banana ProNano Banana Pro

An Etsy product image generator builds a listing photo set from a photo of the piece you made. Etsy sells on craft and character, so the set has to show texture, scale and the hand behind the work. The software changes the surface, the light and the framing. The item itself is never redrawn, because on a handmade marketplace the object is the whole promise. Most sellers use it instead of a second round of Etsy product photography: photograph the piece once, and build every further listing shot from that photo.

What the generator produces

The four photo types an Etsy listing set needs.

Flat lays

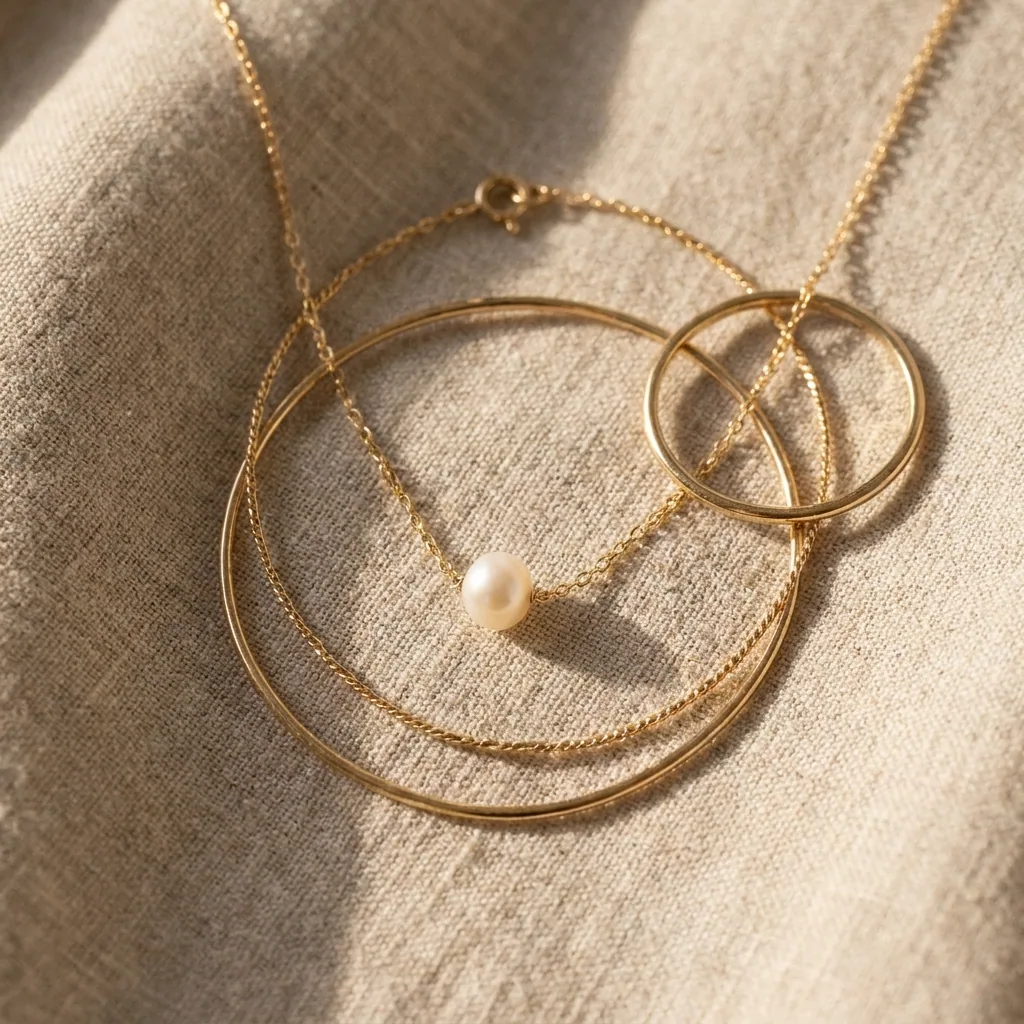
The overhead shot on linen, wood or paper, with props arranged around the piece. Flat Lay Studio builds the surface and the arrangement.

Styled scenes

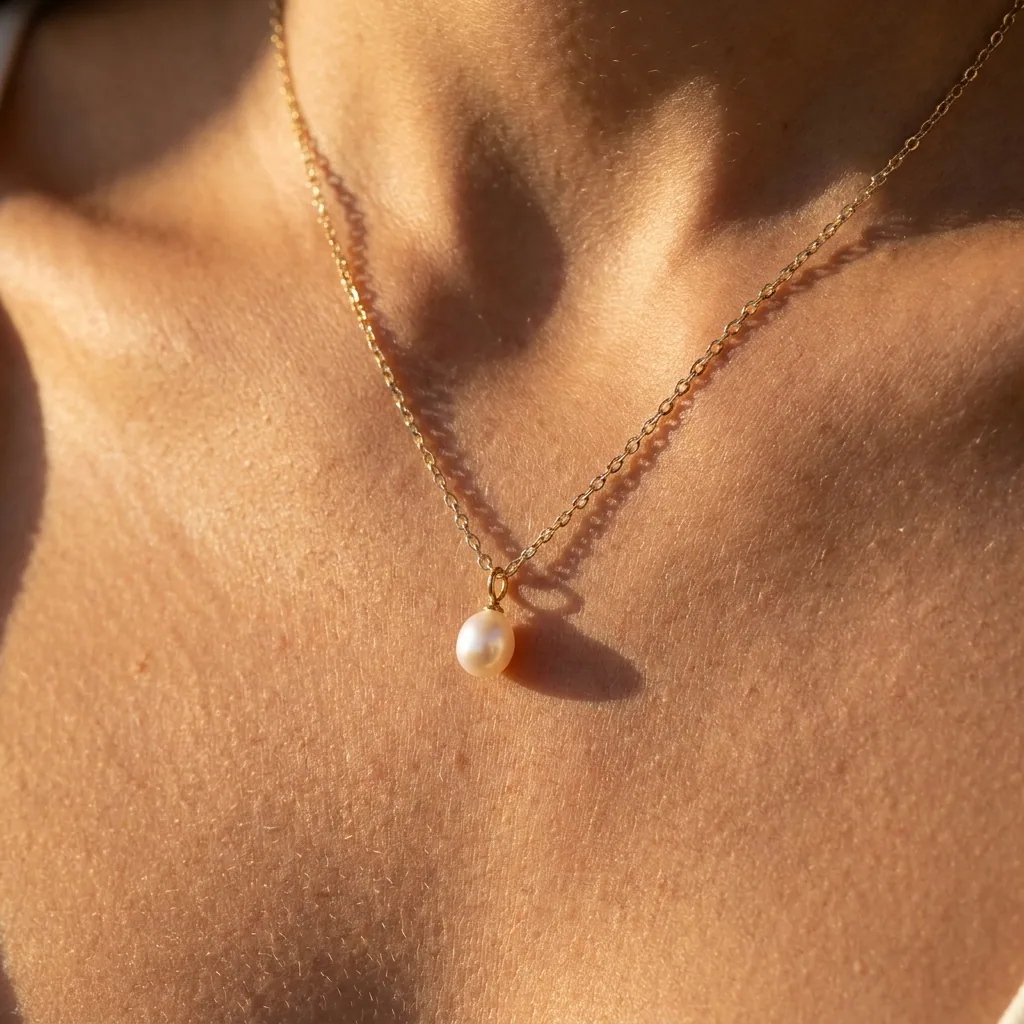
The piece in the room it belongs to. This is the photo that lets a buyer imagine owning it, which is most of what an Etsy gallery does.

Texture and detail

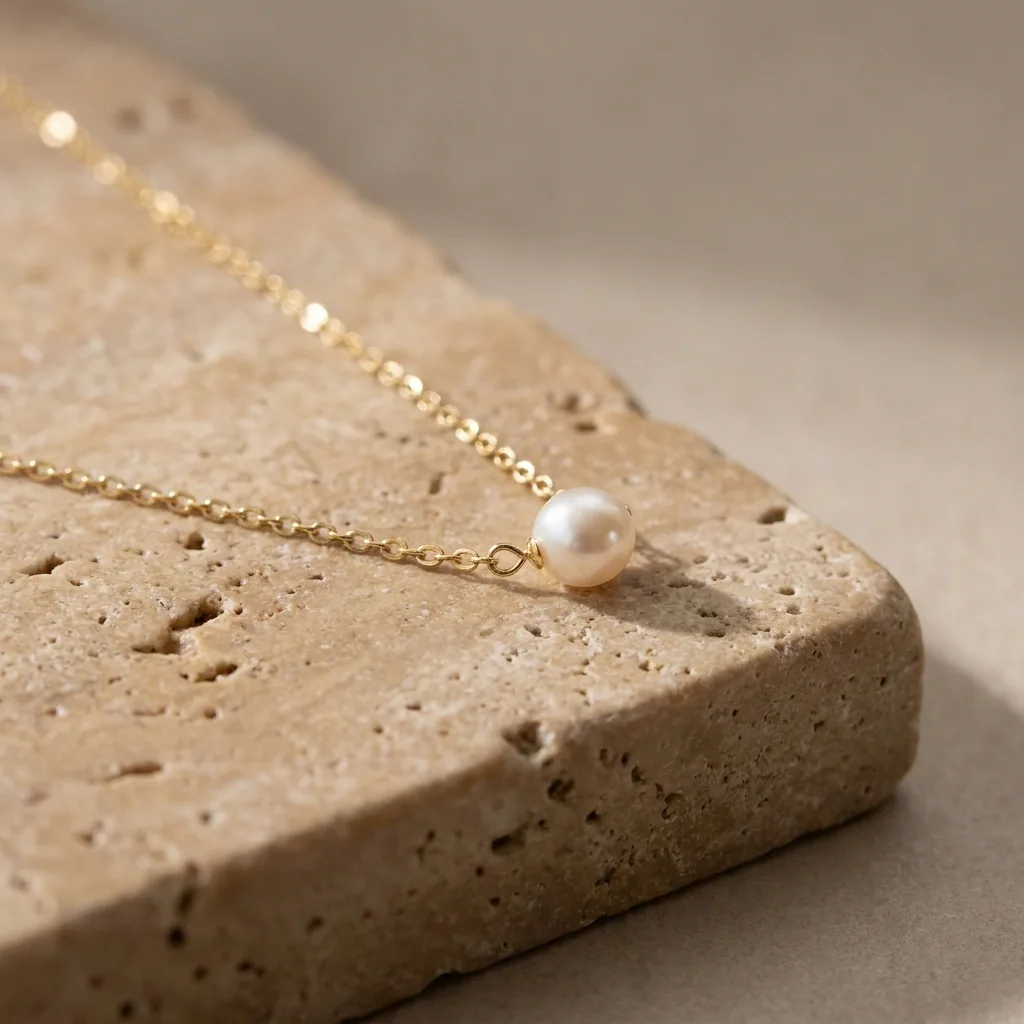
Close shots of the stitch, the grain, the glaze or the clasp. On handmade goods the detail shot is the proof of the price.

Scale images

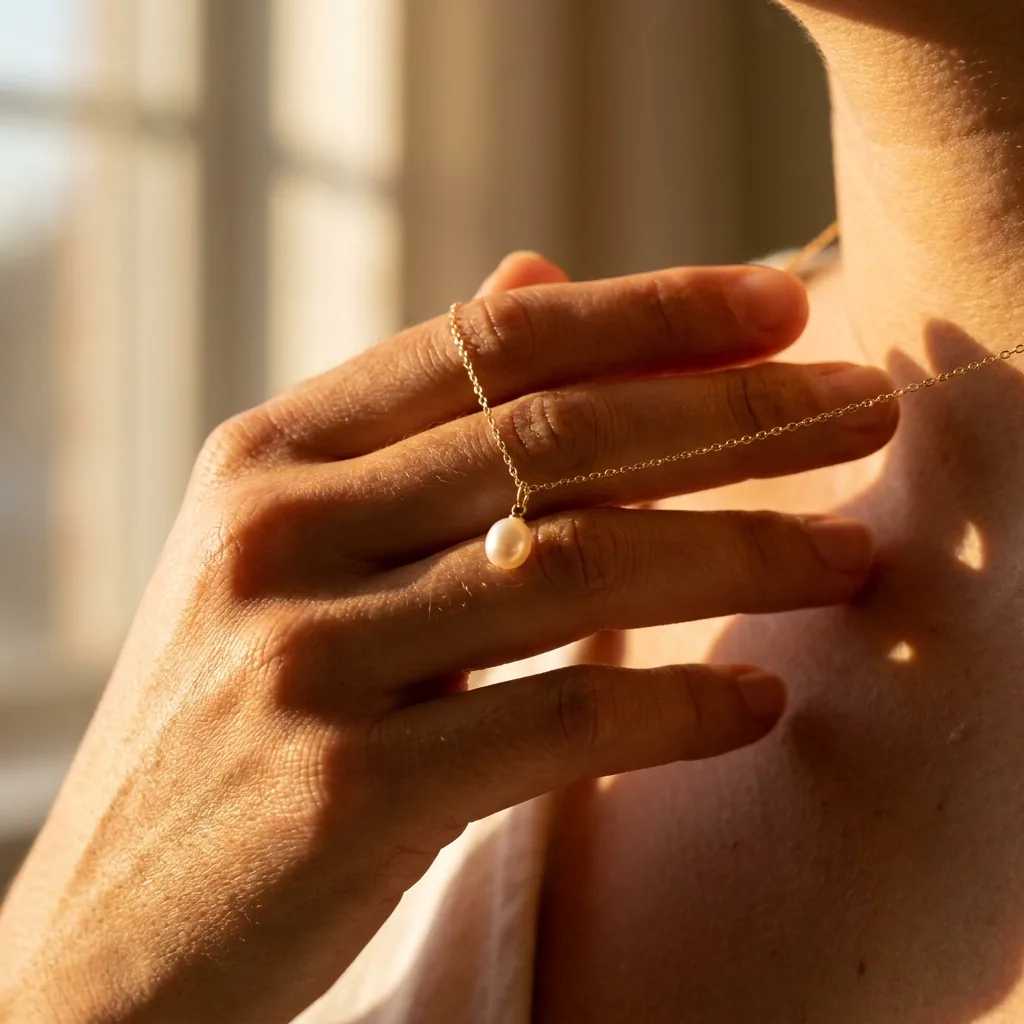
The piece held, worn or beside a familiar object. Scale is the single most common question in Etsy messages, and one photo settles it.

Photos in an Etsy listing set

What each photo is for, in the order a buyer swipes them.

First photo

The one that appears in search. It has to read at thumbnail size, so keep it simple and let the piece fill the frame.

Styled context

The piece in a setting that suggests a use and a mood. This is where a shop's character lives.

Scale and detail

How big it is and how it is made. These two answer the questions that otherwise arrive as messages.

Variation or packaging

The other colours, the other sizes, or how it arrives. Useful for gifts, where presentation is part of the purchase.

The tools behind each photo

Each card opens the app that produces that kind of image.

Build the flat lay - Before
Before
Build the flat lay - After
After
Flat Lay Studio

Build the flat lay

Flat Lay Studio arranges the piece on a chosen surface with props, from a single overhead photo.

Open the tool
Place it in a room
Styled Scene Generator

Place it in a room

Styled Scene Generator puts the piece in a setting and holds that setting across the whole shop.

Open the tool
Fix the light - Before
Before
Fix the light - After
After
Spotlight Relight

Fix the light

Spotlight Relight replaces dim kitchen-table light with even, warm light that shows texture.

Open the tool
Make the social version
Social Media Ad Studio

Make the social version

Social Media Ad Studio reframes the same photo for the posts that bring traffic to the listing.

Open the tool

Each before and after above demonstrates the tool named on the card, using that app's own sample image, so the subject you see may not be from this industry. Run the same tool on your own photos to see it on your work.

Steps to a finished listing set

One look, applied to every piece in the shop.

1
Photograph the piece
Daylight near a window, plain surface, no flash. A phone is enough. Sharp beats fancy at this stage.
2
Choose the shop look
Pick one surface and one lighting mood and write them down. Every listing from now on uses the same two.
3
Build the set
Flat lay, styled scene, detail and scale. Check each image against the real piece for colour before you keep it.
4
Upload and reuse
Download the set and upload it to your listing. Save the look as a workflow so the next piece takes minutes.

Order of work

Choose the shop look before you produce a single listing set. A shop where every photo shares one surface and one light reads as a brand, and that is worth more than any individual photo being perfect. Produce the first photo last: it is the one that has to work at thumbnail size in search, and you will judge it better once the rest of the set exists. Colour is the one thing to check by eye against the real piece every time, because a dye or glaze that shifts by a shade generates returns.

Try it on one listing

Build a full photo set for a single piece and see how it looks in search.

See plans

Models for handmade goods

Texture is what sells a handmade piece, so the model has to hold fine surface detail. Nano Banana Pro and GPT Image 2 keep stitch, grain and glaze legible at close range. FLUX 2 Flex is strong on retexturing when you want the same piece on a different surface. Seedream 5 handles text well if a listing image needs wording. Judge the result on the detail shot, since that is where a weak model shows first.

Questions about Etsy listing photos

What shop owners ask before they change how they photograph.

Does Etsy allow AI-generated listing photos?
Etsy sets its own policies for images and for what counts as handmade, and it updates them. Read the current rules for your shop type before you upload. The safe practice either way is that every photo shows the actual item, changed only in background, light and framing.
Will this break my handmade status?
Your handmade status depends on how the item is made, not on how it is photographed. Editing a photo of a piece you made is normal practice. Generating an image of a piece that does not exist is a different thing, and it is not what these tools are for.
My photos are taken on a phone. Is that enough?
Yes, if they are sharp and in daylight. The software can change the surface, the light and the framing. It cannot recover detail that a blurred or very dark photo never captured, so the one thing worth doing properly is focus.
How do I keep every listing looking the same?
Pick one surface and one lighting mood, then save them as a workflow and run every piece through it. A consistent shop is what makes a browsing buyer open a second listing.
How many photos should a listing have?
Fill the slots Etsy gives you. In practice: a clean first photo that works as a thumbnail, one or two styled scenes, a close detail, a scale shot, and a variation or packaging image if either applies.
Do the photos upload to Etsy automatically?
No. You download the set and upload it to your listing yourself. There is no publishing connection to Etsy, so nothing is posted on your behalf.

Photograph one piece, build the whole set

Start with a single listing and judge the result in your own shop.

Start free