
 For commission creators publishing to an LTK shop

Your shop posts every day. Your good light does not.

Every LTK post needs its own photograph of a real product, and you are the one who takes it. The item is on your table, the light went flat at three, and the post is due. Work from the shot you already have, and get the flat lay, the worn view and the styled scene from it.

Start free

DesignerBox is an independent product and is not affiliated with, endorsed by or partnered with LTK, rewardStyle or LIKEtoKNOW.it. The name is used here only to describe the kind of creator this page is written for. On the rules, read LTK's own Community Guidelines rather than this page, because they change and LTK has the final say. What they ask for is truthfulness about the product, not a ban on editing: they prohibit content that misrepresents a product, and they ask that what you claim about it matches what a buyer could typically expect. Our rule sits inside that and is stricter. Start from a photograph of a product you actually have, never generate a product you have not received, and do not recommend something you have not used. Disclosure is separate and always applies: LTK asks you to mark paid and gifted posts in the post itself, and treats the app's built-in disclosure as not sufficient on its own.

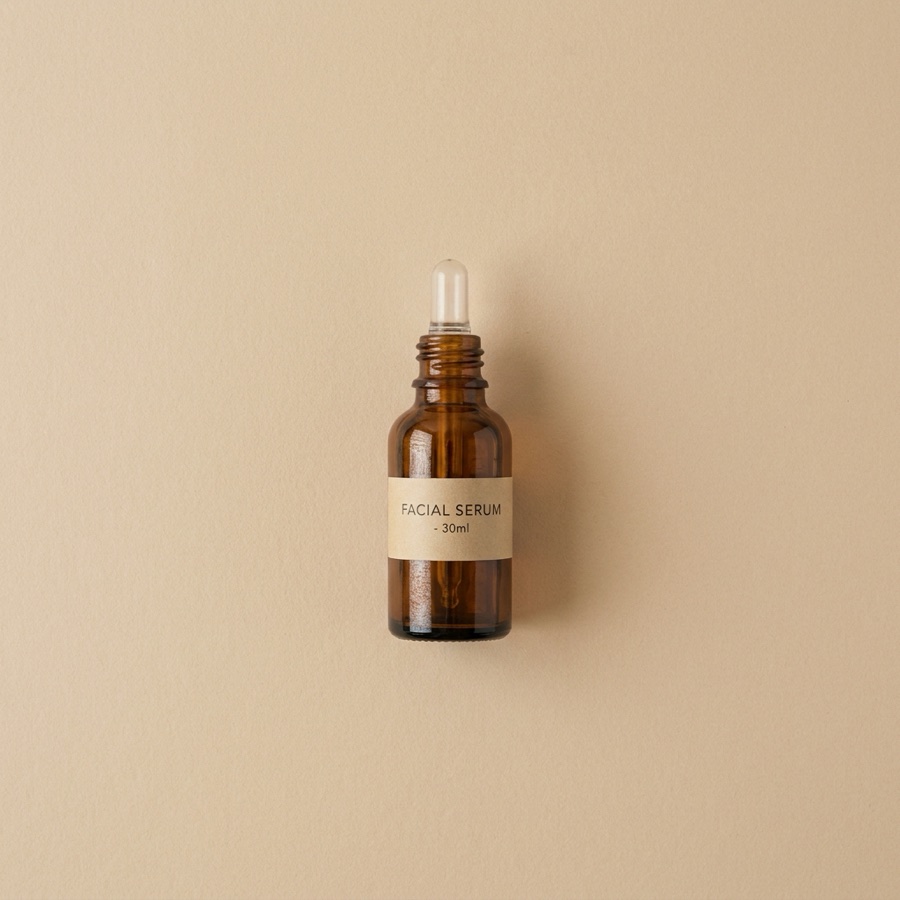
Shoppable affiliate product visual made with DesignerBoxShoppable post
Styled clothing look made with DesignerBoxStyled look
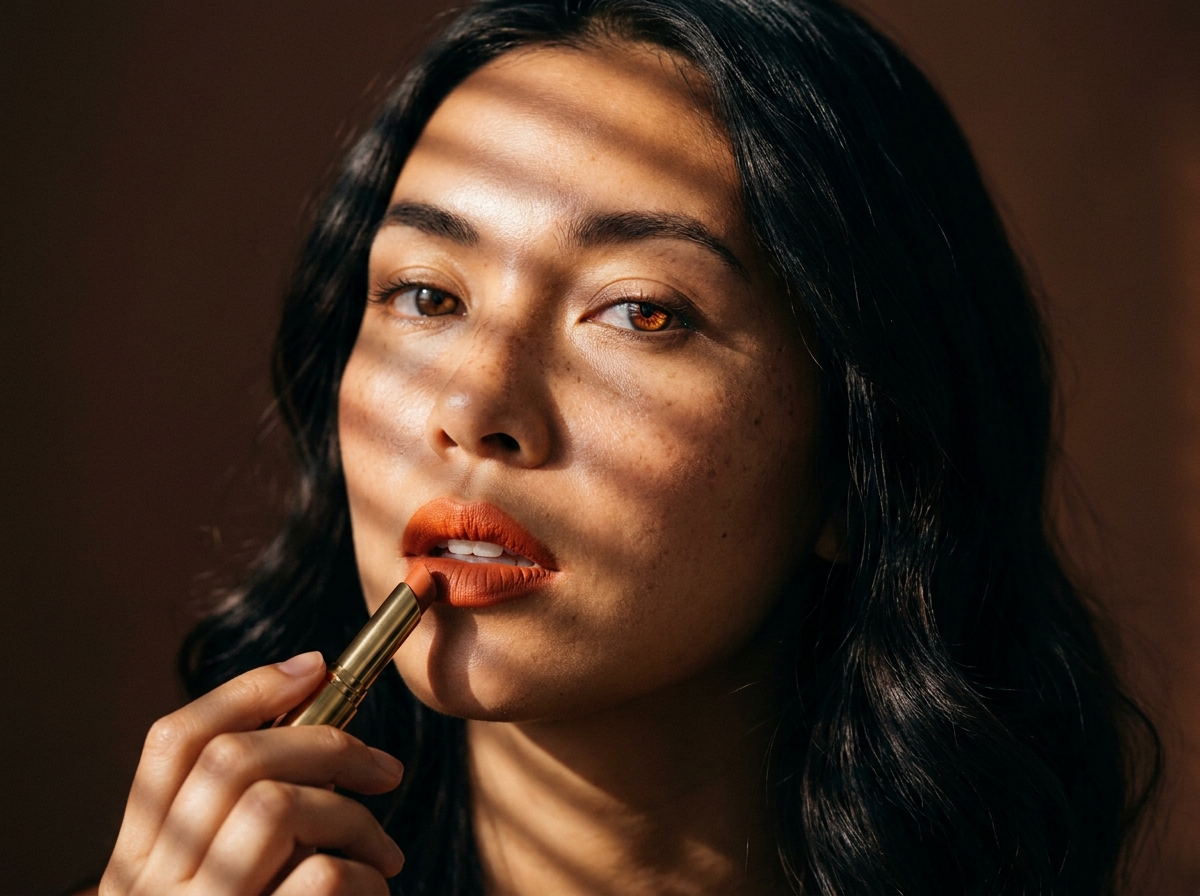
Beauty product scene made with DesignerBoxBeauty
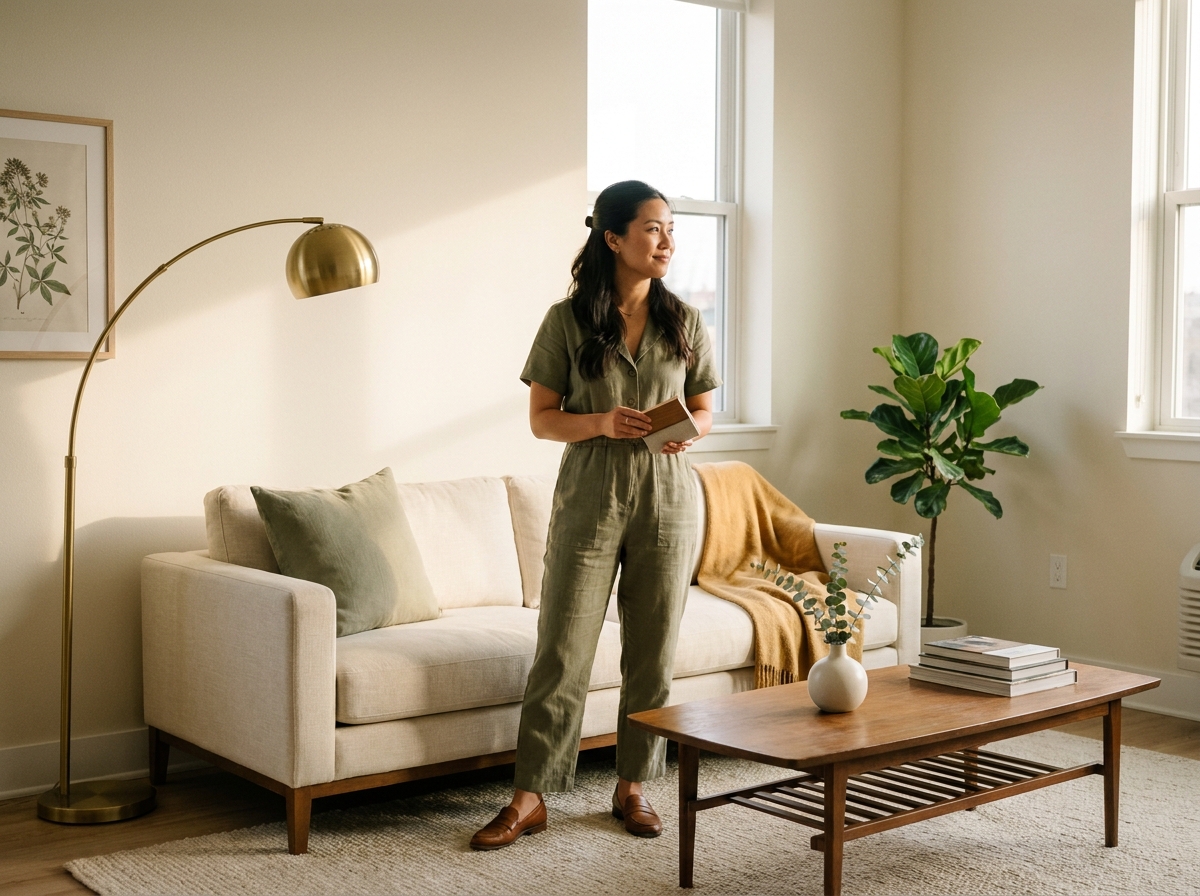
Styled home interior scene made with DesignerBoxHome
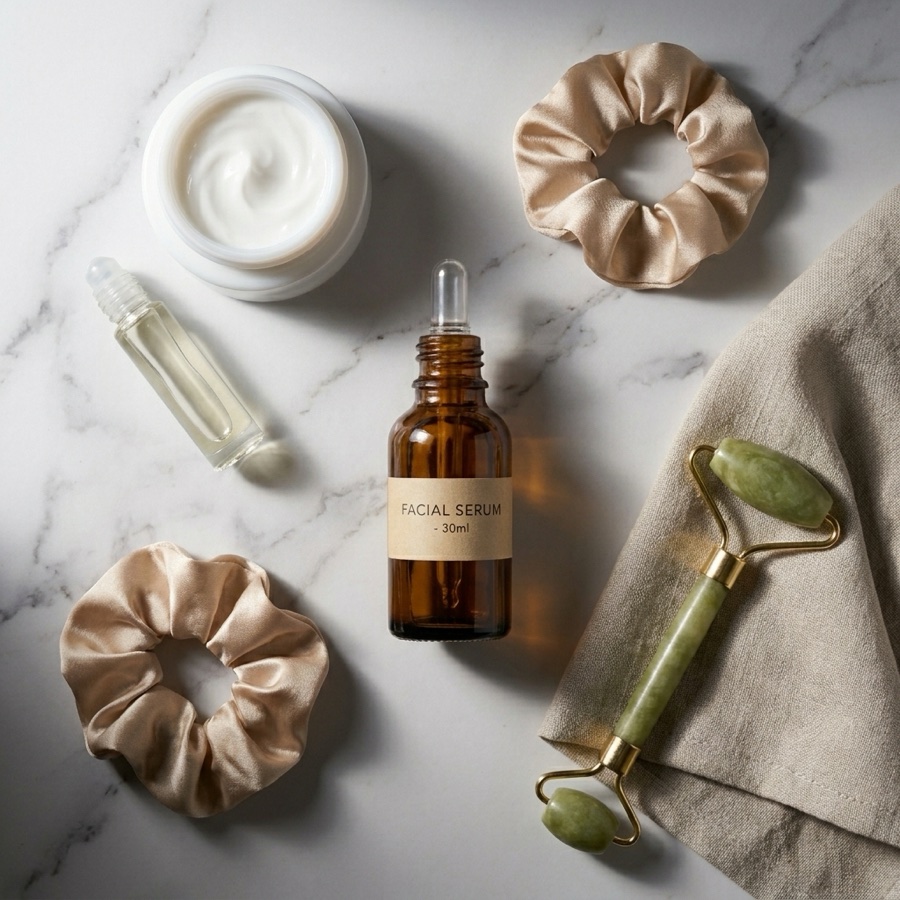
Product packshot generated with Nano Banana ProNano Banana Pro

This page is for creators who earn a commission through an LTK shop and who take the photographs themselves. That is the part nobody warns you about. LTK now gives creators real AI help with the admin: it can find the products in your photo, tag them and caption your videos. None of it takes the picture. So the commission is on the sale, the sale needs a post, the post needs a photograph of the real product, and the brand sent you the product rather than a photograph of it. The shop has also moved towards video, with a video-only tab in the shopping app, and photo-first creators have been loud about what that has done to their reach. Either way the work is the same work: a flat lay for the round-up, a worn view for the fit question, a styled corner of a room for the seasonal post, all from a table by a window. DesignerBox starts from the phone shot you already took of the item in your hands and builds the rest of the set from it.

What LTK creators use it for

Four jobs, all of them due today.

Get daylight after dark

Most creator photography happens in the evening, because that is when the day frees up, and a ceiling bulb yellows a cream jumper and greys a white trainer. Relight the frame you already have so the colour on screen is the colour that arrives. Your audience buys on that colour and holds you responsible when it is wrong.

Post styled photos on a collage timetable

LTK's own advice is that styled content earns the most and that collages should stay a small part of your feed. Every creator knows this and posts collages anyway, because a styled photo needs a surface, a props box and daylight. Building the styled version from the plain photo you already took is how the advice becomes possible to follow on a weekday.

Answer the fit question without a mirror

The comment under every clothing post is about fit, and a garment on a hanger cannot answer it. Produce a worn view from the flat photograph of the piece you actually have, so drape and length are visible on the days you are not on camera.

Reshoot the season, not the product

The same jumper has to look like September, then like a gift in December, then like a sale in January. Restyle the scene around the item you already photographed instead of getting the box back out and finding the light again three times a year.

See it on a real product

Four tools, each aimed at a step that has to fit between other work.

Flat Lay Studio - Before
Before
Flat Lay Studio - After
After
Flat Lay Studio

Flat Lay Studio

The flat lay is a format LTK names in its own content guidance, and it is also the shot most likely to show your kitchen table. Flat Lay Studio returns the item evenly lit, square to the camera and cleanly cropped, which is the version you can repeat on every product without thinking about it.

Open the tool
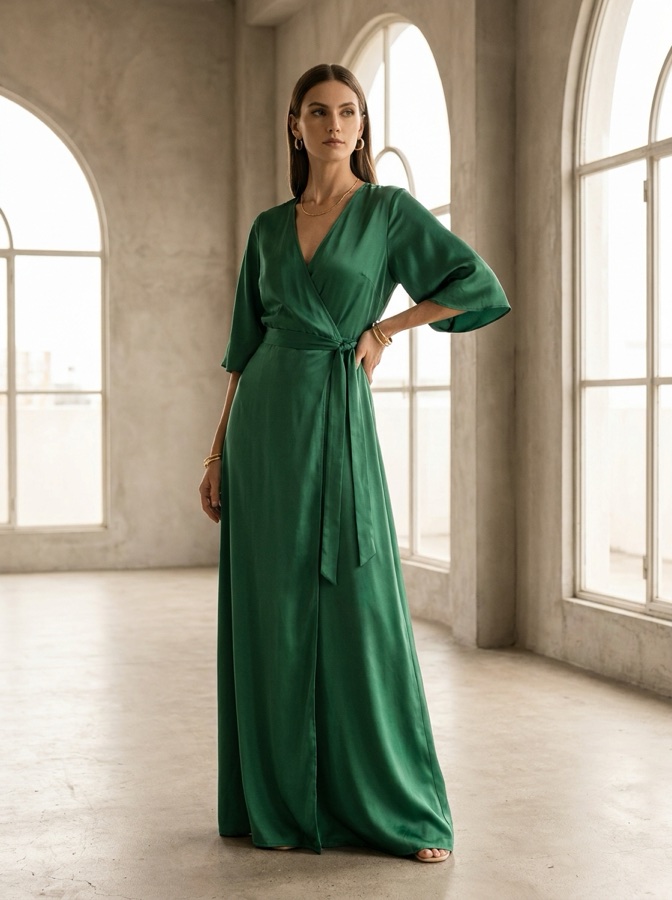
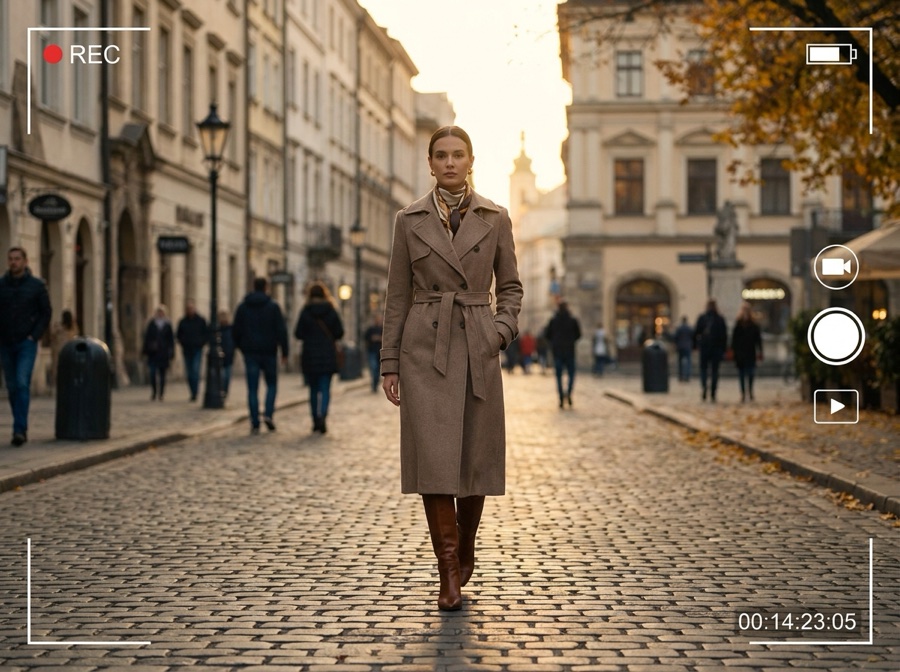
Virtual Try-On
Virtual Try-On

Virtual Try-On

Fit questions arrive under every clothing post, and getting dressed for each one is not realistic at posting volume. Start from the garment you actually have and produce the worn view, so length and drape are visible without a mirror, a tripod and a change of clothes.

Open the tool
Styled Scene Generator

Styled Scene Generator

Seasonal posts are the same products in a different room. Put the item you already photographed into an autumn shelf, a Christmas table or a spring worktop, so a seasonal set is a restyle rather than three separate shoots.

Open the tool
Spotlight Relight - Before
Before
Spotlight Relight - After
After
Spotlight Relight

Spotlight Relight

Evening light is the reason a post looks amateur next to a bigger creator's, and it is fixable after the fact. Spotlight Relight corrects the cast from indoor bulbs so a navy dress does not photograph black and a cream candle does not photograph yellow.

Open the tool

Each before and after above demonstrates the tool named on the card, using that app's own sample image, so the subject you see may not be from this industry. Run the same tool on your own photos to see it on your work.

From box to shop post

Four steps built around the evening you actually have.

1
Photograph what you were sent
Open the parcel, put the item on a plain surface, and take one clean frame of the whole thing plus one close frame of any detail worth showing. This is the honest part of the workflow and it stays manual. Everything after it works from these two files.
2
Fix the light and the ground
Correct the colour cast and clean up the surface. This is the step that makes an evening photograph look deliberate, and it repeats identically on every product you are ever sent, which is why it is the one worth saving.
3
Build the set the post needs
Produce the flat lay for the grid, the worn view for the fit question, and the styled scene for the seasonal post. One source photograph, three finished images, no second shoot.
4
Save it and run the week
Save the sequence as a workflow, then send the rest of the week's products through it in one sitting. That is what turns a nightly hour into a Sunday afternoon.

Where the images go

One product, four surfaces, four different crops.

Your shop posts

LTK publishes no required size, and its posting flow takes the shape from the first image you pick, then applies it to the rest of the post. So the first frame is the decision that sets the whole post, and a multi-image post only holds together if every frame was produced at one shape. Vertical is the safer working default, because it fills a phone screen.

Instagram feed and stories

The feed wants 1080 by 1350 and stories want 1080 by 1920, and cropping one down to the other cuts the product in half. Produce both sizes from the same source photograph so the item is framed correctly wherever someone finds it. Strip any other platform's watermark before you cross-post, because the receiving platform tends to bury it.

Pinterest

Pins keep earning for months after a post has scrolled away, which makes Pinterest the highest-value place to reuse a photograph you already have. Tall crops with the product readable at small size do the work here, and one shoot can supply a season of them.

Link in bio and newsletter

A link page and an email are both grids of small pictures, so they need the plainest, brightest version of each product. Cutting the same item out onto a clean ground gives you one image that works in a shop post, a pin, a link tile and an email without a separate edit for each.

The same treatment on everything the postman brings

Creator income is paid per sale and the work is paid per post, so the only thing that scales is a step you never have to decide about again. That is what a saved workflow is for: the same colour correction, the same clean ground, the same crop, the same worn view, applied to a pile of products in one sitting instead of one product at a time at eleven at night. There is a limit worth stating plainly, because it is the line between this being useful and this being a problem. The treatment applies to presentation, never to the product. If a jumper is thinner than it looks, if a shade runs warm, if the box arrives smaller than the photographs suggested, say so. You are recommending someone else's product to people who trust you, under a paid relationship you have to disclose, and a picture that oversells it costs you the audience that made the commission possible. Edit the light. Do not edit the truth.

Every model, one subscription

Sample boxes are unpredictable in a way a studio shoot is not. One week it is a knitted jumper, the next a glass candle, the next a pair of trainers on a doormat. No single image model is best at all of them. DesignerBox carries them in one workspace on one subscription rather than a licence each: Nano Banana Pro and Nano Banana 2 from Google, GPT Image 2 from OpenAI, Seedream 5 from ByteDance, and FLUX 2 Flex, FLUX Pro 1.1 and Kontext Multi from Black Forest Labs. Pick one as your default so your posts hold a look, and switch only when a material fights you. Glass, satin and anything chrome are the usual reasons to switch.

Creator questions

What commission creators ask before they use this.

Does LTK allow AI-edited photos?
LTK's published rules are about truthfulness rather than about whether a model was involved. Its Community Guidelines prohibit AI content that misrepresents identity, experience or engagement, prohibit content that misrepresents a product, and ask that claims about a product match what a buyer could typically expect. Editing the light and the setting around a product you genuinely have and use sits inside that. Fabricating a depiction of something you have not received does not. LTK asks for no AI label from creators today, but the guidelines change and LTK says it has the final say, so read the current version before you build a habit on this answer.
Do I have to have taken the photo myself?
LTK asks for content that is yours, and its own wording covers both taking the photograph yourself and holding the rights to it. So a photograph you took and then corrected is squarely inside that, and so is imagery you have been licensed. The stricter phrasing about original content sits in the criteria for being accepted in the first place rather than in a rule applied to each post. Two practical limits still apply. A brand that sends you its own photography usually attaches terms about how it may be used, so read those before you edit the file. And there is a separate rule against endorsing a product you have not tried, whoever took the picture.
What size should an LTK photo be?
LTK publishes no required aspect ratio, no pixel dimensions, no resolution minimum and no file-size limit, so anything you read stating one is invented. What it does do is take the shape from the first image you select and apply it to the rest of that post, which makes the first frame the decision that matters. Vertical is the safer working default because it fills a phone screen. Produce your images at one consistent shape and the post holds together whatever LTK does with it.
Can I post a worn view if I never wore the piece?
It works as a fit reference when it is built from the real garment and the post does not claim it is a photograph of you. Three things keep it honest. Start from the actual item so the cut and the colour are true, say which size you are showing, and label AI-assisted imagery where a platform asks for it. Instagram and TikTok have their own labelling rules that apply when you cross-post, even though LTK does not ask for one.
How long does this take per product?
The photograph is unchanged and stays the slow part: unbox it, put it down, take two frames. Once a workflow is saved, everything after that is a batch job over a pile rather than a decision per item. Creators who post daily generally set the treatment once and never open the settings again.
Which plan do I actually need for this?
Two gates decide whether the workflow on this page is open to you, so check them before you pick. Uploading your own photograph is on Pro ($35 a month) and above, which is also the tier that carries the commercial licence. Relighting, the worn view, photo editing and video generation are on Premium ($75 a month) and above. The free plan carries 112 credits a month for generating images and watermarks what it produces, so treat it as a look at the models rather than as this workflow. Every paid plan starts with a 7-day free trial, which is the honest way to find out whether the Premium tools earn their price at your posting volume. Plans run $15 a month for 500 credits, $35 for 1,000, $75 for 2,500 and $200 for 8,000.

Run one box through it

Take the samples sitting by the door, photograph them once, and see what a week of posts looks like when the set comes from one shoot. Every paid plan starts with a 7-day free trial.

See plans