For secondhand, thrifted and independent resale shops

The grid sells before the item does.

Nobody buys one piece from a shop that looks like a bedroom floor. They buy from a grid that looks curated. Get there from the photographs you already take, without a studio, a rail or a model.

Start free

DesignerBox is an independent product and is not affiliated with, endorsed by or partnered with Depop. The name is used here only to describe the kind of seller this page is written for. Every item is one of one, so the images must show that specific piece in its actual condition: never edit out wear, marks, alterations or missing parts.

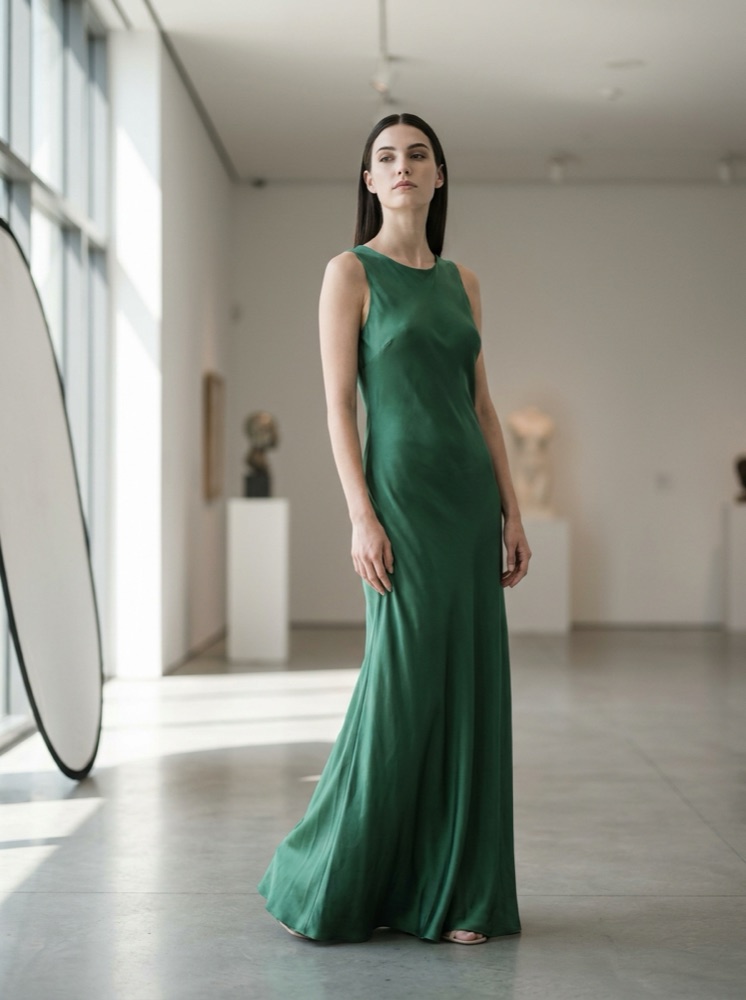
On-model clothing image generated with Nano Banana ProNano Banana Pro
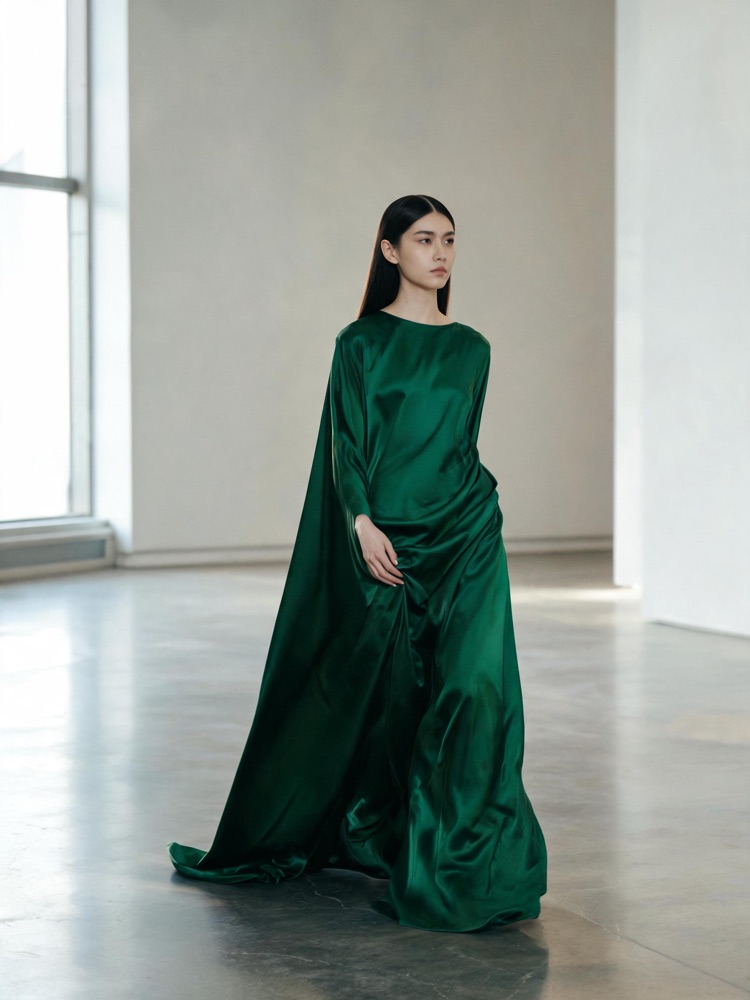
On-model clothing image generated with Seedream 5Seedream 5
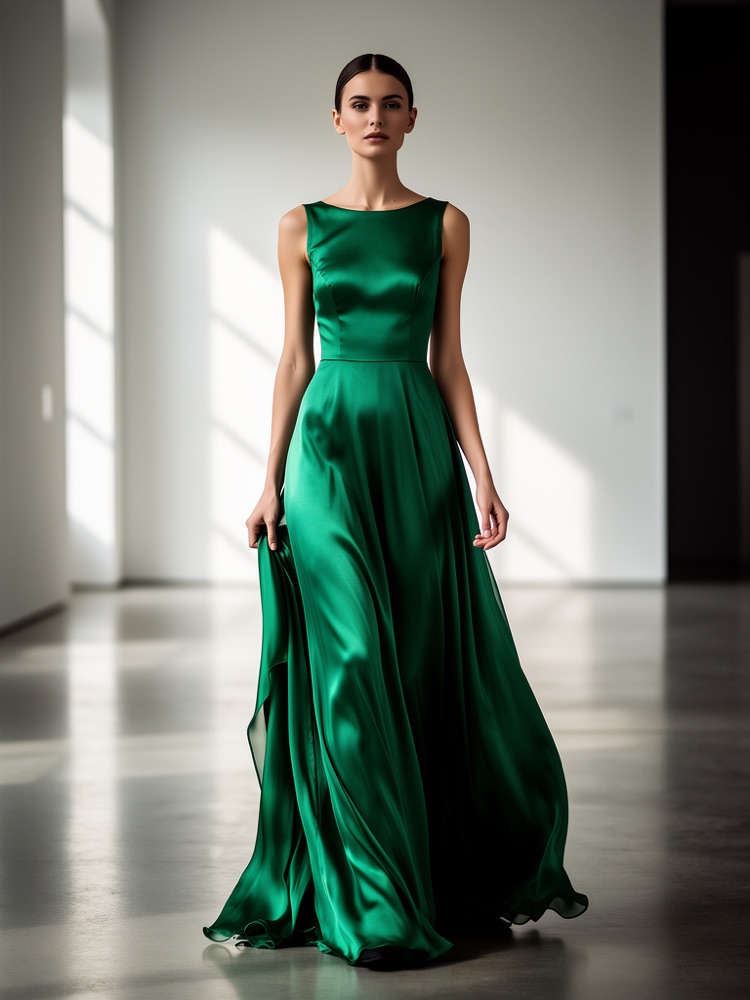
On-model clothing image generated with FLUX 2 FlexFLUX 2 Flex
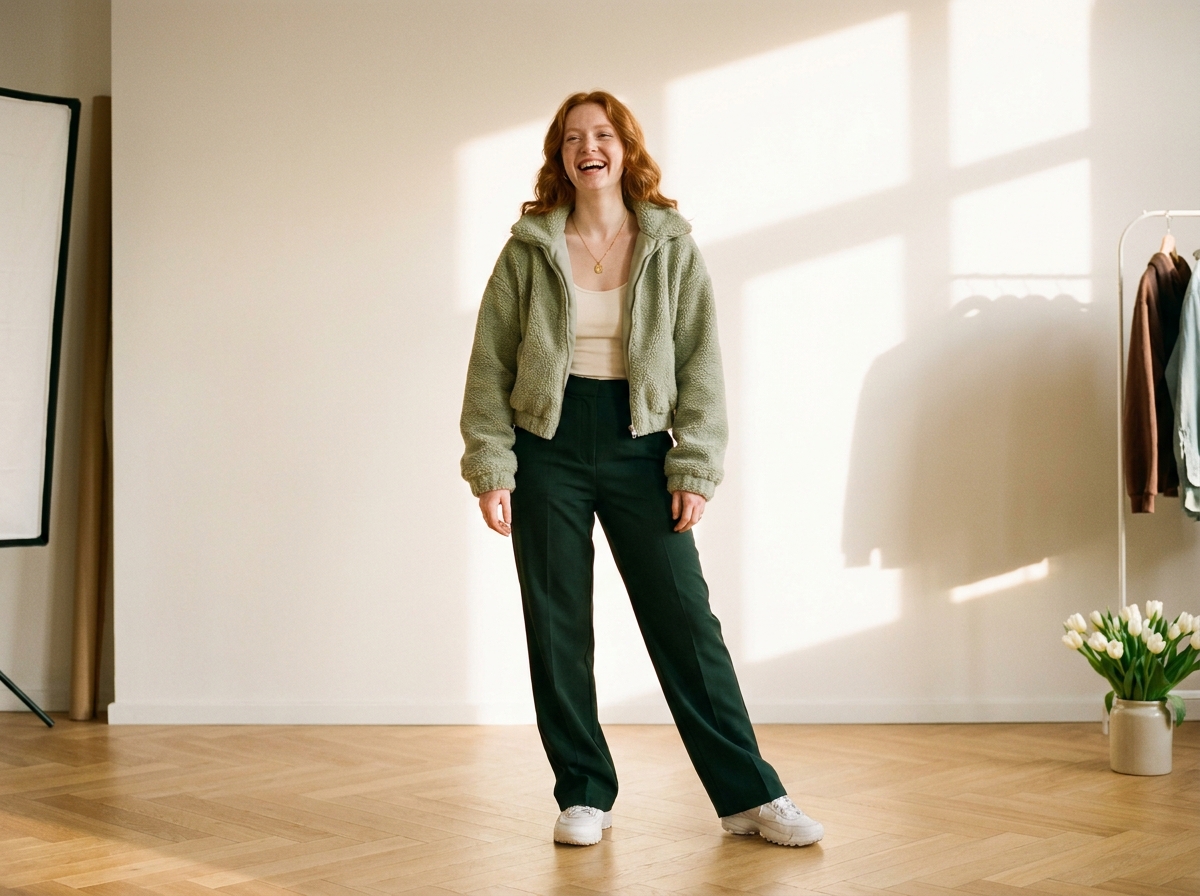
Styled clothing look made with DesignerBoxStyled look

This page is for people running a secondhand shop where taste is the product and the grid is the shopfront. What sells here is a coherent look across a whole page of individually sourced pieces, which is exactly what photographing items one at a time in whatever light was available cannot produce. DesignerBox starts from the phone photograph of the real piece. Correct the light, put every item on the same ground, produce the flat lay and the on-model view, and let the grid hold together as new stock lands.

What secondhand sellers use it for

Four jobs that turn a pile of sourced pieces into a shop.

Make the grid look curated

The shop page is seen as a grid of thumbnails long before any single listing is opened, and inconsistency there reads as carelessness. Put every piece on the same ground at the same crop so a page of unrelated sourced items looks like one point of view.

Fix the light you had

Sourcing happens all year and the light in a bedroom does not cooperate. Relight the photograph you already took so a piece shot in November sits beside one shot in July without the colour giving it away.

Show how it hangs

Secondhand buyers care about fit more than most, because there is no size chart and no returning it for a different one. Produce an on-model view from the flat photograph so drape and length are visible on pieces you cannot model yourself.

Give the shop a look

The sellers who do well are recognisable at a glance. Setting a background, a crop and a colour treatment once and applying it to everything is what creates that, and it costs nothing per item after the first.

See it on a real piece

Four tools, each aimed at making a sourced piece listable fast.

Flat Lay Studio - Before
Before
Flat Lay Studio - After
After
Flat Lay Studio

Flat Lay Studio

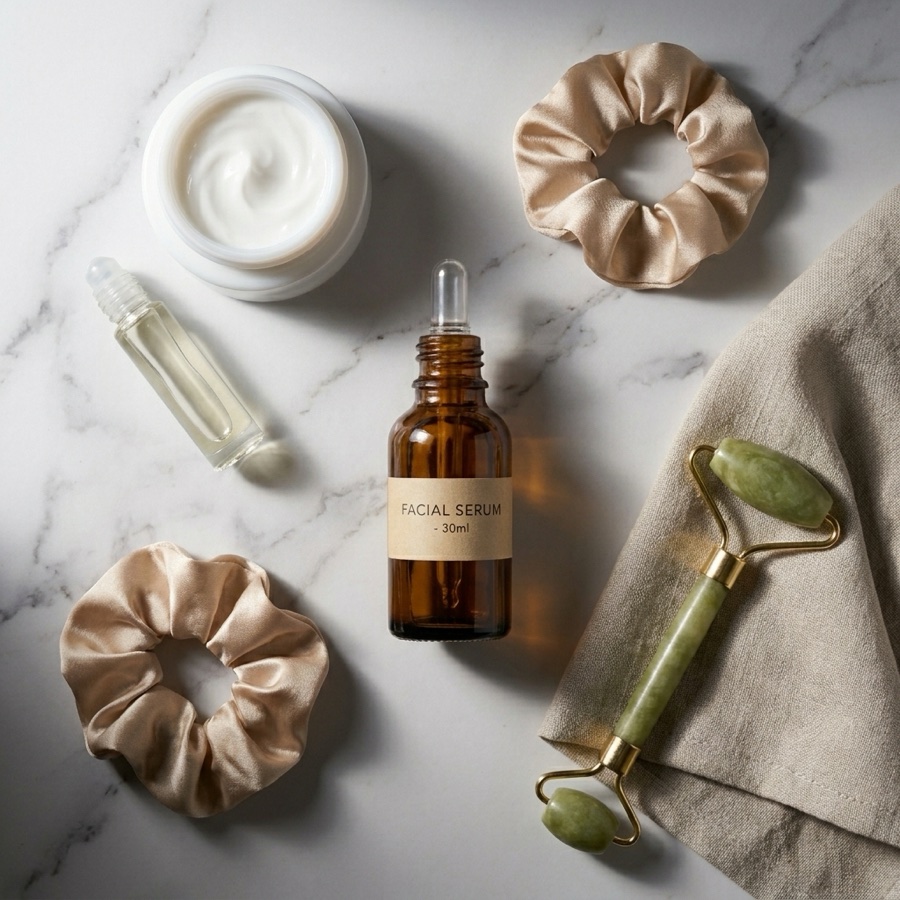
Flat on the floor is how most secondhand pieces get photographed, and even lighting on a floor is close to impossible. Flat Lay Studio returns the shot square, evenly exposed and consistent from item to item, which is what a grid needs.

Open the tool
Virtual Try-On
Virtual Try-On

Virtual Try-On

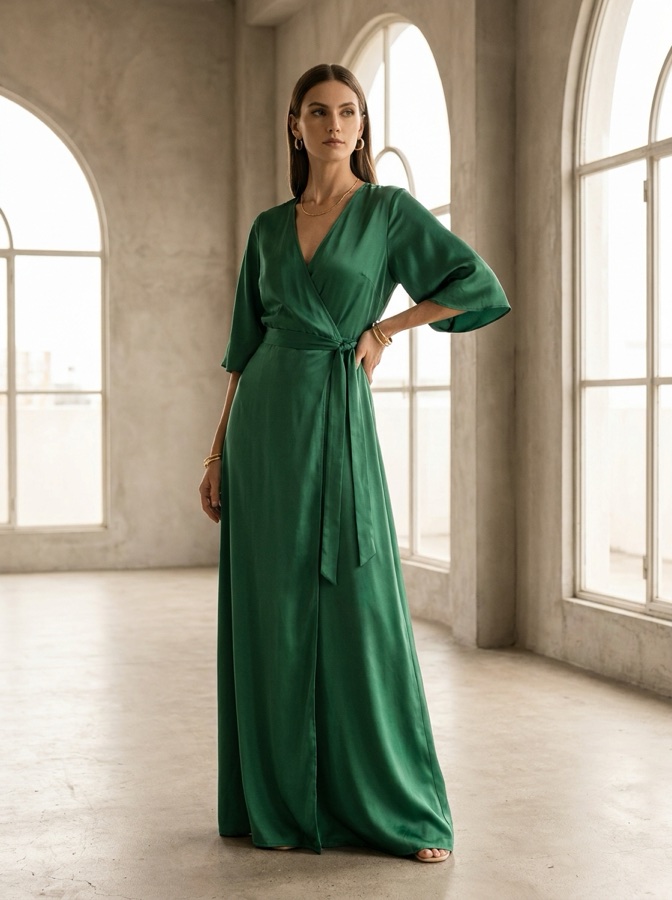
Fit is the main hesitation in secondhand and one-of-one stock cannot be modelled at volume. Start from the actual garment and produce the on-model view, so a buyer can see the shape rather than guess it from a rectangle on a carpet.

Open the tool
Spotlight Relight - Before
Before
Spotlight Relight - After
After
Spotlight Relight

Spotlight Relight

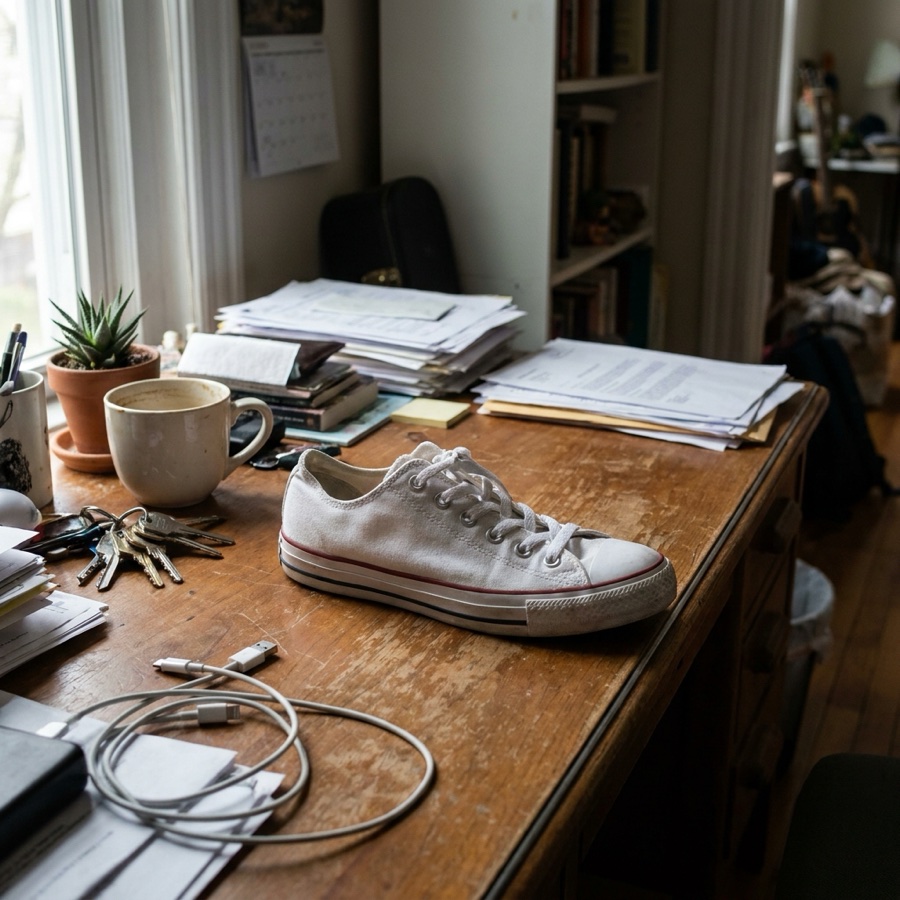
Colour is where secondhand disputes begin, and indoor bulbs are usually the cause. Spotlight Relight corrects the cast so a washed black reads as it does in daylight and a cream piece does not photograph yellow.

Open the tool
Background Remover - Before
Before
Background Remover - After
After
Background Remover

Background Remover

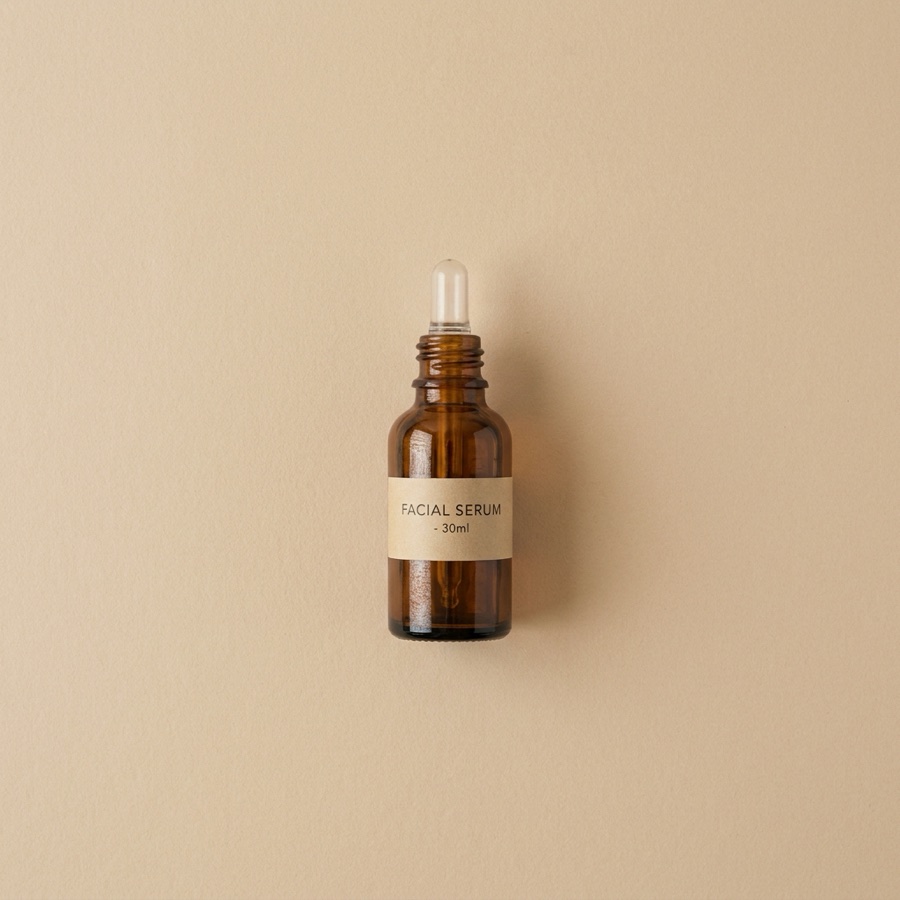
The room behind the piece is the difference between a listing that looks sourced and one that looks scavenged. Background Remover puts the item on a clean, consistent ground, which is most of what makes a grid look intentional.

Open the tool

Each before and after above demonstrates the tool named on the card, using that app's own sample image, so the subject you see may not be from this industry. Run the same tool on your own photos to see it on your work.

From sourced to listed

Four steps, sized for someone listing a pile in one evening.

1
Photograph honestly first
Lay the piece flat, get the whole garment in frame, and take separate close shots of every flaw, repair and label. Those flaw shots go in the listing untouched. Everything else is presentation; this part is the description.
2
Set the shop look once
Decide the ground, the crop and the light on your first piece. This is the decision that makes the grid work, and it only pays off if you then apply it to everything rather than restyling per item.
3
Produce the listing set
Build the square cover shot, the flat lay and the on-model view from the one capture, and keep the untouched detail photographs alongside them in the gallery.
4
Save it and run the pile
Save the sequence and send the rest of the haul through it. The consistency comes from reuse rather than from care taken on each individual item.

Where the images go

Secondhand selling runs across several surfaces at once.

Your shop grid

This is the surface that converts a browser into a follower. Square crops, one background, consistent light, and the piece filling the frame at thumbnail size. A grid that reads as curated is the closest thing a secondhand seller has to a brand.

The individual listing

The gallery is where honesty lives. Cover shot first, then the flat lay, the on-model view, the label, the measurements and every flaw close-up untouched. Buyers of one-of-one items read galleries carefully, and a missing flaw photo is what turns a sale into a dispute.

Social

Most secondhand shops get their traffic from social rather than from in-app search, which means a steady supply of posts at 1080 by 1350 and stories at 1080 by 1920. Build them from listing photographs so posting a drop does not need a separate shoot.

Cross-listing

The same piece usually goes up on several apps with different crop rules and different audiences. Producing a square and a portrait version from one source keeps the item consistent everywhere and means a sale on one platform does not leave a worse photograph live on another.

A shop look is a saved setting

The sellers who look established are not photographing better, they are photographing the same. Same ground, same distance, same crop, same colour treatment, on every piece regardless of when it was sourced or what light the room had that day. That is a saved sequence rather than a discipline, and once it exists the grid stays coherent as stock turns over without anyone thinking about it. The rule that sits alongside it is that presentation and condition are separate. A cleaner background, corrected colour and a consistent crop all show the piece accurately. A removed stain, a hidden repair or a smoothed-out bobbled knit is a misdescription, and in one-of-one resale it is the fastest way to lose the buyer trust the grid was built to earn.

Every model, one subscription

Sourced stock is unpredictable, so the material changes constantly: a leather jacket one day, a sheer blouse the next, a heavy knit after that. Different image models handle those differently and no seller wants to pay for several to find out which. DesignerBox carries them in one workspace on one subscription: Nano Banana Pro and Nano Banana 2 from Google, GPT Image 2 from OpenAI, Seedream 5 from ByteDance, and FLUX 2 Flex, FLUX Pro 1.1 and Kontext Multi from Black Forest Labs. Video runs on Veo 3.1 and Veo 3.1 Fast, Sora 2 Pro, Seedance 2.0, Kling 2.6 Pro and Runway Gen-4.5. Pick a default that suits most of your stock and switch only when a fabric fights it.

Secondhand seller questions

What independent resale shops ask before they use this.

Am I allowed to edit secondhand listing photos?
Correcting light, cleaning the background and cropping consistently are normal on every resale platform. Hiding condition is not, anywhere. Wear, marks, repairs, alterations and missing parts have to be shown and described, and the untouched close-ups belong in the gallery next to the tidy cover shot.
Can I show a piece on a model I did not photograph?
As a fit reference, yes, provided it starts from the actual garment and the listing does not present it as a photograph of a real person wearing the item. Always give the measurements in the description as well, because on one-of-one stock a measurement is worth more than any image. Check whether the platform you sell on requires AI-assisted imagery to be labelled.
Will this make every shop look the same?
It will if everyone accepts the same default background. The value is in choosing a look that suits your stock and repeating it, not in taking whatever comes first. Pick a ground and a colour treatment that fit what you source, and the consistency becomes recognisable rather than generic.
How does it handle vintage colours and worn fabrics?
Carefully, and you should check each one. Faded blacks, sun-worn denim and yellowed whites are characteristic of the piece rather than faults in the photograph, and an aggressive correction can make an item look newer than it is. Correct the light cast, then compare the result against the garment in daylight before listing.
Is it fast enough for a big haul?
Once the treatment is saved it runs over a batch rather than item by item. Photography stays the slow part and always will be. The saving is that the editing stops being a per-item decision, which is what makes a consistent grid affordable at volume.
How much does it cost to start?
Nothing to try. The free tier carries 112 credits a month, enough to run a few pieces through and see how the grid looks. Paid plans run $15 a month for 500 credits, $35 for 1,000, $75 for 2,500 and $200 for 8,000. Most sellers size their plan on listings per month.

Redo your last five listings

Put them on one ground at one crop and look at the grid afterwards. That is the whole argument. The free tier covers it.

Start free