Product imagery
AI product photography for every sales channel
AI product photography turns your product photos into packshots, new angles and styled scenes. The product in every picture comes from your photos, and your brand rules apply to each one.
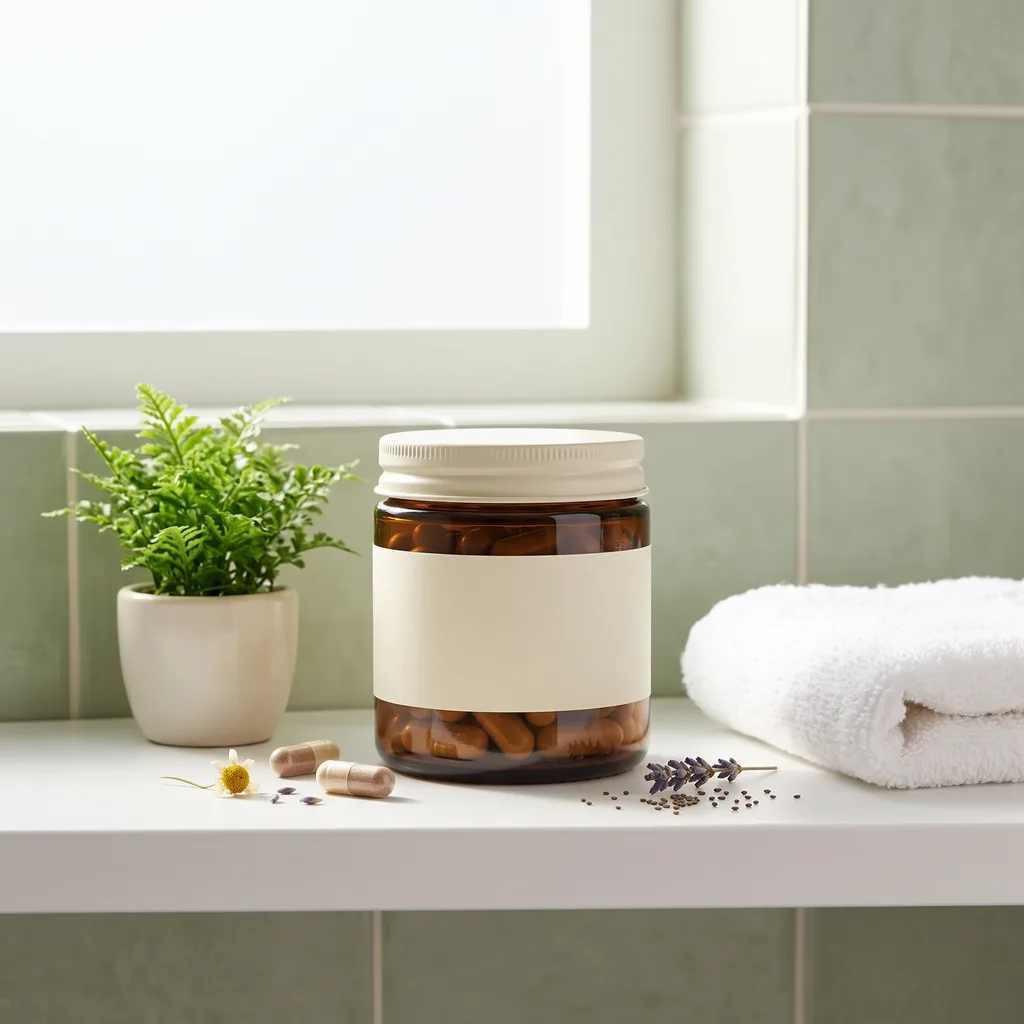
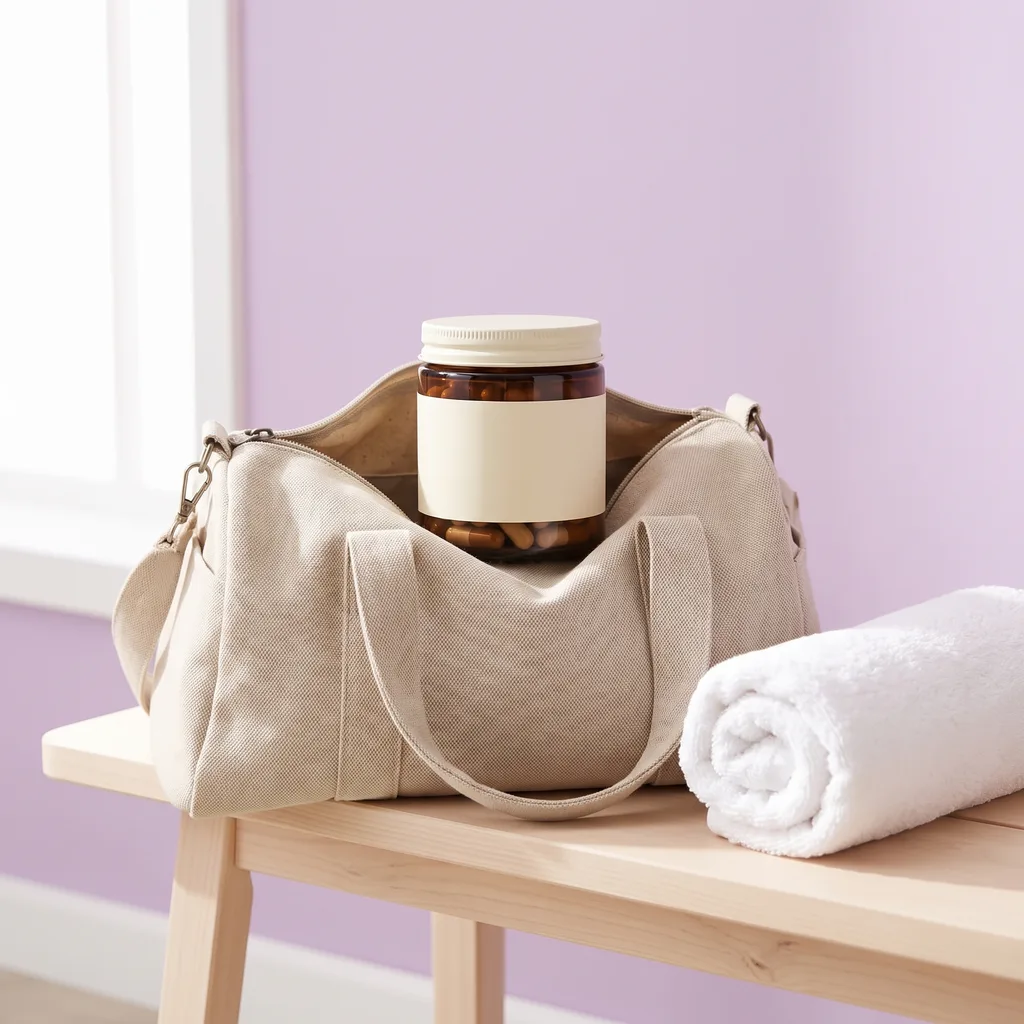
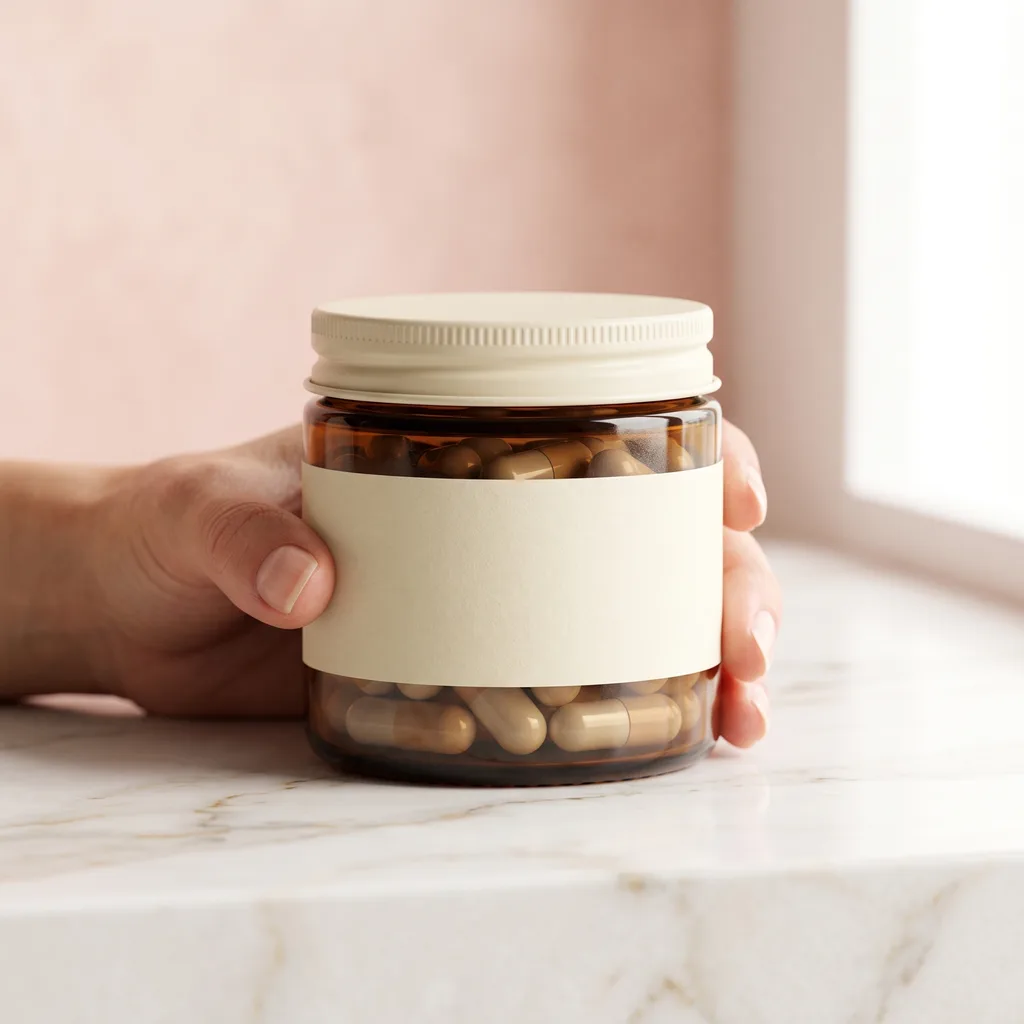
Who it is for
Does that sound like you?
Scaling without compromising quality.
You need more pictures every week for the shop, the ads and the socials. Anyone can make an AI picture. Making hundreds that still look like your brand is the hard part. A shoot for every product costs weeks, and every new generator returns a different look.
- A template or a workflow you build once, with your brand rules
- One run on one product, or a batch over your whole catalogue
- Every result in Assets, with the same look on the first and the last
Cut the waiting time and budget for deliverables.
You make this for clients, and every client has their own look. A shoot for each one costs weeks and most of the budget. A different generator for each one returns a different look, so somebody fixes it by hand before it is delivered.
- Each client's brand rules, saved once and used on every run
- A workflow you build once and run for every client
- A batch over a client's whole catalogue, delivered from Assets
AI product photography
AI product photography is the practice of producing selling images from photos you already own instead of booking a studio. You upload photos of the real product. The software removes the background, changes the light, builds new camera angles and places the item in a scene. Check each result against the item before you publish it.
What the software does to a product photo
Four jobs a studio charges for, run from the photos you have.
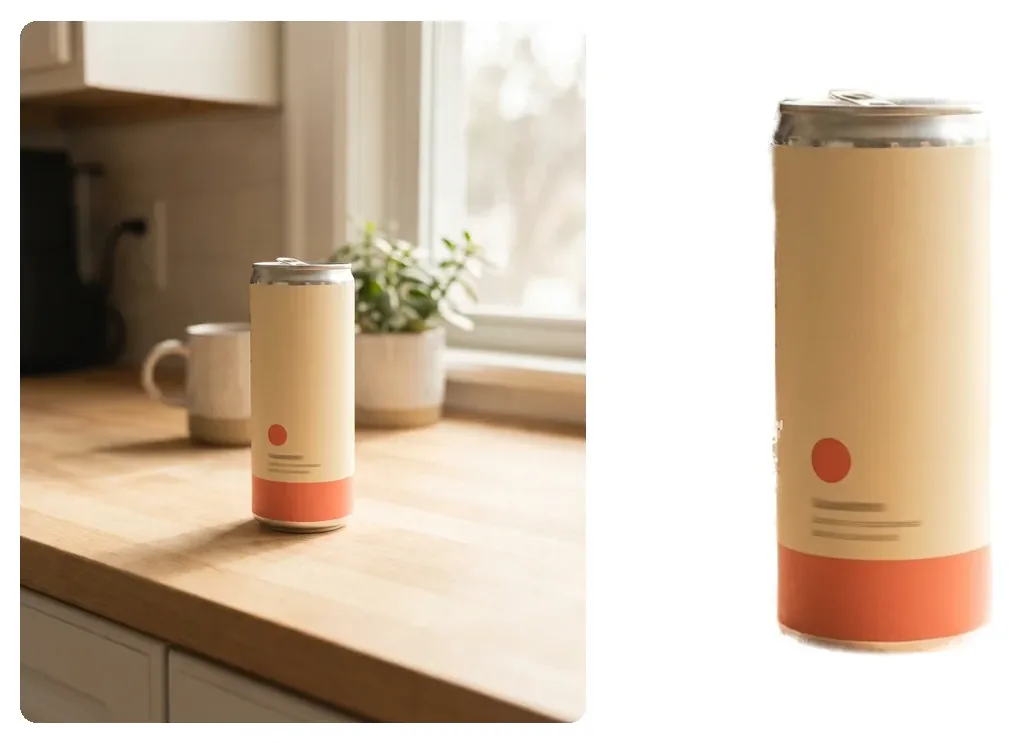
Clean cutout
Separate the product from whatever it was shot against. You get a pure white background for marketplace rules, or a transparent file to place anywhere.
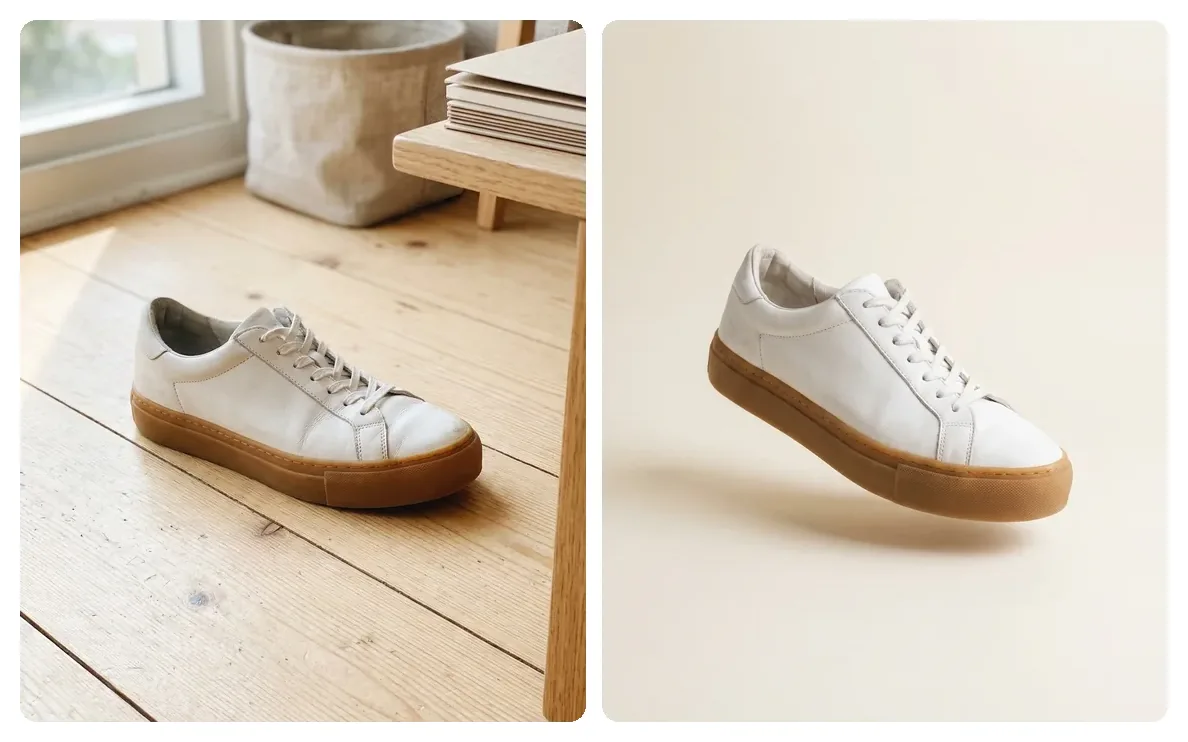
New lighting
Relight a flat phone photo as a soft studio shot, a hard-shadow shot, or a warm window scene. The shape and colour of the product stay fixed.
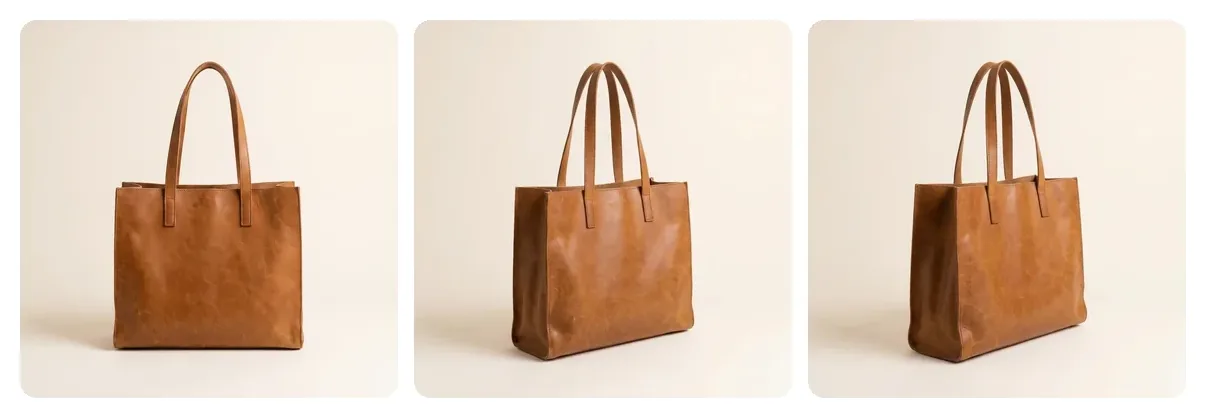
Extra angles
Build side, back, top and detail views from your product photos, so a gallery is full without a second shoot.
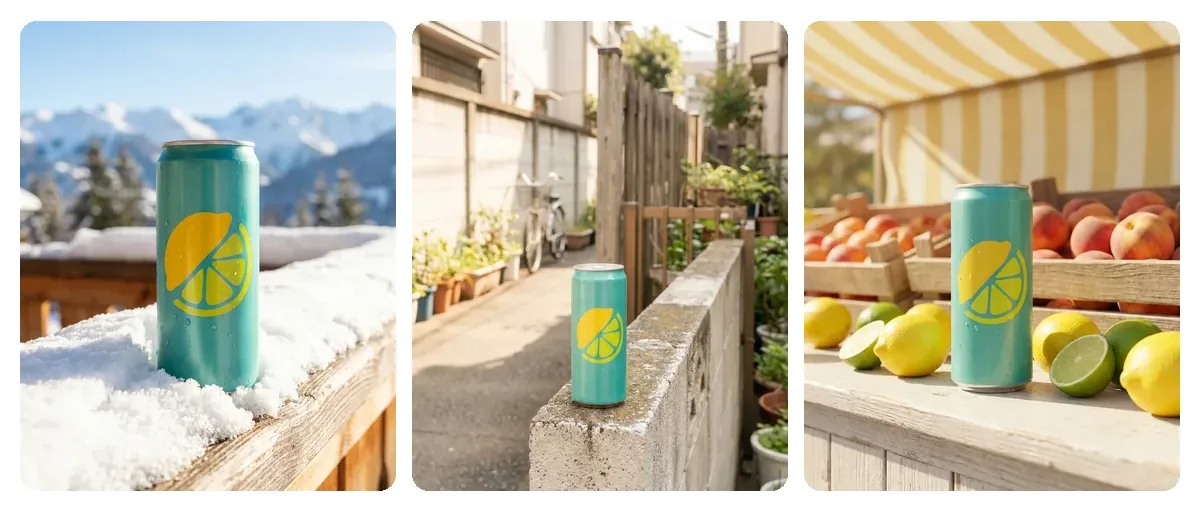
Styled scenes
Place the product on a surface, in a room, or in a hand. Choose the surface, the props and the season, then keep the same look across the range.
Images in a complete product set
The pictures a buyer expects to find, and the job each one does.
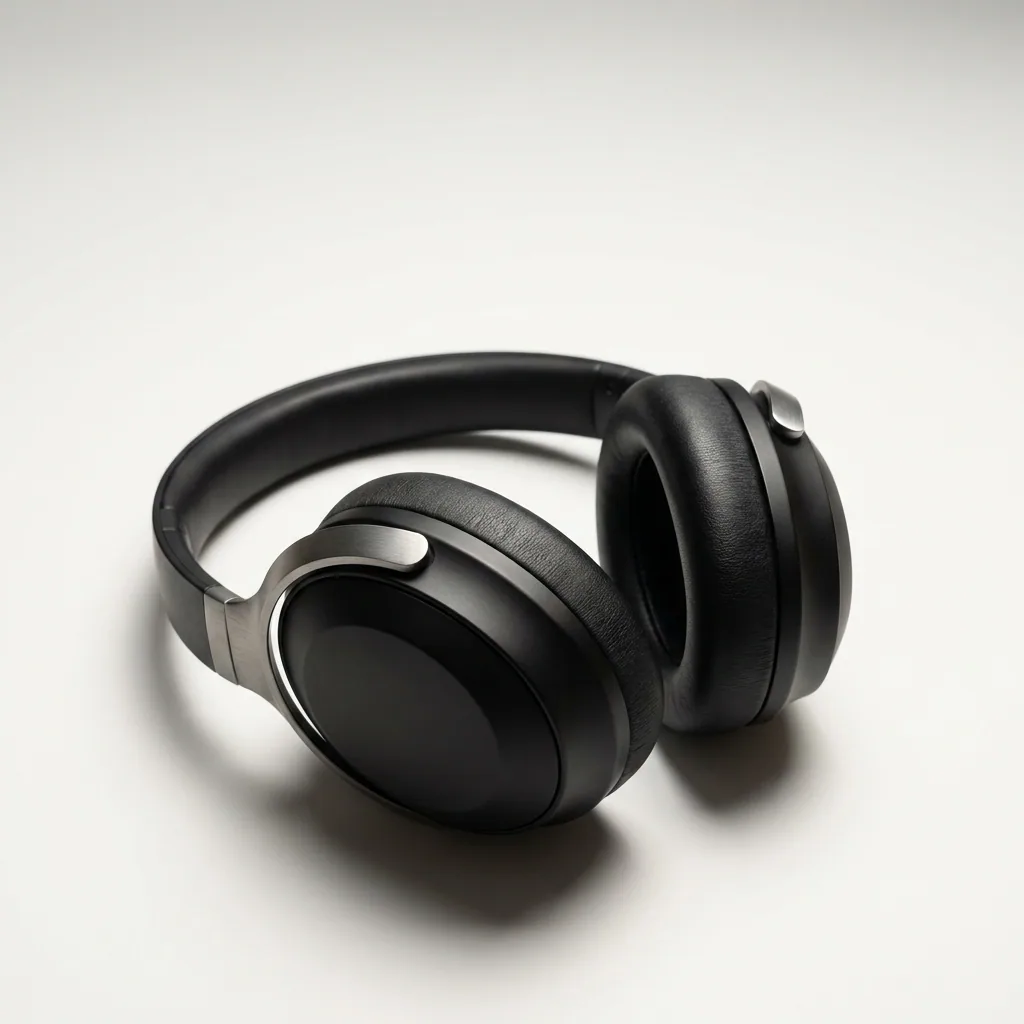
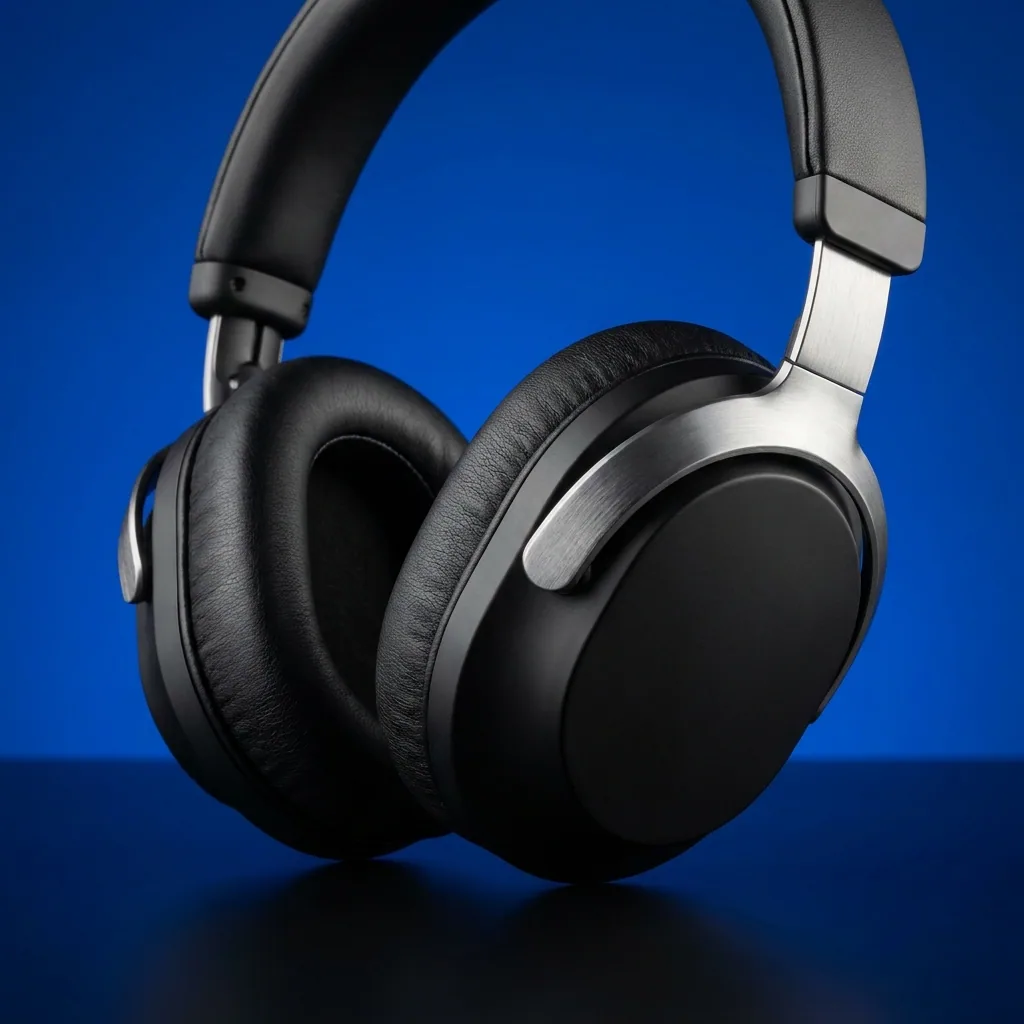
Main packshot
The product alone on plain white. This is the image a search result shows, so it decides whether anyone clicks.
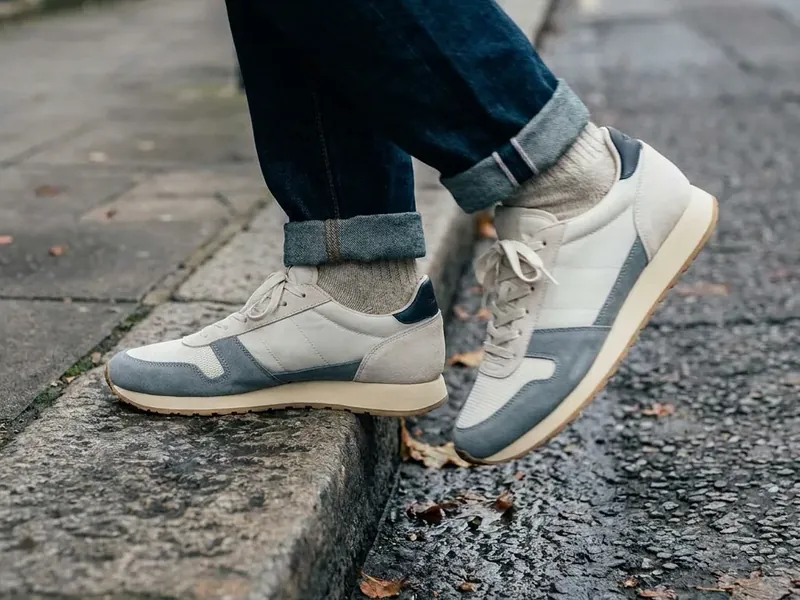
Angle set
Three to five views of the same item. Buyers check these to work out shape, thickness and finish before they trust a description.
Lifestyle scene
The product in the room or the moment it belongs to. This answers scale and use, which a white background cannot show.

Callout image
One feature named in large text over the product. Use it for the material, the size, or the one thing reviews keep asking about.
Steps to a full product set
The order that keeps every image consistent.
The order matters more than which app you pick. Cut the product out first, because every later image reuses that file and inherits its edges. Fix the lighting next, while there is still only one image to judge. Generate angles after the light is settled, or each view carries a different shadow. Scenes and callouts come last, since they sit on top of a product that is already correct. A saved workflow runs the same four steps over a whole catalogue.
Questions about AI product photography
What sellers ask before they replace a shoot.
Do I still need a real photo of the product?
Will the images match the product a buyer receives?
Can I use these images on Amazon, Etsy and Shopify?
How do the images get onto my store?
Can I keep one look across a whole range?
What resolution do the images come out at?
Product photography by category
How each category is lit, angled and cut out. Pick the one you sell.
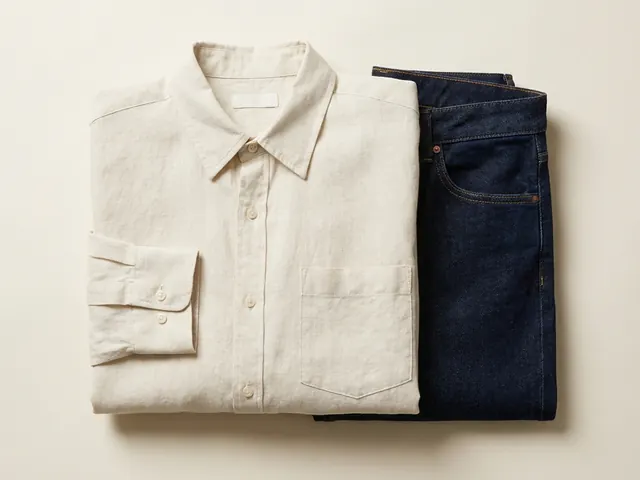
Fashion and apparel
Drape, fabric weight and true colour, held across every image in a clothing listing.
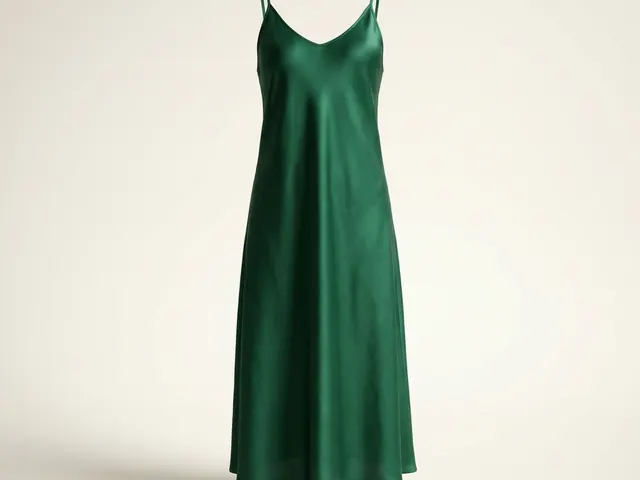
Dresses
Hem line, the fall of a skirt, and a full-length garment inside a square crop.
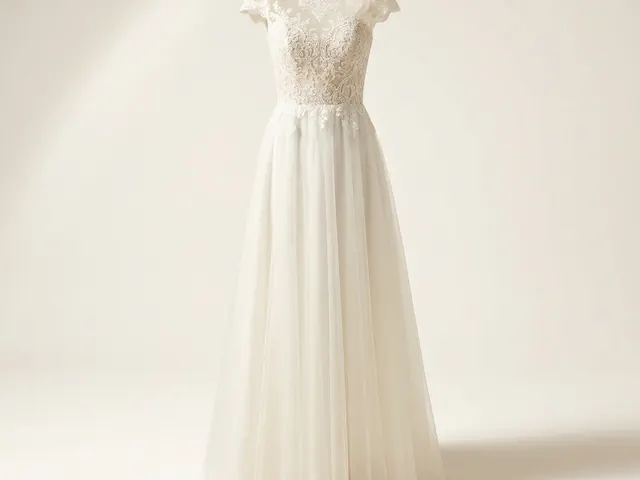
Wedding dresses
White on white, lace and beadwork detail, and a train that has to be measured.
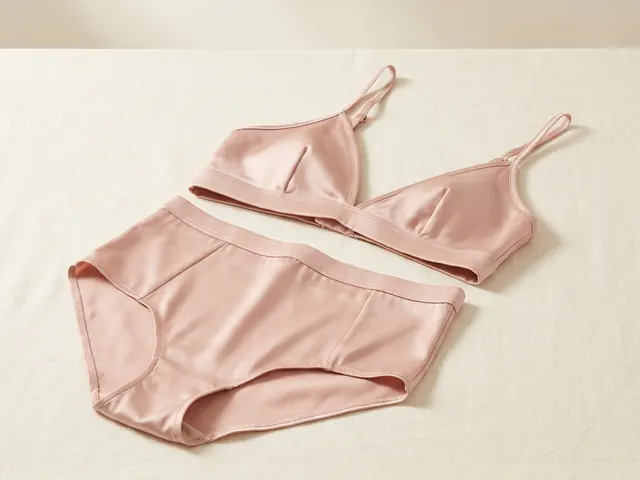
Lingerie photography
Flat lay sets, open lace cut-outs, sheer mesh backing and true nude colour.
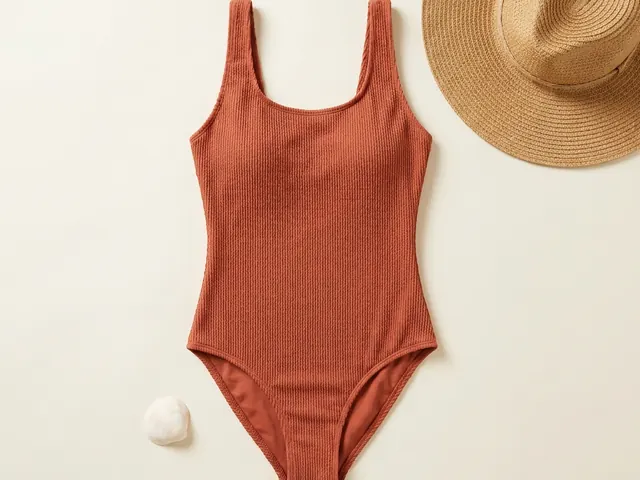
Swimwear photography
On-body fit, location light, wet colour shift and the print shown flat.
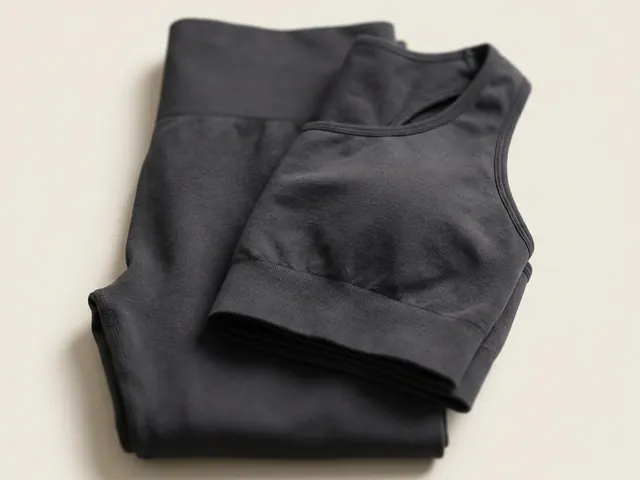
Activewear photography
Compression under tension, seam detail in raking light, and the back view buyers open.
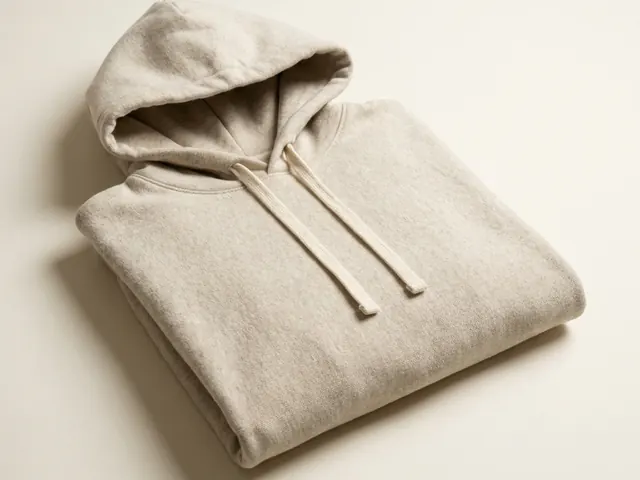
Hoodie photography
Fleece weight, hood shape, print legibility and the drop shoulder.
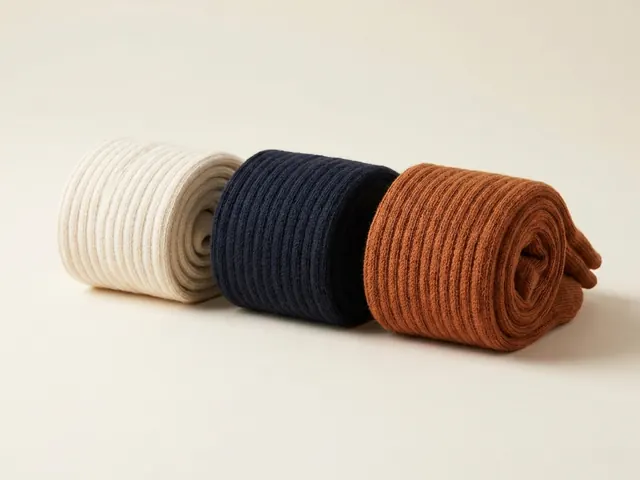
Sock photography
A flat knit that has to imply a foot, plus rib, repeat and pack counts.
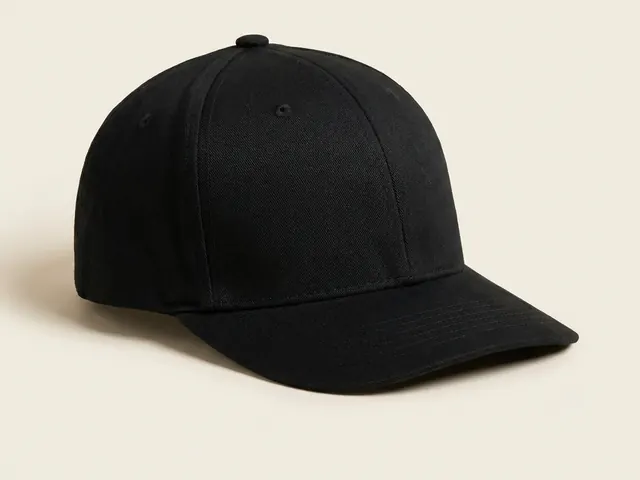
Cap and hat photography
Crown shape, brim curve, front logo and the three-quarter selling view.
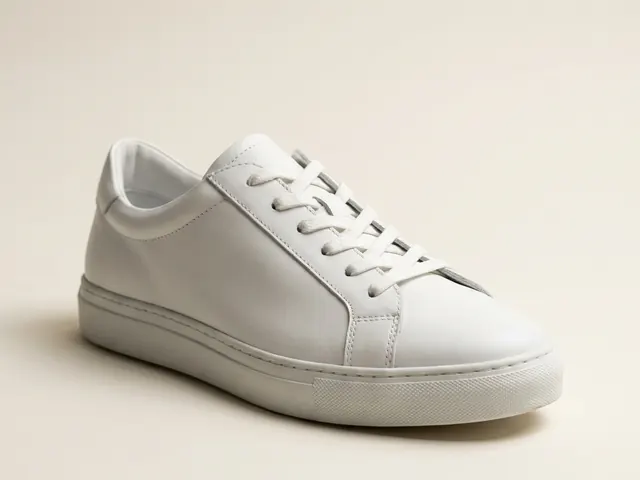
Footwear photography
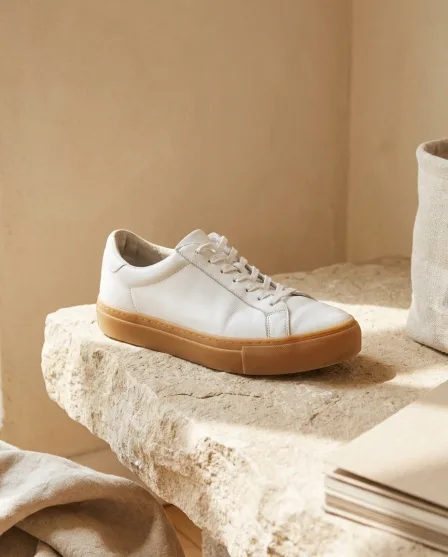
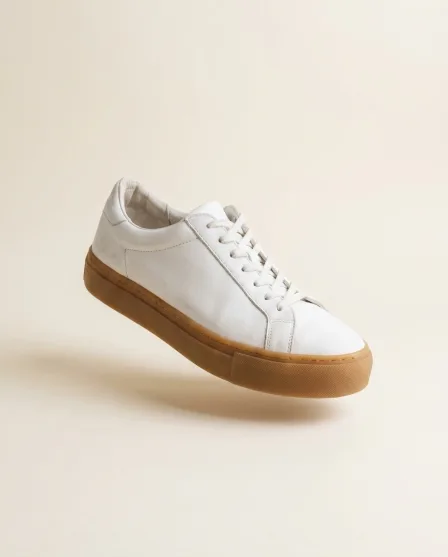
Three-quarter hero, profile, sole and lace detail from your shoe photos.
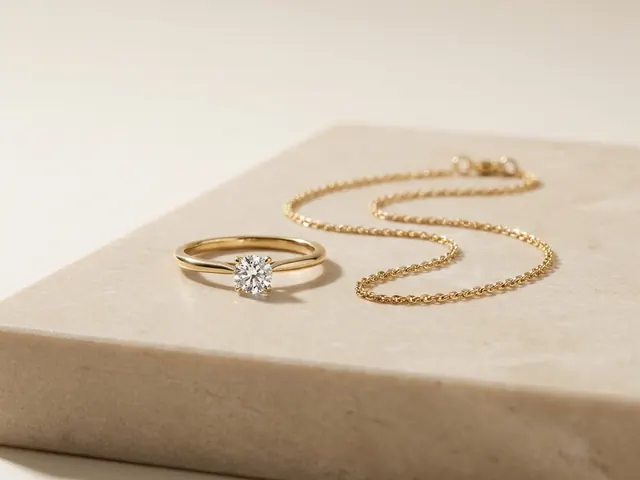
Jewellery photography
Reflection control on metal, stone brilliance, macro detail and a size cue.
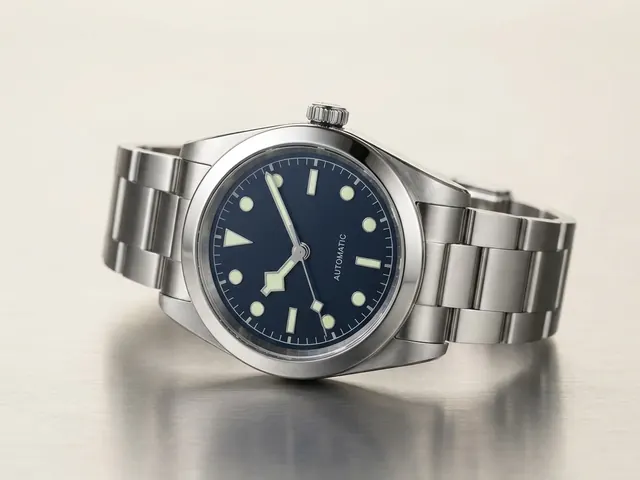
Watch photography
Crystal glare, dial legibility, bracelet finish and the ten past ten hand set.
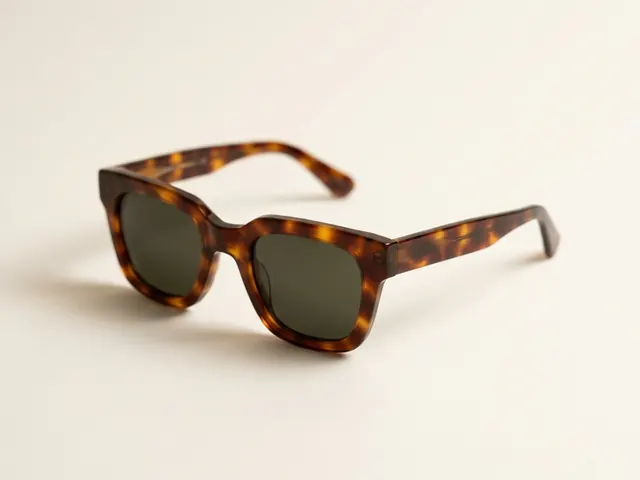
Eyewear and sunglasses
Reflection control, frame angles and on-face fit shots.
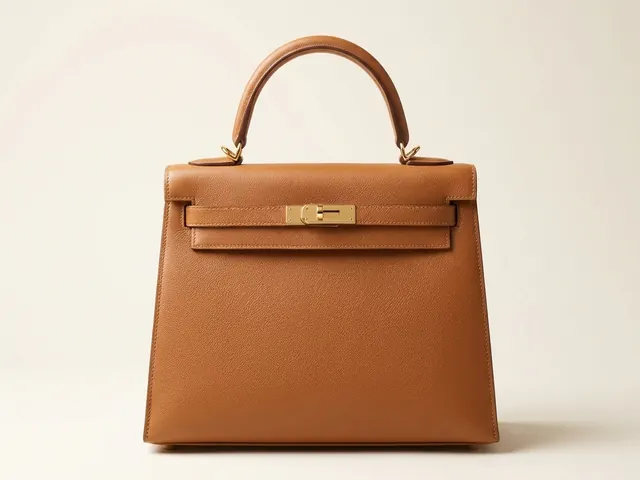
Bags and handbags
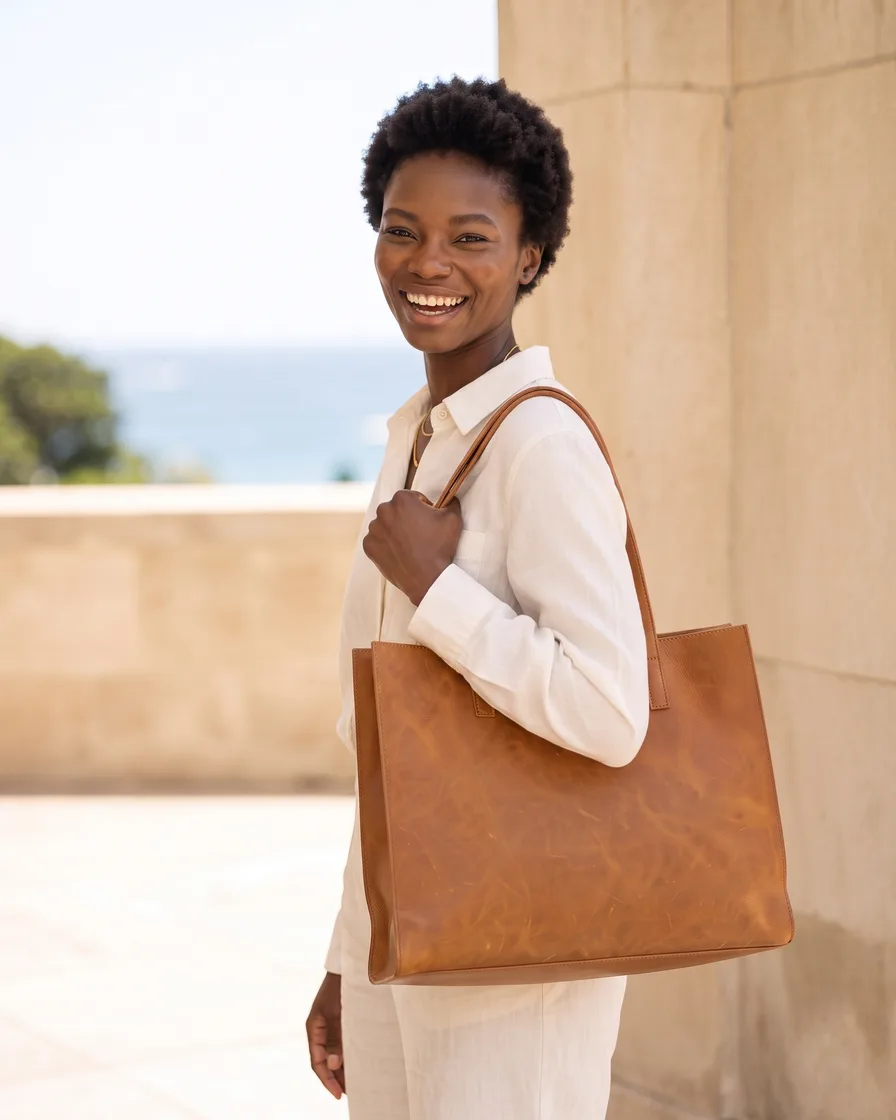
Shape, leather grain, hardware and the interior view.
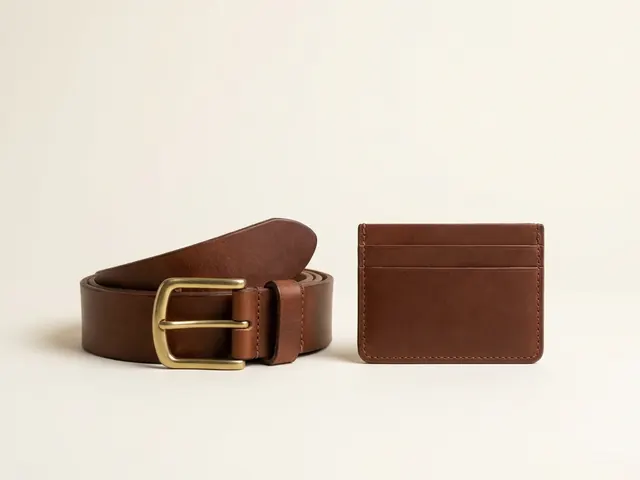
Wallets, belts and small goods
Flat lay sets, open and closed states, edge paint and thickness.
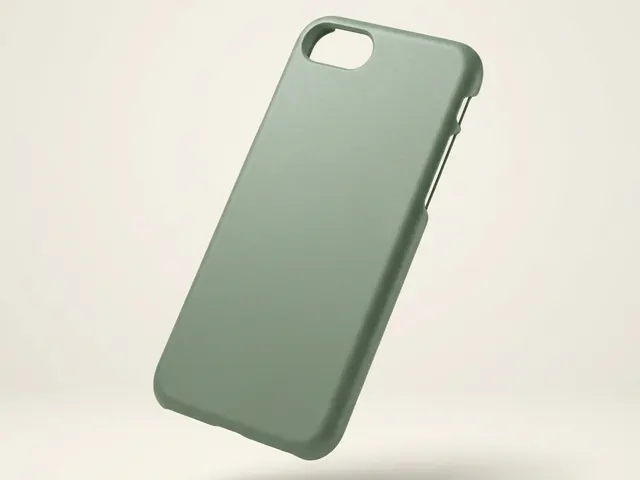
Phone cases
Curved-shell prints, sharp camera cutouts and one look across a whole design range.
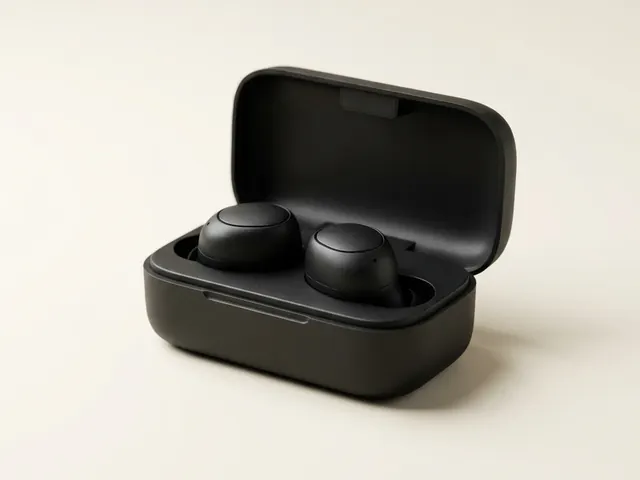
Electronics and gadgets
Mixed gloss and matte surfaces, screen content, port detail and a tidy cable.
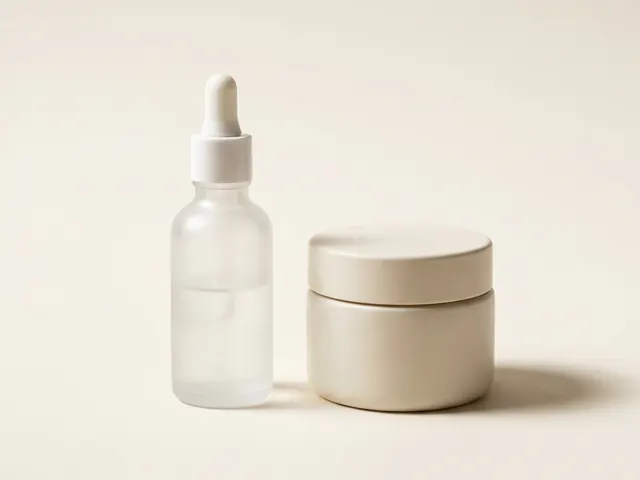
Beauty and skincare
Readable labels on curved bottles, controlled glass reflection and honest texture shots.
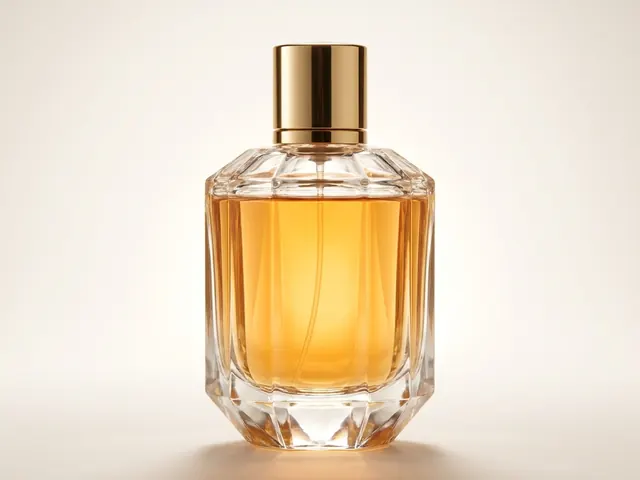
Fragrance and perfume
Glass edges, juice colour, cap detail and a scene that names the note.
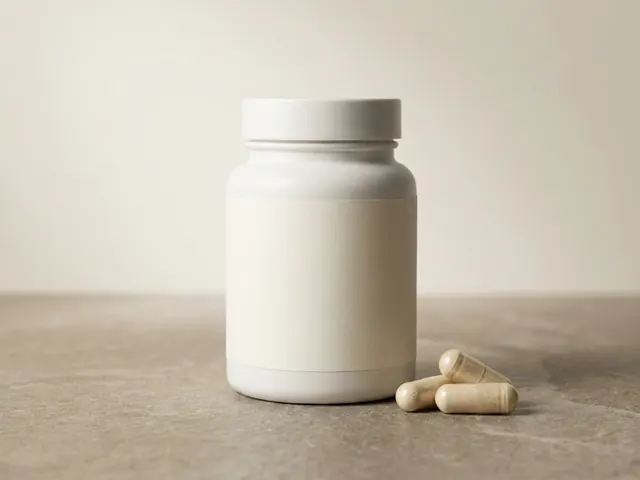
Supplements and wellness
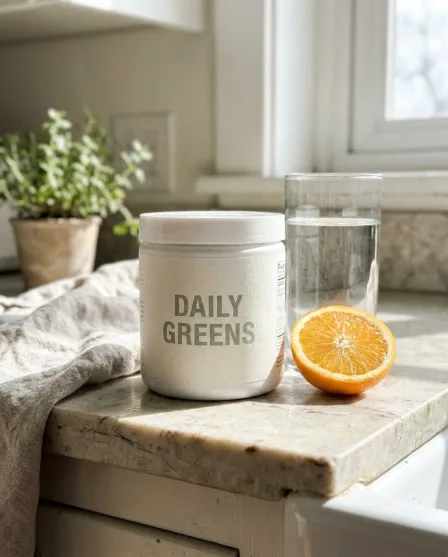
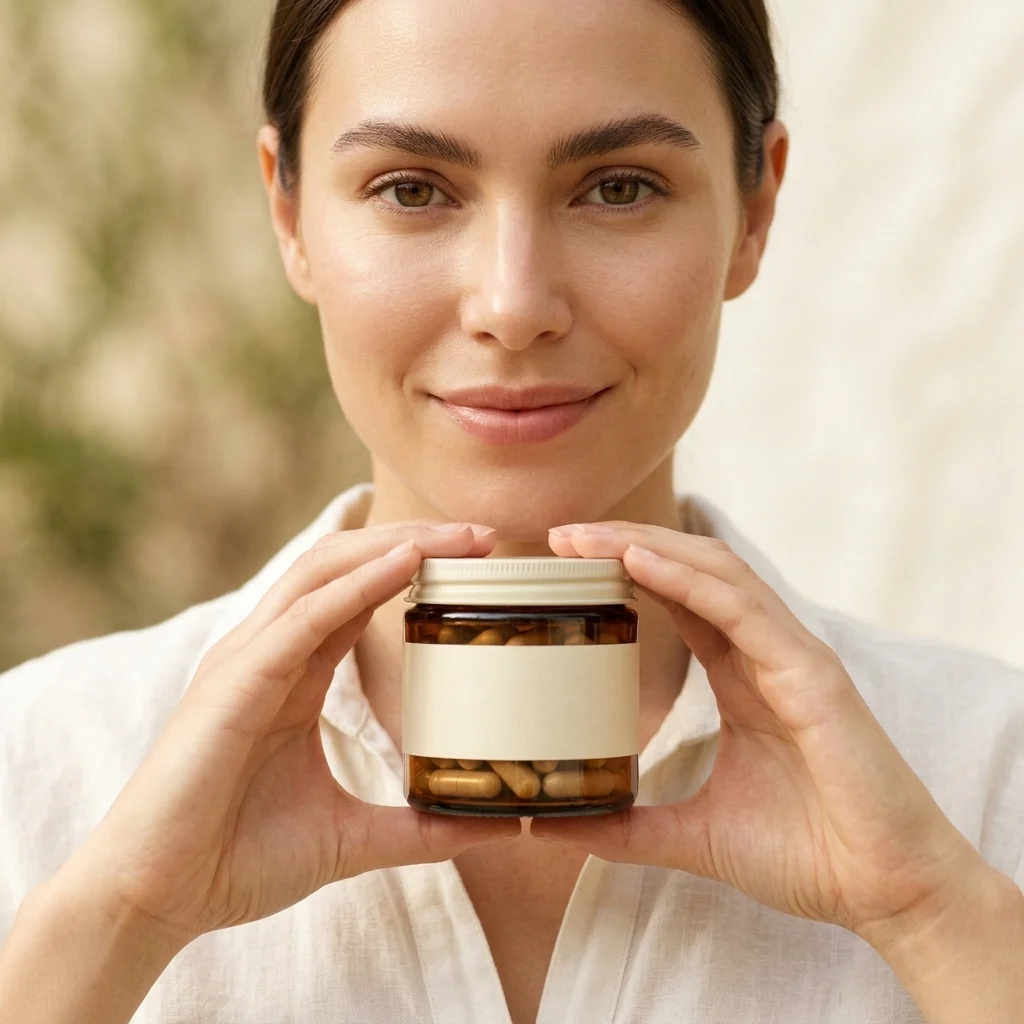
Readable labels, tub and pouch shapes, and clear serving cues.
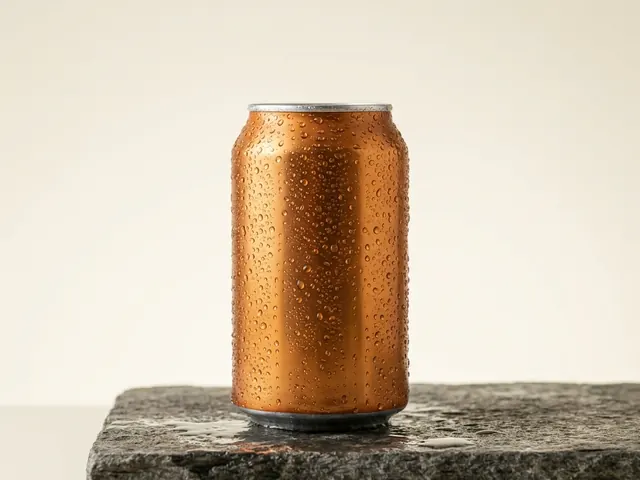
Food and drink photography
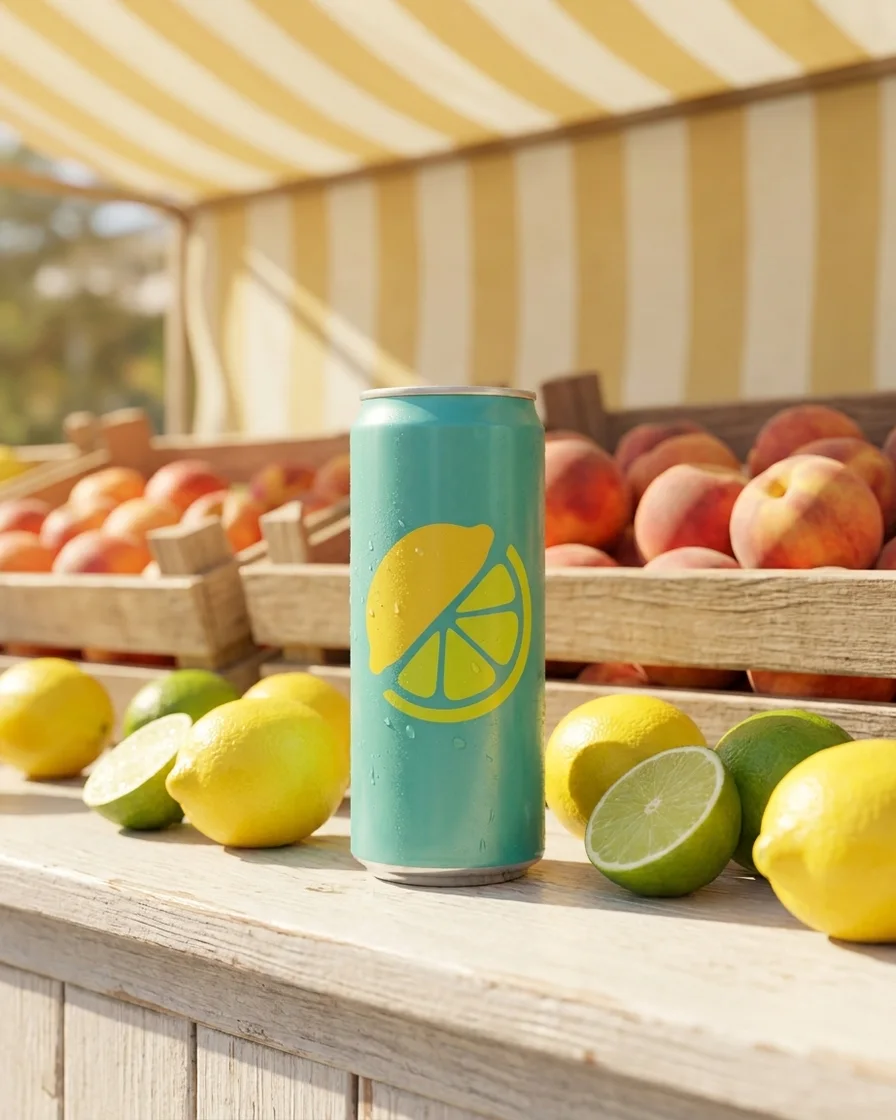
Condensation, pour shots, label detail and chilled serves from your pack photos.
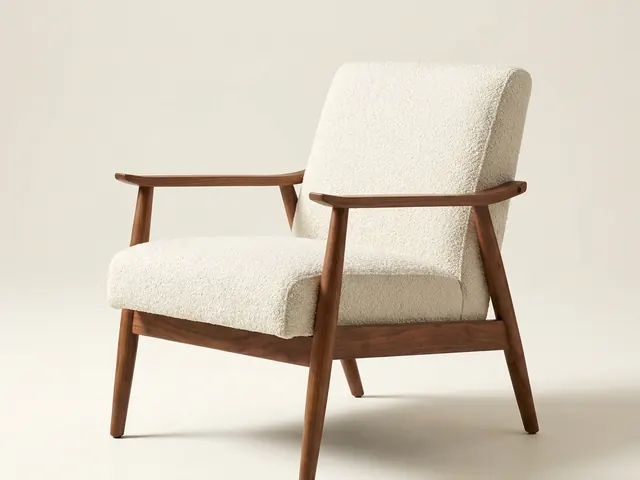
Furniture photography
Room sets, scale cues, upholstery texture and clean cut-outs for a large piece.
After the picture, the ad
Your product photos, turned into static ads, creator-style clips and video.
Everything you need, in one place
The full workflow from the first product photo to the finished ad, in one subscription.
Scale content without limits.
Generate content for your products or services with AI, starting today, and keep your brand on every piece.