 A+ modules

A+ content images from your own products

Build the banner, the comparison visual, the feature grid and the brand story image. Text stays legible at module width, and the product stays the one you sell.

Start free

DesignerBox is an independent tool and is not affiliated with, endorsed by, or sponsored by Amazon. A+ content has its own module specifications and approval rules, and Amazon can change them. Check the current requirements in Seller Central before you submit, and make sure every claim in a module is one you can support.

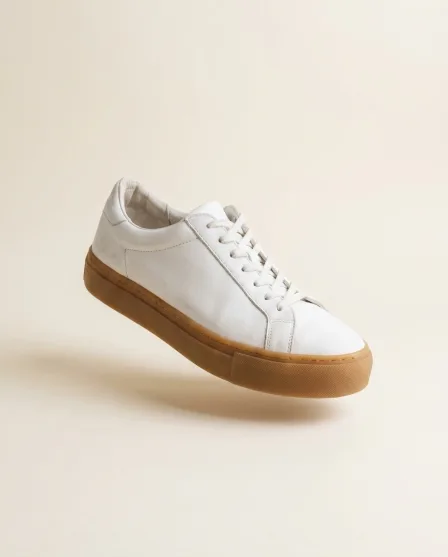
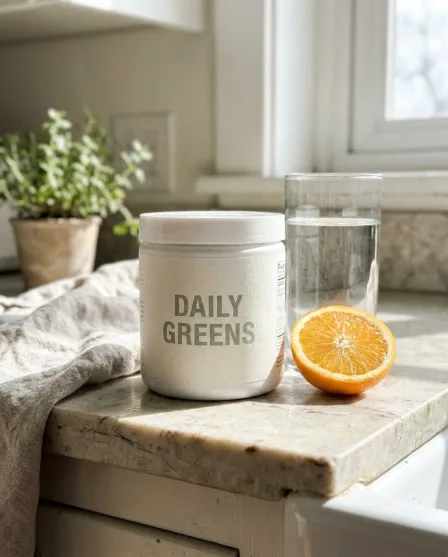
Banner module image generated with Nano Banana ProNano Banana Pro
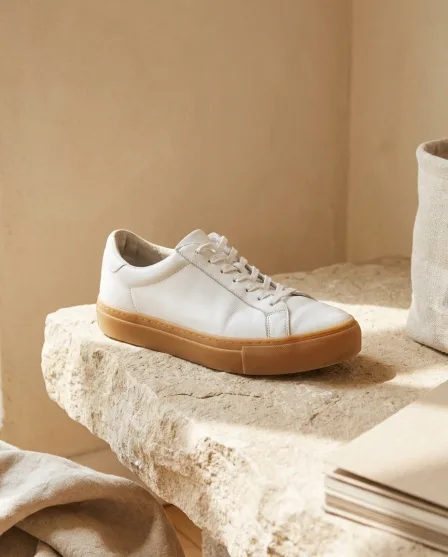
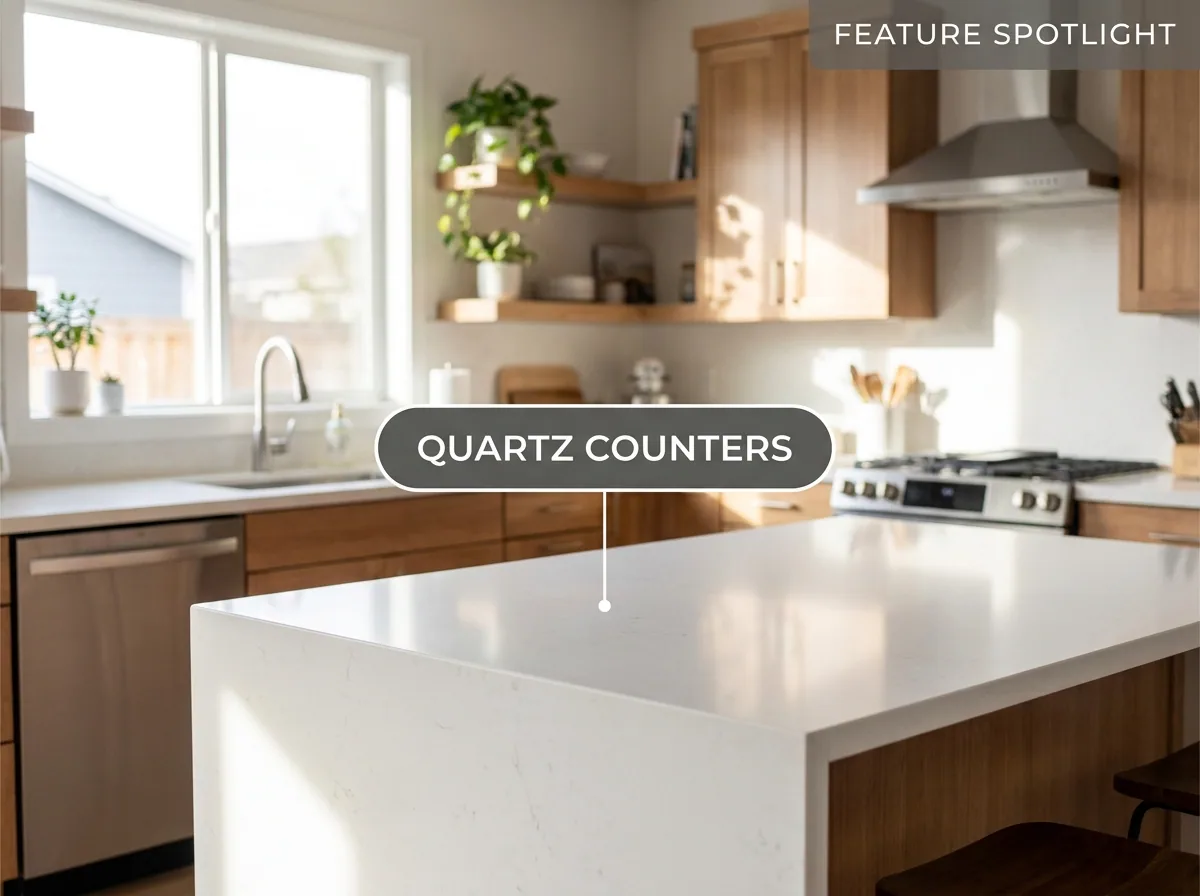
Comparison module image generated with Seedream 5Seedream 5
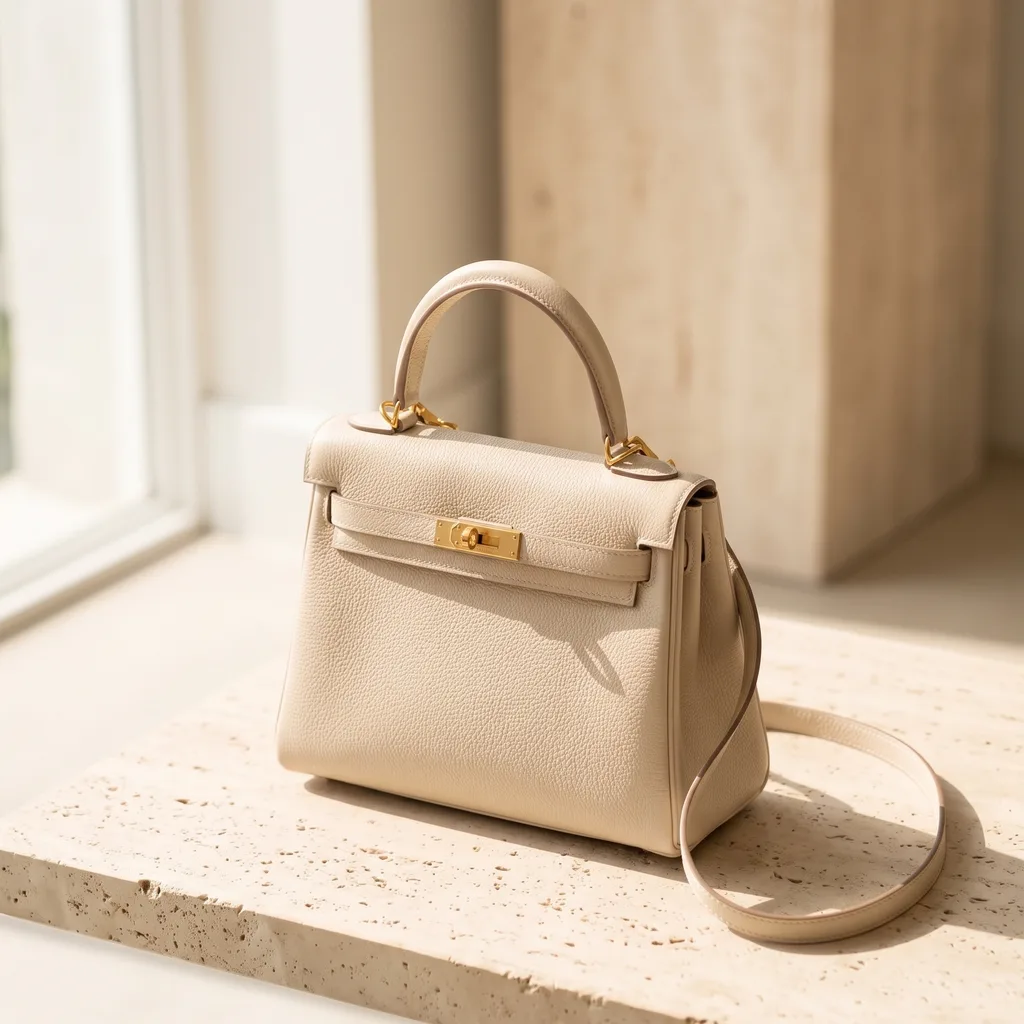
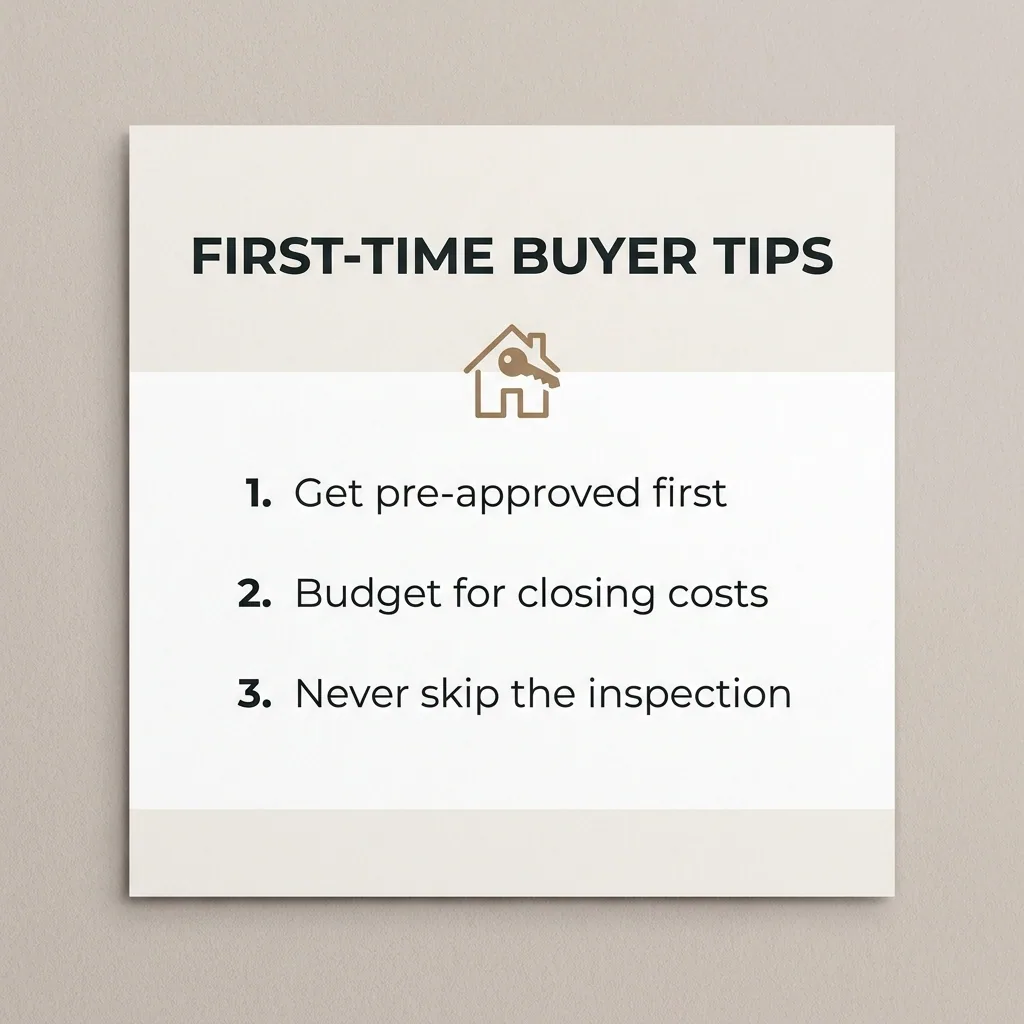
Module image with legible text generated with GPT Image 2GPT Image 2
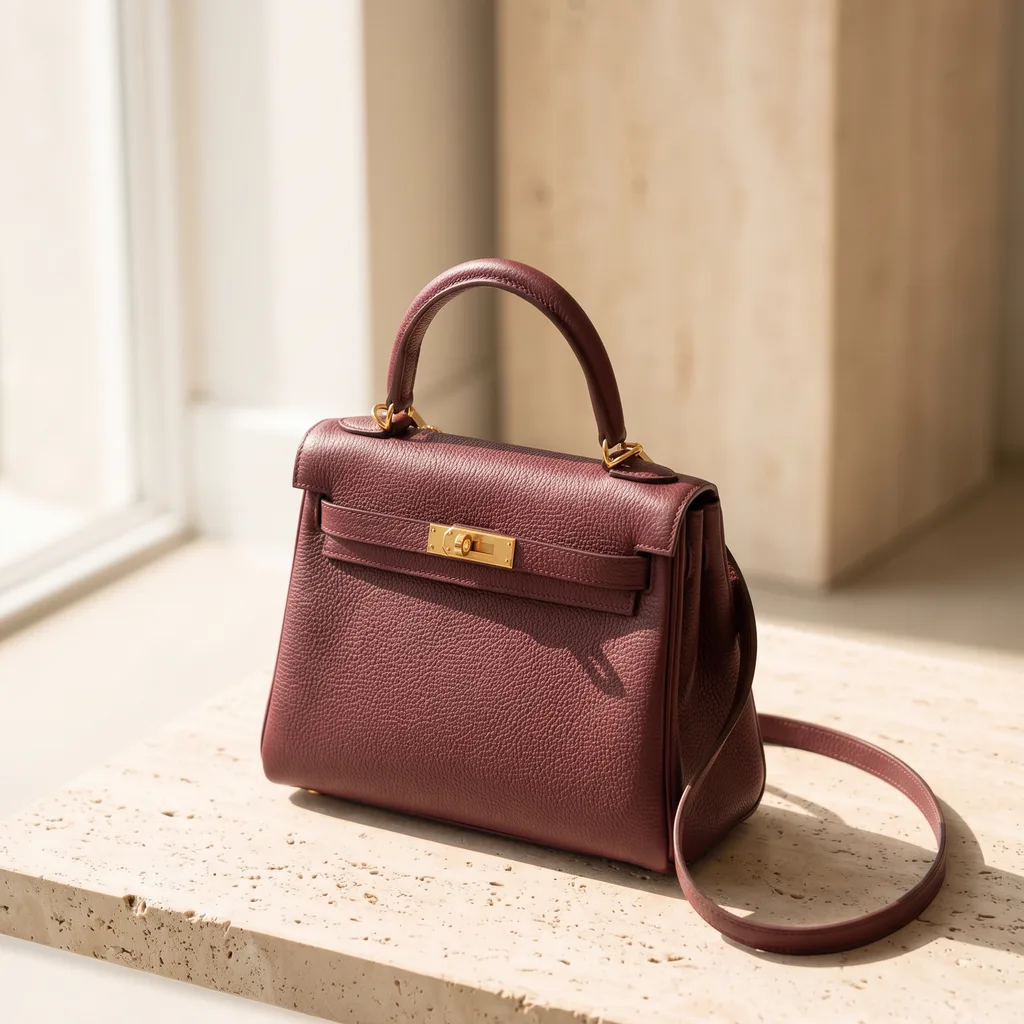
Product detail image generated with GPT Image 2GPT Image 2

Amazon A+ content is the image-led section below a product description, available to brand-registered sellers. It is built from modules: a banner, a comparison table, feature blocks and a brand story. Almost every module is a picture with text baked into it, which is why the work is design rather than copywriting. This page covers producing those images from your own product photos.

What the generator produces

The four module images that carry most A+ layouts.

Header banner

The wide image at the top of the section. Build it around the product with room for a headline, so nothing important sits where the crop changes on mobile.

Comparison visuals

Consistent shots of every product in the range, framed and lit the same way, so a comparison module reads as one family.

Feature blocks

One image per benefit, each showing the part of the product that proves it. Text sits in the image, so it has to stay readable when the module scales.

Brand story

The images that say who makes this. Workshop, materials, people or process, held to one look across the whole story.

Modules in an A+ layout

What each block is for, in the order a shopper scrolls it.

Banner

The first thing below the fold. It sets the look and repeats the promise the title made.

Feature grid

Three or four blocks, one benefit each. This is where a shopper decides the product does what they need.

Comparison

Your range side by side. It moves a shopper to the right model instead of losing them to a competitor tab.

Brand story

The block that turns one purchase into a second one. It sells the maker, not the item.

The tools behind each module

Each card opens the app that produces that kind of image.

Set the banner scene
Styled Scene Generator

Set the banner scene

Styled Scene Generator builds the surface and setting a header banner needs, with space left for the headline.

Open the tool
Build the brand story
Brand Story Creator

Build the brand story

Brand Story Creator produces the workshop, material and process images that a story module runs on.

Open the tool
Add module text - Before
Before
Add module text - After
After
Product Ad Generator

Add module text

Product Ad Generator lays a benefit line over the product in wording that survives the mobile crop.

Open the tool
Plan the whole section
Brand Visual Storyboard

Plan the whole section

Brand Visual Storyboard maps the modules in order, so the section argues in a sequence instead of repeating itself.

Open the tool

Each before and after above demonstrates the tool named on the card, using that app's own sample image, so the subject you see may not be from this industry. Run the same tool on your own photos to see it on your work.

Steps to a finished A+ section

Plan the argument, then produce the images it needs.

1
Decide the order
Write the argument first: promise, proof, comparison, maker. The module layout follows that order, not the other way round.
2
Produce the images
Generate each module image from photos of your own product, keeping one lighting and colour treatment across all of them.
3
Check the text at module width
View each image at the size a phone renders it. If a word is hard to read there, rewrite it shorter and generate again.
4
Submit and wait for review
Upload in Seller Central against the current module specifications. Amazon reviews A+ content before it goes live.

Order of work

Decide what the section argues before you produce a single image. A+ content fails when four modules repeat the same claim in four visual styles, and no amount of image quality fixes that. Sequence the argument, then produce the images to serve it, holding one lighting and colour treatment across every module. Check every piece of text at the width a phone renders it, because a module that reads well on a desktop mock-up can be unreadable on the device most shoppers use.

Build one module first

Produce a single banner and check it at phone width before you design the full section.

See plans

Models for module images

A+ modules carry text inside the image, so typography decides which model to use. GPT Image 2, Nano Banana Pro and Seedream 5 render wording that stays legible when a module scales down. FLUX 2 Flex handles retexturing well when a banner needs a different material or surface. Pick per module, since a brand story image and a comparison visual are not asking the same thing of a model.

Questions about A+ content

What brand-registered sellers ask before they design a section.

Who can publish A+ content?
Amazon limits A+ content to sellers enrolled in Brand Registry, and the exact eligibility and module set differ by marketplace and by account. Check what your account has access to in Seller Central before you design a layout you cannot publish.
Can A+ images be AI-generated?
Amazon reviews A+ content and applies its own rules, so read the current guidance before you submit. The constraint that matters is truth: every product shown has to be the product you sell, and every claim in a module has to be one you can support if challenged.
What size should module images be?
Each module type has its own required dimensions and Amazon publishes them in Seller Central. Design to the current spec for the module you are filling, and check the result at phone width, because that is where legibility fails first.
Does A+ content help sales?
Amazon positions it as a conversion tool and many sellers report it helps, but the effect depends on your category, price and competition. Treat any specific percentage you read as someone else's result, and measure your own before and after.
How long does approval take?
Amazon reviews submitted A+ content and the wait varies. Build in time for a rejection and a resubmission, particularly on your first section, since the common failures are text in the wrong place and claims that need evidence.
Can I reuse one design across a range?
Yes, and you should. Save the module recipe as a workflow and swap the product in. A range that shares one A+ treatment reads as a brand, and it takes a fraction of the time of designing each section separately.

Design the section from your own photos

Start with the banner and check it at phone width. The rest of the layout follows.

Start free