
 Marketplace images

Amazon listing images from one product photo

Cut the product out onto pure white for the main image, add the angles buyers scroll for, then build lifestyle scenes and feature callouts from the same file.

Start free

DesignerBox is an independent tool and is not affiliated with, endorsed by, or sponsored by Amazon. Amazon sets its own image requirements and can change them at any time. Check your images against the current policy before you upload, and make sure every one of them shows the product a buyer will actually receive.

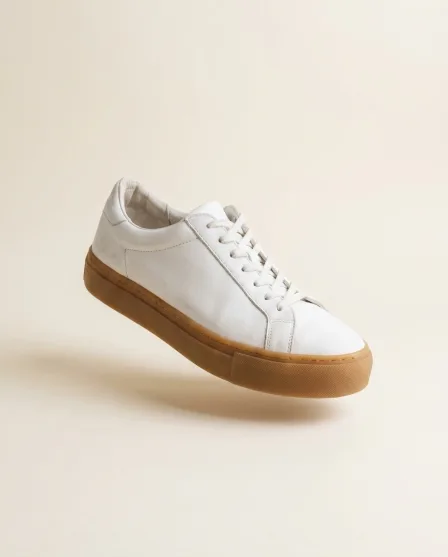
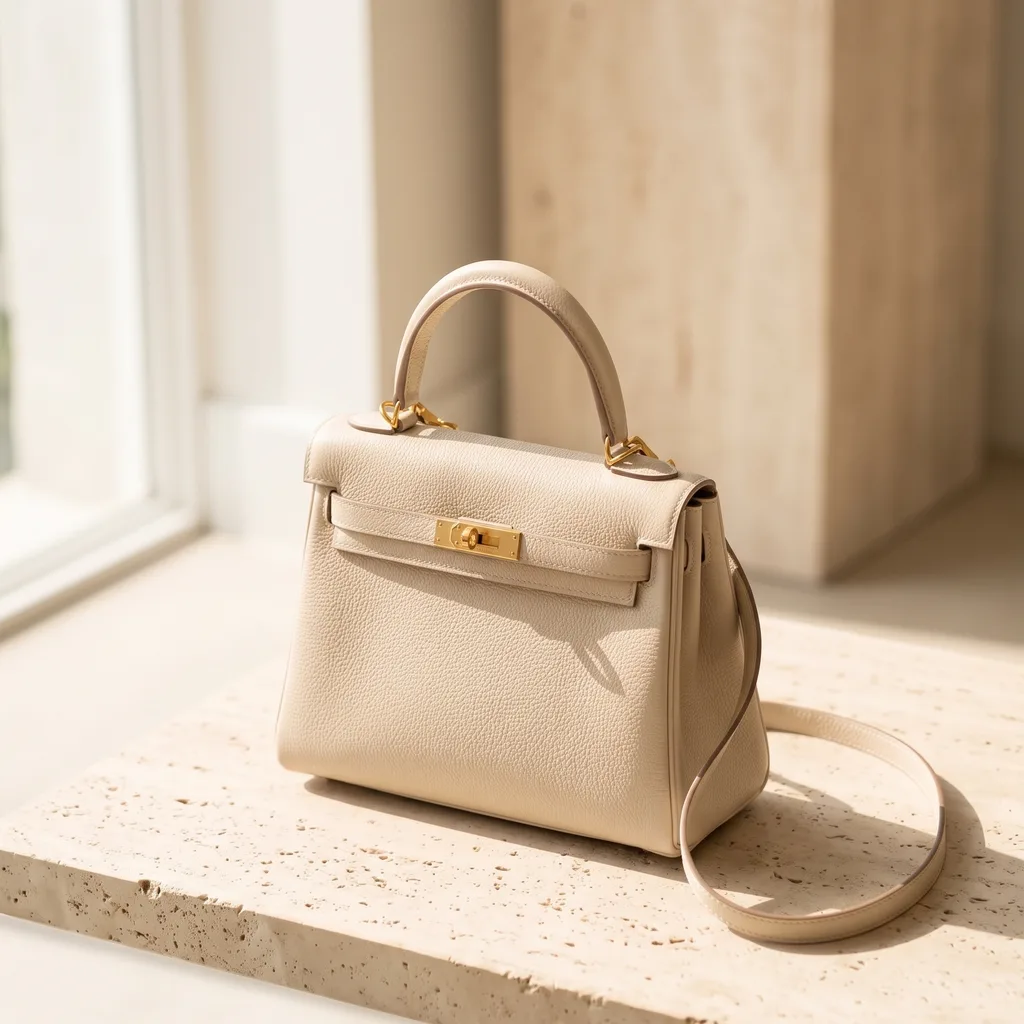
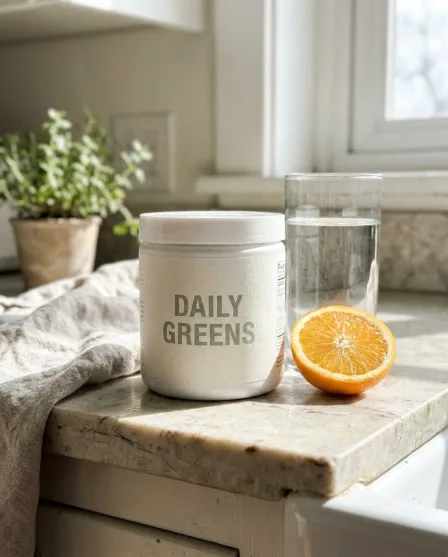
Packshot generated with Nano Banana ProNano Banana Pro
Infographic with legible text generated with GPT Image 2GPT Image 2
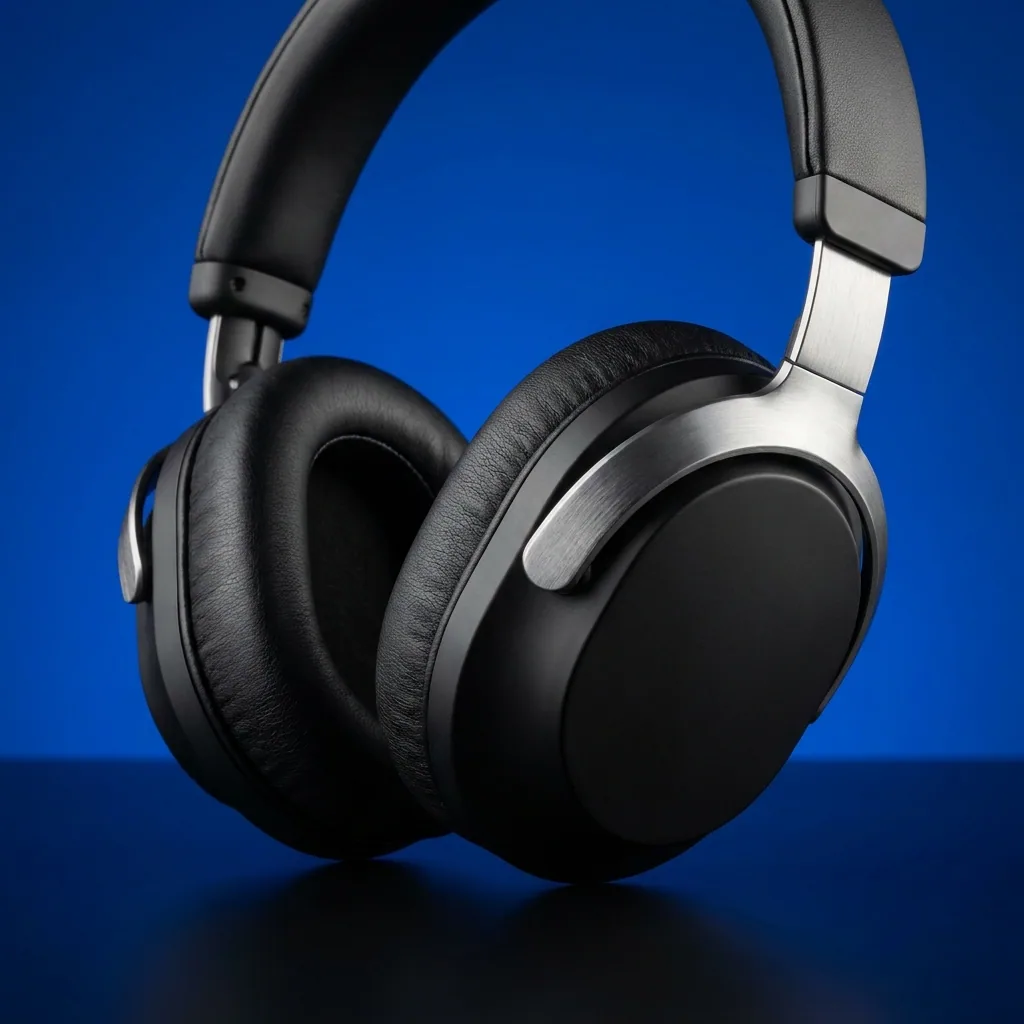
Feature callout image generated with Nano Banana ProNano Banana Pro
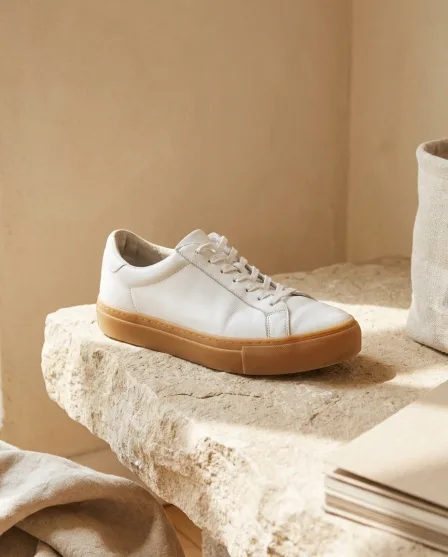
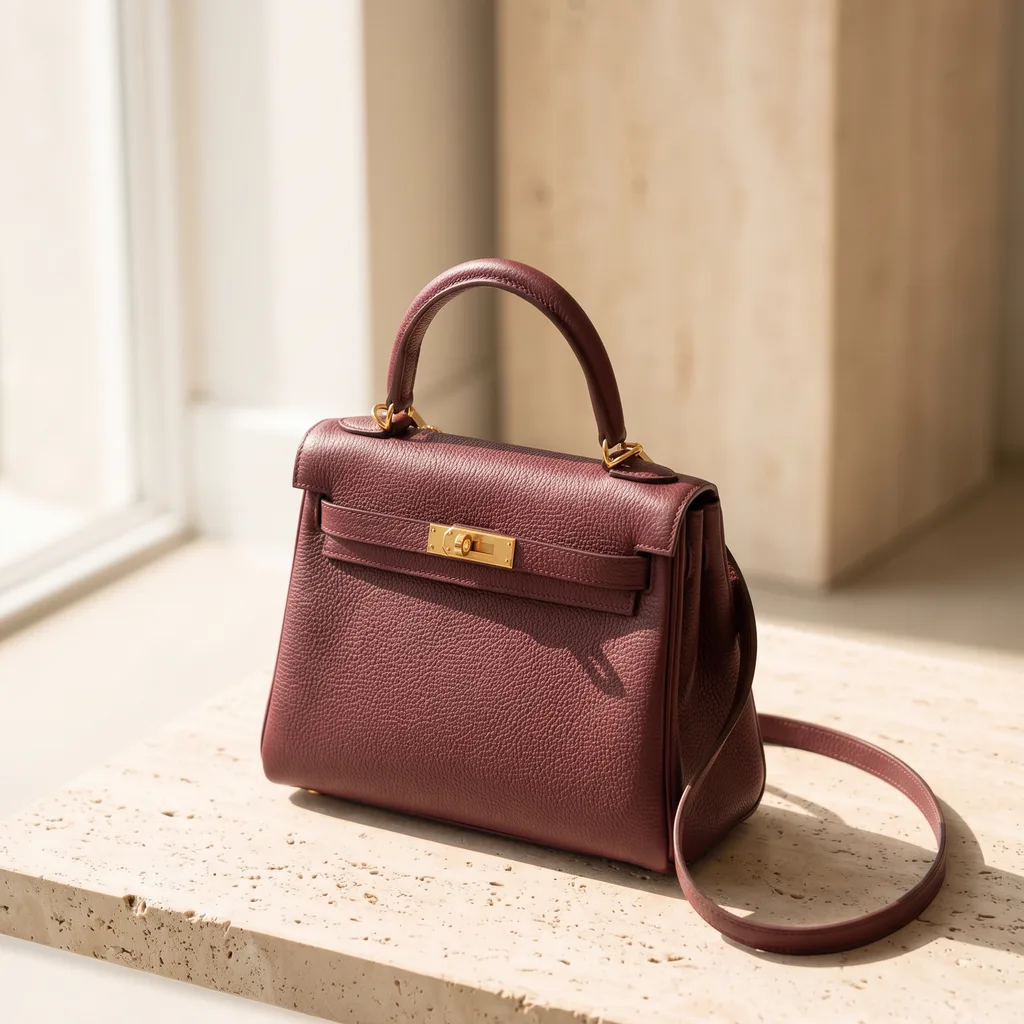
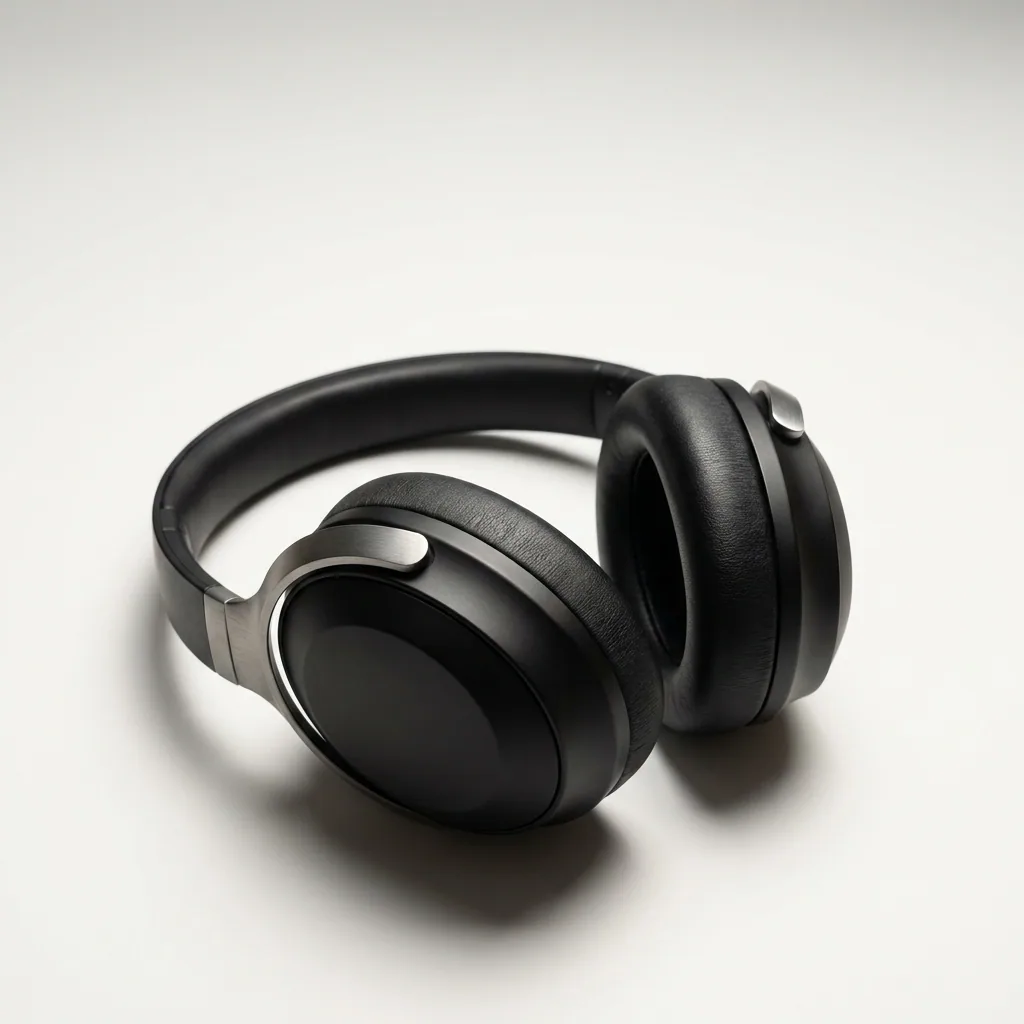
Listing image generated with FLUX Pro 1.1FLUX Pro 1.1

An Amazon listing image generator builds the gallery a product detail page needs from a photo you already have. The main image has to be the product alone on pure white. The images after it carry the work: angles, scale, materials and the one feature that answers the most common question. This page covers how to produce each of them from a single upload, the set a round of Amazon product photography would otherwise deliver.

What the generator produces

Four image jobs an Amazon gallery has to cover.

White-background main image

Amazon requires the main image to show the product alone on pure white. Background Remover produces that file from a photo shot on any surface.

Angle views

Build side, back, top and detail shots from the front photo you have, so the gallery answers shape and thickness without another shoot.

Feature callouts

Put one claim in large text over the product. Models with strong typography keep the wording legible at the size a phone shows it.

Lifestyle scenes

Show the product in use so a buyer can judge size against a room, a hand or a shelf. This is the image that answers scale.

Images in an Amazon gallery

What each slot is for, in the order a buyer swipes them.

Main image

Product alone, pure white, no text and no props. It is the thumbnail in search, so it decides the click.

Angles and details

The views that show thickness, finish, ports, seams and closures. Buyers open these before they read a word.

Scale and use

The product held, worn or placed. One image that settles how big it is saves a page of description.

Objection image

The picture that answers whatever the reviews complain about: the material, the fit, what is in the box.

The tools behind each image

Each card opens the app that produces that kind of picture.

Isolate for the main image - Before
Before
Isolate for the main image - After
After
Background Remover

Isolate for the main image

Background Remover puts the product on pure white and keeps the edges clean on glass, mesh and hair.

Open the tool
Fix the lighting - Before
Before
Fix the lighting - After
After
Spotlight Relight

Fix the lighting

Spotlight Relight turns a flat phone photo into a studio-lit shot without changing the product.

Open the tool
Fill the gallery - Before
Before
Fill the gallery - After
After
Photo Angles

Fill the gallery

Photo Angles builds the side, back and detail views a buyer scrolls for, from one front photo.

Open the tool
Add the callout - Before
Before
Add the callout - After
After
Product Ad Generator

Add the callout

Product Ad Generator lays a short claim over the product in text that stays readable on a phone.

Open the tool

Each before and after above demonstrates the tool named on the card, using that app's own sample image, so the subject you see may not be from this industry. Run the same tool on your own photos to see it on your work.

Steps to a finished gallery

Main image first, because everything else reuses that file.

1
Upload the product
One sharp photo in daylight. Shoot it on a plain surface if you can, so the cutout has less to guess.
2
Build the main image
Remove the background to pure white. No props, no text, no logo. Keep this file, because every later image starts from it.
3
Add angles and scenes
Generate the views and the lifestyle shots. Check each one against the real product before you keep it.
4
Check the rules and upload
Read Amazon's current image policy, compare your set against it, then download and upload the gallery yourself.

Order of work

Build the white-background main image before anything else. It is the file every other image inherits, and it is the one Amazon is strictest about. Add angles second, while the lighting is still consistent. Lifestyle scenes and callouts come last, because they sit on top of a product that is already correct. A saved workflow repeats those four steps for every ASIN in a catalogue, which is where the time actually goes on a large range.

Try one ASIN first

Run a single product through the full gallery before you commit the catalogue.

See plans

Models for marketplace images

Callout images live or die on text, so model choice matters more here than on a plain packshot. GPT Image 2, Nano Banana Pro and Seedream 5 render legible wording at small sizes, which is what a phone-sized gallery needs. FLUX Pro 1.1 is the practical pick for high-volume runs across a catalogue. You choose per image rather than accepting one engine for the whole set.

Questions about Amazon listing images

What sellers ask before they replace a product shoot.

Does Amazon allow AI-generated listing images?
Amazon sets its own image requirements and updates them, so read the current policy in Seller Central before you upload. The rule that has never moved is accuracy: the image has to show the product a buyer receives. Use the software to change background, light and angle, never to change the product.
What does the main image have to look like?
Amazon asks for the product alone on a pure white background, with no added text, logos, props or borders. Background Remover produces that file. Save your decorated versions for the slots after the main image, where they are allowed.
Can I generate images for a product I have not received yet?
No, and you should not try. Every workflow here starts from a photo of the real item. Generating a listing image from a supplier render or a description produces a picture of something you cannot guarantee, which is the fastest route to returns and a suppressed listing.
How many images should a listing have?
Fill every slot the category gives you. In practice that means one white-background main image, three to five angle and detail views, at least one image that settles scale, and one that answers the objection your reviews keep raising.
Do the images upload to Amazon automatically?
No. You download the finished set and upload it in Seller Central yourself. There is no publishing connection to Amazon, so nothing is posted on your behalf.
Can I do a whole catalogue at once?
Save the steps as a workflow, then run each product through the same sequence. The lighting, framing and scene stay identical across the range, which is what makes a brand store read as one catalogue instead of many separate uploads.

Build the gallery from the photo you already have

One product photo is enough to fill every slot. Try it on a single listing.

Start free