Image editor
AI image editor that keeps the detail
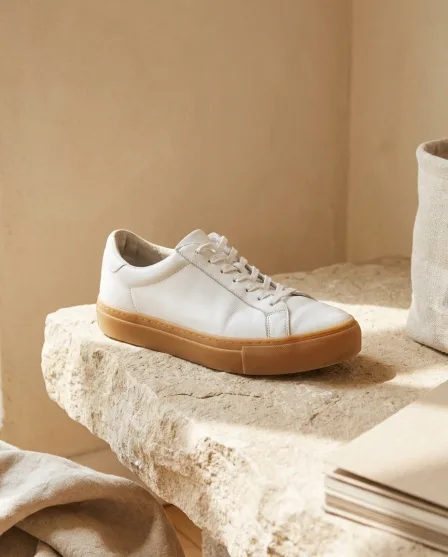
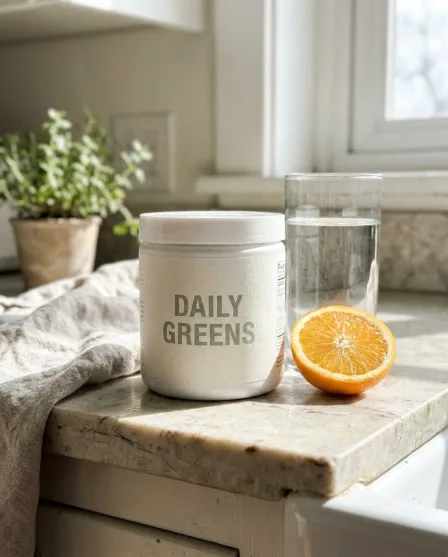
Change one picture with a description or a brush. Each edit keeps the detail and the resolution of the edit before it, so the fifth change is as sharp as the first. Your brand colours and fonts stay on every version.
- Describe the change, or paint over the area
- Each edit keeps the resolution of the last
- Your brand colours and fonts on every version
Who it is for
Does that sound like you?
Scaling without compromising quality.
Anyone can make an AI picture. Making hundreds that still look like your brand is the hard part. One fix should change one picture and leave the rest of the set as it is.
How we solve it:- Describe the change or use a brush
- Each edit keeps the detail and the resolution
- From the Premium plan
Cut the waiting time and budget for deliverables.
You deliver for several clients, and each one has its own brand book. Waiting weeks for a shoot or an edit delays every delivery. A small change is made here, without a wait in a designer's queue.
How we solve it:- One brand record per client, read on every run
- Apps a colleague runs from a short form
- A shared workspace and team seats on the Ultra plan
What you get
What one edit can change
Describe the change in a sentence, or mark the part with a brush. The editor changes that part and leaves the rest of the picture alone.
The background
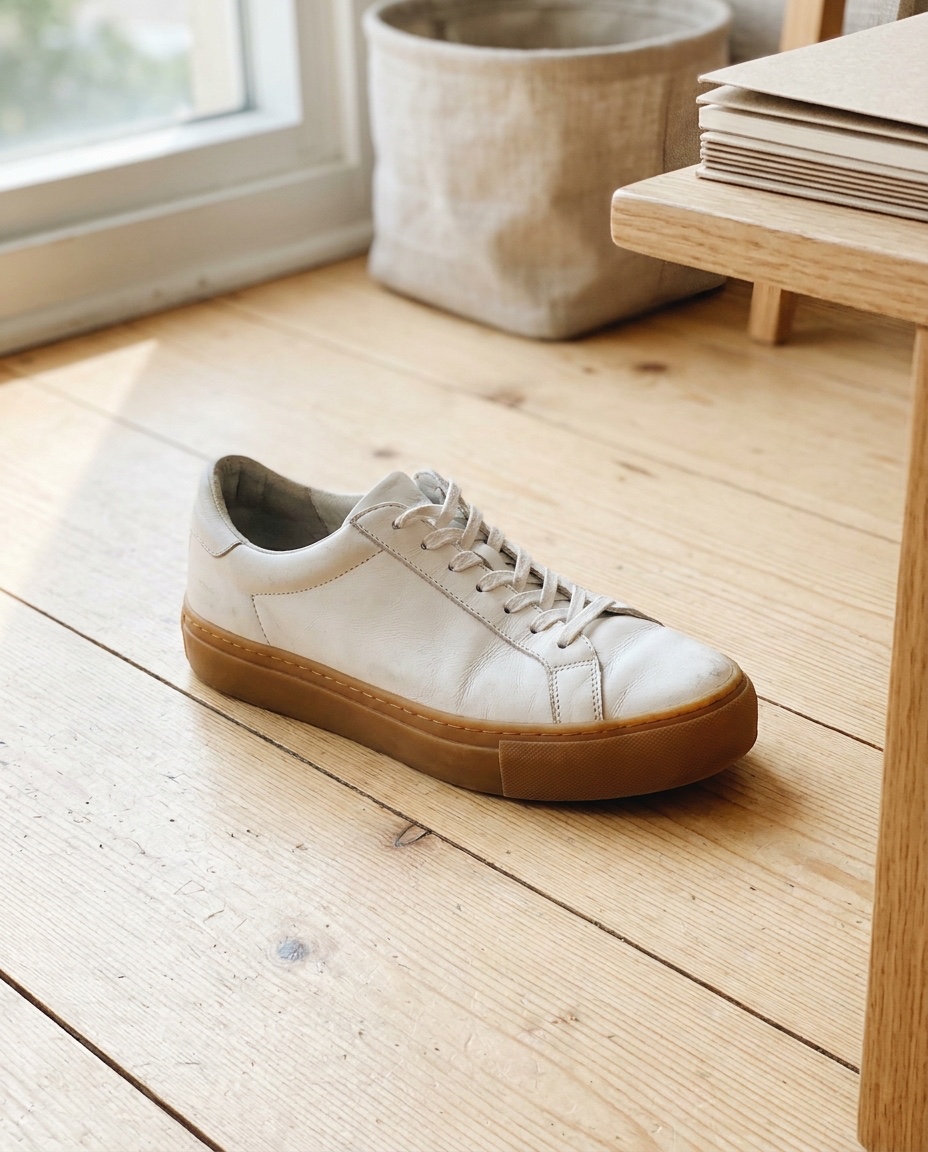
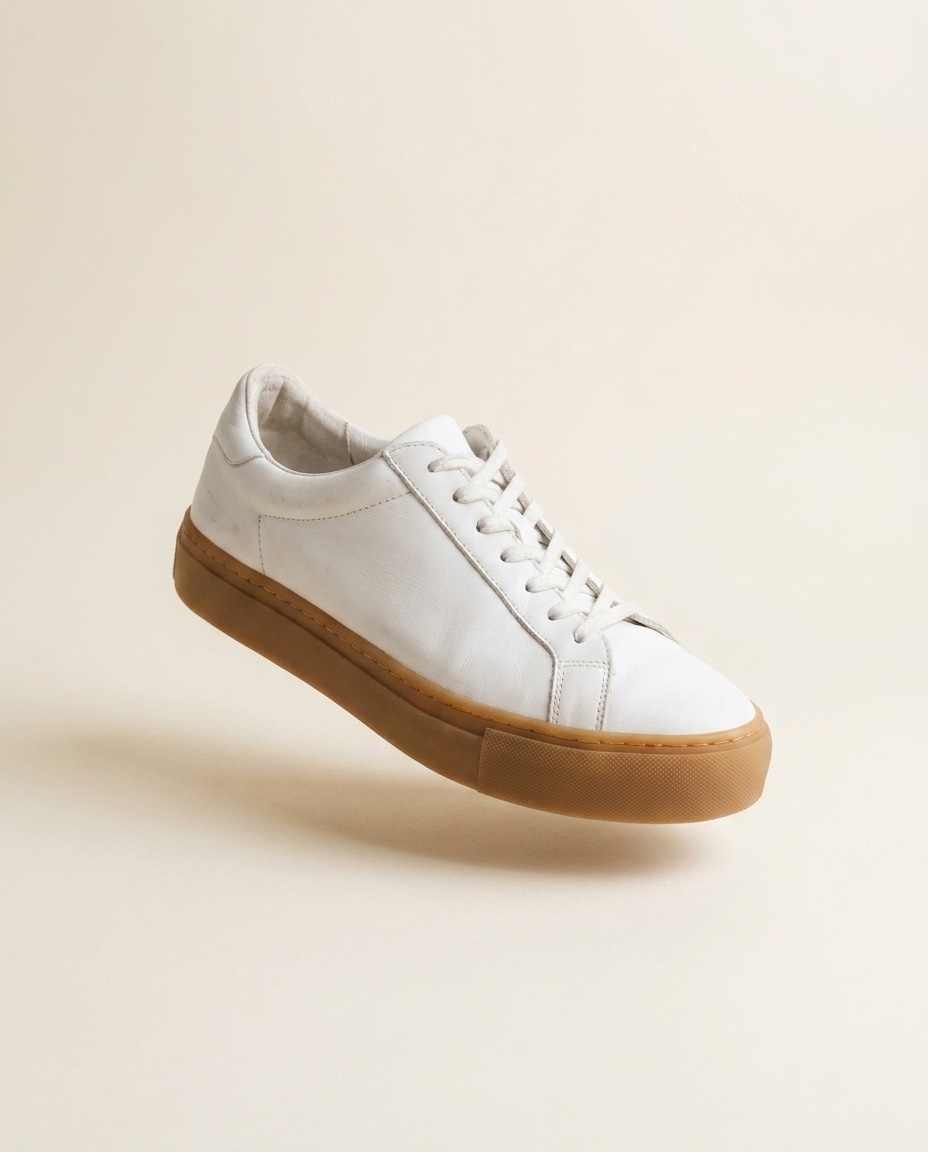
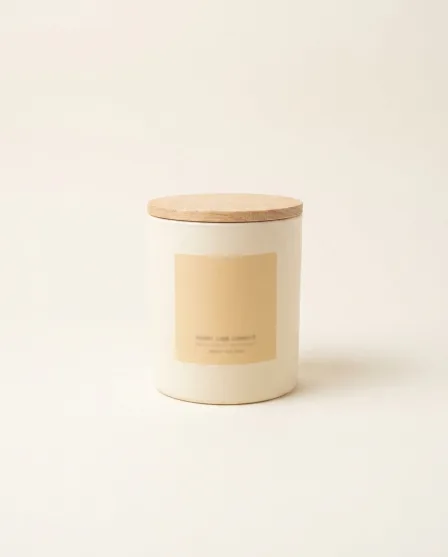
Put the product on a plain ground, or in a new scene. The product keeps its shape, its colour and its shadow.

An object in the frame
Remove what should not be there, or add a prop. Mark it with the brush and say what should happen.

The light
Relight the shot for a warmer room or a harder sun, without shooting it again.

The size, as the last step
Upscale at the end. Each edit keeps the resolution of the edit before it, so nothing softens between edits.
How it works
How an edit works
- 01
Open a result
Every image result opens in the editor. Or upload a picture of your own.
- 02
Describe the change
Type what should change, or mark the part with a brush. Remove an object, change the background, relight the shot.
- 03
Keep the detail
Each edit keeps the resolution of the last one. Upscale as the last step, then save it to Assets.
One workflow, four ways to run it
A template, a workflow, an app, a batch
They are the same engine at four distances. Start with somebody else's, save your own, share it with a colleague, then run it over the whole catalogue.
Template
A workflow somebody already built. Open one, add your photo, press Run.
Anyone, on the first day
Workflow
Your own steps, saved once with your brand and your products, run again.
The person who sets the standard
App
The same workflow behind a short form. Fill the fields, press Run.
A colleague who never opens the steps
Batch
One workflow over a spreadsheet. One product per row, reviewed in one pass.
One person, once, for the whole drop

Everything in one place
Everything you need, in one place
The full workflow, from your product photos to the finished ad, in one subscription.
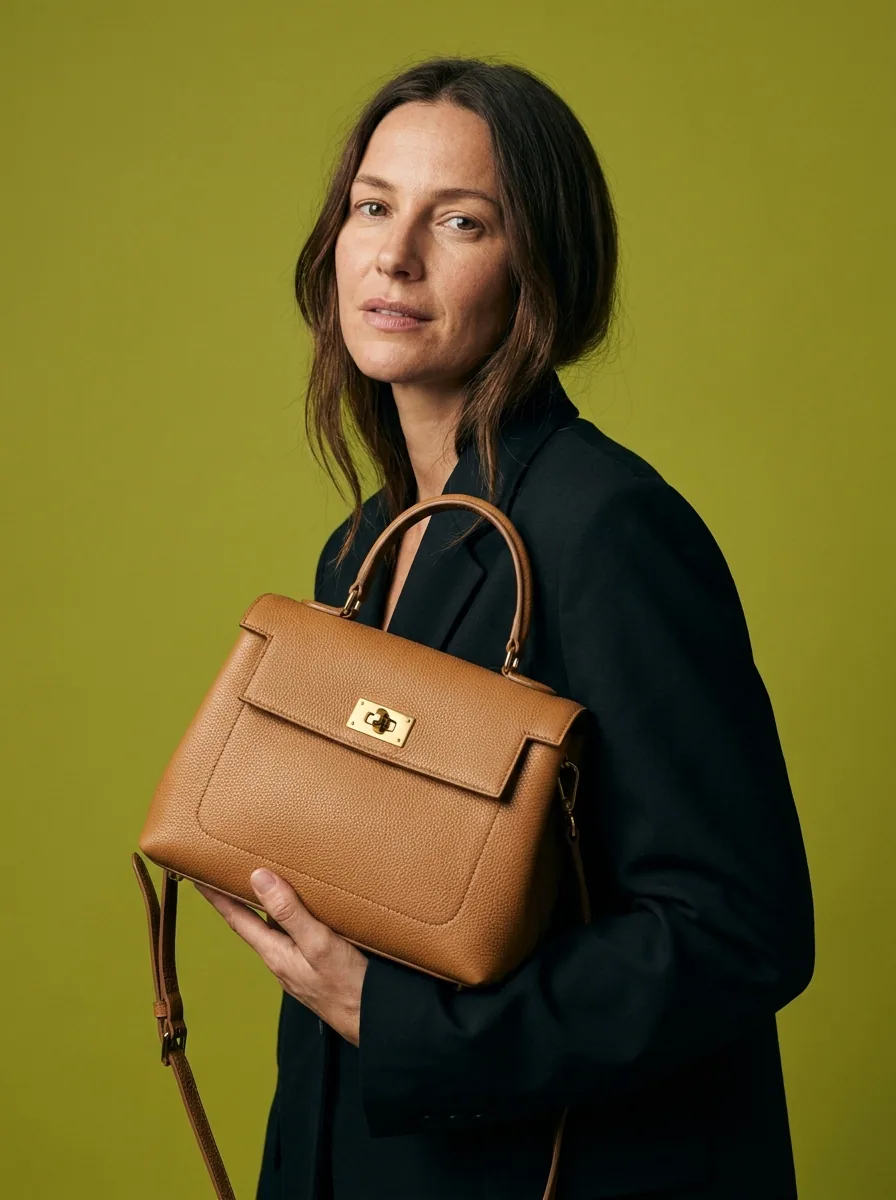
Templates
Start from a finished result
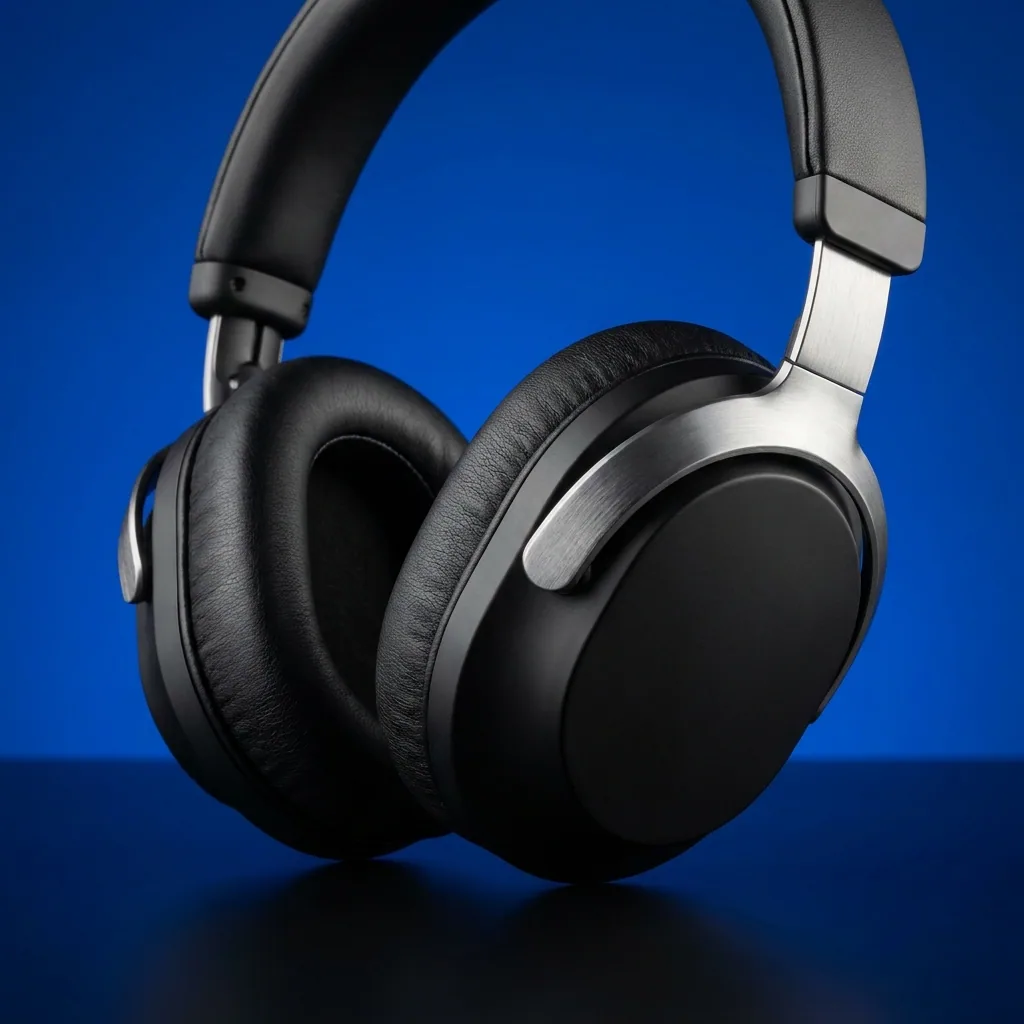
Workflows
Your steps, saved to run again
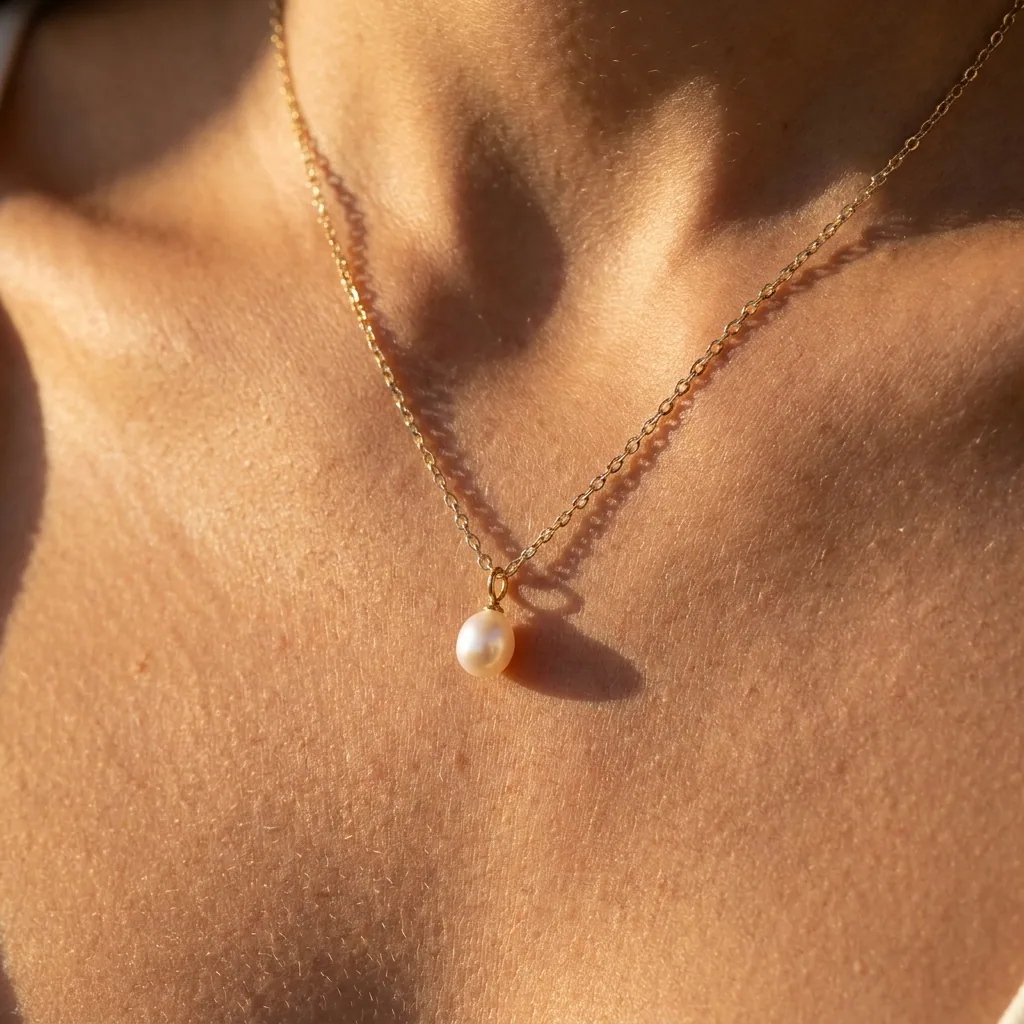
Apps
Fill a short form, press Run
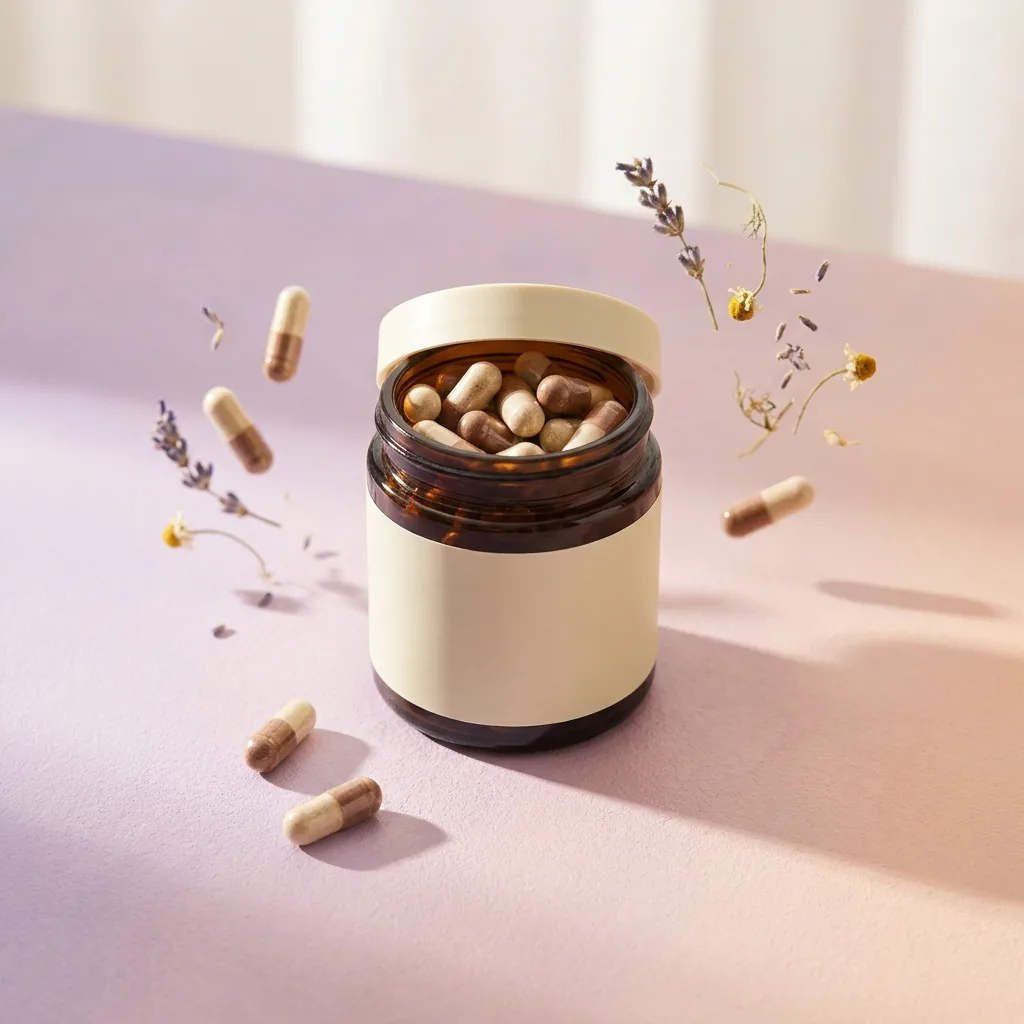
Batch
Run one workflow on a whole spreadsheet
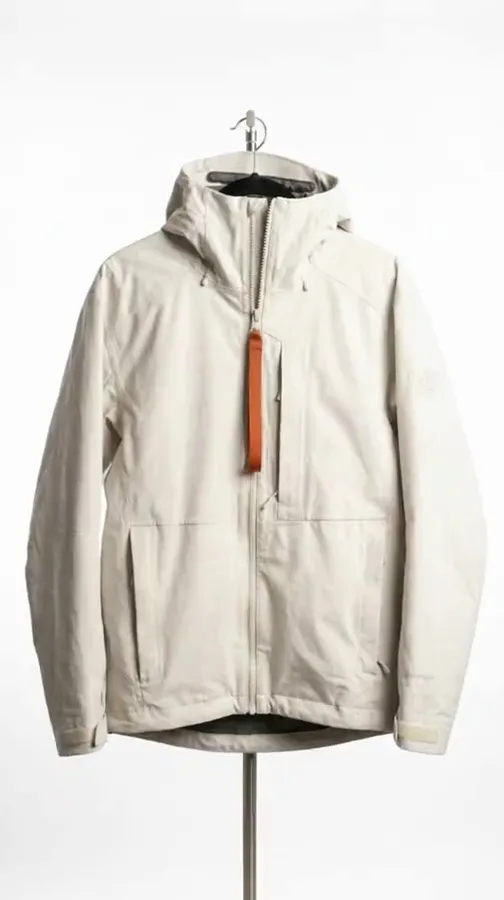
Video editor
Cut, caption and add a voice
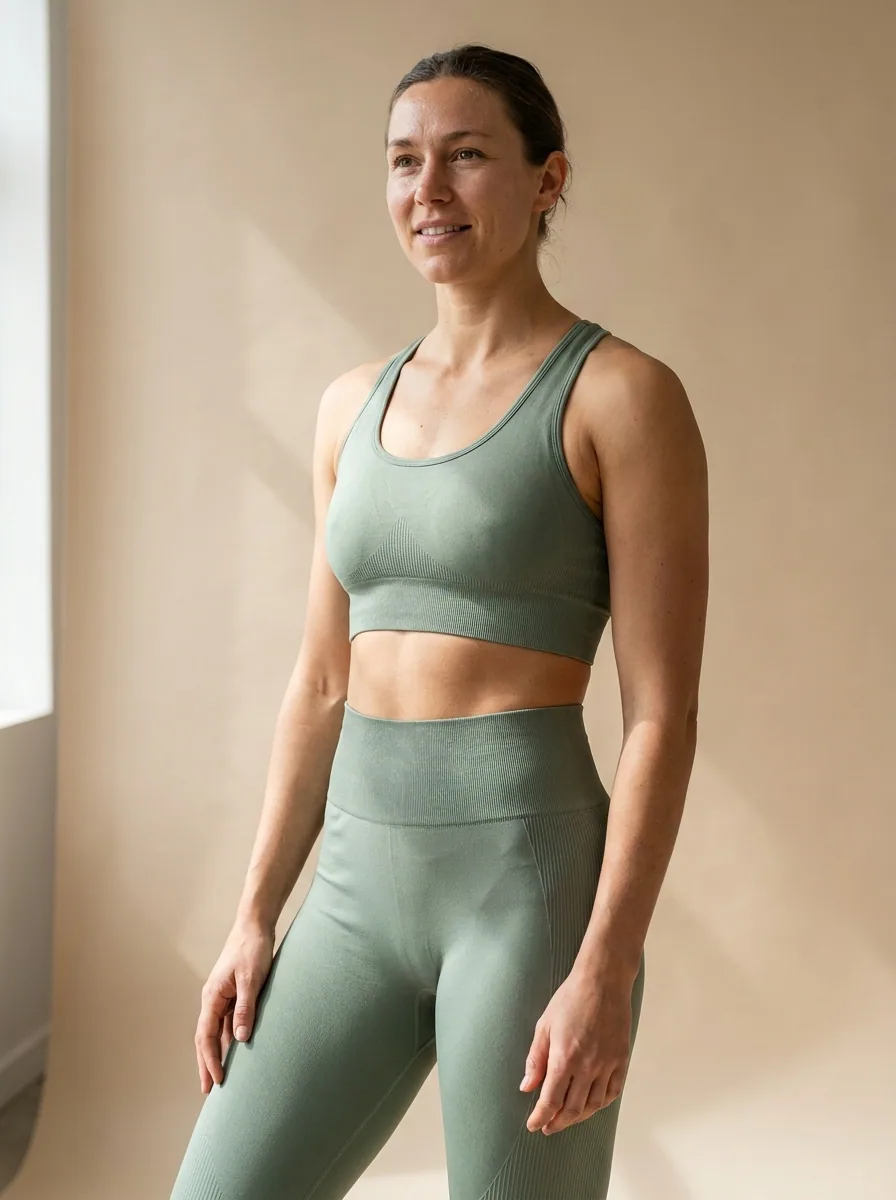
Assets
Every result in one place
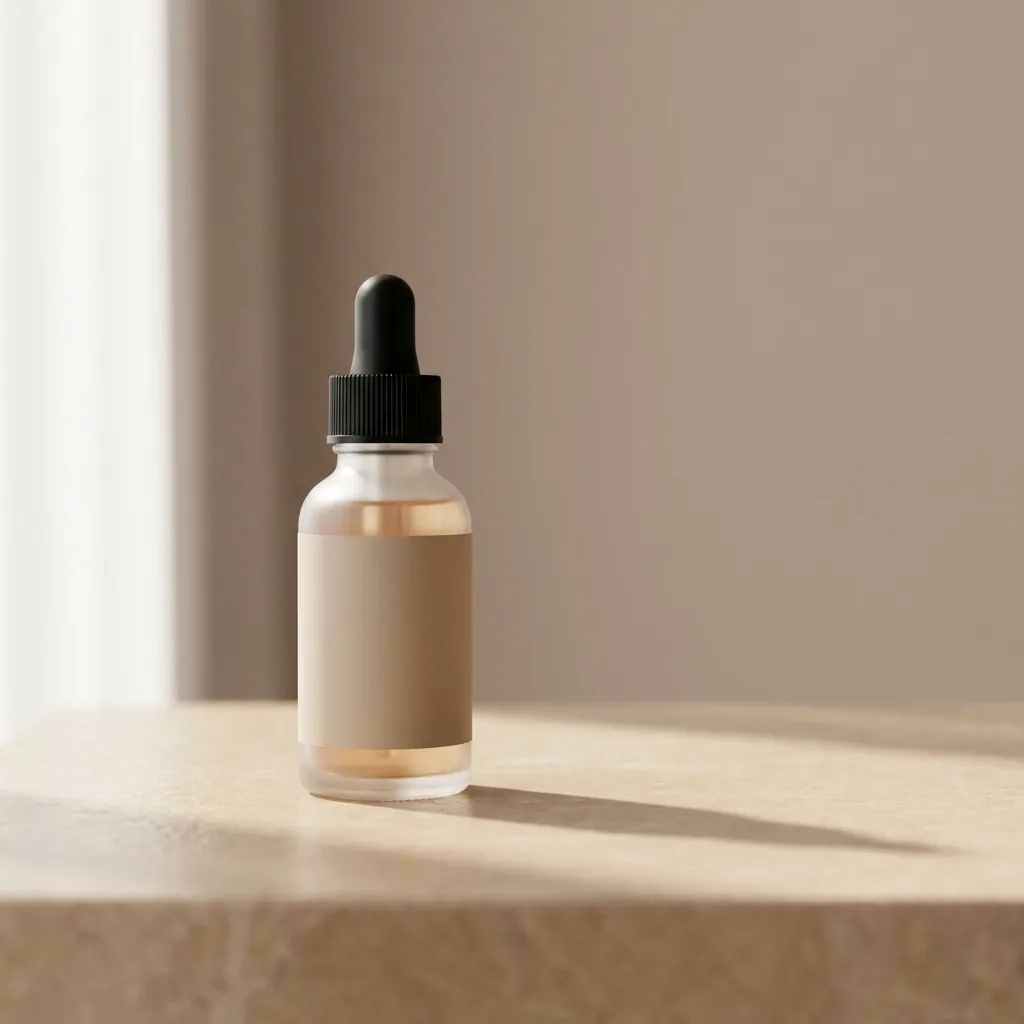
Brand
Logos, fonts, colours and rules

AI models
The image and video models inside every workflow
MCP server
Run DesignerBox from Claude, ChatGPT, Cursor or Codex
Figma plugin
Make on-brand images inside Figma
Chrome extension
Make images and video beside any web page
iOS app
Your workspace on your phone
API
Run workflows from your own code. See the Ultra plan.
Questions
Curious? Let's clear things up.
What can I change in the image editor?
The background, an object, the light, or the colour and material of the product. You can also retouch skin, add a prop and crop to the shape a channel needs. Upscale as the last step.
Does an edit lower the resolution?
No. Each edit keeps the detail and the resolution of the edit before it, so the fifth change is as sharp as the first. Upscale once, as the last step, when the picture is finished.
Which plan includes the image editor?
The Premium plan. The image editor and the video editor both start there. Uploading your own photos starts on the Pro plan, and the pricing page lists what each plan holds.
Can I edit a whole set at once?
No, the editor changes one picture at a time. For the same change on every product, use a template and run it as a batch, one product per row. You still review each result.
Can I edit a picture I did not make in DesignerBox?
Yes. Upload the picture and open it in the editor, then change it like any result. Uploading your own photos starts on the Pro plan, and the editor starts on the Premium plan.
Scale content without limits.
Generate content for your products or services with AI, starting today, and keep your brand on every piece.